Manuals
/
The Speaker Company
/
Computer Equipment
/
Label Maker
The Speaker Company
ta200
manual
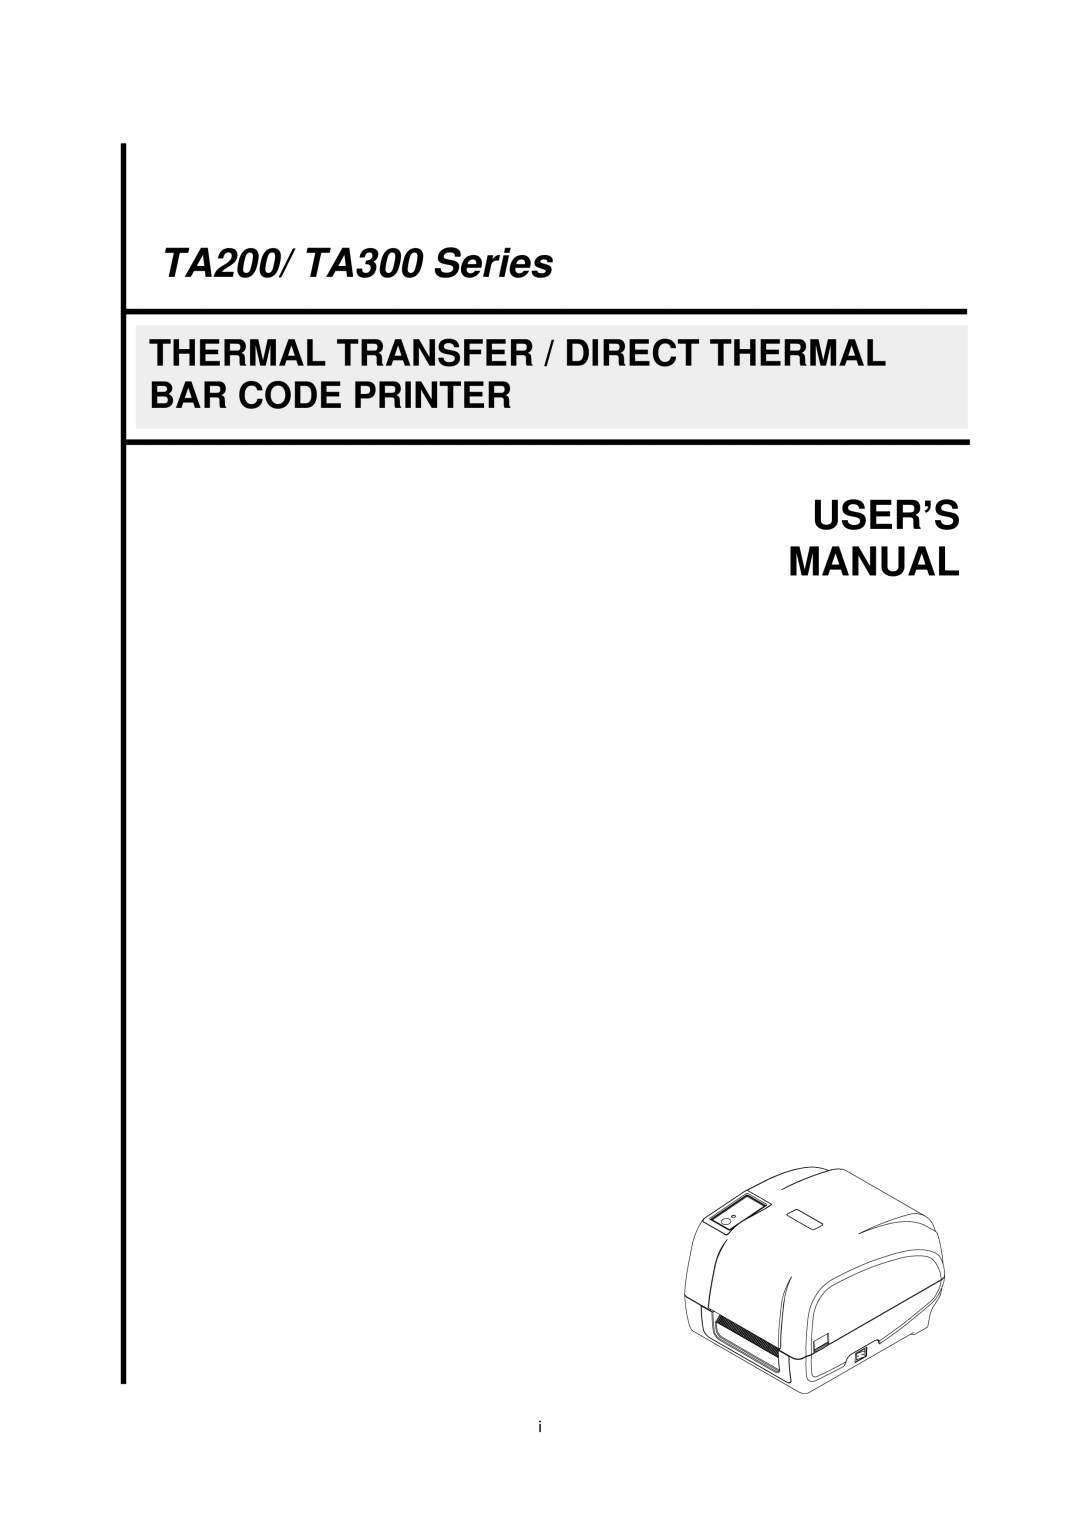
TA200/ TA300 Series
Models:
ta200
1
1
49
49
Download
49 pages
35.84 Kb
1
2
3
4
5
6
7
8
Troubleshooting
Specs
Parameter Default setting
LED Indicator
Maintenance
Common Problems
Diagnostic Tool
Setup
Power-on Utilities
Product Features
Page 1
Image 1
TA200/ TA300 Series
THERMAL TRANSFER / DIRECT THERMAL BAR CODE PRINTER
USER’S
MANUAL
i
Page 1
Page 2
Page 1
Image 1
Page 1
Page 2
Contents
TA200/ TA300 Series
Copyright Information
IEC
Agency Compliance and Approvals
Contents
Common Problems
Start the Diagnostic Tool Printer Function
Auto Calibration
Product Introduction
Introduction
Printer Standard Features
Product Features
Product standard feature 203 dpi 300 dpi Models
Product option feature User Dealer Factory Options
Printer Optional Features
Print Specifications
General Specifications
Ribbon Specifications
Print Specifications Dpi models
Media Specifications Dpi models
Media Specifications
Unpacking and Inspection
Operations Overview
Front View
Printer Overview
Interior View
Rear View
Setting up the Printer
Setup
Loading the Ribbon
Page
Page
Ribbon loading path
Loading the Roll Labels
Loading the Media
Gap sensor Media guide
Media loading path
Loading the Media in Peel-off mode Option
Label Liner
Loading the Media in Cutter Mode Option
Roll mount Plate
External Label Roll Mount Installation Option
Page
LED and Button Functions
LED Indicator
Regular Button Functions
Ribbon and Gap/Black Mark Sensor Calibration
Power-on Utilities
2 Gap/Black Mark Calibration, Self-test and Dump Mode
Self-test
Gap/black mark sensor intension
Printer Initialization
Dump mode
Set Gap Sensor as Media Sensor and Calibrate the Gap Sensor
Parameter Default setting
Skip AUTO.BAS
Start the Diagnostic Tool
Diagnostic Tool
Function Description
Printer Function
Auto Calibration
Calibrating Media Sensor by Diagnostic Tool
Using USB interface to setup Ethernet interface
Setting Ethernet by Diagnostic Utility Option
Using RS-232 interface to setup Ethernet interface
Using Ethernet interface to setup Ethernet interface
Page
Common Problems
Troubleshooting
Flash / Dram
Printing position of small
Printer Part Method Interval
Maintenance
Print Head
Revise History
Date Content Editor
Page
No.35, Sec , Ligong 1st Rd., Wujie Township
Top
Page
Image
Contents