Hinged Patio Door System Single Panel Assembly Unit specifications
The Therma-Tru Hinged Patio Door System Single Panel Assembly Unit represents a perfect blend of functionality, aesthetics, and energy efficiency in modern home design. This product caters to homeowners looking for a stylish, durable, and secure entryway to their outdoor spaces.One of the standout features of the Therma-Tru Hinged Patio Door is its construction. Made from high-quality fiberglass, this door is designed to resist warping, cracking, and splitting, making it a long-lasting option for any home. The solid core of the door provides enhanced durability while offering superior insulating properties, making it an ideal choice for climate-conscious homeowners.
Energy efficiency is a major consideration in today's market, and the Therma-Tru Hinged Patio Door excels in this area. The door is built with advanced insulating technologies, including multiple weatherstripping layers and energy-efficient glass options that help to maintain indoor temperatures year-round. The Low-E glass coating minimizes heat transfer, keeping homes cooler in the summer and warmer in the winter.
Security is another vital aspect of the Therma-Tru Hinged Patio Door System. The unit features a multi-point locking system that ensures maximum security against potential intrusions. This feature offers peace of mind for homeowners while enhancing the overall safety of the living space.
Customizability is also a key characteristic of this product. The Therma-Tru Hinged Patio Door can be tailored to fit various design aesthetics, with numerous colors, finishes, and hardware options available. This flexibility allows homeowners to create a seamless transition between their indoor and outdoor spaces, enhancing the visual appeal of their home.
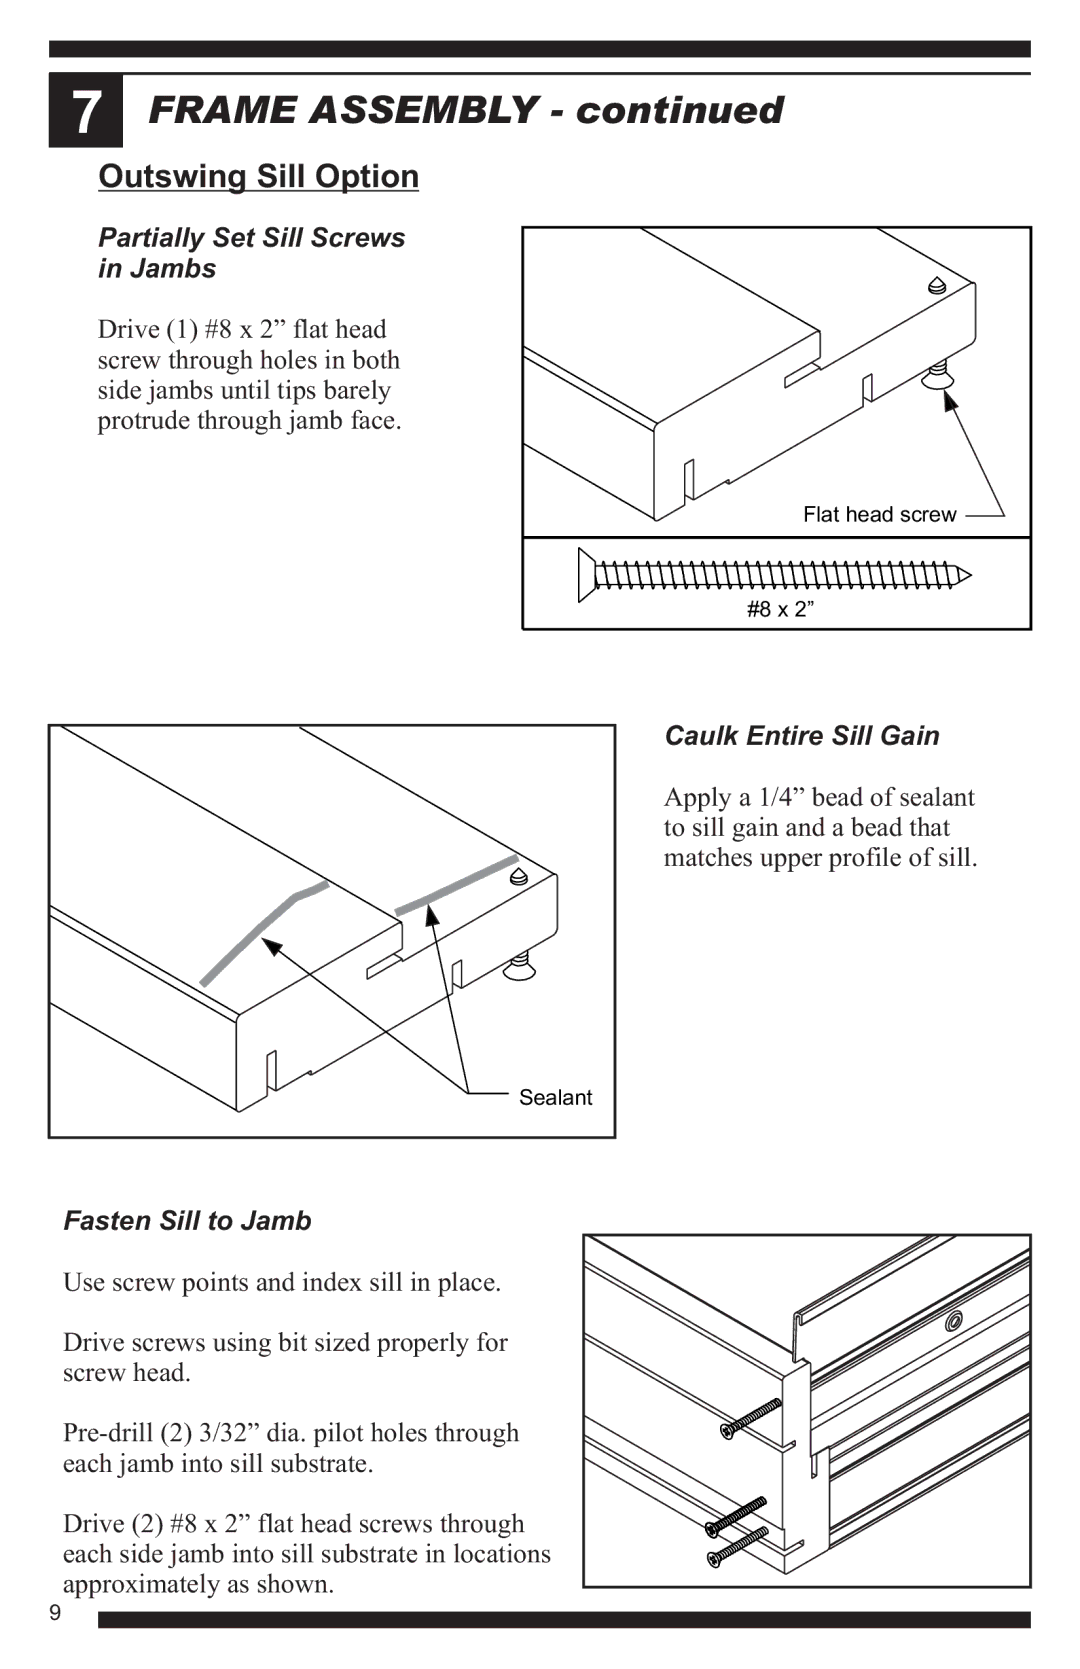
Installation is made easy with the Therma-Tru system, as it is designed for quick and straightforward assembly. Whether a renovation project or a new build, the single panel assembly unit facilitates hassle-free setup, allowing homeowners to enjoy their new patio door in no time.
In summary, the Therma-Tru Hinged Patio Door System Single Panel Assembly Unit is a superb choice for those seeking a combination of beauty, security, and efficiency. Its innovative design, robust materials, and customizable features make it an investment that enhances both the functionality and appearance of any home. With this door, homeowners can create a welcoming entrance to their outdoor environments while enjoying the benefits of advanced technology and durability.

