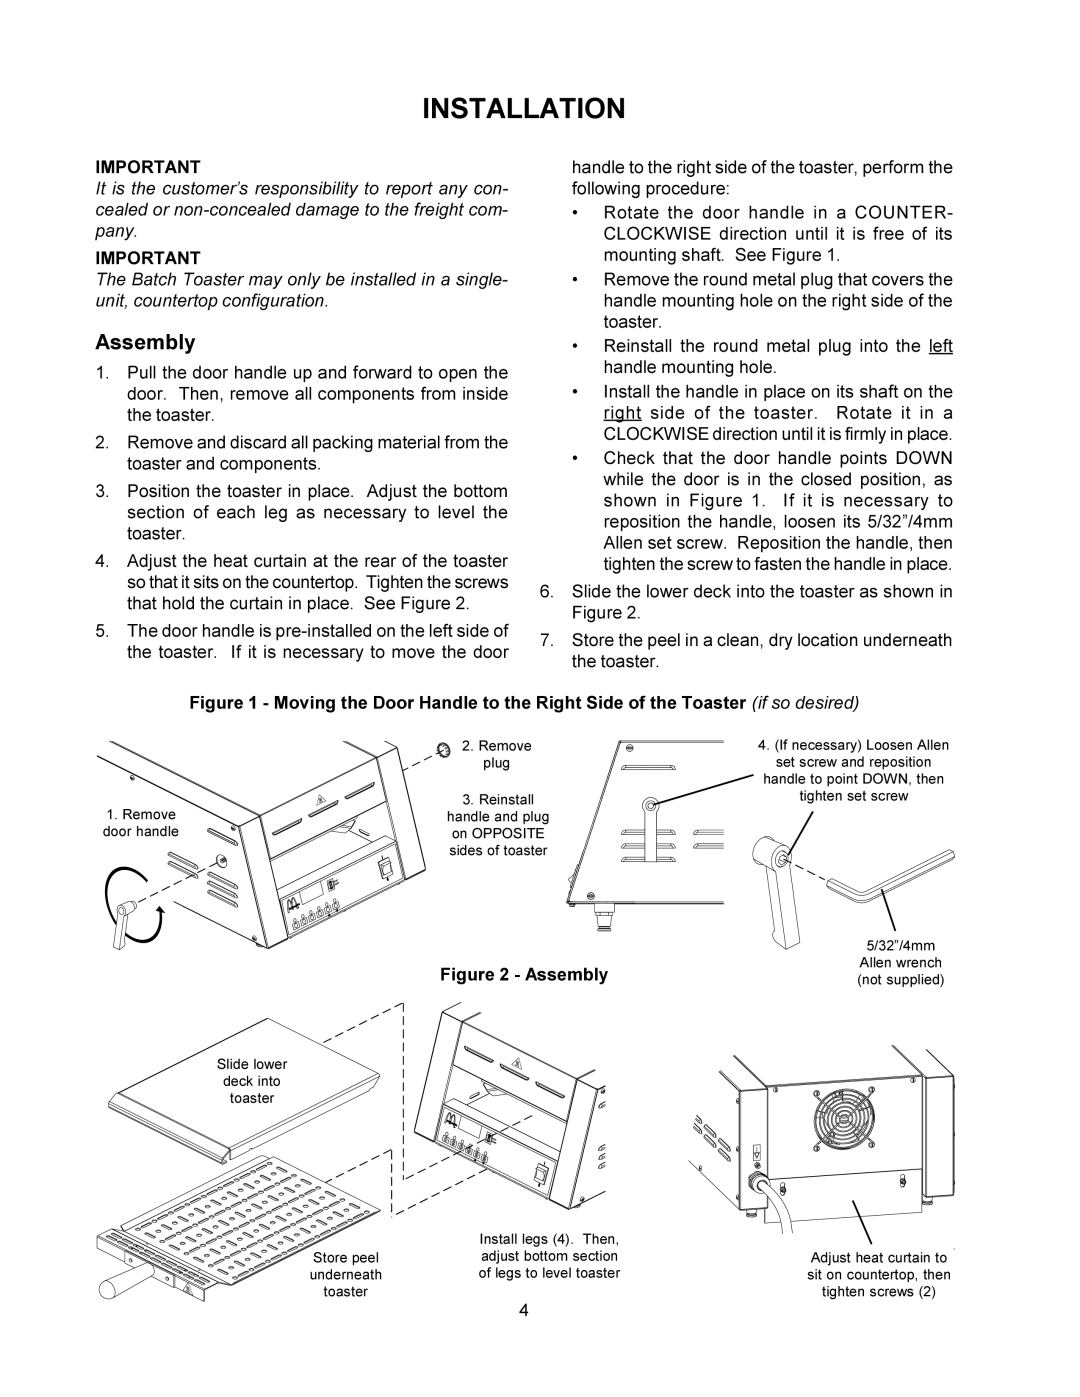
MBT208, MBT240 specifications
Toastmaster has long been a trusted name in culinary innovation, and their latest microwave models, the MBT240 and MBT208, exemplify this legacy of quality and efficiency. These robust appliances are designed to meet the diverse needs of both commercial and home kitchens, showcasing versatile cooking options and advanced features.The MBT240 boasts a powerful 2400 watts of cooking power, making it ideal for high-volume cooking scenarios. Its spacious interior allows for accommodating large dishes or multiple smaller ones simultaneously, enhancing productivity in busy settings. Equipped with a user-friendly control panel, the MBT240 features programmable settings, allowing operators to save frequently used cooking times and power levels. This not only streamlines food preparation but also ensures consistency in cooking results.
On the other hand, the MBT208 is a compact 2080-watt microwave that balances power and convenience without sacrificing performance. Perfect for establishments with limited counter space, its sleek design integrates seamlessly into any kitchen layout. Like its counterpart, the MBT208 includes pre-programmed cooking options for various menu items, further simplifying the cooking process. Its efficient ceramic enamel interior promotes easy cleaning and quick maintenance, contributing to the appliance's longevity.
Both models incorporate advanced microwaving technologies such as inverter cooking, which delivers a more even heat distribution compared to traditional microwave ovens. This feature prevents hotspots in food, providing a superior cooking experience. Additionally, the inclusion of an energy-saving mode significantly reduces power consumption, aligning with sustainable practices in kitchen management.
Safety is prioritized in both models, featuring built-in mechanisms such as a child lock, overheat protection, and a safety interlock that ensures the microwave operates only when the door is securely closed.
In terms of design, Toastmaster has ensured that both the MBT240 and MBT208 are built to withstand the rigors of professional use. Their durable construction and thoughtful engineering make them not only reliable but also easy to incorporate into existing workflows in commercial kitchens.
In conclusion, the Toastmaster MBT240 and MBT208 stand out with their powerful performance, innovative technologies, and user-centered features. Whether for busy restaurants or home enthusiasts, these microwaves offer the versatility and efficiency needed to elevate any culinary experience.

