3

Chapter 3

PRINTER FUNCTIONS

The machine includes a USB 1.1 connector and a parallel connector as standard equipment. A computer can be connected to these connectors to use the machine as a printer.

To use the machine as a printer, the printer driver must first be installed as explained in the "Printer Driver Setup Guide".


If a problem occurs in printer mode, see "TROUBLESHOOTING" (p.40).

Note

When interrupt copying is being performed, printing is not possible.


USING THE PRINTER MODE

The procedure for loading paper is the same as for loading copy paper. See "LOADING PAPER" (p.13).

Print jobs received while the machine is copying will be stored in memory. When the copy job is finished, the Note print jobs will begin printing.

Printing is not possible when the front or side cover is opened for machine maintenance, or when a misfeed occurs or the machine runs out of paper or toner, or when the drum cartridge reaches its replacement time.

If an original misfeed occurs in the ADF, printing will not be possible until the misfed original is removed and the ADF is restored to a usable state.

BASIC PROCEDURE FOR PRINTING

The basic procedure for printing is explained below. To use convenient printer functions, see the "Online Manual" or the printer driver help file.

1 Maketray. sure that paper is loaded in the

The procedure for loading paper is the same as for copying. See "LOADING PAPER" (p.13) and make sure the paper that you wish to use is loaded.

Make sure that the paper size setting on the Note machine is the same as the paper size set in

the printer driver.

3 Open the file that you wish to print and select "Print" from the File menu.

4 Make sure that the printer driver for the machine is selected, and select print settings in the printer driver.

For information on the settings in the printer driver, see the "Online Manual", the "Printer Driver Setup Guide", or the printer driver help file.

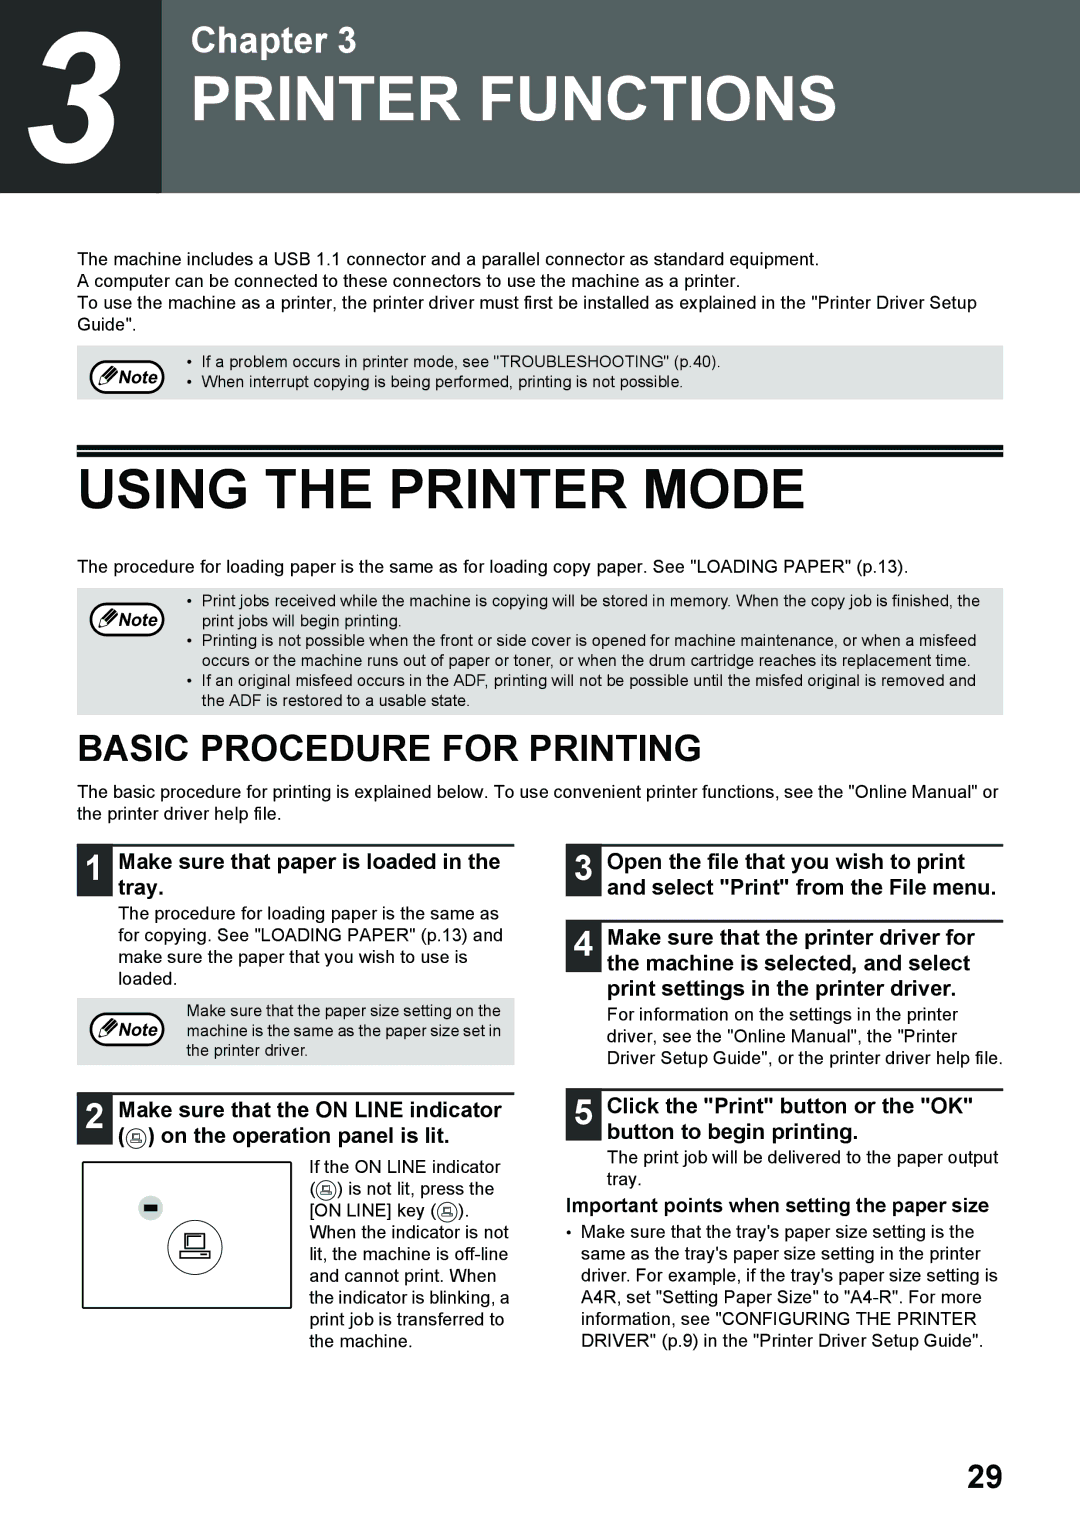
2 Make sure that the ON LINE indicator () on the operation panel is lit.

If the ON LINE indicator ( ) is not lit, press the [ON LINE] key ( ).

When the indicator is not lit, the machine is off-line and cannot print. When the indicator is blinking, a print job is transferred to the machine.

5 Click the "Print" button or the "OK" button to begin printing.

The print job will be delivered to the paper output tray.

Important points when setting the paper size

Make sure that the tray's paper size setting is the same as the tray's paper size setting in the printer driver. For example, if the tray's paper size setting is A4R, set "Setting Paper Size" to "A4-R". For more information, see "CONFIGURING THE PRINTER DRIVER" (p.9) in the "Printer Driver Setup Guide".

29

Page 35
Image 35
Toshiba e-STUDIO161 manual Using the Printer Mode, Basic Procedure for Printing, Maketray. sure that paper is loaded

e-STUDIO161 specifications

The Toshiba e-STUDIO161 is a multifunctional display of efficiency and reliability, designed to cater to the needs of small to medium-sized businesses. This compact copier-printer offers various features that make it an ideal choice for organizations looking to streamline their document workflow while maintaining high-quality output.

One of the standout qualities of the e-STUDIO161 is its versatility. This machine not only functions as a copier but also provides printing and scanning capabilities, making it a comprehensive office device. It operates with a print speed of up to 16 pages per minute, ensuring that users do not experience unnecessary downtime during busy workloads. The device also has a first copy output time of approximately 8.5 seconds, which highlights its efficiency for quick copying tasks.

In terms of technology, the e-STUDIO161 employs advanced digital imaging technology that guarantees sharp, clear prints and copies. The machine supports a maximum resolution of 600 x 600 dpi, delivering high-quality outputs for documents and images. Moreover, the printing engine is designed for easy operation, allowing users to navigate the settings with an intuitive control panel.

Another notable feature is its document feeding system. The Toshiba e-STUDIO161 is equipped with a 50-sheet automatic document feeder (ADF), which enhances productivity by allowing users to scan or copy multiple pages without manual intervention. The scanner supports color scanning with a resolution of 600 x 600 dpi, enabling high-quality digital archiving and document distribution.

Environmental consciousness is a critical aspect of the e-STUDIO161's design. It is Energy Star certified, which means it meets stringent energy efficiency standards. The device also features a sleep mode to minimize power consumption during inactivity, making it a suitable choice for businesses that prioritize sustainability.

The e-STUDIO161 has a compact size, allowing it to fit comfortably in limited office space. It is designed for easy installation and setup, with straightforward connectivity options that include USB and network capabilities. This facilitates seamless integration into existing office networks, ensuring that users can print and scan with minimal hassle.

In summary, the Toshiba e-STUDIO161 is a multifunctional device that brings together speed, quality, and efficiency. Its advanced imaging technology, versatile features, and compact design make it a valuable asset for any office, providing a perfect solution to meet diverse document management needs. With a focus on user-friendliness and environmental sustainability, the e-STUDIO161 stands out as a reliable choice for modern businesses.