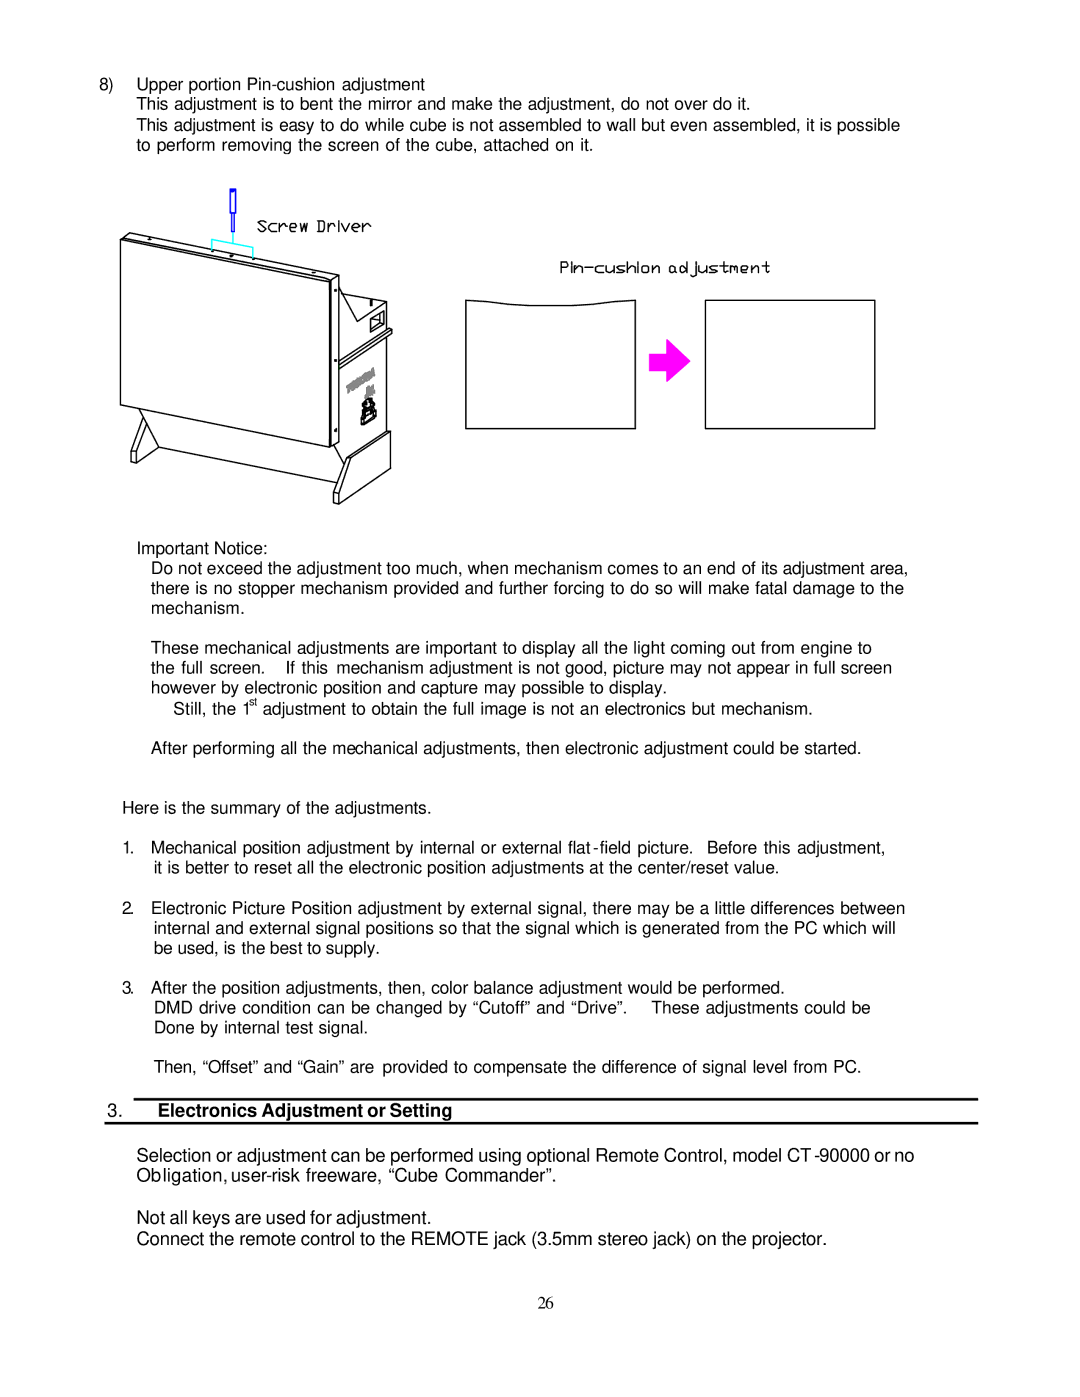
8)Upper portion
This adjustment is to bent the mirror and make the adjustment, do not over do it.
This adjustment is easy to do while cube is not assembled to wall but even assembled, it is possible to perform removing the screen of the cube, attached on it.
Important Notice:
Do not exceed the adjustment too much, when mechanism comes to an end of its adjustment area, there is no stopper mechanism provided and further forcing to do so will make fatal damage to the mechanism.
These mechanical adjustments are important to display all the light coming out from engine to the full screen. If this mechanism adjustment is not good, picture may not appear in full screen however by electronic position and capture may possible to display.
Still, the 1st adjustment to obtain the full image is not an electronics but mechanism.
After performing all the mechanical adjustments, then electronic adjustment could be started.
Here is the summary of the adjustments.
1.Mechanical position adjustment by internal or external flat
2.Electronic Picture Position adjustment by external signal, there may be a little differences between internal and external signal positions so that the signal which is generated from the PC which will be used, is the best to supply.
3.After the position adjustments, then, color balance adjustment would be performed.
DMD drive condition can be changed by “Cutoff” and “Drive”. These adjustments could be Done by internal test signal.
Then, “Offset” and “Gain” are provided to compensate the difference of signal level from PC.
3.Electronics Adjustment or Setting
Selection or adjustment can be performed using optional Remote Control, model CT
Not all keys are used for adjustment.
Connect the remote control to the REMOTE jack (3.5mm stereo jack) on the projector.
26