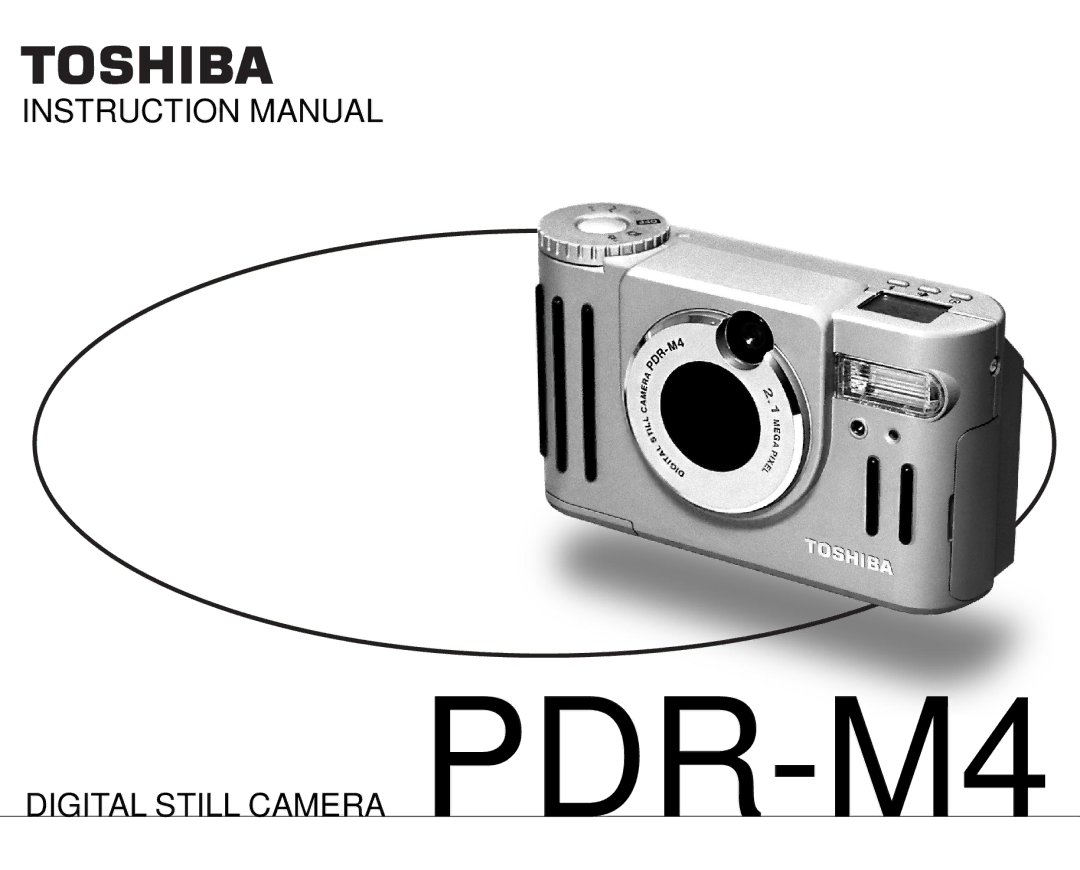
Digital Still Camera PDR-M4
PDR-M4
FCC Statement
For customers in the U.S.A
For customers in Canada
Trademark Information
Before Reading This Manual
Conventions Used In This Manual
About OS Abbreviations
Contents
Contents
Indication definitions Graphic symbol definitions
Safety Precautions
Use the battery only for its originally intended purpose
Safety Precautions
Do not use the camera in the bath or shower
Do not touch power or TV antenna cords During a thunderstorm
Before you move the camera, disconnect Cords and cables
Do not look at the sun through the camera Viewfinder
Avoid using or storing the camera in the following places
Using Your Camera Correctly
Do not expose the camera to sand
Carrying Out Maintenance on Your Camera
Using Your Camera Correctly
Using the Camera Overseas
When Not Using the Battery For a Long Time
About Battery Use
Charging the Battery
Using Your Camera Correctly
Settings can be verified even when LCD monitor is OFF
Features
Function Map
Warranty Card
Accessories
Software Manual
Names of Parts
Strap mount SmartMedia cover SmartMedia cover release knob
Names of Parts
Mode dial
Photography Basic
Status display
Attaching the Wrist Strap
Remove the battery cover from the battery
Preparing the Battery
Slide the battery cover q, and open the battery cover
Batteries, be sure to read
Close the battery cover q, and slide the battery cover
Preparing the Battery
Make sure that the battery cover is firmly closed
Charging the Battery
Removing the Battery
Blinks twice Either charge, or replace with a new battery
Battery Wear
Using the Power Outlet
About SmartMedia
Loading SmartMedia
About SmartMedia
Cover opens w
Removing SmartMedia
Set the mode dial to
Close the SmartMedia cover
Firmly insert the SmartMedia as far as it can go
About SmartMedia
Write Protection
Turning the Power OFF
Turning the Power ON/OFF
Turning the Power on
Power is turned OFF, and the lens cover is closed
LCD Monitor Display
Photography Mode or
LCD Monitor Display
Playback mode
Image size
Fingers
How to Hold Your Camera
Against the sides of your chest
Press the shutter button down half way q
How to Press the Shutter Button
Press the shutter button down fully w
About the Color of the Viewfinder LED
Photography Auto Photography
Using
Get ready to take the photograph
Press the Disp button to turn the LCD monitor OFF
Photography Auto Photography
Using the LCD Monitor
To adjust the brightness of the LCD monitor
Fine Jpeg compression
Setting the Image Size and Quality
For details on how to take photographs Photograph
Setting the Image Size and Quality
Take the photograph
Using the LCD Monitor
Set the mode dial to or Press the button
Close-up Photography Macro Photography
Set the mode dial to Press Macro button
50 cm
Is displayed on the LCD monitor and the status display
Set the mode dial to or Press the self-timer button
Auto
Compose the picture
Slow Synchro
Photography Using the Flash Flash photography
Continuously Taking Photographs Burst Photography
Set the mode dial to or Set the photography mode to Burst
Press the or buttons to verify the image
Continuously Taking Photographs Burst Photography
Use the or Buttons to select the recording method
Press the Exec button
Use the or buttons to select Exec and press the Enter button
Multi Image Photography Multi Photography
Set the mode dial to or Set the photography mode to Multi
Shutter is opened and closed 16 times
Taking Photographs at a Long Exposure Bulb Photography
Set the mode dial to or Set the photography mode to Bulb
Taking Photographs Manually Manual Photography
Set the mode dial to Press the Enter button
Taking Photographs Manually Manual Photography
When you have finished the settings, press the Enter button
Exposure Compensation
White Balance
Photography in incandescent light
Effective Subjects and Set Values
Flash Flash intensity
Left
Area AF/AE area
Right
Down
Setting item q and press Button
Changing the Preset Conditions REC Menu
Press the Menu button
Use Buttons to select the desired
Photography Mode and Functions
Changing the Preset Conditions REC Menu
Photography Modes
To quit the REC MENU, press the Menu button
Sets the sharpness at which the image is to be recorded
Preview
F T Soft effect
Hard effect
Bulb
Play back photographed images one image at a time
Press the or buttons to move forward and reverse
Last image frame appears on the LCD monitor
To quit enlarged display, press the Enter button
Use the , , or buttons to select the area to enlarge
Screen returns to the regular display
Nine images are displayed simultaneously
Frame Playback Multi-Frame Playback
Selected image is displayed at its regular size
Use the or buttons to select Slide and press the button
Auto Playback Slideshow
To quit the slideshow, press the Enter button
Automatically plays back one image at a time in order
Automatic playback begins
Playback of Multi Image Pictures
Reducing the Image Size Resize
Use the or buttons to select Resize and press the button
Reducing the Image Size Resize
Compressing Images Quality
Use Or buttons to select QUALITY, Press Button
Compressing Images Quality
Use the or buttons to select COPY, and press the button
Copying Images
Copy menu is displayed
Load the SmartMedia for copying the image to
Copying Images
Screen indicating that the image is being read appears
Message Change Card is displayed
Use the or buttons to select OK, and press the Enter button
Use Buttons to select FOLDER,
Selecting the Folder to Play Back
Press Button
About Folder Names
Selecting the Folder to Play Back
Press Erase button
Erasing Images Erase Frame
Use the or buttons to select EXEC, and press
Enter button
Erasing Images Erase Frame
Hold down Erase button for two seconds
Erasing All Images in a Folder Erase All
Use Buttons to select ALL q
Use Buttons to select Exec w,
Formatting the SmartMedia
Protecting Images
This feature prevents images from being erased
Use Or buttons to select Protect Press Button
Protecting Images
Carry out in Protecting An Image
Removing the Protection
Use the or buttons to select the item you want to set
Basic Photographic Settings SET-UP mode
To quit the SET UP menu, change the mode dial setting
Basic Photographic Settings SET-UP mode
Tab menu is displayed How to set the time
To cancel changing of settings, press the button
To quit setting, select the Cancel button
Sets whether or not to sound the beep tone On default
Select SET and press the Enter button
Does no sound the beep tone in any state
Image number
Reset the image number
About Image Numbers and Folder Numbers
Default
Set the mode dial to Press the Menu button
Adjusting the LCD Monitor Brightness
Use Buttons to adjust the brightness
Use Buttons to select LCD and press the button
Disp Button and LCD Monitor Display
Connect the plug of the video cable provided to
Taking and Playing Back Photographs on a TV
On the TV
Take photographs or play them back
Taking and Playing Back Photographs on a TV
Transferring Images to a PC
Using SmartMedia on a PC
Separately Sold Accessories
Separately Sold Accessories
Connecting to Other Devices
Specifications
Fluorescent light, incandescent light
Specifications
RS-232C/RS-422 or USB cable compatible
101
102
SmartMedia cover is open
Nothing is recorded to the SmartMedia
SmartMedia cover must be closed
Prompting you to format the SmartMedia is
Troubleshooting
Troubleshooting
AF/AE
Glossary
Customer Support
Warranty Card
Customer Support
How to enter the Demo Mode
Demo Mode
How to return to the Normal Mode
Toshiba Digital Still Camera
A N Ç a I S
Déclaration de la FCC
Pour la clientèle aux États-Unis
Préparation
Conventions utilisées dans ce mode d’emploi
Avant de lire ce mode d’emploi
Informations sur les marques
Table des matières
En mode de prise de vues
Recharge de l’accumulateur
Protection contre l’écriture
Lecture/effacement des images Autres applications
Table des matières suite
Limites de responsabilité
Précautions de sécurité
Précautions de sécurité suite
Avertissement suite
Avertissement suite
Etc
Ne pas utiliser le flash près des yeux de quelqu’un
Appareil photo
Utilisation correcte de l’appareil photo
Ne pas exposer votre appareil photo au sable
Remarques sur la condensation
Nettoyage de votre appareil photo
Utilisation correcte de l’appareil photo suite
Utilisation de l’appareil photo à l’étranger
Utilisation de l’accumulateur
Accumulateurs
Recharge de l’accumulateur
Adaptateur secteur
Caractéristiques
Diagramme des fonctions
Mode d’emploi du logiciel
Accessoires
Mo, 3,3 V Pour Macintosh Étui antistatique Étiquettes
Logiciel cédérom
Nomenclature
Touche multipression
Nomenclature suite
Molette de modes
De base Photographie
Afficheur de statut
Mise en place de la dragonne
’ac
Préparation de l’accumulateur
Enlevez le couvercle de protection de l’accumulateur
Faites glisser le couvercle du logement de
Assurez-vous que le couvercle est bien fermé
Préparation de l’accumulateur suite
Recharge de l’accumulateur
Retrait de l’accumulateur
Neuf
Déchargement de l’accumulateur
Utilisation d’une prise secteur
Cartes SmartMedia
Propos de la carte SmartMedia
Mise en place de la carte SmartMedia
Propos de la carte SmartMedia suite
Le volet s’ouvre w
Refermez le volet d’insertion de carte SmartMedia
Retrait de la carte SmartMedia
Réglez la molette de modes sur
Insérez la carte SmartMedia en la poussant à fond
Propos de la carte SmartMedia suite
Protection contre l’écriture
Mise sous tension
Mise sous/hors tension
Mise hors tension
Affichage du moniteur LCD
En mode de prise de vues ou
Affichage du moniteur LCD suite
En mode de lecture
Réglage de la
Message P Date année/mois/jour Temps
’appareil photo est tenu à deux mains avec les bras Les
Comment tenir l’appareil photo
Serrés contre les flancs
Appuyez sur le déclencheur à mi-course q
Comment appuyer sur le déclencheur
Appuyez sur le déclencheur à fond w
Propos de la couleur du témoin du viseur
Utilisation du viseur
Prise de vues Prise de vues automatique
Utilisation du moniteur LCD
Prise de vues Prise de vues automatique suite
Appuyez sur le déclencheur à mi-course q, puis à fond w
Préparez-vous à prendre une photo
Pour ajuster la luminosité du moniteur LCD
Qualité Fine
Réglage de la taille et de la qualité de l’image
Normal Compression 1/8 Jpeg
Prenez la photo
Réglage de la taille et de la qualité de l’image suite
Utilisation du moniteur LCD
Réglez la molette de modes sur ou Appuyez sur la touche
Réglez la molette de modes sur ou
Prise de vues rapprochée Prise de vues macro
Appuyez sur le déclencheur à mi-course, puis à fond.
Cadrez Appuyez sur le déclencheur à mi-course, puis à fond
Prise de vue avec le retardateur
Est affiché sur le moniteur LCD et l’afficheur de statut
Cadrez
Prise de vue au flash
Une pression sur la touche de flash affiche les modes flash
Synchronisation lente
Anti-yeux rouges
Prise de vue au flash suite
Flash forcé
Flash débrayé
Prise de vues continue Prise de vues par rafale
Appuyez sur la touche ou pour vérifier l’image
Prise de vues continue Prise de vues par rafale suite
Appuyez sur la touche Exec
Sur la carte SmartMedia
Enter
Appuyez sur la touche Menu
Prise de vues multiples
’obturateur s’ouvre et se ferme 16 fois
La prise de vues au flash est impossible
Réglez la molette de modes sur Appuyez sur la touche Enter
Prise de vues manuelle
Sélectionner la valeur de réglage
Prise de vues manuelle suite
Correction de l’exposition
Balance des blancs
Prise de vue sous un éclairage incandescent
Sujets et valeurs de réglage effectifs
Flash Intensité du flash
Gauche
Area Zone AF/AE
Droite
Haut
Réglez la molette de modes sur Appuyez sur la touche Menu
Changement des préréglages REC Menu
Le paramètre souhaité q et sur la touche
Menu d’onglets w et appuyez sur la touche Enter
Changement des préréglages REC Menu suite
Mode de prise de vues et fonctions
Modes de prise de vues
Pour quitter REC MENU, appuyez sur la touche Menu
Preview prévisualisation
Color couleur
Sharpness Netteté
Bulb pause B
Self Timer retardateur
La dernière image apparaît sur le moniteur LCD
Lecture des images photographiées Lecture vue par vue
La zone
Agrandissement d’images photographiées Lecture avec zoom
’écran revient à l’affichage normal Agrandie
’image sélectionnée est affichée à la taille normale
Neuf images sont affichées simultanément
Pour quitter le diaporama, appuyez sur la touche Enter
Lecture automatique Diaporama
Le menu Play Menu est affiché
La lecture automatique commence
Lecture d’images multiples
Réduction de la taille de l’image Changement de taille
’écran et l’écran reviendra au menu Play Menu
Le menu Resize est affiché
Pour quitter Play MENU, appuyez sur la touche Menu
Compression des images Qualité
Le menu SET-UP est affiché
Compression des images Qualité suite
’écran et l’écran revient au menu Play Menu
Le menu Copy est affiché
Copie d’images
Copie d’images suite
Appuyez sur la touche Enter
Folder et appuyez sur la touche
Choix du dossier à lire
Sur la touche Enter
Dans l’appareil photo sont affichés
Propos des noms de dossiers
Choix du dossier à lire suite
’image à effacer
Effacement des images effacement d’une image
Appuyez sur la touche d’effacement
Appuyez sur la touche Pour sélectionner
Effacement des images effacement d’une image suite
Pendant deux secondes
Appuyez en continu sur la touche d’effacement
Exec w et appuyez sur la touche Enter ALL q
Le menu Erase est affiché
Réglez la molette de modes sur , ou
Formatage de la carte SmartMedia
Appuyez sur la touche Pour sélectionner Format q
Pour réinitialiser les numéros d’image, appuyez sur la
Ima
Protection des images
Cette fonction protège les images contre l’effacement
’image est sélectionnée et est affiché sous l’image
Protection des images suite
Effectuez l’étape 5 de Protection d’une image
Annulation de la protection
Time Language Image No. Default
Le menu SET UP apparaît
AUTO-OFF Sound
Le menu d’onglets est affiché Comment régler le temps
Réglages de prise de vue de base mode SET-UP suite
Sélectionnez SET et appuyez sur la touche Enter
Pour quitter le réglage, sélectionner la touche Cancel
Propos des numéros d’image et de dossier
Image No
Réinitialisation du numéro d’image
Pas de réinitialisation aux valeurs par défaut
Default
Appuyez sur la touche Pour ajuster la Luminosité
Réglage de la luminosité du moniteur LCD
Appuyez sur la touche pour assombrir le moniteur LCD ou sur
Touche Disp et affichage du moniteur LCD
Remarque Rien n’est affiché dans le mode PC
Branchez la fiche du câble vidéo fourni sur la prise
Prise de vues et lecture sur un téléviseur
Du téléviseur
Une prise secteur si possible
Prenez des photos ou reproduisez-les
Prise de vues et lecture sur un téléviseur suite
Utilisation de la carte SmartMedia sur un PC
Transfert des images à un PC
Accessoires vendus séparément
Accessoires vendus séparément suite
Raccordement à d’autres appareils
Fiche technique
Fluorescente bleuâtre/rougeâtre, lampe incandescente
Fiche technique suite
Automatique
Ajusté automatiquement jusqu’en
101
Humidité 80% ou moins sans condensation
Température 0 C +32 F à + 40 C +104 F
Clignotement ’accumulateur est complètement déchargé
La moitié
Pas de carte SmartMedia en place
Enregistrement impossible
Fonctionnement Place
Guide de dépannage
Guide de dépannage suite
AF/AE
Glossaire
Carte de garantie
Soutien de la clientèle
Soutien de la clientèle
Comment entrer dans le mode de démonstration
Mode de démonstration
Comment revenir au mode normal
Appareil Photo Numérique Toshiba