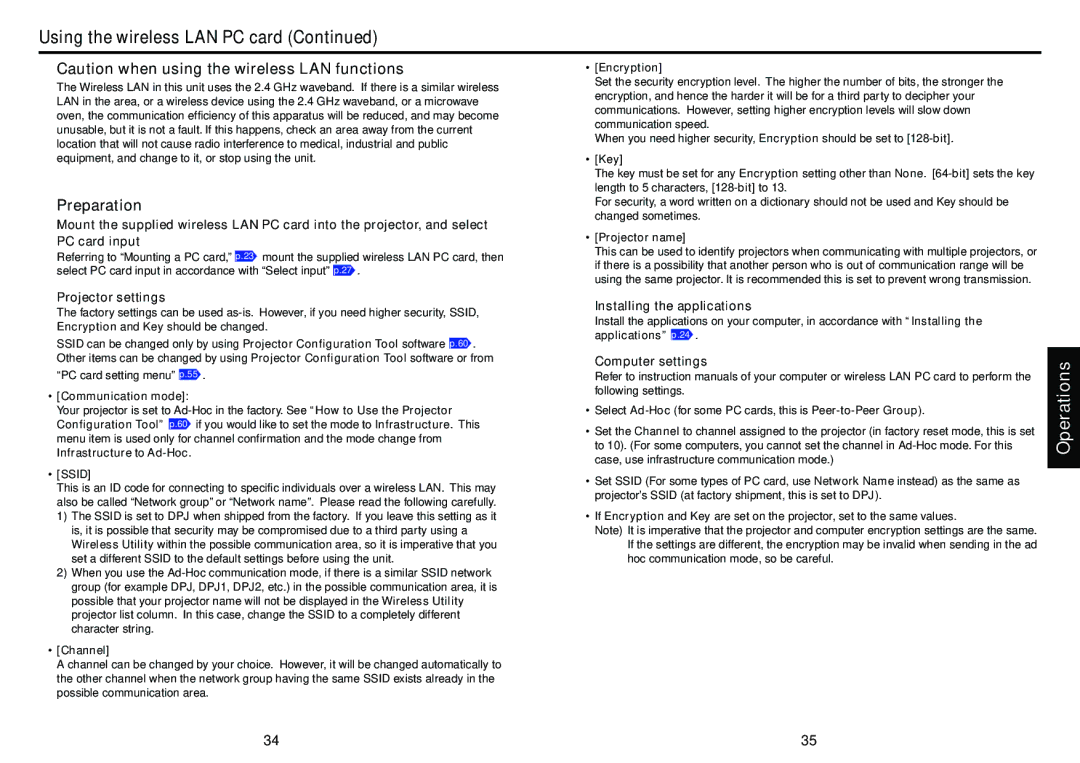
Using the wireless LAN PC card (Continued)

Caution when using the wireless LAN functions

The Wireless LAN in this unit uses the 2.4 GHz waveband. If there is a similar wireless LAN in the area, or a wireless device using the 2.4 GHz waveband, or a microwave oven, the communication efficiency of this apparatus will be reduced, and may become unusable, but it is not a fault. If this happens, check an area away from the current location that will not cause radio interference to medical, industrial and public equipment, and change to it, or stop using the unit.

Preparation

Mount the supplied wireless LAN PC card into the projector, and select PC card input

Referring to “Mounting a PC card,” p.23 mount the supplied wireless LAN PC card, then select PC card input in accordance with “Select input” p.27 .

[Encryption]

Set the security encryption level. The higher the number of bits, the stronger the encryption, and hence the harder it will be for a third party to decipher your communications. However, setting higher encryption levels will slow down communication speed.

When you need higher security, Encryption should be set to [128-bit].

[Key]

The key must be set for any Encryption setting other than None. [64-bit] sets the key length to 5 characters, [128-bit] to 13.

For security, a word written on a dictionary should not be used and Key should be changed sometimes.

[Projector name]

This can be used to identify projectors when communicating with multiple projectors, or if there is a possibility that another person who is out of communication range will be using the same projector. It is recommended this is set to prevent wrong transmission.

Projector settings

The factory settings can be used as-is. However, if you need higher security, SSID, Encryption and Key should be changed.

SSID can be changed only by using Projector Configuration Tool software p.60 . Other items can be changed by using Projector Configuration Tool software or from “PC card setting menu” p.55 .

[Communication mode]:

Your projector is set to Ad-Hoc in the factory. See “How to Use the Projector Configuration Tool” p.60 if you would like to set the mode to Infrastructure. This menu item is used only for channel confirmation and the mode change from Infrastructure to Ad-Hoc.

[SSID]

This is an ID code for connecting to specific individuals over a wireless LAN. This may also be called “Network group” or “Network name”. Please read the following carefully.

1)The SSID is set to DPJ when shipped from the factory. If you leave this setting as it is, it is possible that security may be compromised due to a third party using a Wireless Utility within the possible communication area, so it is imperative that you set a different SSID to the default settings before using the unit.

2)When you use the Ad-Hoc communication mode, if there is a similar SSID network group (for example DPJ, DPJ1, DPJ2, etc.) in the possible communication area, it is possible that your projector name will not be displayed in the Wireless Utility projector list column. In this case, change the SSID to a completely different character string.

[Channel]

A channel can be changed by your choice. However, it will be changed automatically to the other channel when the network group having the same SSID exists already in the possible communication area.

Installing the applications

Install the applications on your computer, in accordance with “Installing the applications” p.24 .

Computer settings

Refer to instruction manuals of your computer or wireless LAN PC card to perform the following settings.

Select Ad-Hoc(for some PC cards, this is Peer-to-Peer Group).

Set the Channel to channel assigned to the projector (in factory reset mode, this is set to 10). (For some computers, you cannot set the channel in Ad-Hoc mode. For this case, use infrastructure communication mode.)

Set SSID (For some types of PC card, use Network Name instead) as the same as projector’s SSID (at factory shipment, this is set to DPJ).

If Encryption and Key are set on the projector, set to the same values.

Note) It is imperative that the projector and computer encryption settings are the same. If the settings are different, the encryption may be invalid when sending in the ad hoc communication mode, so be careful.

Operations

34

35

Page 18
Image 18
Toshiba TLP-T72 owner manual Preparation, Projector settings, Installing the applications, Computer settings

TLP-T72 specifications

The Toshiba TLP-T72 is a state-of-the-art thermal transfer printer designed to meet the demanding needs of various industries, including healthcare, retail, and manufacturing. This printer is renowned for its reliability, efficiency, and high-quality output, making it a popular choice for businesses looking to enhance their label printing capabilities.

One of the standout features of the TLP-T72 is its advanced thermal transfer technology. This technology utilizes a heated print head and a ribbon to transfer ink onto various label materials, providing sharp graphics and clear text. The transfer method not only improves the durability of printed labels but also ensures resistance to smudging and fading, making it ideal for long-term use.

The printer is equipped with a high-resolution print head, capable of producing stunning print quality at resolutions up to 300 dpi. This means users can create intricate designs, barcodes, and images that are easily readable and visually appealing. With a print speed of up to 6 inches per second, the TLP-T72 can efficiently handle high-volume printing tasks without compromising quality.

In terms of connectivity, the TLP-T72 offers a range of options, including USB, Serial, and Ethernet interfaces, allowing for seamless integration into existing systems. This flexibility makes it suitable for diverse operational environments, ensuring that users can easily connect and manage the printer through various channels.

Another notable feature of the TLP-T72 is its user-friendly design. The printer comes with an easy-to-navigate control panel, which simplifies operation and minimizes the learning curve for new users. Additionally, the printer supports various label formats and sizes, making it versatile for different applications ranging from shipping labels to product tags.

The TLP-T72 also supports a range of software solutions, enhancing its functionality and offering users the ability to create custom labels tailored to their specific needs. This adaptability is further complemented by its ability to handle both direct thermal and thermal transfer printing, providing users with options depending on their requirements.

In summary, the Toshiba TLP-T72 combines advanced thermal transfer technology, high print quality, and versatile connectivity, making it an essential tool for any business looking to streamline its labeling process. Its user-friendly design and robust performance characteristics reinforce its status as a reliable choice in the competitive landscape of label printers.