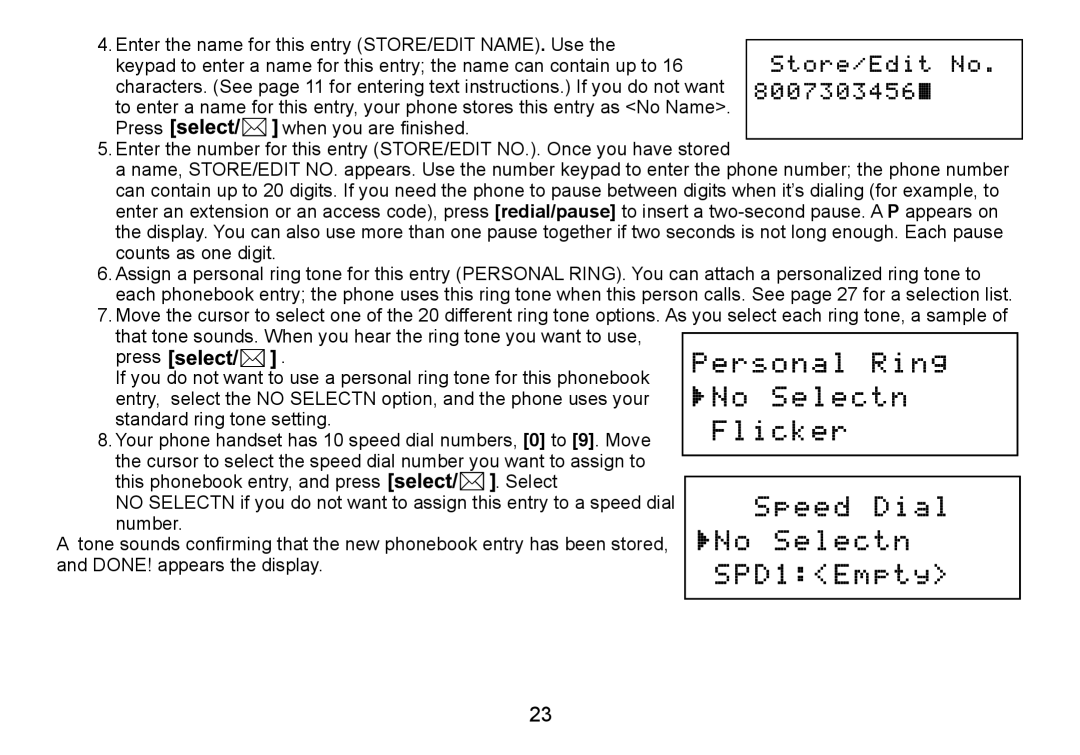
4. Enter the name for this entry (STORE/EDIT NAME). Use the. keypad to enter a name for this entry; the name can contain up to 16 characters. (See page 11 for entering text instructions.) If you do not want to enter a name for this entry, your phone stores this entry as <No Name>.
Press ![]()
![]()
![]()
![]()
![]()
![]()
![]()
![]() when you are finished.
when you are finished.
5.Enter the number for this entry (STORE/EDIT NO.). Once you have stored
a name, STORE/EDIT NO. appears. Use the number keypad to enter the phone number; the phone number can contain up to 20 digits. If you need the phone to pause between digits when it’s dialing (for example, to enter an extension or an access code), press [redial/pause] to insert a
6.Assign a personal ring tone for this entry (PERSONAL RING). You can attach a personalized ring tone to each phonebook entry; the phone uses this ring tone when this person calls. See page 27 for a selection list.
7.Move the cursor to select one of the 20 different ring tone options. As you select each ring tone, a sample of
that tone sounds. When you hear the ring tone you want to use,
press |
|
| . . |
| |||
If you do not want to use a personal ring tone for this phonebook | |||
entry, | select the NO SELECTN option, and the phone uses your | ||
standard ring tone setting.
8. Your phone handset has 10 speed dial numbers, [0] to [9]. Move the cursor to select the speed dial number you want to assign to
this phonebook entry, and press |
| . Select. |
| ||
NO SELECTN if you do not want to assign this entry to a speed dial | ||
number.
A tone sounds confirming that the new phonebook entry has been stored, and DONE! appears the display.
23
