Installing the Hardware
Physical Installation
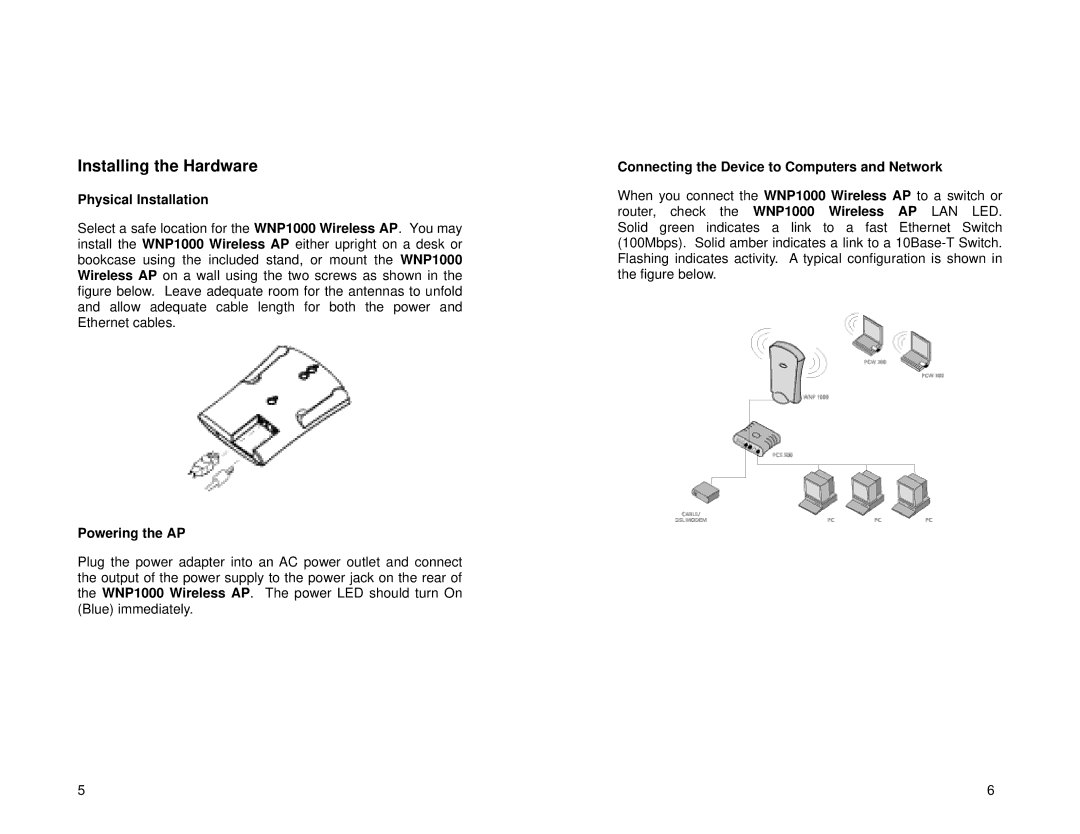
Select a safe location for the WNP1000 Wireless AP. You may install the WNP1000 Wireless AP either upright on a desk or bookcase using the included stand, or mount the WNP1000 Wireless AP on a wall using the two screws as shown in the figure below. Leave adequate room for the antennas to unfold and allow adequate cable length for both the power and Ethernet cables.
Powering the AP
Plug the power adapter into an AC power outlet and connect the output of the power supply to the power jack on the rear of the WNP1000 Wireless AP. The power LED should turn On (Blue) immediately.
Connecting the Device to Computers and Network
When you connect the WNP1000 Wireless AP to a switch or router, check the WNP1000 Wireless AP LAN LED. Solid green indicates a link to a fast Ethernet Switch (100Mbps). Solid amber indicates a link to a
5 | 6 |