Intrepid II Woodburning Stove

ST264

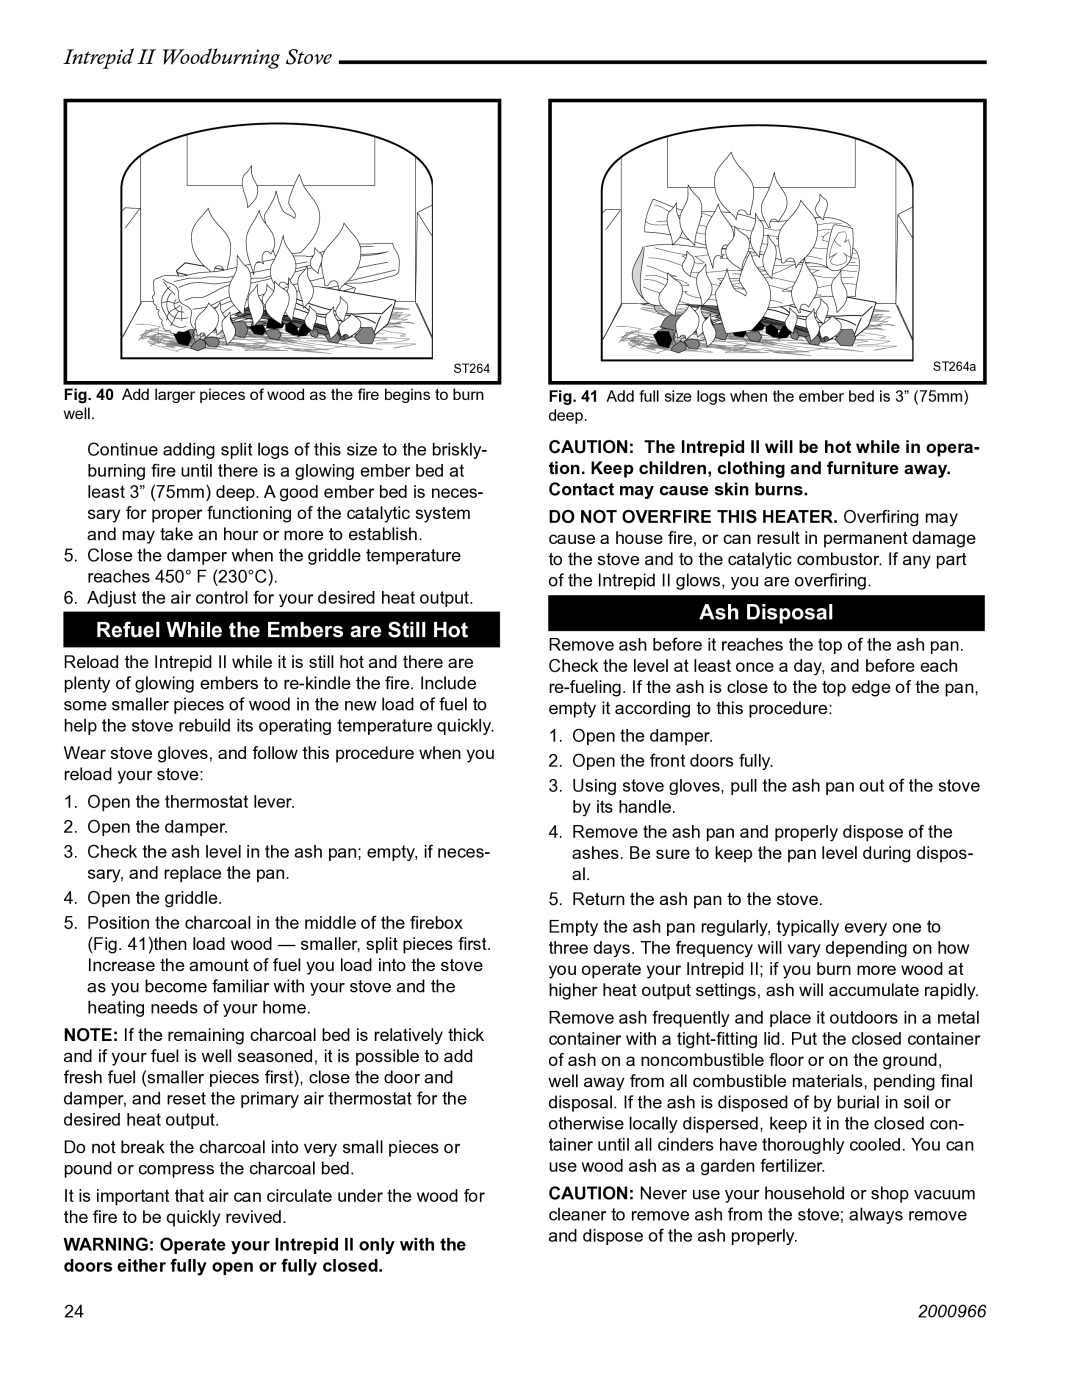
Fig. 40 Add larger pieces of wood as the fire begins to burn

well.

Continue adding split logs of this size to the briskly- burning fire until there is a glowing ember bed at least 3” (75mm) deep. A good ember bed is neces- sary for proper functioning of the catalytic system and may take an hour or more to establish.

5.Close the damper when the griddle temperature reaches 450° F (230°C).

6.Adjust the air control for your desired heat output.

Refuel While the Embers are Still Hot

Reload the Intrepid II while it is still hot and there are plenty of glowing embers to re-kindle the fire. Include some smaller pieces of wood in the new load of fuel to help the stove rebuild its operating temperature quickly.

Wear stove gloves, and follow this procedure when you reload your stove:

1.Open the thermostat lever.

2.Open the damper.

3.Check the ash level in the ash pan; empty, if neces- sary, and replace the pan.

4.Open the griddle.

5.Position the charcoal in the middle of the firebox (Fig. 41)then load wood — smaller, split pieces first. Increase the amount of fuel you load into the stove as you become familiar with your stove and the heating needs of your home.

NOTE: If the remaining charcoal bed is relatively thick and if your fuel is well seasoned, it is possible to add fresh fuel (smaller pieces first), close the door and damper, and reset the primary air thermostat for the desired heat output.

Do not break the charcoal into very small pieces or pound or compress the charcoal bed.

It is important that air can circulate under the wood for the fire to be quickly revived.

WARNING: Operate your Intrepid II only with the doors either fully open or fully closed.

ST264a

Fig. 41 Add full size logs when the ember bed is 3” (75mm)

deep.

CAUTION: The Intrepid II will be hot while in opera- tion. Keep children, clothing and furniture away. Contact may cause skin burns.

DO NOT OVERFIRE THIS HEATER. Overfiring may cause a house fire, or can result in permanent damage to the stove and to the catalytic combustor. If any part of the Intrepid II glows, you are overfiring.

Ash Disposal

Remove ash before it reaches the top of the ash pan. Check the level at least once a day, and before each re-fueling. If the ash is close to the top edge of the pan, empty it according to this procedure:

1.Open the damper.

2.Open the front doors fully.

3.Using stove gloves, pull the ash pan out of the stove by its handle.

4.Remove the ash pan and properly dispose of the ashes. Be sure to keep the pan level during dispos- al.

5.Return the ash pan to the stove.

Empty the ash pan regularly, typically every one to three days. The frequency will vary depending on how you operate your Intrepid II; if you burn more wood at higher heat output settings, ash will accumulate rapidly.

Remove ash frequently and place it outdoors in a metal container with a tight-fitting lid. Put the closed container of ash on a noncombustible floor or on the ground, well away from all combustible materials, pending final disposal. If the ash is disposed of by burial in soil or otherwise locally dispersed, keep it in the closed con- tainer until all cinders have thoroughly cooled. You can use wood ash as a garden fertilizer.

CAUTION: Never use your household or shop vacuum cleaner to remove ash from the stove; always remove and dispose of the ash properly.

24

2000966

Page 24
Image 24
Vermont Casting 1990 installation instructions Refuel While the Embers are Still Hot, Ash Disposal

1990 specifications

Vermont Casting, founded in 1975, is renowned for its commitment to crafting high-quality cast iron wood stoves and heaters that merge efficiency with timeless design. By 1990, Vermont Casting had established itself as a leader in the industry, celebrated for its innovative approach to heating solutions and commitment to sustainability.

The 1990 models reflected an impressive evolution in technology and aesthetics. One of the standout features of Vermont Casting stoves was their utilization of advanced air control systems. This technology allowed users to regulate the burn speed and heat output effectively, making it easier to maintain consistent warmth in the home while optimizing fuel efficiency. The stoves featured an adjustable air inlet that provided users with the power to control combustion according to their needs.

In terms of design, Vermont Casting stoves were characterized by their iconic, rustic appearance, often featuring a choice of colors and finishes that allowed them to blend seamlessly into a variety of home aesthetics. The deep, rich finishes of the cast iron, coupled with elegant detailing, made each unit not only a heating appliance but also a centerpiece in living spaces. This commitment to aesthetics extended to the variety of designs available, including both traditional and modern styles, catering to diverse consumer preferences.

Vermont Casting also prioritized safety in their 1990 models. Many stoves were equipped with features such as double doors with glass panels, allowing users to enjoy the beauty of the flames while minimizing the risk of accidental burns. Some models incorporated heat shields that protected surrounding walls and furniture from excessive heat, further enhancing safety at home.

Durability was another hallmark of Vermont Casting’s reputation. The use of high-quality cast iron meant that these stoves were built to withstand years of use, often becoming familial heirlooms passed down through generations. In addition to resilience, cast iron was known for its ability to retain heat even after the fire had gone out, providing lingering warmth long into the night.

Overall, Vermont Casting in 1990 represented a harmonious blend of timeless design, advanced functionality, and a commitment to sustainability. Their stoves were not merely heating appliances but symbols of a lifestyle choice that emphasized quality, elegance, and environmental responsibility, making them a preferred choice for homeowners seeking both reliability and beauty in home heating solutions.