4Operation
1.Turn on your source components.
2.Plug the female end of the power cord into the AC receptacle on the rear of the Vision
10/12 (AC 100V ~ 240V).
3. Connect the other end to your AC power source. The power indicator lights blue to indicate that the Vision 10/12 is in “standby” mode.
4.Press the ON button on the remote control to turn on the projector. The power indicator turns off.
5.After a brief
10 seconds), the Vision 10/12 will start projecting.
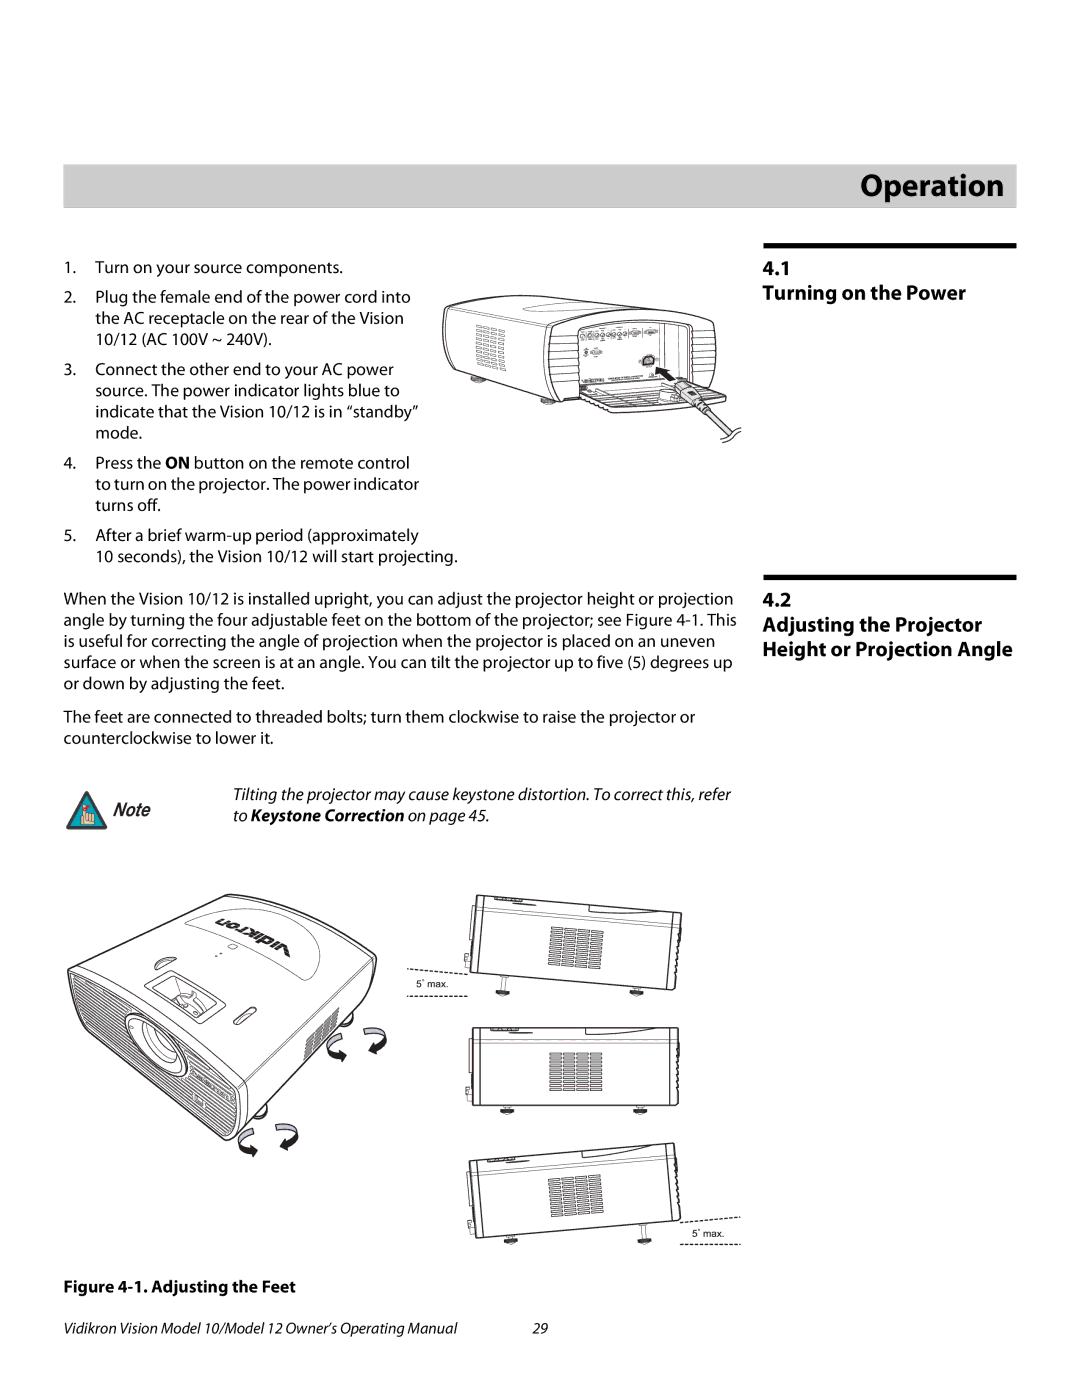
When the Vision 10/12 is installed upright, you can adjust the projector height or projection angle by turning the four adjustable feet on the bottom of the projector; see Figure
The feet are connected to threaded bolts; turn them clockwise to raise the projector or counterclockwise to lower it.
Tilting the projector may cause keystone distortion. To correct this, refer
Note | to Keystone Correction on page 45. |
|
Figure 4-1. Adjusting the Feet
4.1
Turning on the Power
4.2
Adjusting the Projector Height or Projection Angle
Vidikron Vision Model 10/Model 12 Owner’s Operating Manual | 29 |