Operation
| White Balance | ||||
R Gain |
|
|
|
| 0 |
|
|
|
| ||
|
|
|
|
|
|
G Gain |
|
|
|
| 0 |
|
|
|
| ||
|
|
|
|
|
|
B Gain |
|
|
|
| 0 |
|
|
|
| ||
|
|
|
|
|
|
R Offset |
|
|
|
| 0 |
|
|
|
| ||
|
|
|
|
|
|
G Offset |
|
|
|
| 0 |
|
|
|
| ||
|
|
|
|
|
|
B Offset |
|
|
|
| 0 |
|
|
|
| ||
|
|
|
|
|
|
Image Option ➤
Image Option
HD/RGB Adjust
Image Position
Over Scan Adjust |
| 1% |
SDTV Adjust |
|
|
Brightness Enhance |
| OFF |
Lamp Power |
| 250W |
Information |
|
|
Restore Factory Settings |
| |
|
|
|
ICC Select: Choose ICC Select from the Picture Adjust menu to specify the color space (Standard, NTSC, HDTV or PAL) that is appropriate for the source signal, to achieve optimal color balance.
If you select NTSC, HDTV or PAL, you can make further adjustments to individual color space characteristics in the ICC Adjust
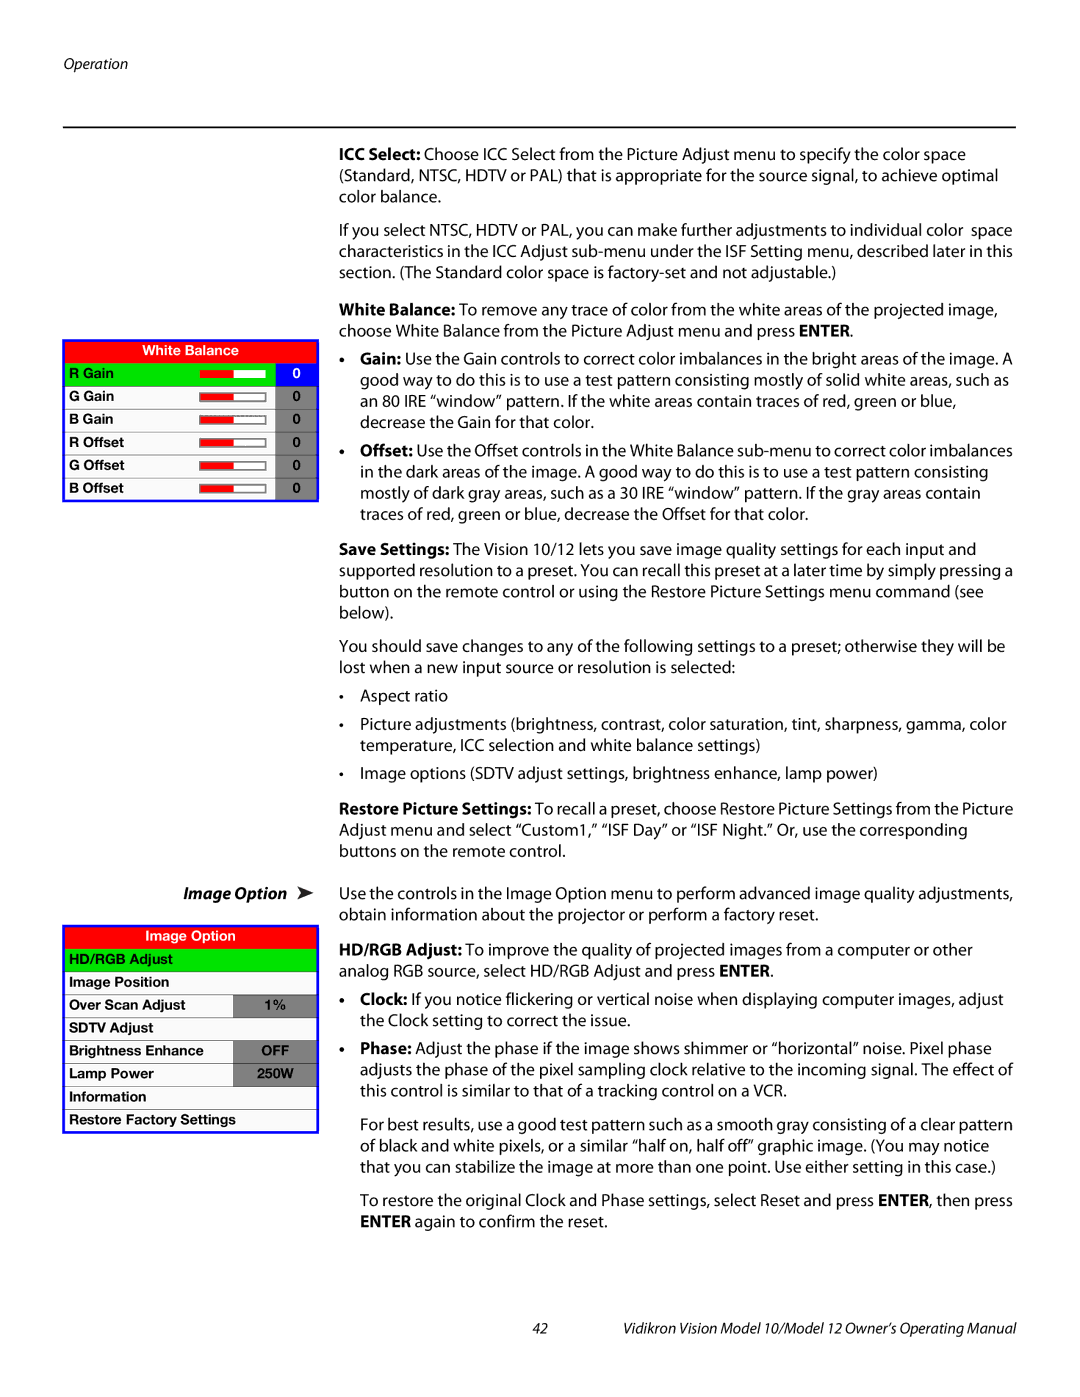
White Balance: To remove any trace of color from the white areas of the projected image, choose White Balance from the Picture Adjust menu and press ENTER.
•Gain: Use the Gain controls to correct color imbalances in the bright areas of the image. A good way to do this is to use a test pattern consisting mostly of solid white areas, such as an 80 IRE “window” pattern. If the white areas contain traces of red, green or blue, decrease the Gain for that color.
•Offset: Use the Offset controls in the White Balance
Save Settings: The Vision 10/12 lets you save image quality settings for each input and supported resolution to a preset. You can recall this preset at a later time by simply pressing a button on the remote control or using the Restore Picture Settings menu command (see below).
You should save changes to any of the following settings to a preset; otherwise they will be lost when a new input source or resolution is selected:
•Aspect ratio
•Picture adjustments (brightness, contrast, color saturation, tint, sharpness, gamma, color temperature, ICC selection and white balance settings)
•Image options (SDTV adjust settings, brightness enhance, lamp power)
Restore Picture Settings: To recall a preset, choose Restore Picture Settings from the Picture Adjust menu and select “Custom1,” “ISF Day” or “ISF Night.” Or, use the corresponding buttons on the remote control.
Use the controls in the Image Option menu to perform advanced image quality adjustments, obtain information about the projector or perform a factory reset.
HD/RGB Adjust: To improve the quality of projected images from a computer or other analog RGB source, select HD/RGB Adjust and press ENTER.
•Clock: If you notice flickering or vertical noise when displaying computer images, adjust the Clock setting to correct the issue.
•Phase: Adjust the phase if the image shows shimmer or “horizontal” noise. Pixel phase adjusts the phase of the pixel sampling clock relative to the incoming signal. The effect of this control is similar to that of a tracking control on a VCR.
For best results, use a good test pattern such as a smooth gray consisting of a clear pattern of black and white pixels, or a similar “half on, half off” graphic image. (You may notice that you can stabilize the image at more than one point. Use either setting in this case.)
To restore the original Clock and Phase settings, select Reset and press ENTER, then press ENTER again to confirm the reset.
42 | Vidikron Vision Model 10/Model 12 Owner’s Operating Manual |