Basic Operation
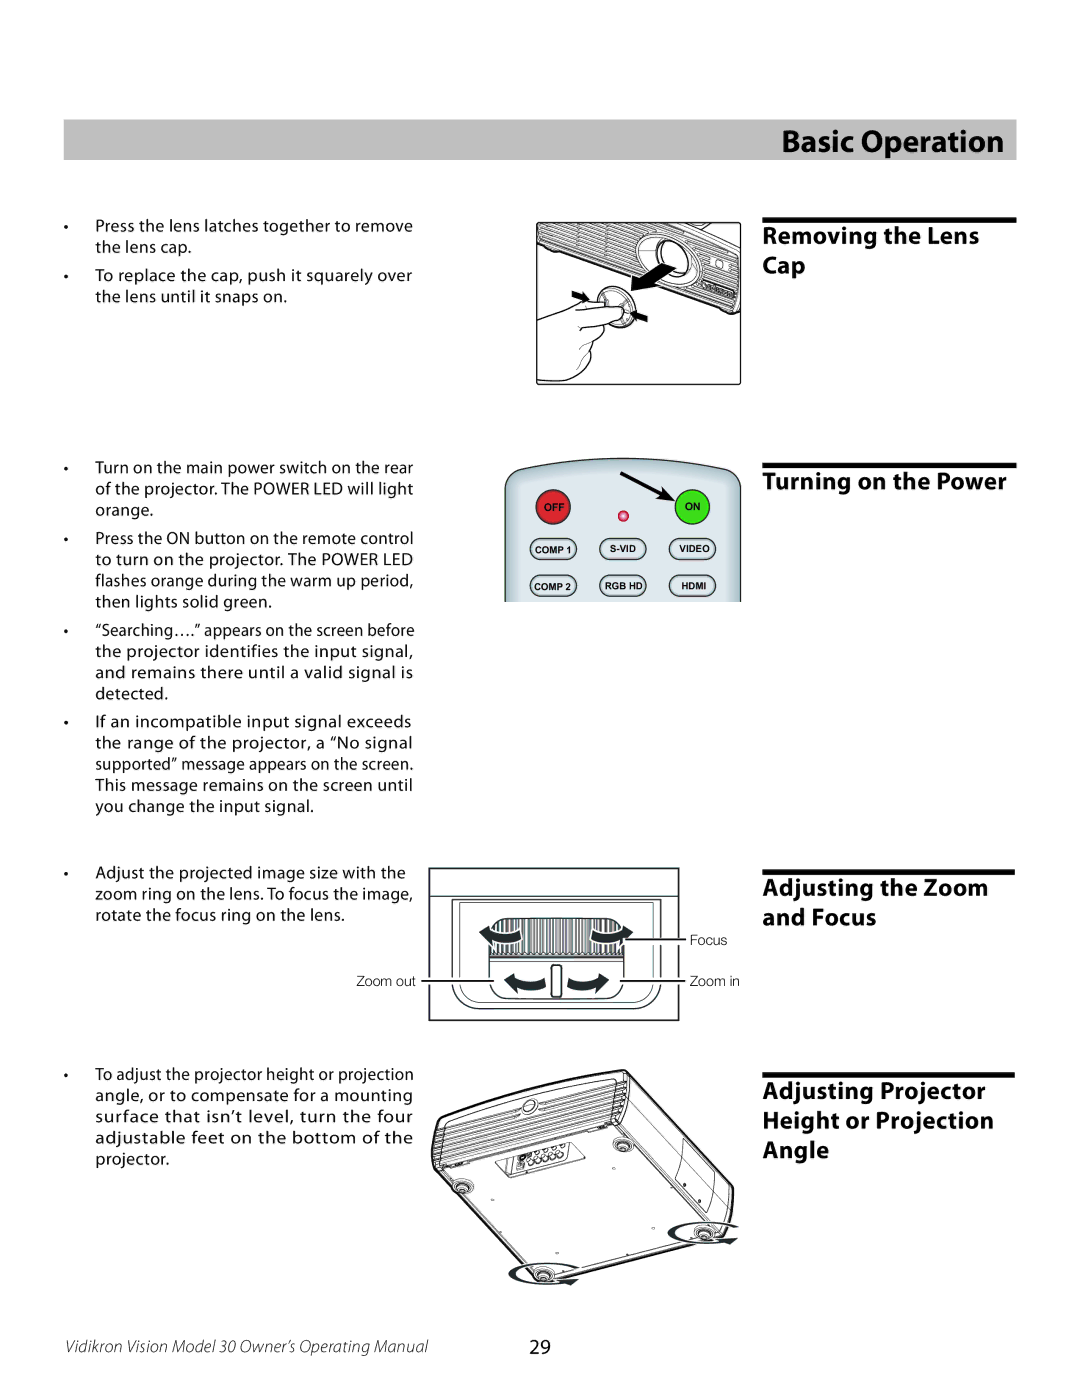
•Press the lens latches together to remove the lens cap.
•To replace the cap, push it squarely over the lens until it snaps on.
•Turn on the main power switch on the rear of the projector. The POWER LED will light orange.
•Press the ON button on the remote control to turn on the projector. The POWER LED flashes orange during the warm up period, then lights solid green.
•“Searching….” appears on the screen before the projector identifies the input signal, and remains there until a valid signal is detected.
•If an incompatible input signal exceeds the range of the projector, a “No signal supported” message appears on the screen. This message remains on the screen until you change the input signal.
Removing the Lens
Cap
Turning on the Power
OFFON
COMP 1 | VIDEO | |
COMP 2 | RGB HD | HDMI |
•Adjust the projected image size with the zoom ring on the lens. To focus the image, rotate the focus ring on the lens.
Zoom out
Focus |
Zoom in |
Adjusting the Zoom and Focus
•To adjust the projector height or projection angle, or to compensate for a mounting surface that isn’t level, turn the four adjustable feet on the bottom of the projector.
Adjusting Projector Height or Projection Angle
Vidikron Vision Model 30 Owner’s Operating Manual | 29 |