Installation
Vision Model 30
Picture Adjust
Image Option
Projector Status
Installation
Service
ISF Calibration
Installation
Language
Picture Configuration
Keystone
OSD Position
OSD Timer
PIP/PBP Setup
Background Color
Language
Picture Configuration
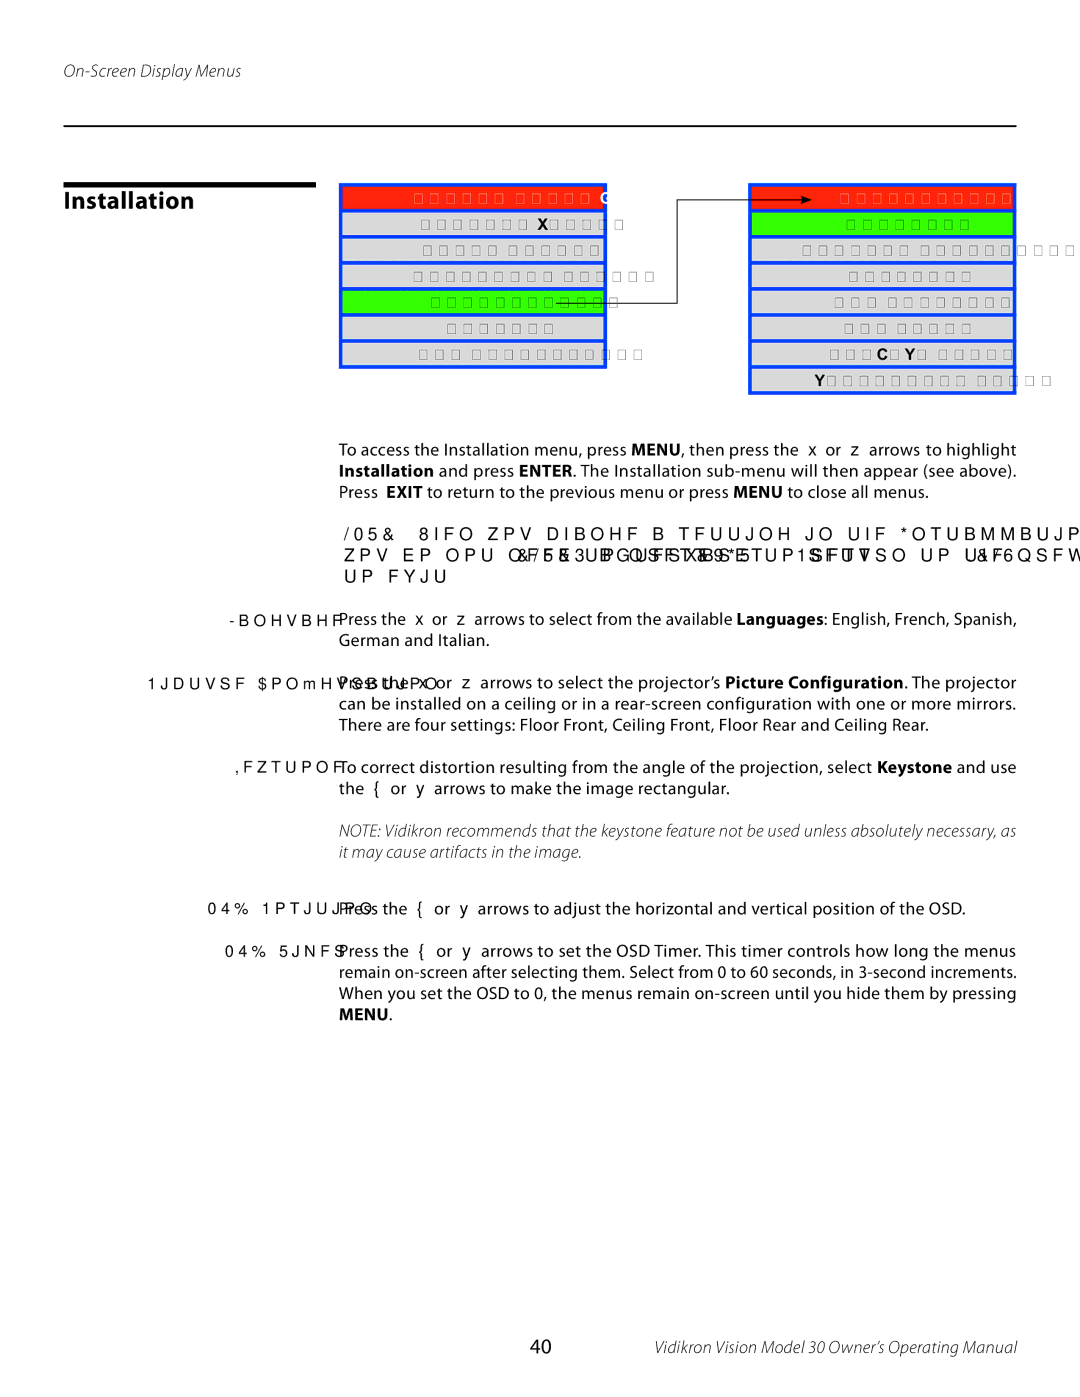
To access the Installation menu, press MENU, then press the ▲ or ▼ arrows to highlight Installation and press ENTER. The Installation
NOTE: When you change a setting in the Installation menu, the change takes effect immediately; you do not need to press ENTER afterwards. (Press EXIT to return to the previous menu or MENU to exit.)
Press the ▲ or ▼ arrows to select from the available Languages: English, French, Spanish, German and Italian.
Press the ▲ or ▼ arrows to select the projector’s Picture Configuration. The projector can be installed on a ceiling or in a
Keystone To correct distortion resulting from the angle of the projection, select Keystone and use the ◄ or ► arrows to make the image rectangular.
NOTE: Vidikron recommends that the keystone feature not be used unless absolutely necessary, as it may cause artifacts in the image.
OSD Position Press the ◄ or ► arrows to adjust the horizontal and vertical position of the OSD.
OSD Timer Press the ◄ or ► arrows to set the OSD Timer. This timer controls how long the menus remain
40 | Vidikron Vision Model 30 Owner’s Operating Manual |
