Installation
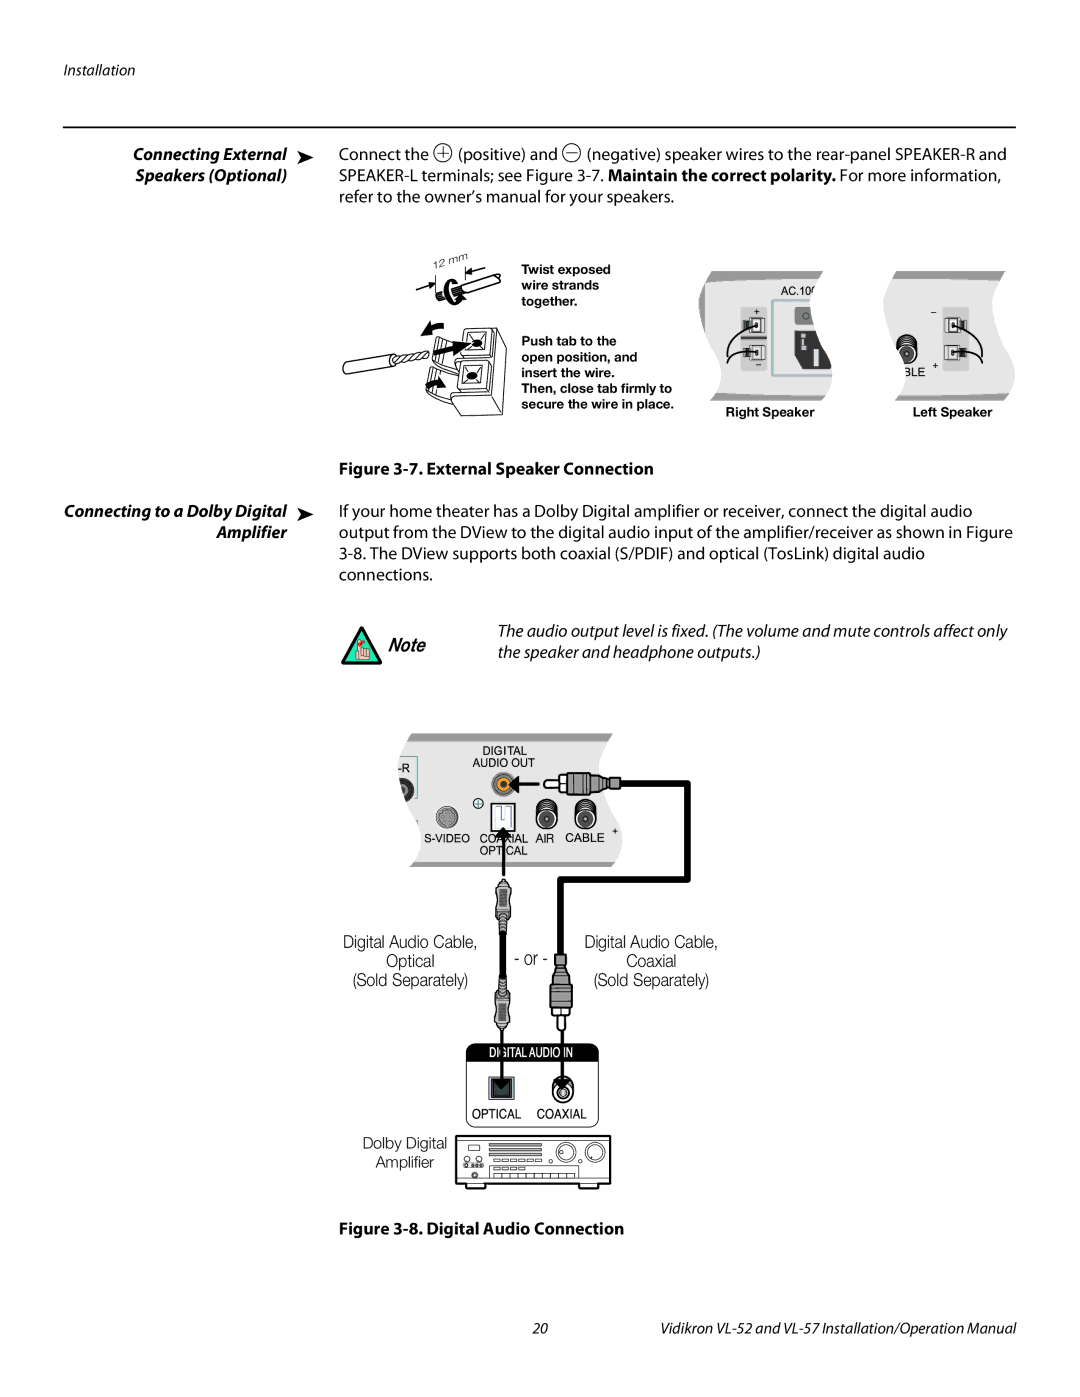
Connecting External | ➤ | Connect the | (positive) and | (negative) speaker wires to the | ||
Speakers (Optional) |
| |||||
|
| refer to the owner’s manual for your speakers. |
|
| ||
|
|
| Twist exposed |
|
| |
|
|
| wire strands |
|
| |
|
|
| together. |
|
|
|
|
|
| Push tab to the |
|
| |
|
|
| open position, and |
|
| |
|
|
| insert the wire. |
|
| |
|
|
| Then, close tab firmly to |
|
| |
|
|
| secure the wire in place. | Right Speaker | Left Speaker | |
|
|
|
|
| ||
|
| Figure |
|
| ||
Connecting to a Dolby Digital | ➤ | If your home theater has a Dolby Digital amplifier or receiver, connect the digital audio | ||||
Amplifier |
| output from the DView to the digital audio input of the amplifier/receiver as shown in Figure | ||||
The audio output level is fixed. (The volume and mute controls affect only
Note | the speaker and headphone outputs.) |
|
Digital Audio Cable,
Optical
(Sold Separately)
- or -
Digital Audio Cable,
Coaxial
(Sold Separately)
Dolby Digital
Amplifier
Figure 3-8. Digital Audio Connection
20 | Vidikron |