IMAGE Menu
IMAGE Menu
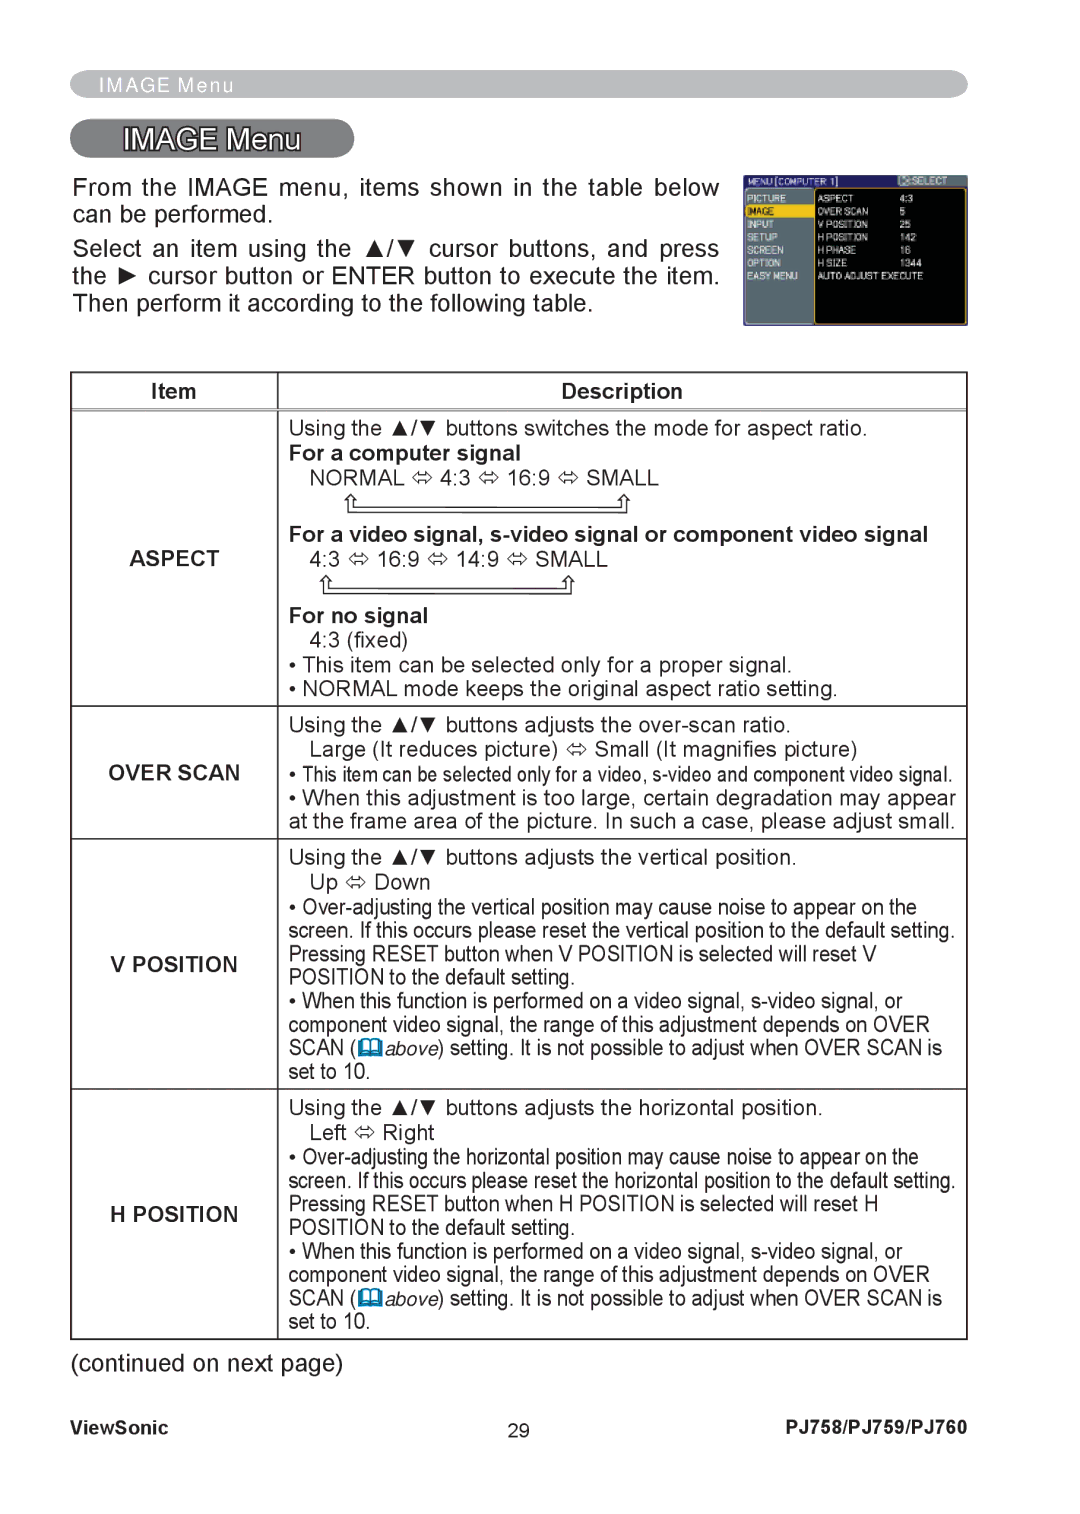
From the IMAGE menu, items shown in the table below can be performed.
Select an item using the ▲/▼ cursor buttons, and press the ► cursor button or ENTER button to execute the item. Then perform it according to the following table.
Item | Description | |
|
| |
| Using the ▲/▼ buttons switches the mode for aspect ratio. | |
| For a computer signal | |
| NORMAL Ù 4:3 Ù 16:9 Ù SMALL | |
ASPECT | For a video signal, | |
4:3 Ù 16:9 Ù 14:9 Ù SMALL | ||
| For no signal | |
| 4:3 (fixed) | |
| • This item can be selected only for a proper signal. | |
| • NORMAL mode keeps the original aspect ratio setting. | |
| Using the ▲/▼ buttons adjusts the | |
OVER SCAN | Large (It reduces picture) Ù Small (It magnifies picture) | |
• This item can be selected only for a video, | ||
| • When this adjustment is too large, certain degradation may appear | |
| at the frame area of the picture. In such a case, please adjust small. | |
| Using the ▲/▼ buttons adjusts the vertical position. | |
| Up Ù Down | |
| • | |
| screen. If this occurs please reset the vertical position to the default setting. | |
V POSITION | Pressing RESET button when V POSITION is selected will reset V | |
POSITION to the default setting. | ||
| ||
| • When this function is performed on a video signal, | |
| component video signal, the range of this adjustment depends on OVER | |
| SCAN ( above) setting. It is not possible to adjust when OVER SCAN is | |
| set to 10. | |
| Using the ▲/▼ buttons adjusts the horizontal position. | |
| Left Ù Right | |
| • | |
| screen. If this occurs please reset the horizontal position to the default setting. | |
H POSITION | Pressing RESET button when H POSITION is selected will reset H | |
POSITION to the default setting. | ||
| ||
| • When this function is performed on a video signal, | |
| component video signal, the range of this adjustment depends on OVER | |
| SCAN ( above) setting. It is not possible to adjust when OVER SCAN is | |
| set to 10. |
(continued on next page)
ViewSonic | 29 | PJ758/PJ759/PJ760 |