STEP 2: CONNECTING THE SCANNER | 9 |
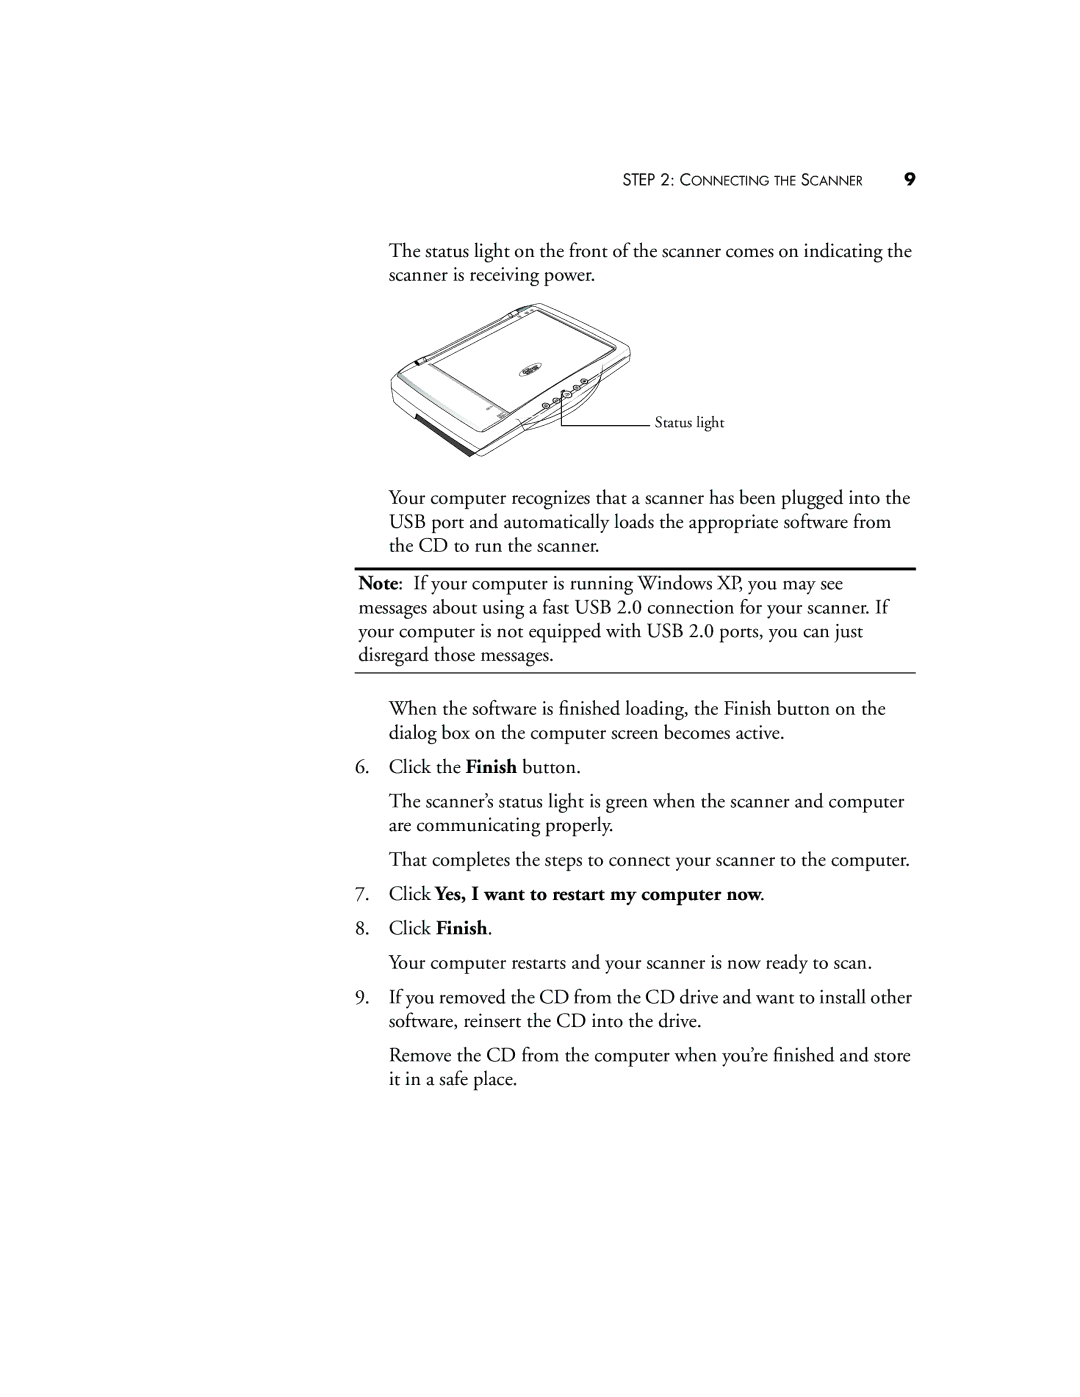
The status light on the front of the scanner comes on indicating the scanner is receiving power.
Status light
Your computer recognizes that a scanner has been plugged into the USB port and automatically loads the appropriate software from the CD to run the scanner.
Note: If your computer is running Windows XP, you may see messages about using a fast USB 2.0 connection for your scanner. If your computer is not equipped with USB 2.0 ports, you can just disregard those messages.
When the software is finished loading, the Finish button on the dialog box on the computer screen becomes active.
6.Click the Finish button.
The scanner’s status light is green when the scanner and computer are communicating properly.
That completes the steps to connect your scanner to the computer.
7.Click Yes, I want to restart my computer now.
8.Click Finish.
Your computer restarts and your scanner is now ready to scan.
9.If you removed the CD from the CD drive and want to install other software, reinsert the CD into the drive.
Remove the CD from the computer when you’re finished and store it in a safe place.
