VIVOTEK
Day/Night
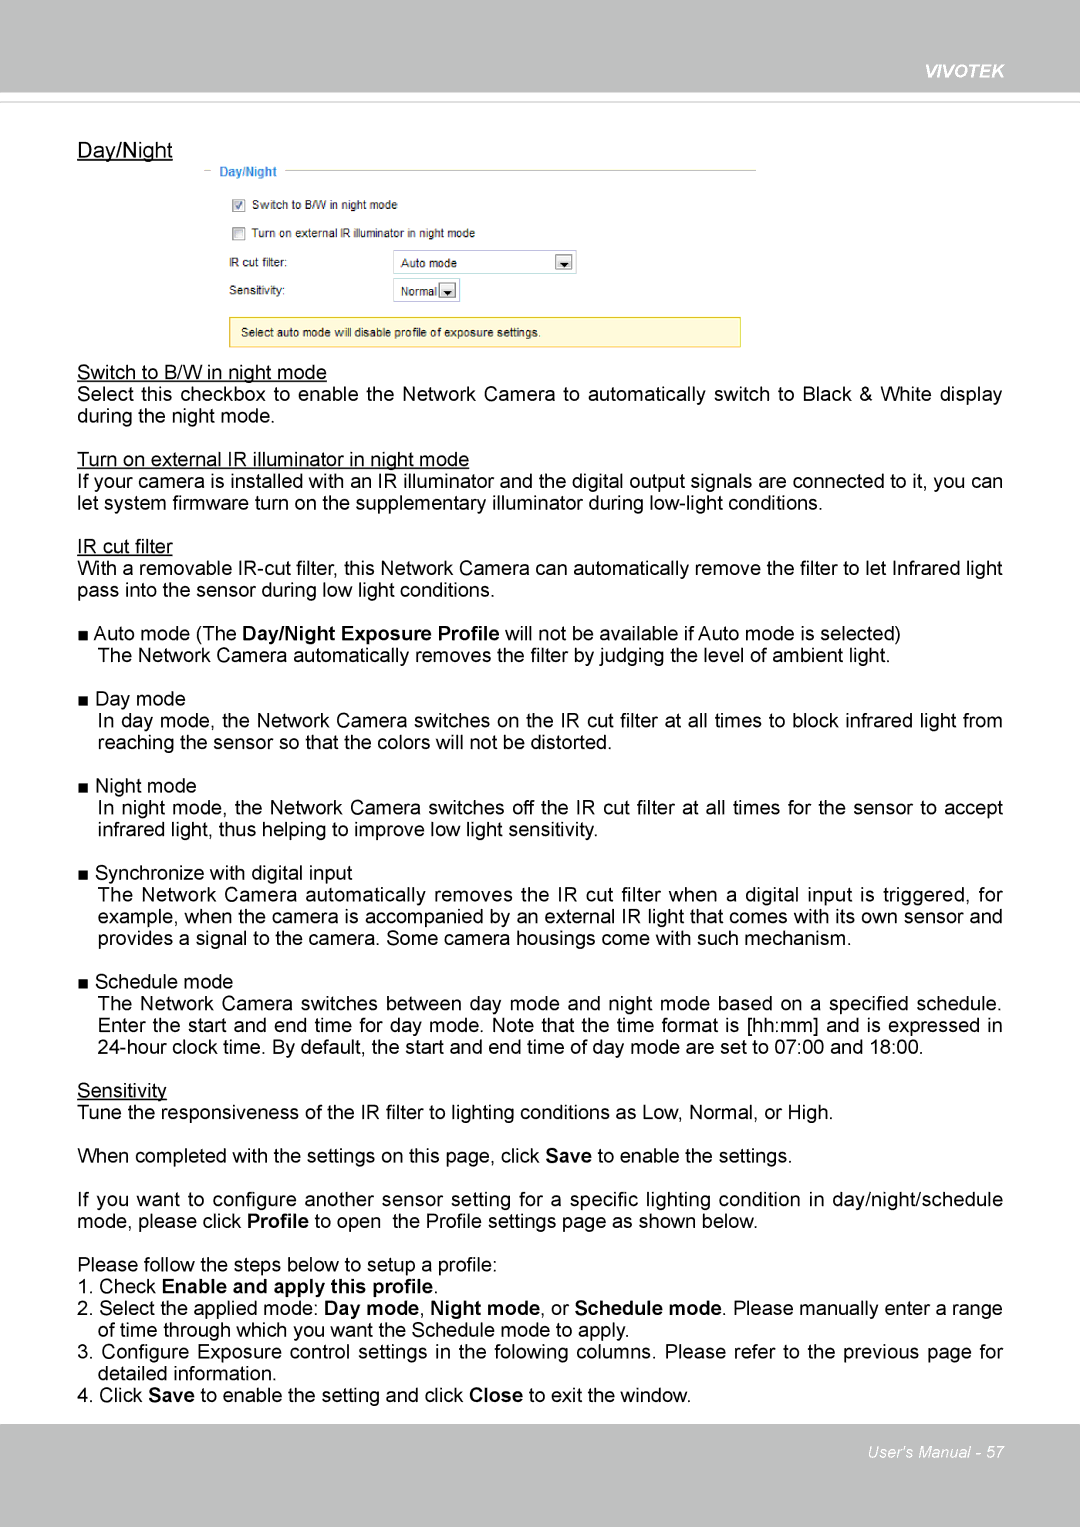
Switch to B/W in night mode
Select this checkbox to enable the Network Camera to automatically switch to Black & White display during the night mode.
Turn on external IR illuminator in night mode
If your camera is installed with an IR illuminator and the digital output signals are connected to it, you can let system firmware turn on the supplementary illuminator during
IR cut filter
With a removable
■Auto mode (The Day/Night Exposure Profile will not be available if Auto mode is selected)
The Network Camera automatically removes the filter by judging the level of ambient light.
■Day mode
In day mode, the Network Camera switches on the IR cut filter at all times to block infrared light from reaching the sensor so that the colors will not be distorted.
■ Night mode
In night mode, the Network Camera switches off the IR cut filter at all times for the sensor to accept infrared light, thus helping to improve low light sensitivity.
■ Synchronize with digital input
The Network Camera automatically removes the IR cut filter when a digital input is triggered, for example, when the camera is accompanied by an external IR light that comes with its own sensor and provides a signal to the camera. Some camera housings come with such mechanism.
■ Schedule mode
The Network Camera switches between day mode and night mode based on a specified schedule. Enter the start and end time for day mode. Note that the time format is [hh:mm] and is expressed in
Sensitivity
Tune the responsiveness of the IR filter to lighting conditions as Low, Normal, or High.
When completed with the settings on this page, click Save to enable the settings.
If you want to configure another sensor setting for a specific lighting condition in day/night/schedule mode, please click Profile to open the Profile settings page as shown below.
Please follow the steps below to setup a profile:
1.Check Enable and apply this profile.
2.Select the applied mode: Day mode, Night mode, or Schedule mode. Please manually enter a range of time through which you want the Schedule mode to apply.
3.Configure Exposure control settings in the folowing columns. Please refer to the previous page for detailed information.
4.Click Save to enable the setting and click Close to exit the window.
User's Manual - 57
