Handset Menu
Calls Log ![]() (dialing key 3) - review Caller ID data; select and dial from
(dialing key 3) - review Caller ID data; select and dial from
the Caller ID data or from the Redial list that accounts for the last 10 dialed phone numbers.
Pictures ![]()
![]() (dialing key 4) - choose from the many preset images or
(dialing key 4) - choose from the many preset images or
download new images into the Handset to be used as your idle screen (wall paper) or assign an image to a specific phonebook directory.
Sounds & Alerts ![]()
![]() (dialing key 5) - Record custom sound clips, turn
(dialing key 5) - Record custom sound clips, turn
ringer and vibrate feature on and off, select main ringer tone, turn tones (low battery, keypad, and
Settings ![]() (dialing key 6) - Set the time; adjust screen contrast; reset to
(dialing key 6) - Set the time; adjust screen contrast; reset to
default settings; change color of the text; register new Handsets; change screen language.
Press the joystick , ![]() ,
, ![]() or
or ![]() to navigate to the desired menu option. You can also press the dialing key assigned to each menu item. The top menu is assigned to dialing key 1 and so forth on down the menu.
to navigate to the desired menu option. You can also press the dialing key assigned to each menu item. The top menu is assigned to dialing key 1 and so forth on down the menu.
Intercom
From Handset to Base
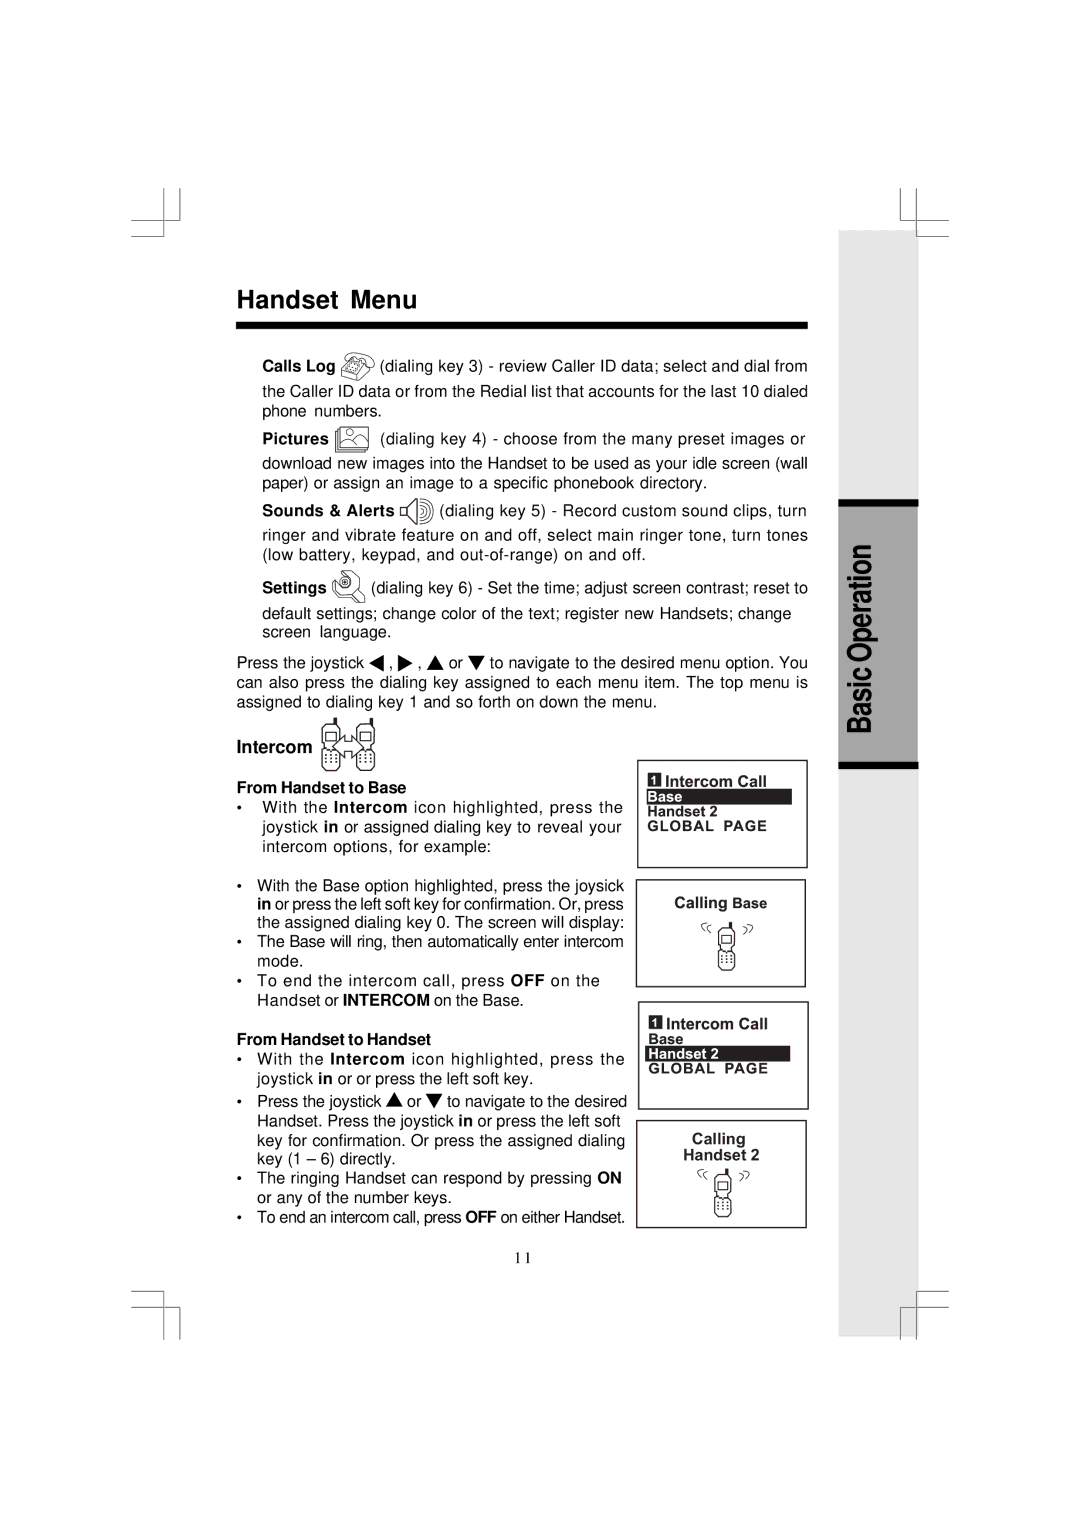
• With the Intercom icon highlighted, press the joystick in or assigned dialing key to reveal your intercom options, for example:
•With the Base option highlighted, press the joysick
in or press the left soft key for confirmation. Or, press the assigned dialing key 0. The screen will display:
• The Base will ring, then automatically enter intercom mode.
•To end the intercom call, press OFF on the Handset or INTERCOM on the Base.
From Handset to Handset
• With the Intercom icon highlighted, press the joystick in or or press the left soft key.
•Press the joystick ![]() or
or ![]() to navigate to the desired Handset. Press the joystick in or press the left soft
to navigate to the desired Handset. Press the joystick in or press the left soft
key for confirmation. Or press the assigned dialing | Calling | |
key (1 – 6) directly. | Handset 2 | |
• The ringing Handset can respond by pressing ON |
|
|
|
| |
or any of the number keys. |
|
|
•To end an intercom call, press OFF on either Handset.
Basic Operation
1 1
