Operating Instructions and Parts Manual | JSU50 |
Installation (Continued)
Make sure the pump has adequate ventilation. The surrounding temperature should not exceed 100˚F (38˚C) or nuisance tripping of thermal overload protector on the motor may occur.
Pump piping installation
Use new pipe for best results. Iron, copper or PVC pipe may be used. To avoid strain on the pump when using iron or copper pipe, provide independent supports for both suction and discharge piping near the pump. Minimize use of elbows and fittings to reduce friction loss. Refer to the friction loss chart (page 5) for specific information. Increase diameter of suction or discharge piping if length is over 50 feet.
To
Water
Line
To Well or Cistern
Figure 1 - Pipe Installation
suction piping
Install foot valve or strainer screen
over intake of suction piping.
Never use pipe smaller than
Do not install suction piping near
swimming areas.
discharge piping (Figure 2)
Install a 3/4” pipe cross (sold separately) in the pump discharge. Plug top of pipe cross with 3/4” NPT pipe plug (sold separately). Insert tank tubing into side opening of pipe cross. Insert pipe into remaining side opening for connection to home water supply line.
Piping to home | |
water system | |
Pipe Cross | |
| Prime |
| Plug |
Tank |
|
Tubing |
|
Figure 2 | Air volume control |
connection | |
connection to water tanK
CONVENTIONAL TANk (See Figures 3 & 4)
A conventional water tank stores water and pressurized air in the same compartment. When full, the tank contains approximately 2/3 water and 1/3 compressed air. This type of tank requires an air volume control, which automatically replaces air lost due to leak or absorption into the water.
1.Shut off power to pump. Disconnect and lock out power source.
2.Drain the tank. Opening faucet nearest tank is recommended.
3.Insure tank is secured to the floor or base.
4.Bolt pump to the floor or the mounting bracket on tank.
5.Install air volume control on tank.
6.Connect the tube from the air volume control to the front 1/8" NPT opening on the side of the pump. Connections must be tight. Leaks will cause the pump not to prime and/or the tank to become waterlogged.
7.Install a valve and an isolator hose between the tank and the house plumbing. This will reduce the noise level of the pump system and aid in servicing.
8.Provide a hose bib (faucet) at the lowest point in the system to drain the system for service or storage.
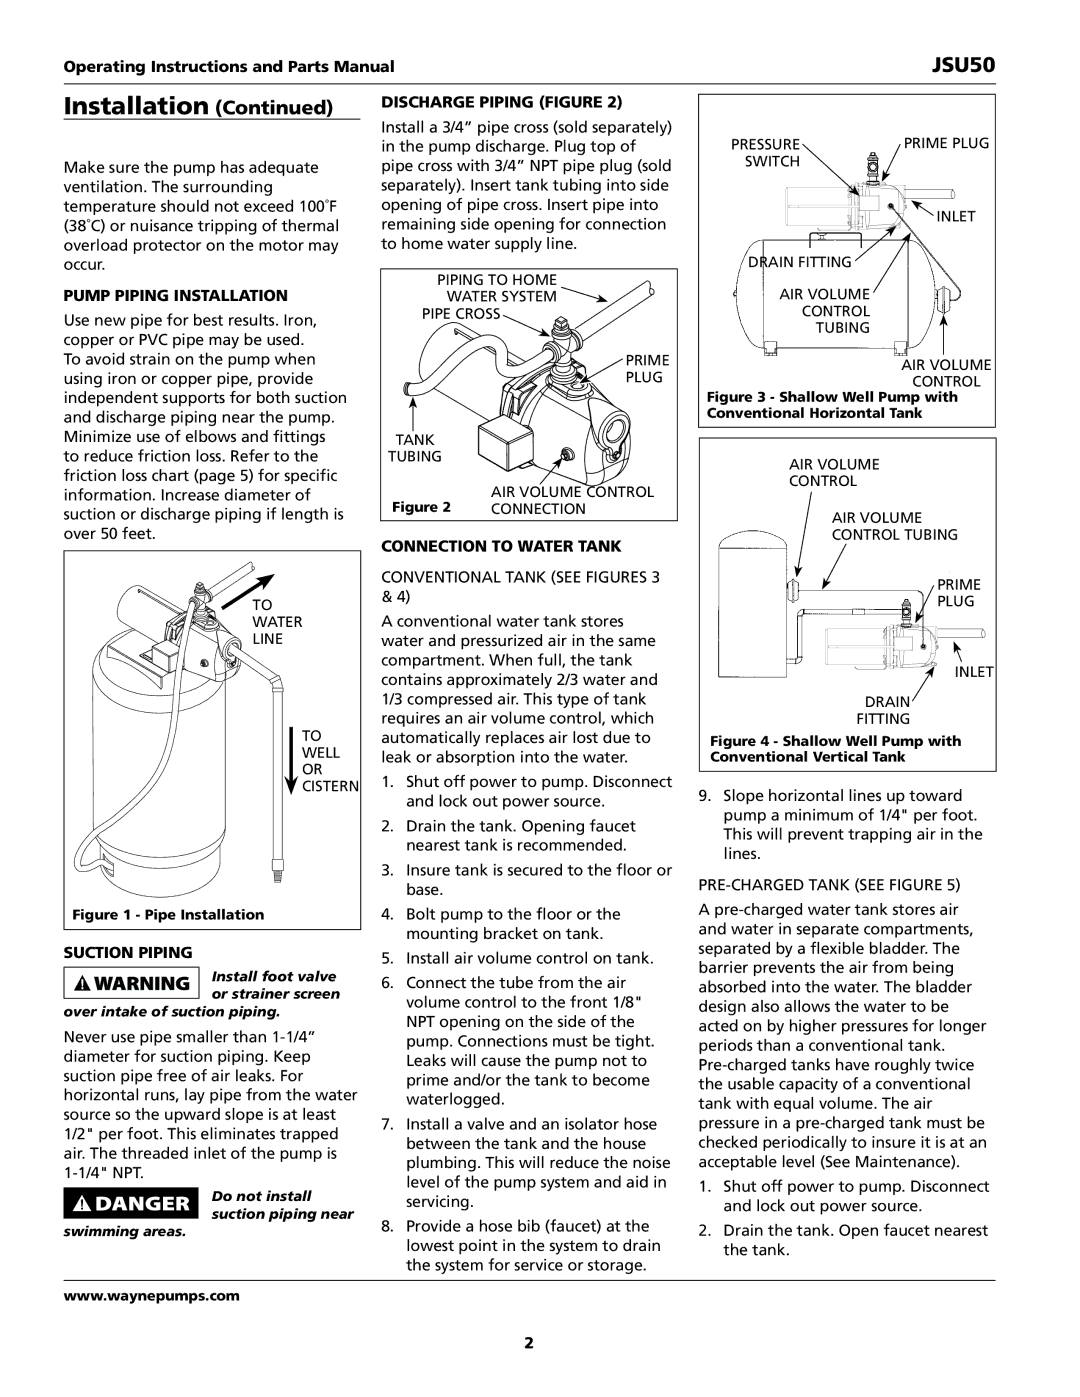
Pressure | Prime Plug |
Switch |
|
| Inlet |
Drain Fitting |
|
Air Volume |
|
Control |
|
Tubing |
|
| Air Volume |
| Control |
Figure 3 - Shallow Well Pump with Conventional Horizontal Tank
Air Volume
Control
Air Volume
Control Tubing
Prime
Plug
Inlet
Drain![]()
Fitting
Figure 4 - Shallow Well Pump with Conventional Vertical Tank
9.Slope horizontal lines up toward pump a minimum of 1/4" per foot. This will prevent trapping air in the lines.
A
1.Shut off power to pump. Disconnect and lock out power source.
2.Drain the tank. Open faucet nearest the tank.
www.waynepumps.com
2