Manuals
/
Whirlpool
/
Kitchen Appliance
/
Freezer
Whirlpool
2195258
manual
GuíadeUsoYCuidado UseAndCareGuide
Models:
2195258
1
1
78
78
Download
78 pages
34.89 Kb
1
2
3
4
5
6
7
8
Troubleshooting
Install
Connecting to water line
Warranty
Problema
Adjusting the door bins
Setting the controls
Part What to USE HOW to Clean
Safety
Power interruptions
Page 1
Image 1
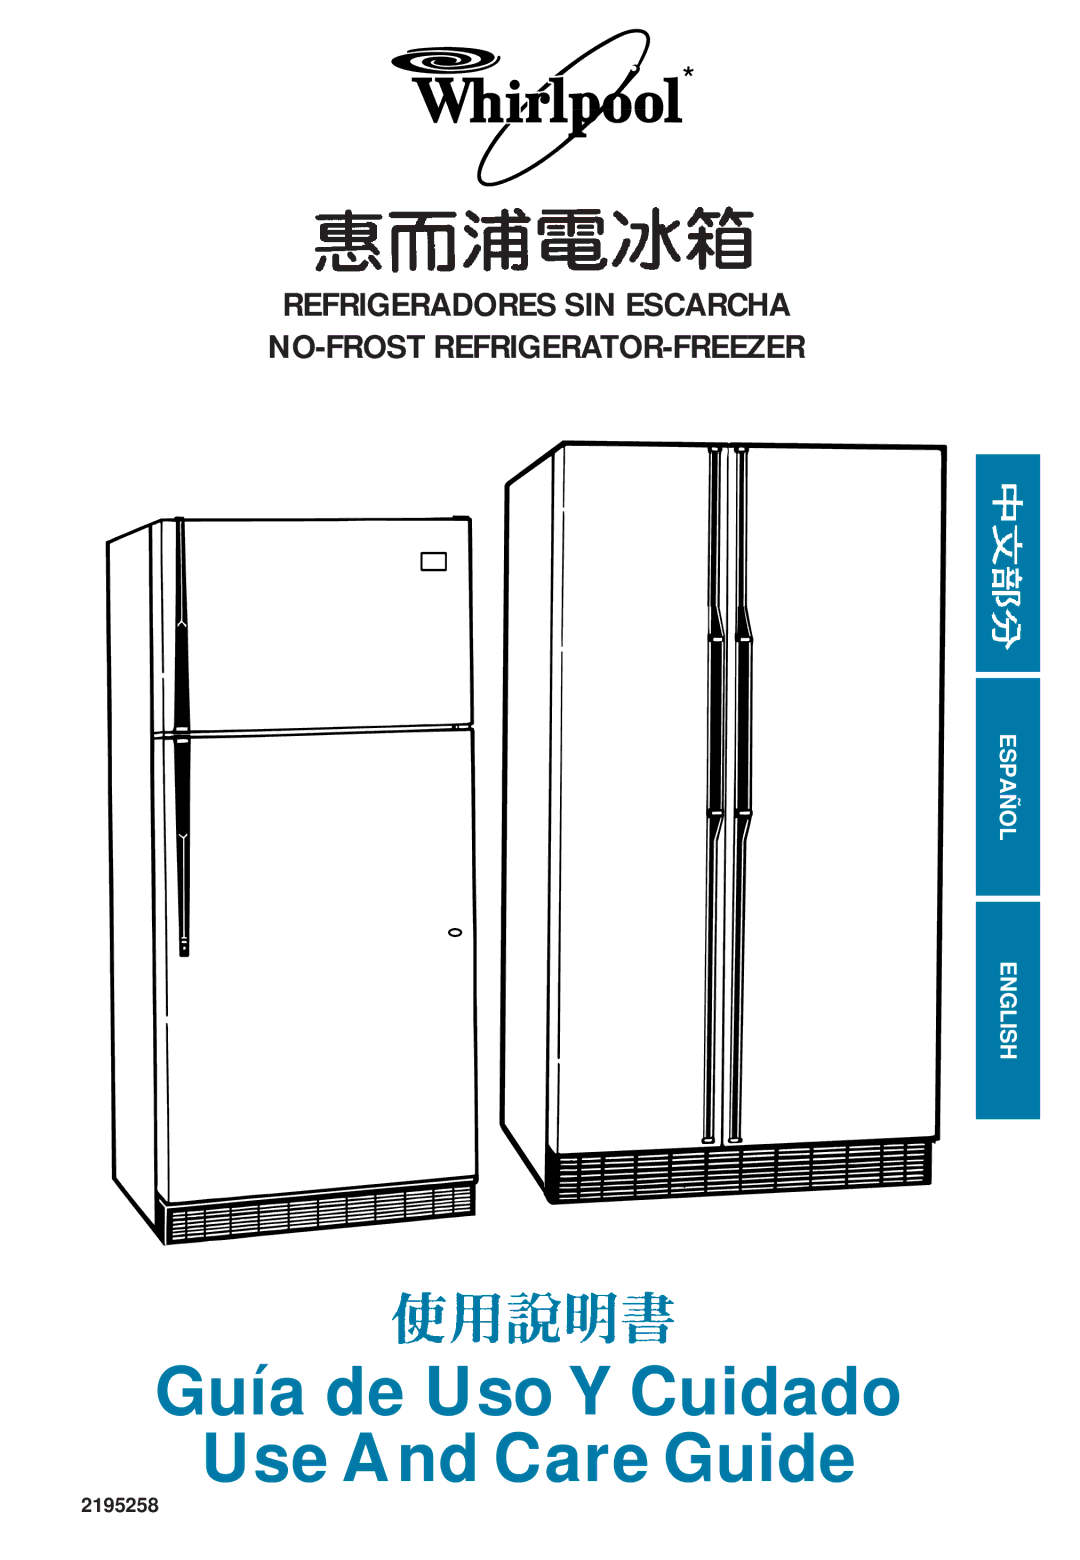
REFRIGERADORES SIN ESCARCHA
NO-FROST
REFRIGERATOR-FREEZER
ESPAÑOL
ENGLISH
GuíadeUsoYCuidado
UseAndCareGuide
2195258
Page 1
Page 2
Page 1
Image 1
Page 1
Page 2
Contents
GuíadeUsoYCuidado UseAndCareGuide
2195258
Table of Contents
Thank you for buying a WHIRLPOOL* appliance
Proper disposal of your old refrigerator
Refrigerator Safety
Before YOU Throw Away Your OLD Refrigerator or Freezer
Control panels
Parts and Features
Base grille
Cleaning your refrigerator
Before Using Your Refrigerator
Installing it properly
Cleaning it before use
Plugging it
Leveling it
Setting the controls
Using Your Refrigerator
Recommended Condition Reason Control Settings
Changing the control settings
Removing the drop-in door trim pieces
Removing the snap-off door trim
Adjusting the door bins
Removing the snap-off door trivets
To remove the trivet
Adjusting the refrigerator shelves
Adjusting the utility compartment and tray
Cantilever shelves
Slide-out shelves
To slide shelf side-to-side
Adjusting the EZ-TRACK*refrigerator shelf
To remove the shelf
To remove shelf track
Style
Removing the meat drawer and cover
To remove the cover
Removing the crispers and crisper cover
To remove the crispers
Adjusting the crisper cover track
Adjusting the crisper humidity control
To remove the center track
To replace the center track
Adjusting the half-width freezer shelf
Adjusting the freezer shelf
To adjust the shelf
To replace the shelf
Removing the pull-out freezer floor
Using the ice cube trays
To remove the freezer floor
To replace the freezer floor
Solving common ice maker problems
Using the optional automatic ice maker
Problem Possible CAUSE/SOLUTION
Read all directions carefully before you begin
Attaching the optional ice maker to a water supply
Cold water supply
Tools required
Connecting to water line
Removing the base grille
Connecting to refrigerator
To replace the base grille
Changing the light bulbs
Saving energy
Understanding the sounds you may hear
Reversing the hinges
Reversing the door swing
Screw
Reversing the handles Style
Sealing screw
Reversing the handles Style
Caring for Your Refrigerator
Part What to USE HOW to Clean
Short holidays
Holiday and moving care
Long holidays
Moving
Power interruptions
Storing fresh food
Food Storage Guide
Packaging
Storing frozen food
Freezing
Packaging recommended for use
Requesting Service
Troubleshooting
Problem Check the Following
If you need FSP* replace- ment parts† …
Warranty
Length of Warranty Whirlpool will PAY for Full ONE-YEAR
Full FIVE-YEAR
Whirlpool will not PAY for
Page
Contenido
Gracias por comprar este producto Whirlpool
Un Mensaje para Usted
Para reducir el riesgo de incendio, choque
Seguridad
Eléctrico o lesión cuando use su refrigerador
Siga estas precauciones básicas
Antes DE Deshacerse DE SU Viejo Refrigerador O Congelador
Cómo deshacerse debidamente de su refrigerador viejo
Paneles de control
Piezas y Características
Spillguard
Limpieza
Antes de Usar el Refrigerador
Instalación
Remueva los materiales del paquete
Peligro de Choque Eléctrico
Enchufe
Nivelación
Controles
Cómo Usar el Refrigerador
Graduaciones
Ajuste de los controles
Condiciones Razones Recomendadas
Cómo sacar los bordes decorativos removibles de la puerta
Cómo sacar los bordes decorativos deslizables de la puerta
Para sacar el borde decorativo
Para volver a colocar el borde decorativo
Cómo ajustar los anaqueles de la puerta
Cómo sacar los anaqueles removibles de la puerta
Cómo ajustar el compartimiento multiusos y la bandeja
Para sacar el anaquel
Anaqueles de ménsula
Cómo quitar los anaqueles del refrigerador
Anaqueles que se deslizan
Cómo deslizar el anaquel de un lado a otro
Cómo ajustar el anaquel EZ-TRACK*del refrigerador
Cómo quitar la guía del anaquel
Modelo
Cómo sacar la gaveta para carnes y la cubierta
Para sacar la cubierta
Para sacar la gaveta para carnes
Para volver a colocar la cubierta
Para sacar las gavetas para verduras
Cómo sacar las gavetas para verduras y la cubierta
Para volver a colocar el riel central
Para sacar el riel central
Para volver a colocar el anaquel
Cómo ajustar el anaquel del congelador
Cómo ajustar el anaquel
Cómo usar las cubetas para hielo
Cómo quitar la base removible del congelador
Cómo sacar la base removible del congelador
Cómo volver a colocar la base removible del congelador
Problema
Cómo resolver los problemas de la máquina de hacer hielo
Cómo usar la máquina de hacer hielo opcional
Las esquinas
Suministro de agua fría
Herramientas necesarias
Conexión de la tubería del agua
Conexión al refrigerador
Para volver a colocar la rejilla
Cómo sacar la rejilla de la base
Cómo cambiar la bombilla del congelador
Cómo cambiar las bombillas
Cómo ahorrar energía
Cómo interpretar los sonidos que se escuchen
Para cambiar el lado de las
Cómo invertir el lado de abertura de las puertas
Bisagras
Para cambiar las manijas de la puerta Estilo
Tapones Tapón Espaciador Tornillo Tornillo obturador
Tapones
Cómo limpiar el refrigerador
Cuidados con el Refrigerador
Partes QUE Usar Como Hacer LA Limpieza
Empaques de las
Revestimientos y
No use en las piezas plásticas ceras
Puertas
Fallas eléctricas
Cuidados durante vacaciones y mudanzas
En caso de vacaciones cortas
En caso de vacaciones largas
Almacenamiento de alimentos frescos
Guía de Almacenamiento de Alimentos
Envolturas
Almacenamiento de comidas congeladas
Congelador
Envolturas recomendadas
Problema Verificar
Cómo Solucionar Problemas
Si necesita mantenimiento† …
Si Necesita Ayuda
Si usted necesita repuestos FSP*† …
† Cuando necesite mantenimiento
Años
Garantia DE Cinco
Whirlpool no Pagara POR
Top
Page
Image
Contents