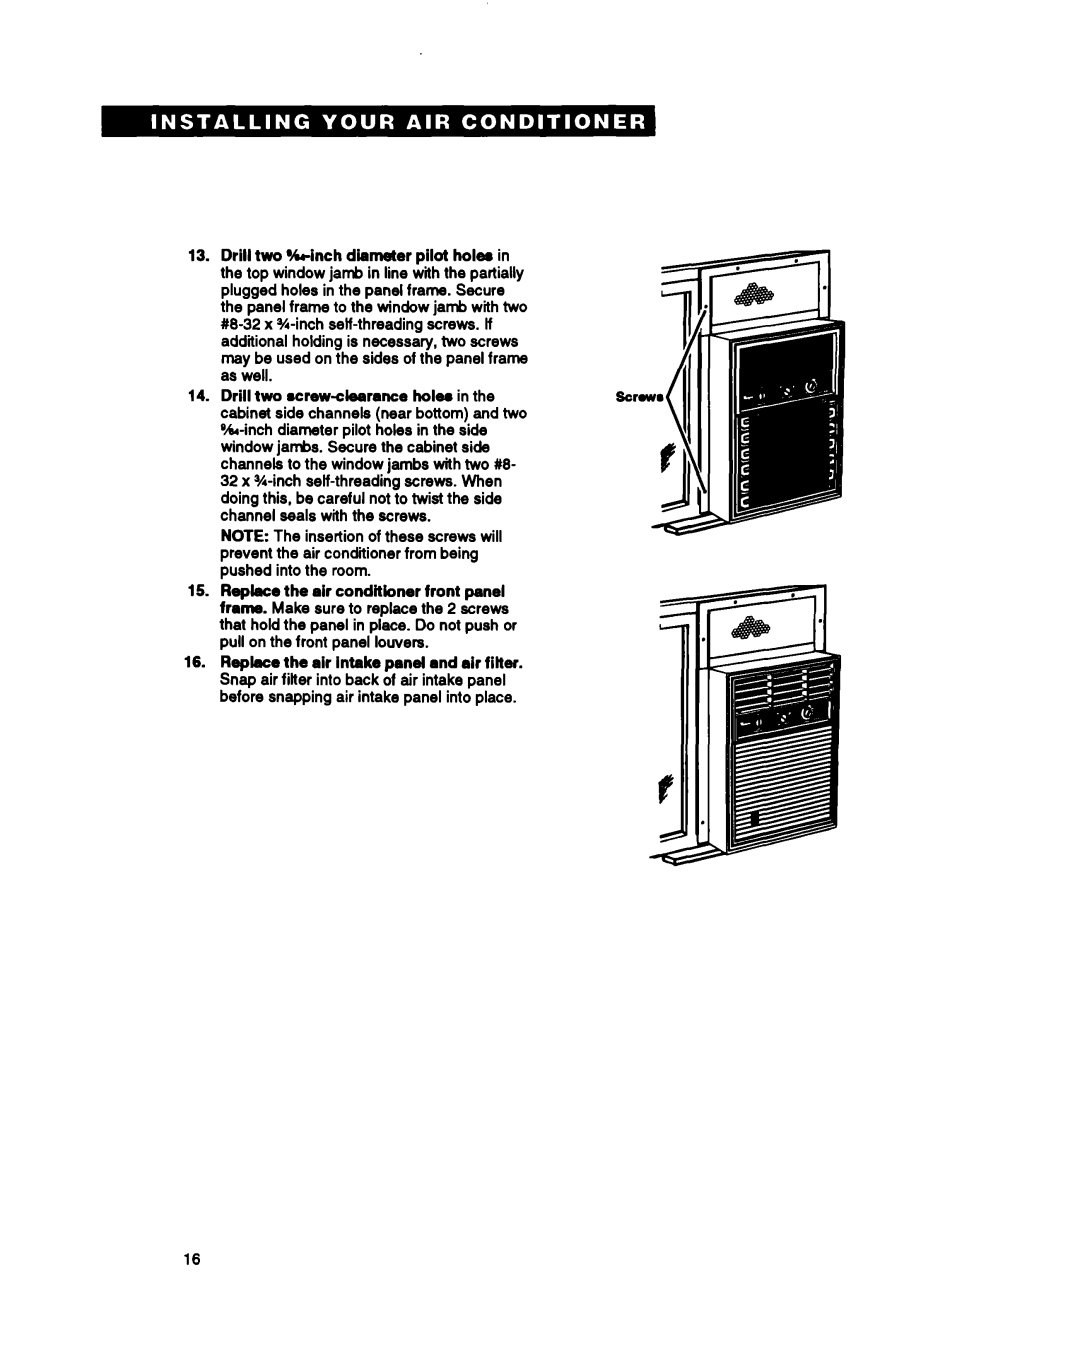
13.Drill two %-inch diameter pilot holee in the top window jamb in line with the partially plugged holes in the panel frame. Secure the panel frame to the window jamb wfth two #8-32 x %-inch self-threading screws. lf additional holding is necessary, two screws may be used on the sides of the panel frame as well.
14. Drill two ecrew4eerance holee in the601 cabinet side channels (near bottom) and two
NOTE: The insertion of these screws will prevent the air conditioner from being pushed into the room.
15.Replete the air conditioner front panel frame. Make sure to replace the 2 screws that hold the panel in place. Do not push or pull on the front panel louvers.
16.Replete the air intnke panel and air filter. Snap air filter into back of air intake panel before snapping air intake panel into place.
16