CAW21D2A1 specifications
The Whirlpool CAW21D2A1 is a high-performance portable air conditioner designed to provide effective cooling solutions for various spaces, from small rooms to larger open areas. This versatile unit combines functionality with user-friendly features, making it an ideal choice for those seeking comfort in their living or working environments.One of the standout features of the CAW21D2A1 is its powerful cooling capacity, which ensures that it can quickly and efficiently lower the temperature in any room. With a cooling power of 21,000 BTU, it is suitable for spaces up to approximately 1,000 square feet. This makes it perfect for use in bedrooms, living rooms, or offices where maintaining a comfortable climate is essential.
The CAW21D2A1 uses advanced cooling technologies, including a refrigerant that is both environmentally friendly and efficient. This not only helps in reducing energy consumption but also contributes to lower utility bills, making it an economical choice for consumers. The unit is designed with multiple cooling speeds, allowing users to customize their comfort levels based on their needs.
Another impressive feature of the Whirlpool CAW21D2A1 is its built-in dehumidification function. This feature significantly reduces humidity levels in the air, creating a more comfortable environment, especially in areas with high humidity. This dual functionality ensures that users can enjoy not only cooler air but also a healthier indoor atmosphere.
For added convenience, this air conditioner comes equipped with a programmable timer and a remote control, allowing users to adjust settings from a distance. The easy-to-read display panel simplifies operation, enabling users to switch between cooling modes, set timers, and monitor temperature settings without any hassle.
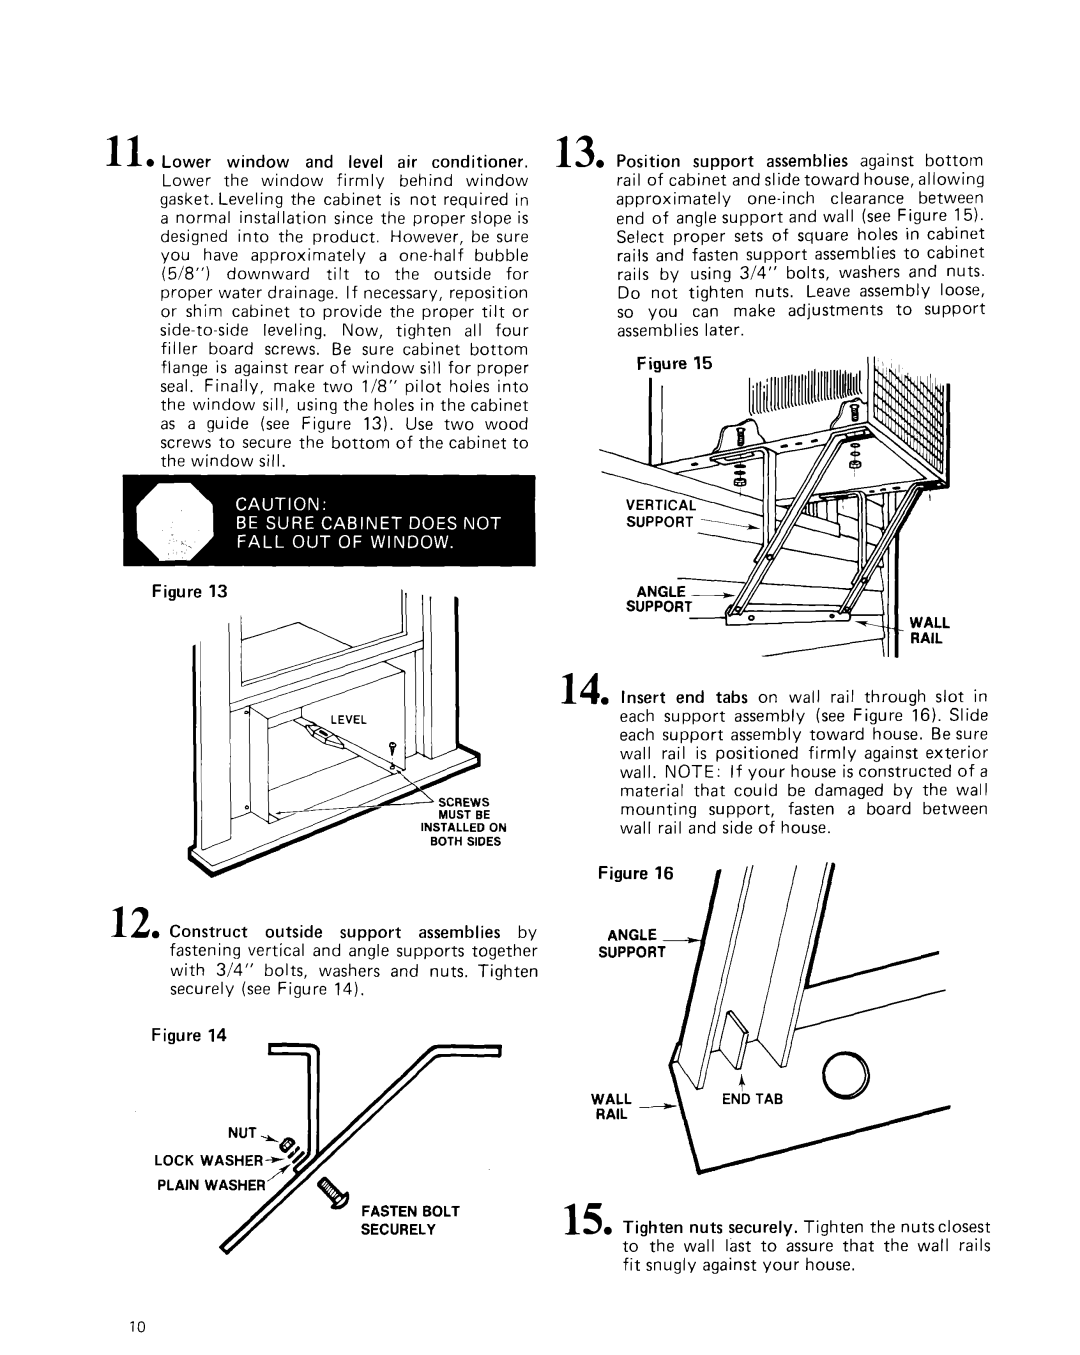
Portability is another key characteristic of the CAW21D2A1. Its compact design combined with castor wheels allows for easy movement from one room to another. Additionally, the included installation kit makes setting up the unit in windows simple and quick, ensuring that users can enjoy cool air with minimal effort.
In summary, the Whirlpool CAW21D2A1 stands out for its powerful cooling capacity, energy efficiency, and convenience-enhancing features. Whether used at home or in office settings, this portable air conditioner is designed to deliver comfort, making it a reliable choice for tackling hot and humid weather. Its combination of advanced technology and user-friendly design highlights why it remains a popular option among consumers looking for portable cooling solutions.

