RCC42 specifications
Woods Equipment has long been recognized for its commitment to quality and performance in the field of agricultural and landscape equipment. One standout product that reflects this dedication is the Woods RCC42. This rotary cutter, designed for robust performance, is particularly suitable for handling various mowing tasks, making it a favorite among professionals and avid gardeners alike.At the heart of the Woods RCC42 is its durable construction. Made from high-quality materials, this rotary cutter is built to withstand the rigors of heavy use. Its heavy-duty frame ensures stability and longevity, ideal for tackling tough brush and dense vegetation. The RCC42 features a wide cutting width of 42 inches, allowing users to cover more ground quickly while ensuring a clean and even cut.
One of the key features of the Woods RCC42 is its superior cutting capability, which comes from its specially designed blades. The rotary cutter is equipped with sharp, high-carbon steel blades that can easily slice through even the thickest grass and brush. The blades are positioned in a way that optimizes cutting efficiency, ensuring that the mower leaves behind a finely cut finish, whether you are mowing a field or maintaining a garden.
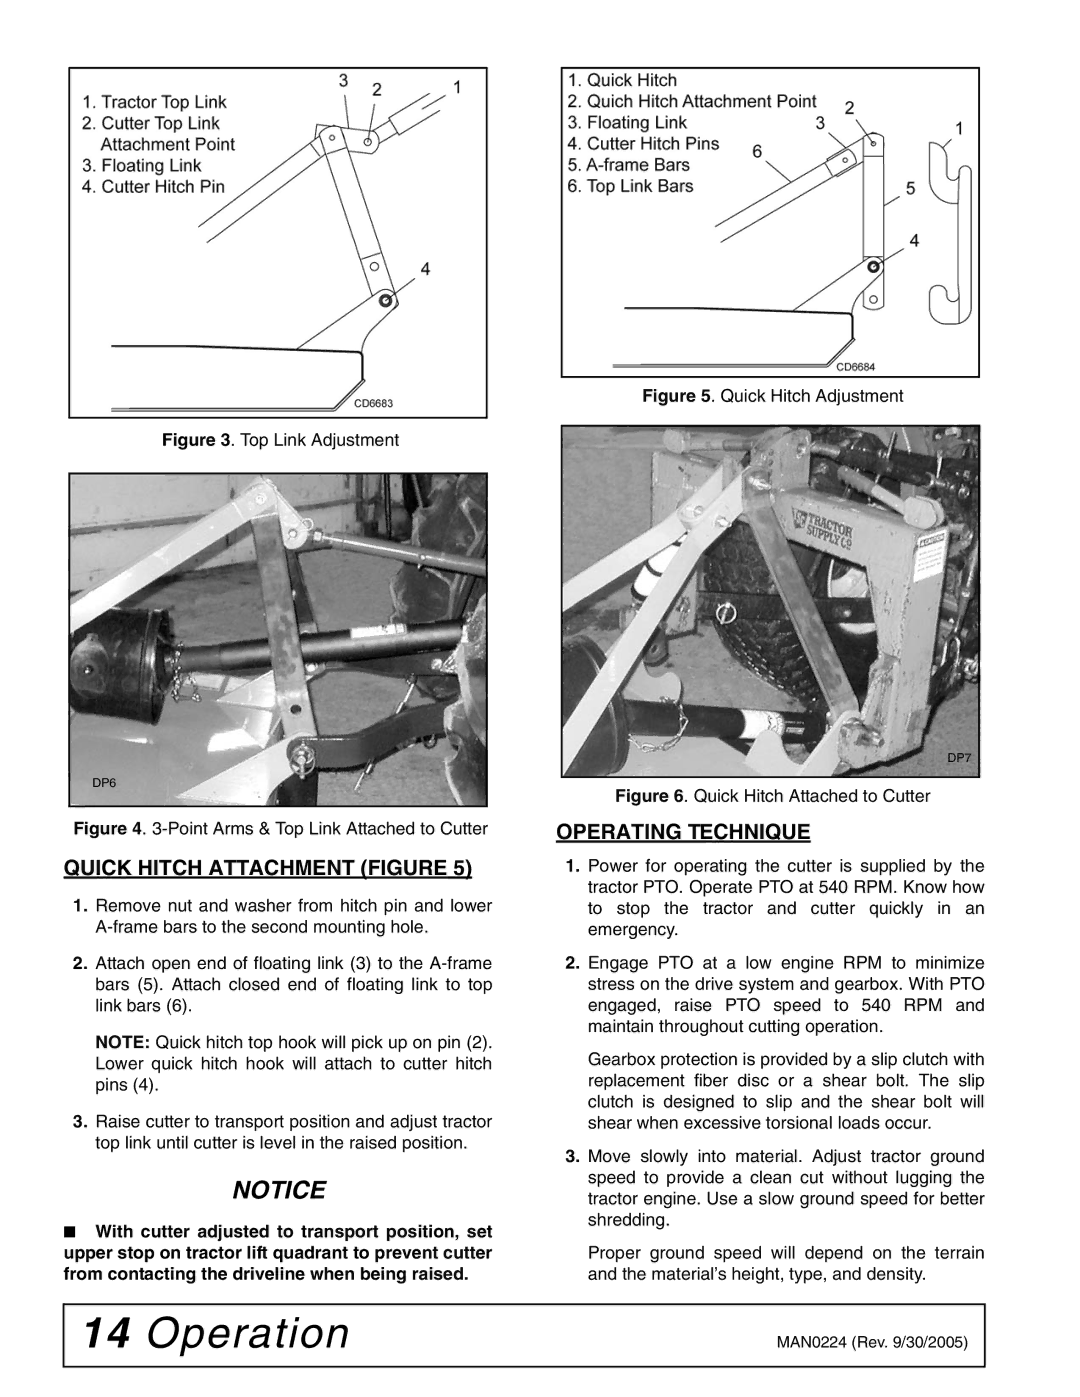
In terms of technology, the Woods RCC42 is designed with user-friendliness in mind. The cutter is engineered to be easily attached to a variety of compact tractors, making it a versatile option for many users. Its adjustable cutting height feature allows operators to set the cutter to their desired height, accommodating different mowing conditions and vegetation types. Additionally, the RCC42 operates smoothly and quietly, making it a pleasant option for those who wish to work for extended periods without excessive noise.
Safety is another paramount consideration with the Woods RCC42. The cutter features a shielded design that provides protection to the operator while preventing debris from being ejected during operation. This thoughtful design element minimizes risks, making it a safer choice for users of all experience levels.
Overall, the Woods RCC42 rotary cutter exemplifies a balance of durability, efficiency, and user-friendly technology. Whether you are a professional landscaper or a homeowner looking to maintain your property, the RCC42 offers the reliability and performance needed to tackle even the toughest mowing jobs with ease. With its proven track record, the Woods RCC42 continues to be a benchmark in rotary cutting equipment, enhancing productivity and ensuring satisfaction for those who rely on it.

