Figure 20. Rail placement.
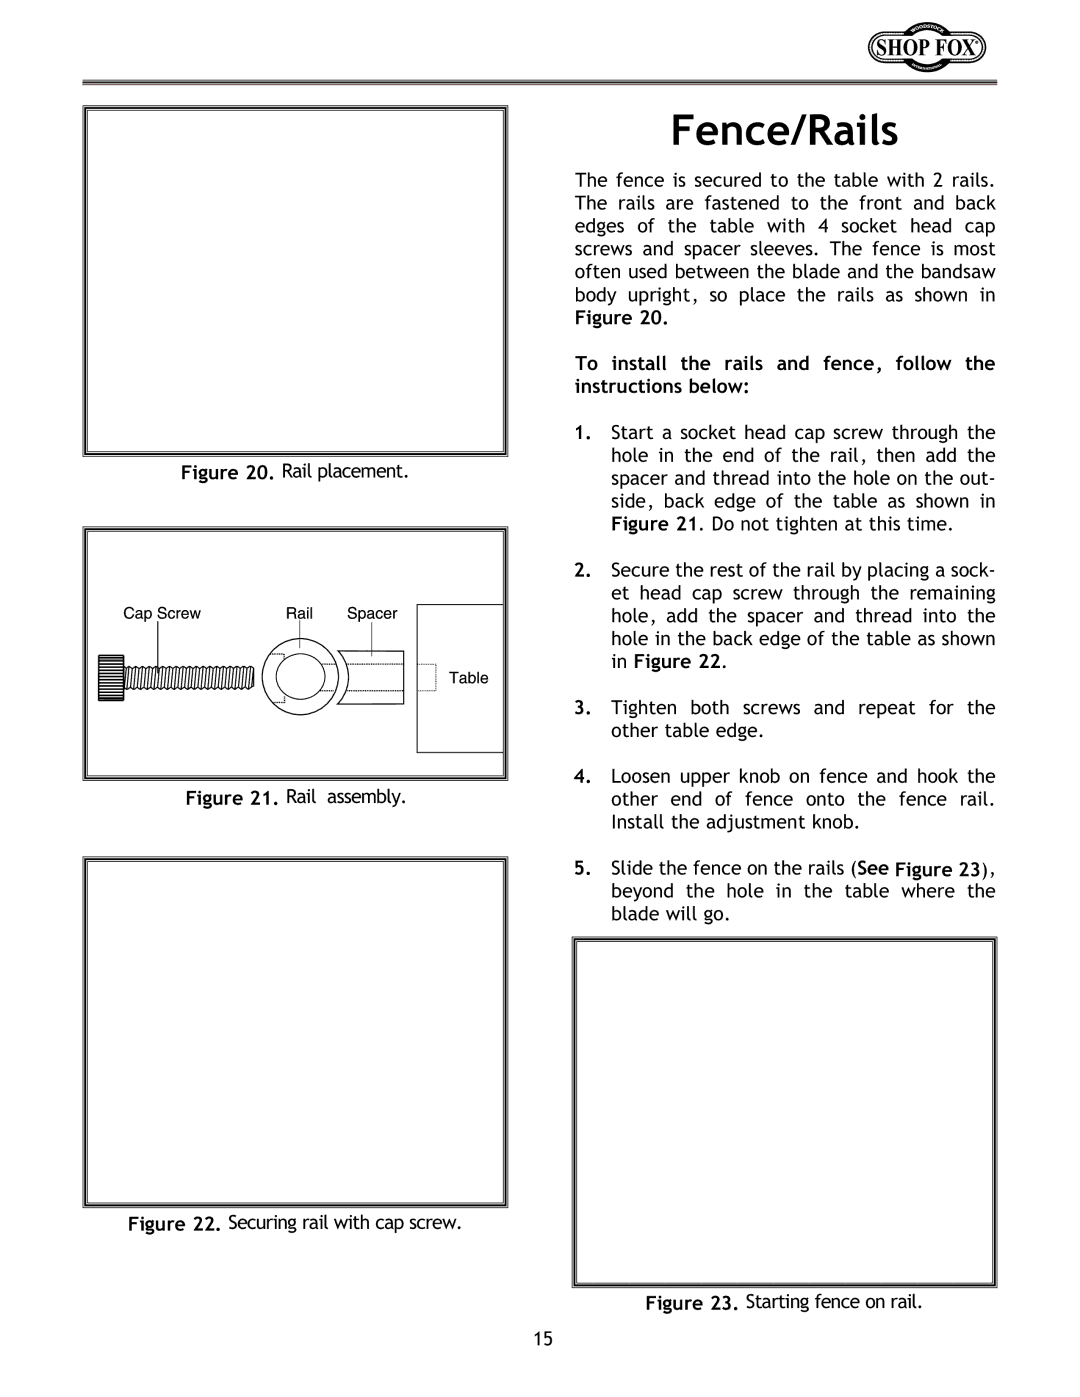
Figure 21. Rail assembly.
Figure 22. Securing rail with cap screw.
Fence/Rails
The fence is secured to the table with 2 rails. The rails are fastened to the front and back edges of the table with 4 socket head cap screws and spacer sleeves. The fence is most often used between the blade and the bandsaw body upright, so place the rails as shown in
Figure 20.
To install the rails and fence, follow the instructions below:
1.Start a socket head cap screw through the hole in the end of the rail, then add the spacer and thread into the hole on the out- side, back edge of the table as shown in Figure 21. Do not tighten at this time.
2.Secure the rest of the rail by placing a sock- et head cap screw through the remaining hole, add the spacer and thread into the hole in the back edge of the table as shown in Figure 22.
3.Tighten both screws and repeat for the other table edge.
4.Loosen upper knob on fence and hook the other end of fence onto the fence rail. Install the adjustment knob.
5.Slide the fence on the rails (See Figure 23), beyond the hole in the table where the blade will go.
Figure 23. Starting fence on rail.
15