B. Fence Adjustment
The Rebel® uses a
To move the fence, simply loosen the two fence lock handles and slide the fence either forward or backward and lock in position.
Depending on the size of the router bit and the amount of material to be removed, adjust the infeed fence. The infeed fence is the right hand fence as you are facing the front of The Rebel®. Slide the infeed fence to the back or to the front depending upon the desired depth of cut. Use a good quality rule to measure the distance between the miter gauge slot and the maximum arc of the router bit. Transfer this measurement, less the desired depth of cut, to both ends of the infeed fence.
You can also gauge the infeed fence by placing a sam- ple piece of wood against the fence and sliding it up to the router bit. Figure 16.
For applications where the entire edge of the work- piece is being shaped, the outfeed fence must be offset by the same amount of material that you are removing. Use a sample piece at least 12" long as a test piece. Read and follow all safety procedures covered in this manual before cutting a sample.
Do not make fence adjustments while the router is running.
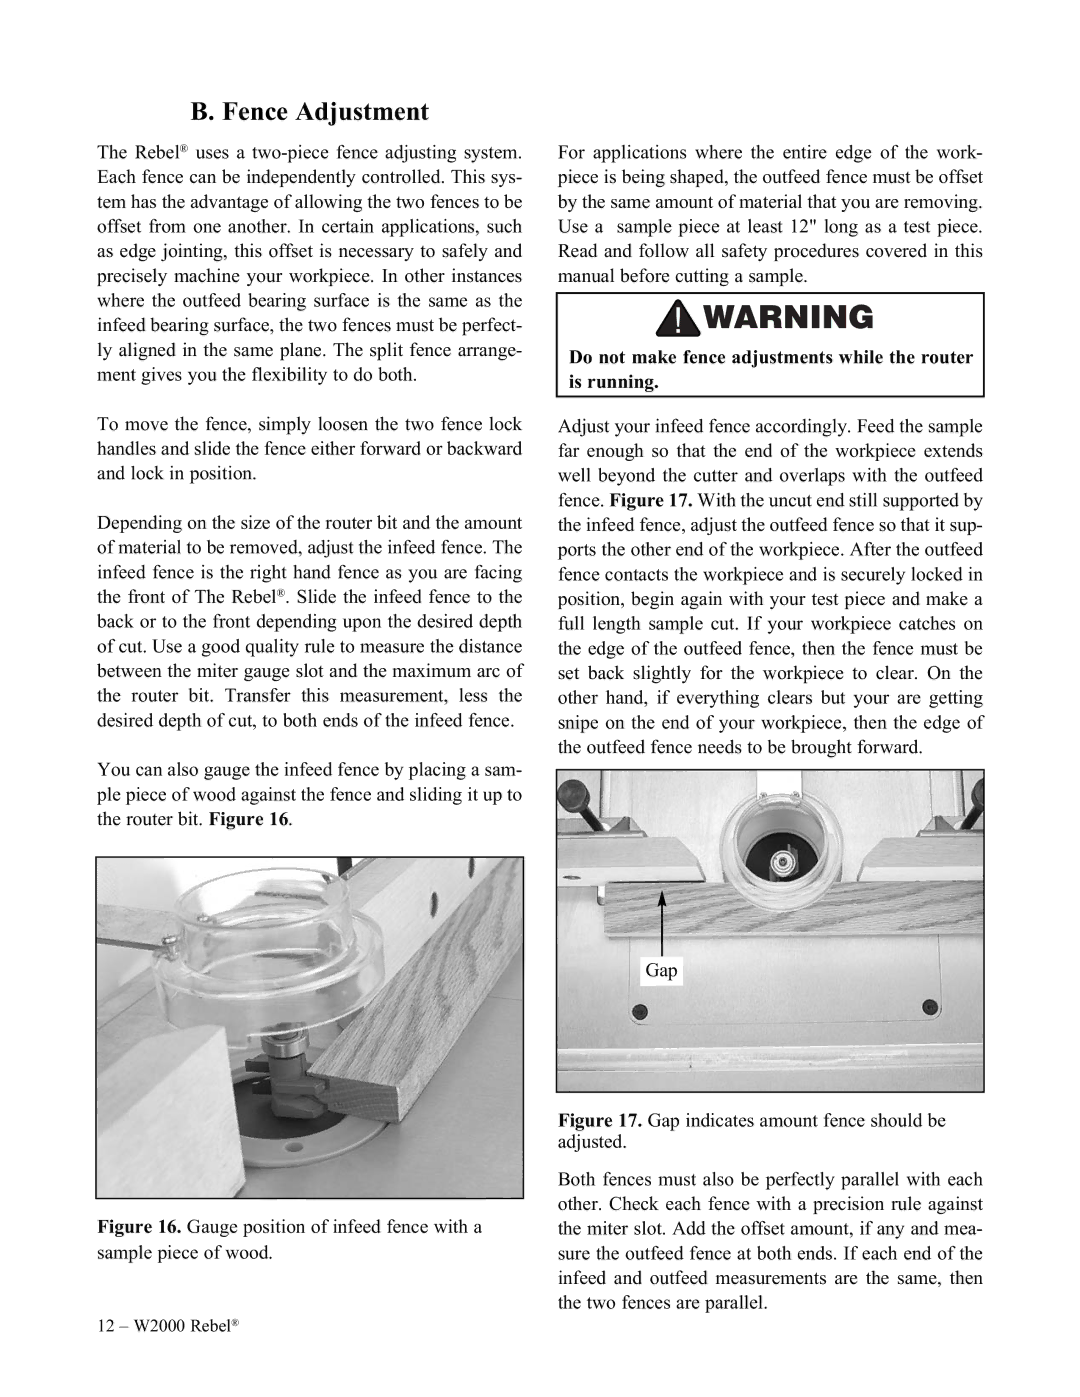
Adjust your infeed fence accordingly. Feed the sample far enough so that the end of the workpiece extends well beyond the cutter and overlaps with the outfeed fence. Figure 17. With the uncut end still supported by the infeed fence, adjust the outfeed fence so that it sup- ports the other end of the workpiece. After the outfeed fence contacts the workpiece and is securely locked in position, begin again with your test piece and make a full length sample cut. If your workpiece catches on the edge of the outfeed fence, then the fence must be set back slightly for the workpiece to clear. On the other hand, if everything clears but your are getting snipe on the end of your workpiece, then the edge of the outfeed fence needs to be brought forward.
Gap
Figure 16. Gauge position of infeed fence with a sample piece of wood.
Figure 17. Gap indicates amount fence should be adjusted.
Both fences must also be perfectly parallel with each other. Check each fence with a precision rule against the miter slot. Add the offset amount, if any and mea- sure the outfeed fence at both ends. If each end of the infeed and outfeed measurements are the same, then the two fences are parallel.
12 – W2000 Rebel®