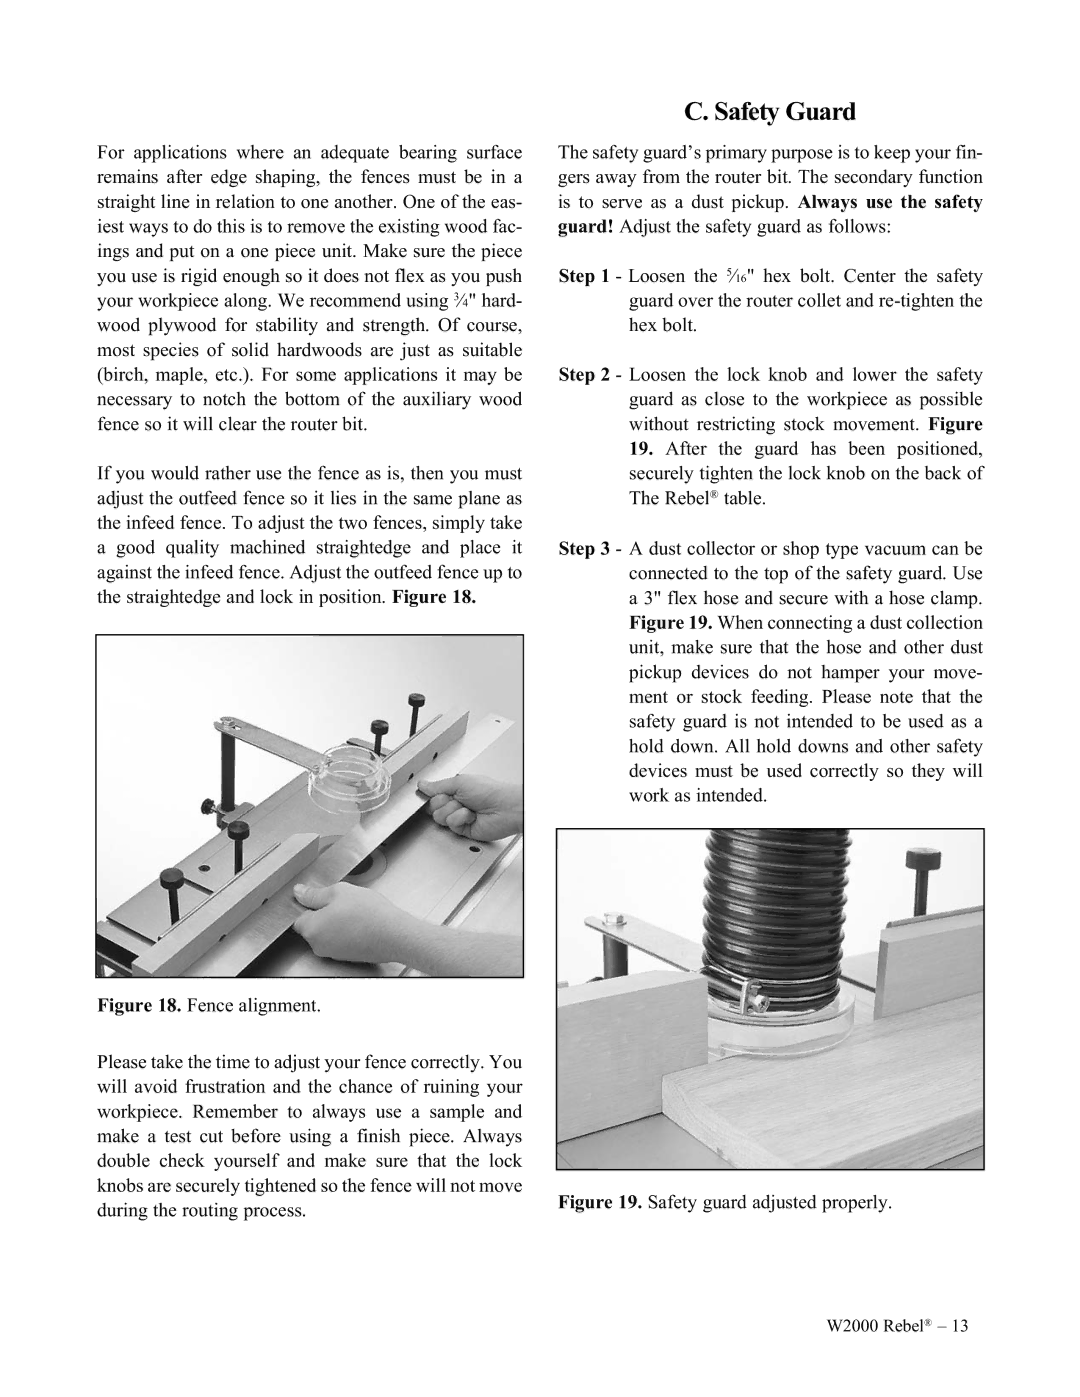
For applications where an adequate bearing surface remains after edge shaping, the fences must be in a straight line in relation to one another. One of the eas- iest ways to do this is to remove the existing wood fac- ings and put on a one piece unit. Make sure the piece you use is rigid enough so it does not flex as you push your workpiece along. We recommend using 3⁄4" hard- wood plywood for stability and strength. Of course, most species of solid hardwoods are just as suitable (birch, maple, etc.). For some applications it may be necessary to notch the bottom of the auxiliary wood fence so it will clear the router bit.
If you would rather use the fence as is, then you must adjust the outfeed fence so it lies in the same plane as the infeed fence. To adjust the two fences, simply take a good quality machined straightedge and place it against the infeed fence. Adjust the outfeed fence up to the straightedge and lock in position. Figure 18.
Figure 18. Fence alignment.
Please take the time to adjust your fence correctly. You will avoid frustration and the chance of ruining your workpiece. Remember to always use a sample and make a test cut before using a finish piece. Always double check yourself and make sure that the lock knobs are securely tightened so the fence will not move during the routing process.
C. Safety Guard
The safety guard’s primary purpose is to keep your fin- gers away from the router bit. The secondary function is to serve as a dust pickup. Always use the safety guard! Adjust the safety guard as follows:
Step 1 - Loosen the 5⁄16" hex bolt. Center the safety guard over the router collet and
Step 2 - Loosen the lock knob and lower the safety guard as close to the workpiece as possible without restricting stock movement. Figure
19.After the guard has been positioned, securely tighten the lock knob on the back of The Rebel® table.
Step 3 - A dust collector or shop type vacuum can be connected to the top of the safety guard. Use a 3" flex hose and secure with a hose clamp. Figure 19. When connecting a dust collection unit, make sure that the hose and other dust pickup devices do not hamper your move- ment or stock feeding. Please note that the safety guard is not intended to be used as a hold down. All hold downs and other safety devices must be used correctly so they will work as intended.
Figure 19. Safety guard adjusted properly.
W2000 Rebel® – 13