III. Adjustments
A. Router Table Insert
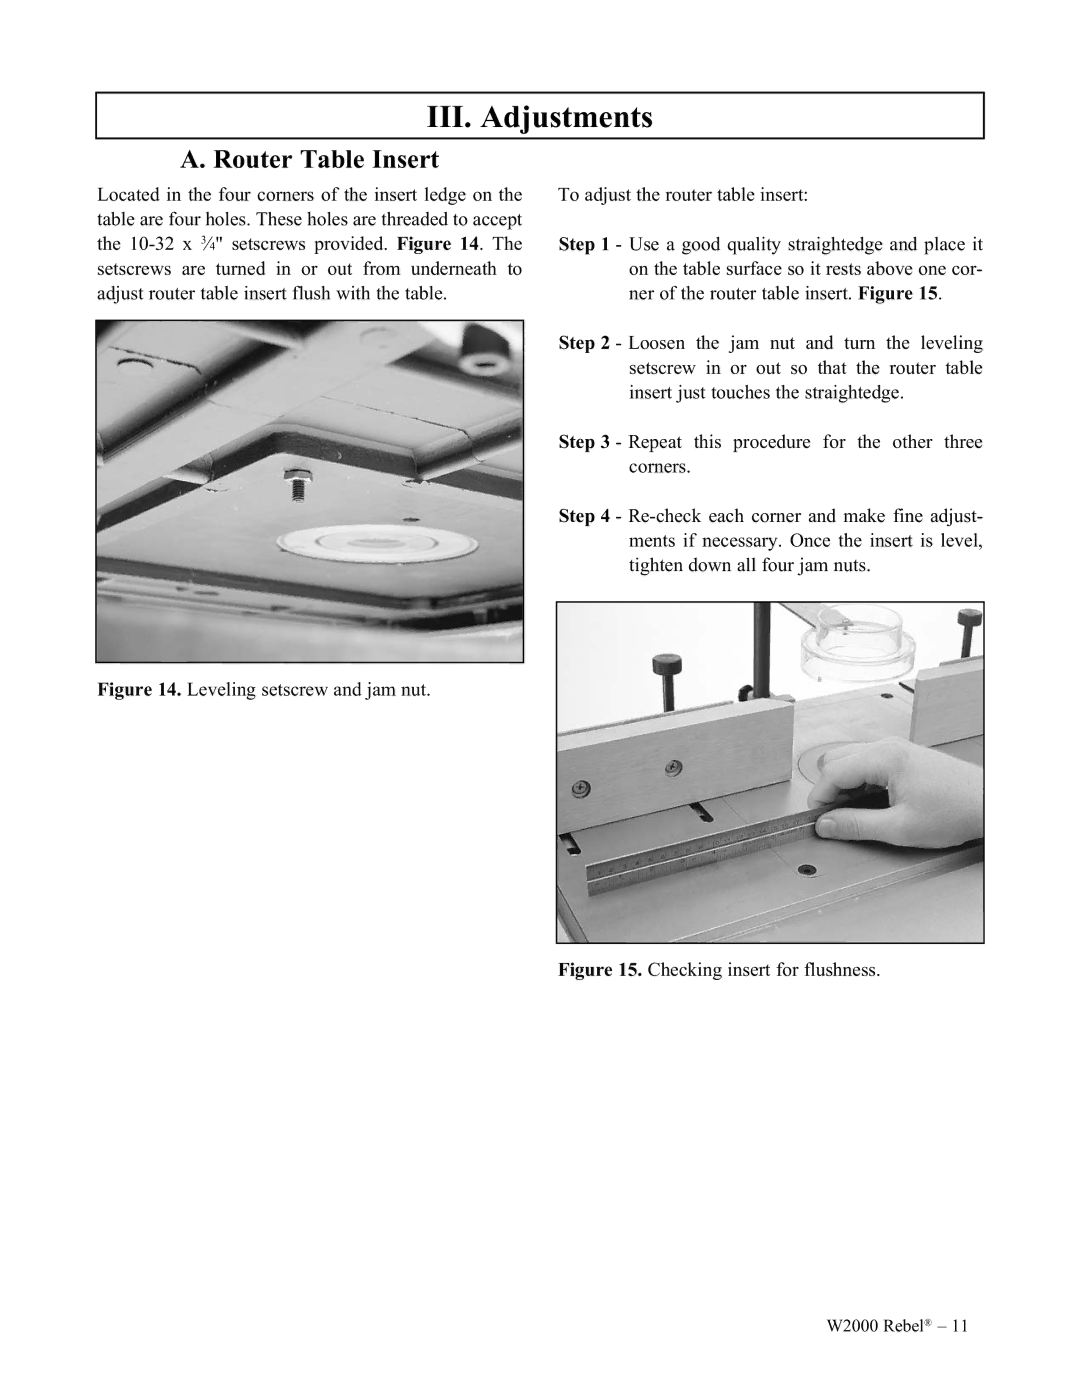
Located in the four corners of the insert ledge on the table are four holes. These holes are threaded to accept the
Figure 14. Leveling setscrew and jam nut.
To adjust the router table insert:
Step 1 - Use a good quality straightedge and place it on the table surface so it rests above one cor- ner of the router table insert. Figure 15.
Step 2 - Loosen the jam nut and turn the leveling setscrew in or out so that the router table insert just touches the straightedge.
Step 3 - Repeat this procedure for the other three corners.
Step 4 - Re-check each corner and make fine adjust- ments if necessary. Once the insert is level, tighten down all four jam nuts.
Figure 15. Checking insert for flushness.
W2000 Rebel® – 11