G. Freehand Work
The Rebel® is ideally suited to performing freehand work. Freehand shaping enables you to profile the edge of curved or irregular shaped wood. In order to free- hand shape on The Rebel®: The fence must be removed, a starting pin or starting block and a router bit with a guide bearing must be used.
In many cases it is advantageous to use a jig or fixture during freehand shaping. When properly designed, a jig or fixture will: Keep the workpiece firmly in posi- tion, speed production runs, provide a guide for pattern work and provide greater safety for the operator. When freehand shaping, we recommend the use of a jig or fixture whenever possible.
When making a jig or fixture, use a material that is dimensionally stable and is easy to fasten such as a good quality plywood or MDF. If the fixture will incorporate a pattern, use a material that will smoothly follow the guide bearing. Figure 24.
Figure 24. Inverted Fixture with workpiece.
Do not use rough wood composites such as oriented strand board or a plywood with inner voids for a pat- tern edge. The jig or fixture should also be stable, com- fortable to use and designed with safety in mind. Secure your workpiece with blocks, screws or wedges. If using screws, make sure they don’t protrude through the finish face of your workpiece.
The workpiece should rest flat on the surface of the table and must not chatter inside the jig. There are a number of shaper handbooks available that describe many types of jigs, fixtures, hold-downs and patterns that are used in the cabinetmaking industry. These same books apply to router shaping as well. When using any fixture, always test it to ensure that it func- tions as it was intended before turning your router on.
To freehand shape, proceed as follows:
Step 1 - Remove the two part fence assembly from The Rebel®.
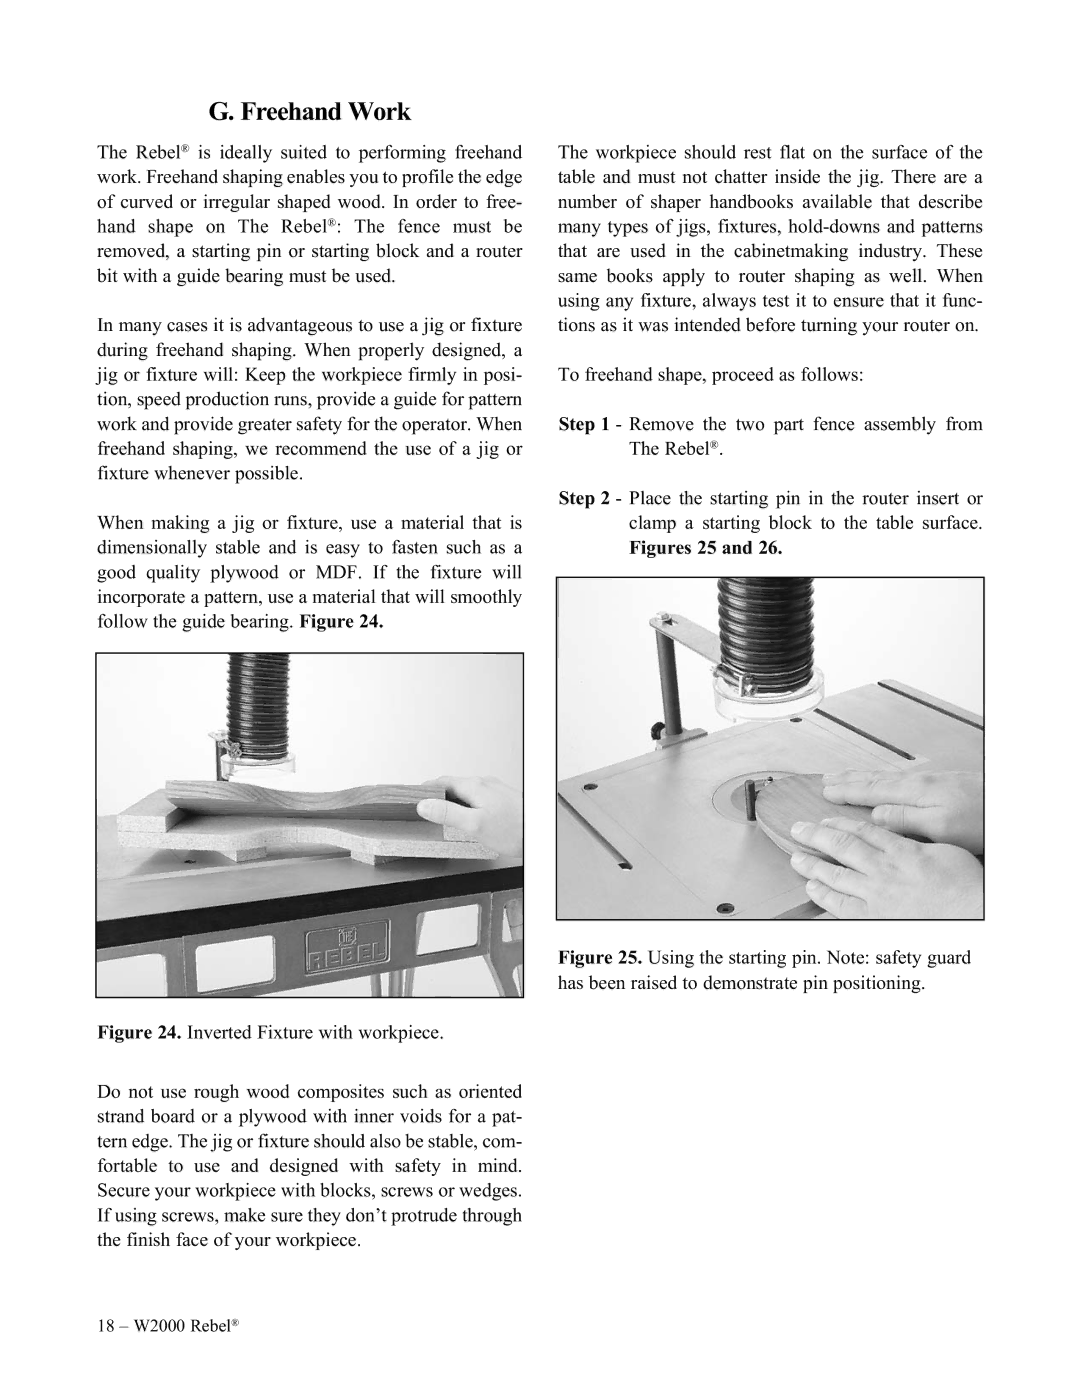
Step 2 - Place the starting pin in the router insert or clamp a starting block to the table surface.
Figures 25 and 26.
Figure 25. Using the starting pin. Note: safety guard has been raised to demonstrate pin positioning.
18 – W2000 Rebel®