Ibmmail DK9DXKDX
Ida Xerox File Conversion Installation Guide
Copyright i-data international a-s
Preface
Ii ida XFC Product Guide
Organization of this Publication
Revisions with this Edition
Preface
Table of Contents
Table of Contents
IdaXFC batch Software Installation and Modification
Vi ida XFC Product Guide
List of Illustrations
List of Tables
List of Tables
Year 2000 Support
Ida XFC Product Highlights
Ida XFC Product Highlights
Ida XFC Installation Guide
Functional Subsystem Spool Converter Requirements
System Requirements
IdaPSS XES Conversion Exit Requirements
System Requirements
Print Resource Requirements
XES to AFP Batch Invocation Prerequisites
Printer Prerequisites
IdaPSS XES Exit Installation Checklist
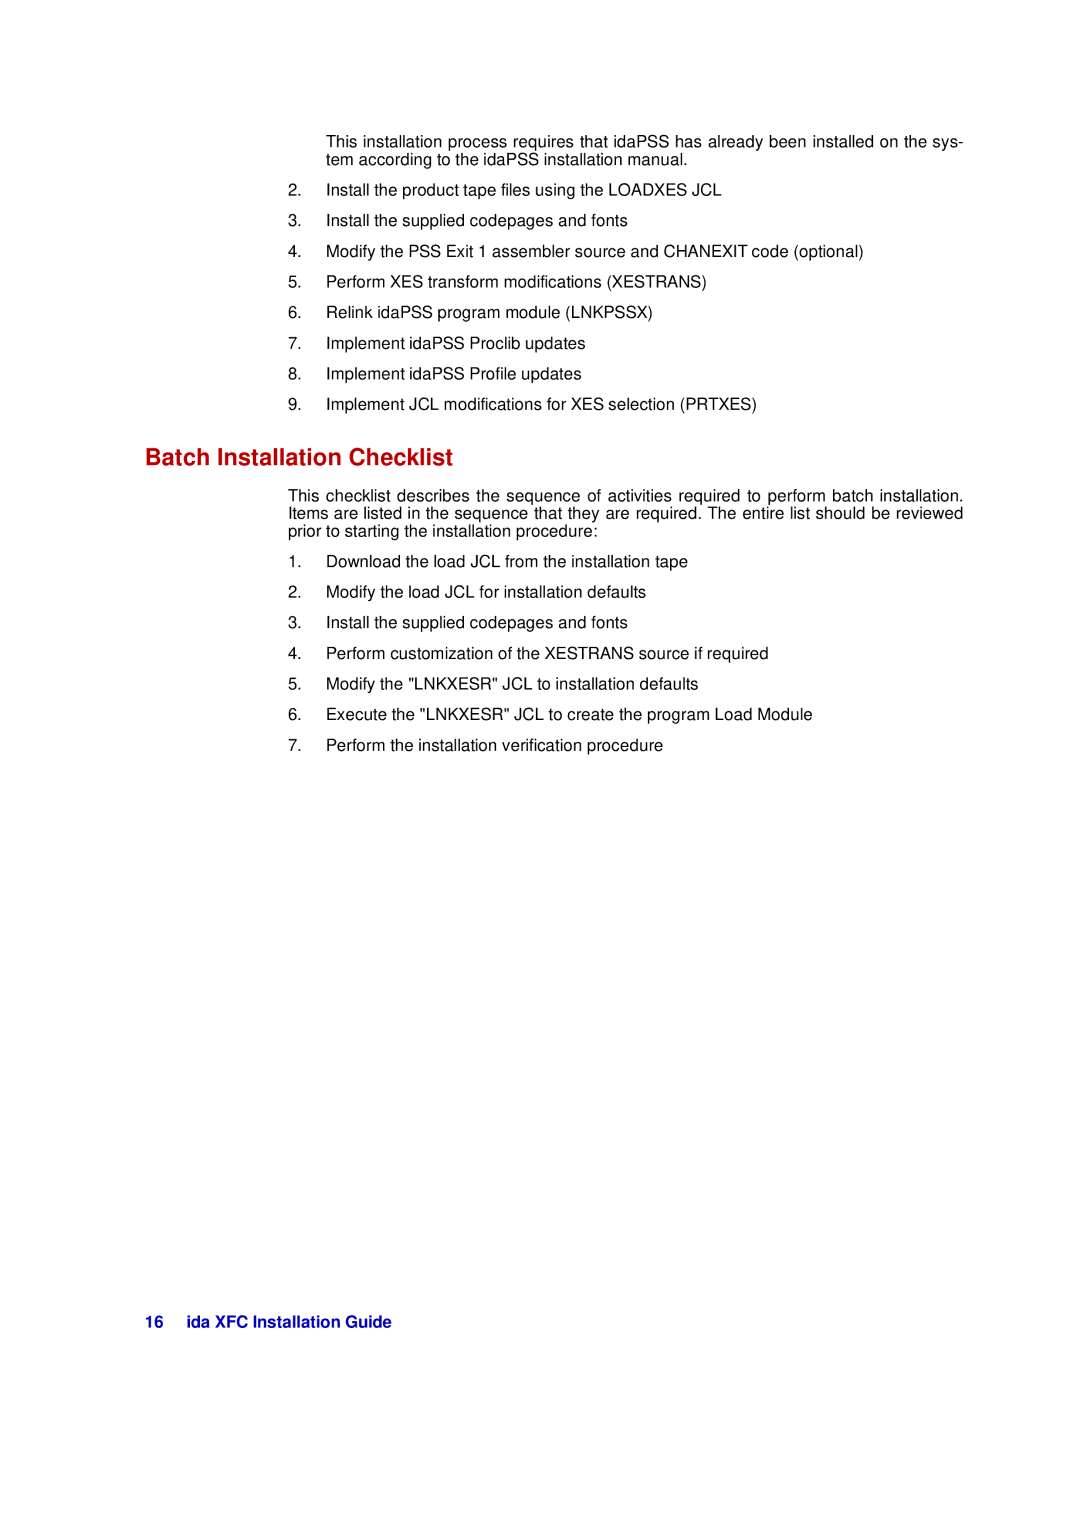
Batch Installation Checklist
General Installation Procedure
General Installation Procedure
Load the datasets supplied on the product tape
Data set name Data set type Organization Description
Install the supplied fonts and codepages
Ida XFC Spool File Converter Installation Procedure
Create an APF authorized Library or use an existing authlib
Generate the idaXFC program load module
Authorize the Idaxfc Proc
JES2 Installation
Authorize the Idaxfc program module
Create/Modify Idaxfc Program Security Rules
Fssdef FSSNAME=IDAXFC,PROC=IDAXFC,HASPFSSM=HASPFSSM
CA-Spool Customization
JES3 Installation
Install idaXFC Proclib Member
Sample Idaxfc Procedure
Reinitialize The System
Profile Keyword Syntax
Idaxfc Control Profile Description
General idaXFC control profile statements
Default
Fssname
Printer
PRTID=
IdaPSS Profile Printer Subparameter Keywords
FONTLIB=
LOGDD=
PAPER=
OVLYLIB=
A4 Letter A3 Legal Executive Monarch COM10
PRMODE=
JES Output Configuration Parameters
Ida XFC Printer Defaults
Ida XFC Profile Defaults
Install the product tape files
IdaPSS XES Exit Installation and Modification
IdaPSS XES Exit Installation and Modification
Modify the PSS Exit 1 invocation source optional
Perform XES transform modifications
Implement idaPSS Proclib updates
Relink idaPSS program module
Implement JCL modifications for XES selection
Implement idaPSS Profile updates
IdaXFC batch Installation Procedure
IdaXFC batch Software Installation and Modification
Generation of the Load Library
Customize the XES Translation
IdaXFC batch Software Installation and Modification
IdaXFC batch Installation Verification Procedure
Stop Start Force Dump
IdaXFC Spool File Converter Operator Commands
Display
IdaXFC Spool File Converter Operator Commands
Modification of XES to AFP Font selection
XES Transform modifications
Modification of Page Length and Margins
Modifications to the Lead-in and Lead-out strings
XES Transform modifications
Modifying the XES Forms Data Definition Reference
Modifying the Default User Defined Key
Modifying the Sixel Decoding Table
Changing the Character Mapping and Language
Appendix A. idaXFC Messages and Codes A-1
Appendix A. idaXFC Messages and Codes
XES004I NEW Keyword Following COMMA, Comma Ignored
XES001W IDA XFC is not APF Authorized
XES010I SMF Record Type is TOO Large
XES013I More than ONE Printer Defined in Test Mode
XES011I IDA XFC Product is not Licensed for this Cpuid nnnn
XES012I no KEY Supplied in IDA XFC Profile
XES015I no Printers Defined
XES014I IDA XFC Running in Test Mode
XES021I YOU have Reached MAX Number of Papers
XES030I YOU have Reached MAX Number of Printers
XES053W Wrong Invocation of IDA XFC
XES051I Identify RC =
XES054W no Fsid in CIB
XES064I TOO Many MODIFIED, Remainder Skipped
XES067I Modify Command Completed
XES071I IDA XFC not Licensed for More Printers
XES070I no Printer Specified in ADD Command
XES077I Idaxfc is Running Test Mode with 2 Printers
XES088I IDA XFC Shutdown Completed
XES087W FSS DISCONNECT, RC = rc
XES099W More than 100 PSS Started
XES092I Paper type not Defined for printer A4 Used
XES101W Invalid Order Received in FSA
XES100I command Unknown Afpds Command in Main
XES102I Sync Order Received
XES120I SMF Record Write Entered
XES122I SMF Record Write Terminated
XES219I Point Called
XES217I Note Called
XES232I GETREC, FLAGS1=
XES231W Getrec FAILED, RC=
XES233W Getrec FAILED, FLAGS1=
XES235I IDXFLAG1 =
XES250I Logmsg for user JOBID= number Jobname name
XES501W Internal Error DEQ Pending for printer
XES500W FSA Connect Rejected on printer, RC =rc
XES508I SET Order Received
XES507W Invalid Order Received in FSA
XES509I Sync Order Received
XES511I Intervention Order Received
XES512I DSN
XES512I Proc
XES513I Start Device Called
XES514I Stop Device Called XES515I Stop FSA Called
XES518I Getds , GDSFLGS1 =
XES517W Getds REJECTED,RC =
XES520I Valid Checkpoint Returned
XES522I Jesnews Dataset Active
XES524I ffff Active on Printer prtid for userid
XES523I Gdsflag =
XES525I jobname Requeued no CHK on printer
XES526I jobname Requeued on printer
XES533I Notify User Entered
XES541W Insufficient Region for JOB
XES537I Notify User Terminated
XES703I Begin Merge page Entered
XES710I Start Line Entered
XES705I Start Graphic Entered
XES711I Start Line Terminated
XES712I Print Line Entered
XES717I END page Terminated
XES716I END page Entered
XES718I Begin page Entered
XES719I Begin page Terminated
XES726I Wrong Freemain AT Addr location Called by name
XES724I Insufficient Region for JOB
XES729I Unpacked XES Input Record
XES730I hexadecimal data
XES754I command Unknown Afpds Command in Code
XES753I command Unknown Afpds Command in Font fffff
XES750I MCF Entered Font = font codepage AS nnn
XES751I Invalid Font Control Found in Font font
XES758I MCF Terminated RC= rc
XES780I CMD=command LENGTH= lllll
XES759I Orientation xx not Found in Font ffffffff
XES783I member ddname Opened for Read
XES791W dataset member Invalid Record Format
XES787I member ddname Closed
XES900I hexadecimal data
Appendix A. idaXFC Messages and Codes A-29
XES991I User Exit 1 Entered XES991I User Exit 1 Terminated
XES990I User Exit 8 Entered XES990I User Exit 8 Terminated
XES992I User Exit 2 Entered XES992I User Exit 2 Terminated
XES998W General Registers R0..R15
Input Datastream Description
Appendix B. Data Stream Description
XES Datastream
Appendix B. Data Stream Description B-1
Ida XFC Installation Guide
Appendix B. Data Stream Description B-3
XES Datastream Limitations
Glossary C-1
Glossary
Ida XFC Installation Guide
Index C-3
Index
Node
