Configuring the XC-DPG602 for your LAN
aProcedure
1.Use a standard LAN cable to connect your PC to any LAN port on the
2.Connect the power adapter and power up the
3.Start your PC or restart your PC if it is already running. Once restarted, the PC will then obtain an IP address from the
4.Start your WEB browser.
5.In the Address or Location box enter:
HTTP://192.168.1.1
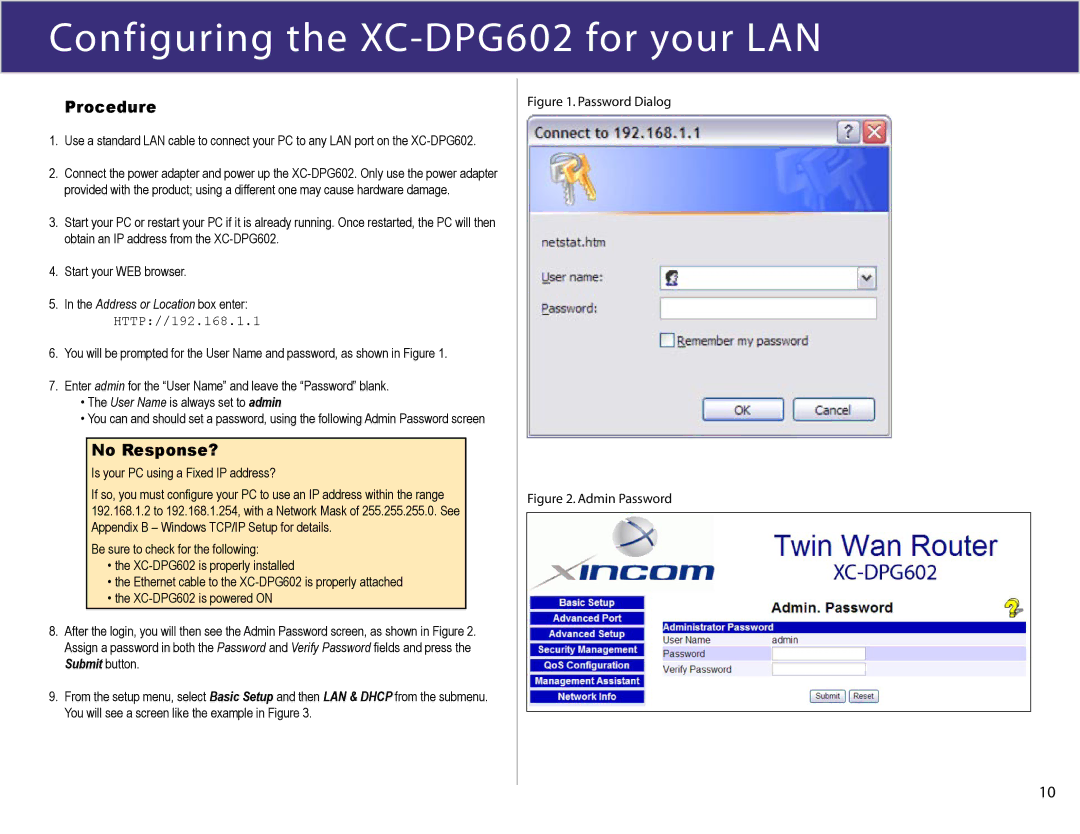
6.You will be prompted for the User Name and password, as shown in Figure 1.
7.Enter admin for the “User Name” and leave the “Password” blank.
•The User Name is always set to admin
•You can and should set a password, using the following Admin Password screen
No Response?
Is your PC using a Fixed IP address?
If so, you must configure your PC to use an IP address within the range 192.168.1.2 to 192.168.1.254, with a Network Mask of 255.255.255.0. See Appendix B – Windows TCP/IP Setup for details.
Be sure to check for the following:
•the
•the Ethernet cable to the
•the
8.After the login, you will then see the Admin Password screen, as shown in Figure 2. Assign a password in both the Password and Verify Password fields and press the Submit button.
9.From the setup menu, select Basic Setup and then LAN & DHCP from the submenu. You will see a screen like the example in Figure 3.
Figure 1. Password Dialog
Figure 2. Admin Password
10