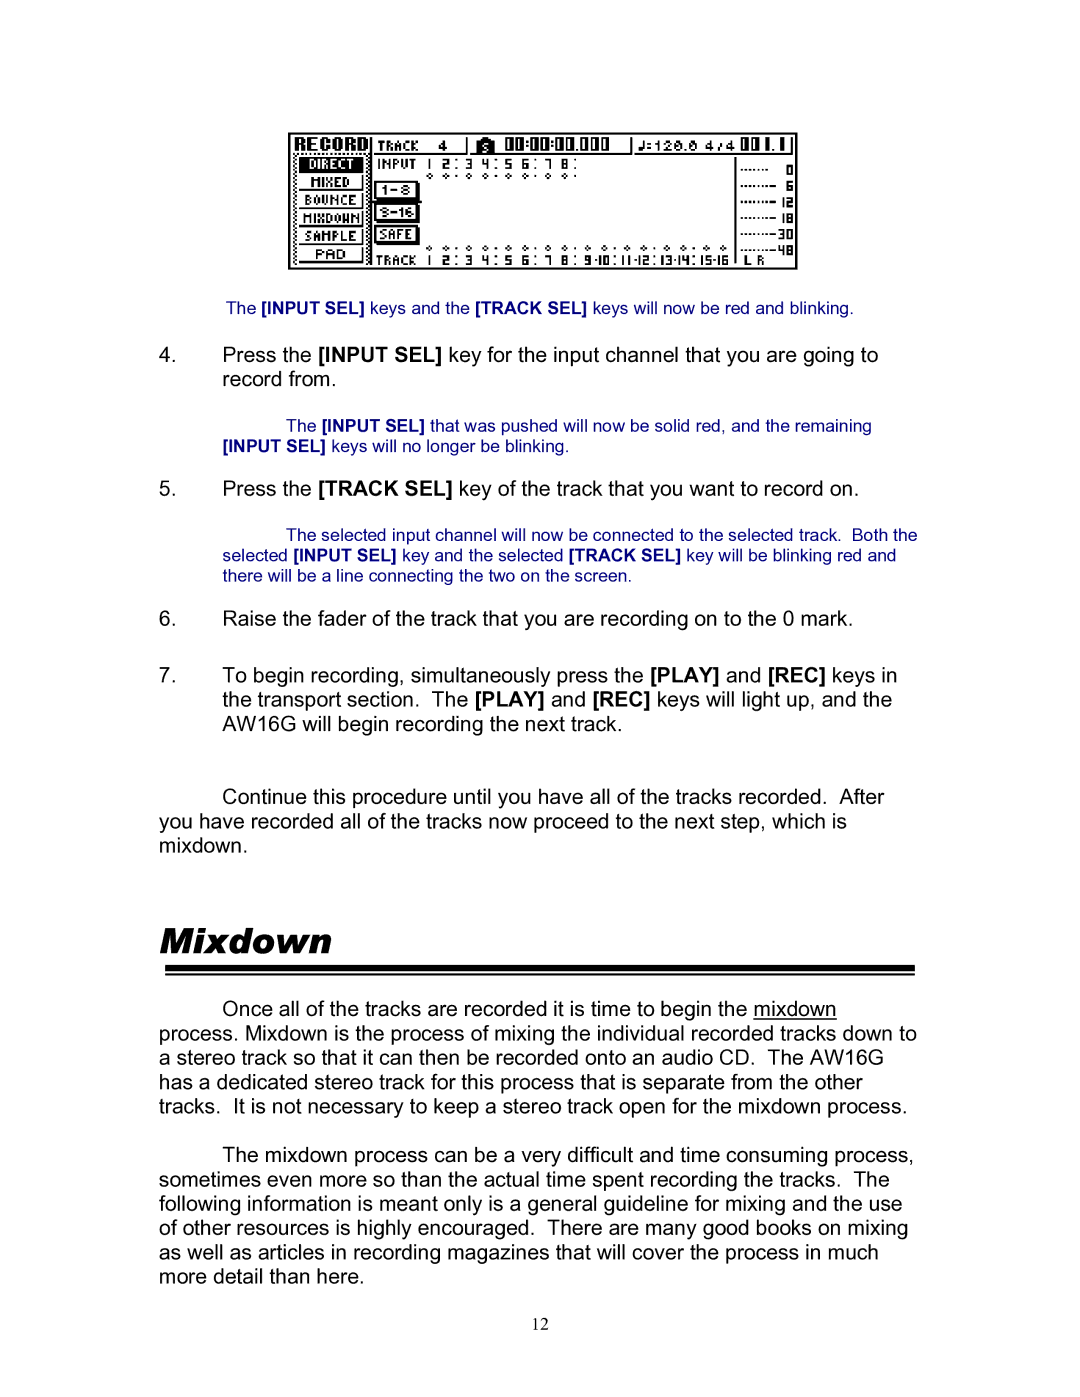
The [INPUT SEL] keys and the [TRACK SEL] keys will now be red and blinking.
4.Press the [INPUT SEL] key for the input channel that you are going to record from.
The [INPUT SEL] that was pushed will now be solid red, and the remaining [INPUT SEL] keys will no longer be blinking.
5.Press the [TRACK SEL] key of the track that you want to record on.
The selected input channel will now be connected to the selected track. Both the selected [INPUT SEL] key and the selected [TRACK SEL] key will be blinking red and there will be a line connecting the two on the screen.
6.Raise the fader of the track that you are recording on to the 0 mark.
7.To begin recording, simultaneously press the [PLAY] and [REC] keys in the transport section. The [PLAY] and [REC] keys will light up, and the AW16G will begin recording the next track.
Continue this procedure until you have all of the tracks recorded. After you have recorded all of the tracks now proceed to the next step, which is mixdown.
Mixdown
Once all of the tracks are recorded it is time to begin the mixdown process. Mixdown is the process of mixing the individual recorded tracks down to a stereo track so that it can then be recorded onto an audio CD. The AW16G has a dedicated stereo track for this process that is separate from the other tracks. It is not necessary to keep a stereo track open for the mixdown process.
The mixdown process can be a very difficult and time consuming process, sometimes even more so than the actual time spent recording the tracks. The following information is meant only is a general guideline for mixing and the use of other resources is highly encouraged. There are many good books on mixing as well as articles in recording magazines that will cover the process in much more detail than here.
12