Advanced Setup
To set up a Dynamic DNS entry:
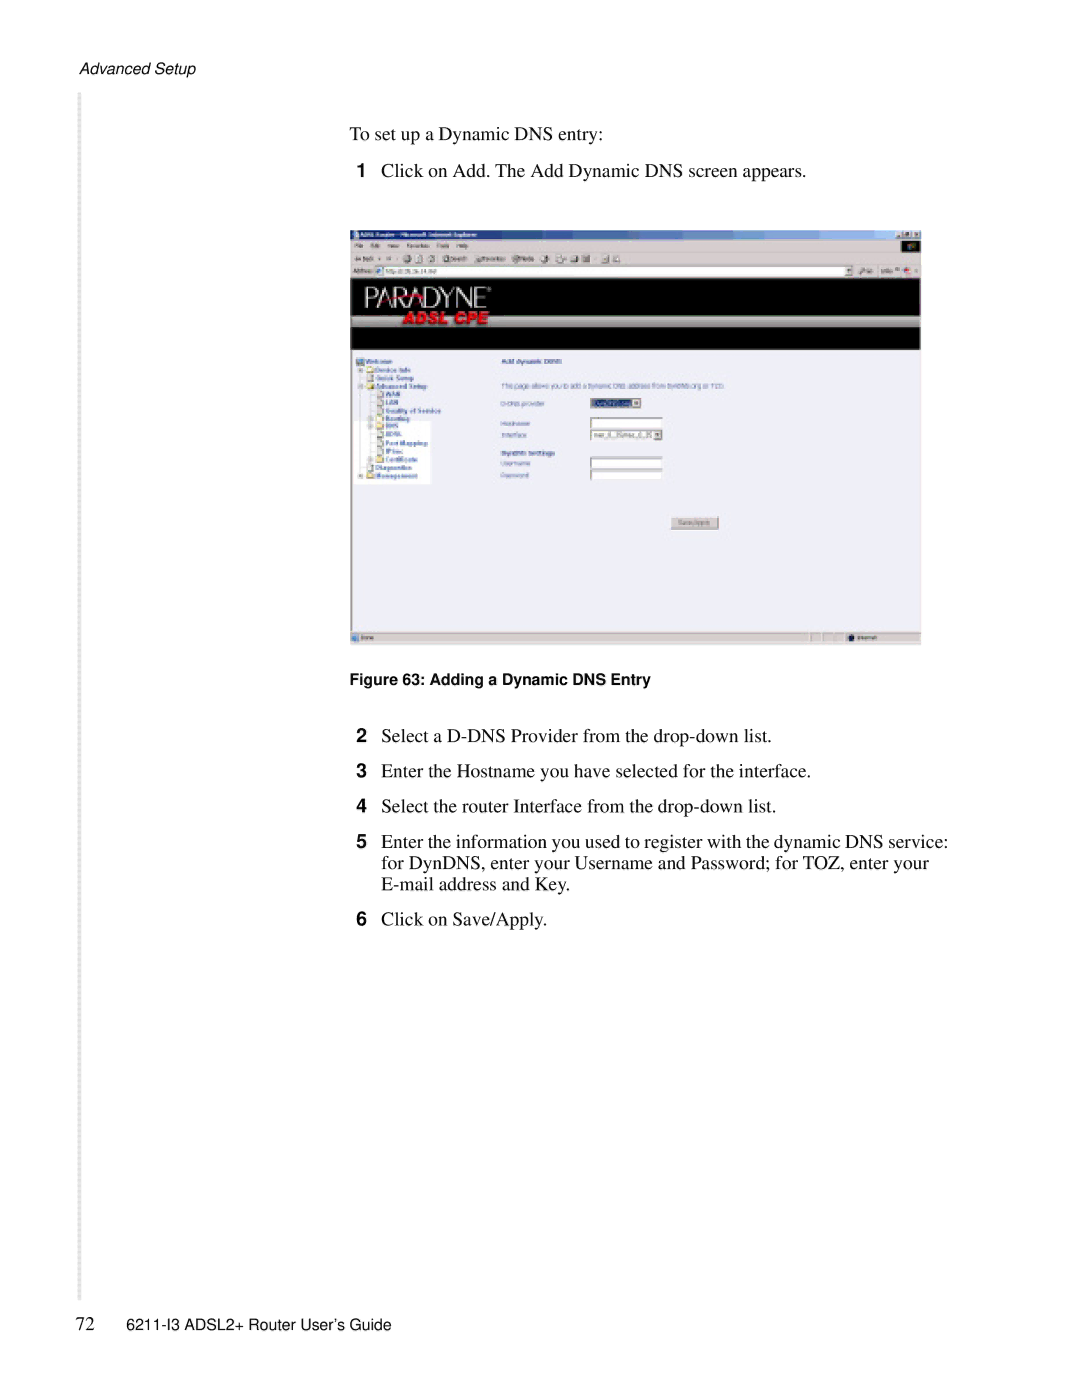
1Click on Add. The Add Dynamic DNS screen appears.
Figure 63: Adding a Dynamic DNS Entry
2Select a
3Enter the Hostname you have selected for the interface.
4Select the router Interface from the
5Enter the information you used to register with the dynamic DNS service: for DynDNS, enter your Username and Password; for TOZ, enter your
6Click on Save/Apply.
72