Video Input
Image Mode Selection
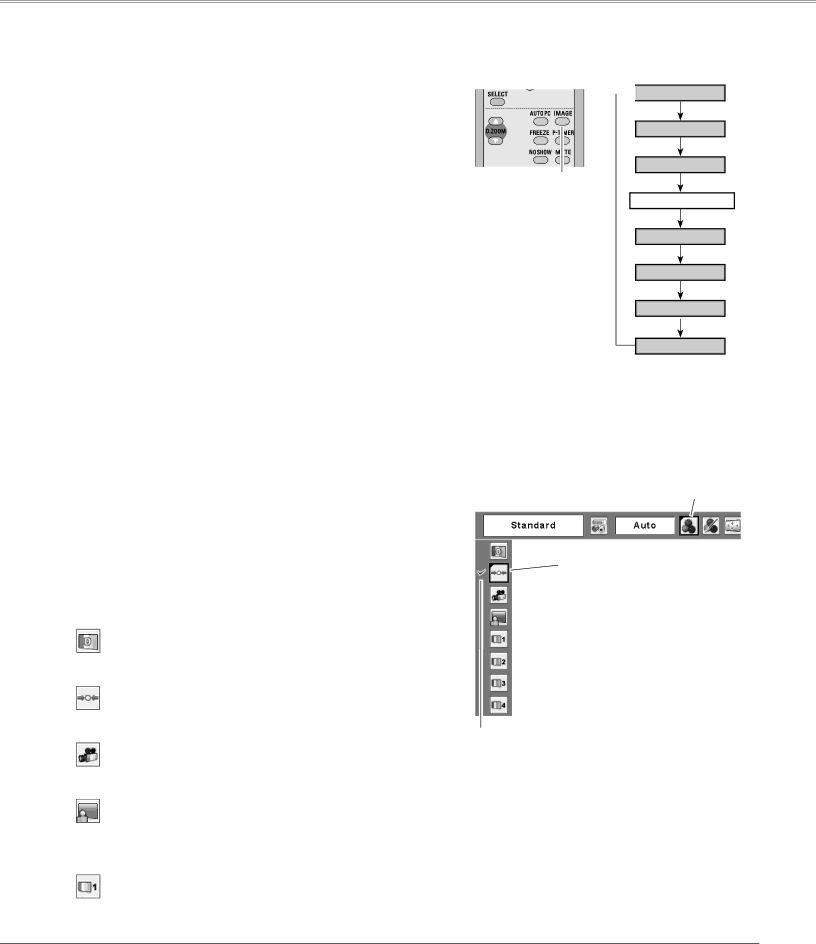
Direct Operation
Select the desired image mode from among Dynamic, Standard, Cinema, Blackboard (Green), Image 1, Image 2, Image 3, and Image 4 by pressing the IMAGE button on the remote control.
Dynamic
For viewing pictures in a bright room.
Standard
Normal picture mode preset on the projector.
Cinema
Picture mode adjusted with fine tone.
Blackboard (Green)
For the image projected on a blackboard.
This mode help enhance the image projected on a blackboard. This is mainly effective on a green colored board, not truly effective on a black colored board.
Image 1–4
For viewing with the user preset image mode in the Image Adjust Menu (pp
Menu Operation
Remote Control
IMAGE button
Image Select Menu
IMAGE button ![]()
![]() Dynamic
Dynamic
Standard
Cinema
Blackboard (Green)
Image 1
Image 2
Image 3
Image 4
Image Select Menu icon
1 | Press the MENU button to display the |
Use the Point ◄► buttons to move the red frame pointer | |
| to the Image Select Menu icon. |
2 | Use the Point ▲▼ buttons to move the red frame pointer |
to the desired image mode and then press the SELECT |
button.
Dynamic
For viewing pictures in a bright room.
Standard
Normal picture mode preset on the projector.
![]() Cinema
Cinema
Picture mode adjusted with fine tone.
![]() Blackboard(Green)
Blackboard(Green)
For the image projected on a blackboard. See above for further description.

Image1–4
For viewing with the user preset image mode in the Image Adjust Menu (pp.
Move the red frame pointer to the desired image mode and press the SELECT button.
The selected image mode is check marked.
39