Eiki LC-XB42 To change the code for the projector, To change the code for the remote control

Page 49

Setting

Lamp control

This function allows you to change brightness of the screen.

Auto ........... The brightness according to the input signal

(between High and Eco mode). High ........... Brighter than the Normal mode.

Normal....... Normal brightness

Eco ............ Lower brightness reduces the lamp power

consumption and extends the lamp life.


Remote control


This projector provides two different remote control codes;

Remote control


the factory-set, initial code (Code 1) and the secondary


code (Code 2). This switching function prevents remote


control interference when operating several projectors or


video equipment at the same time.


When operating the projector in “Code 2”, both the


projector and the remote control must be switched to “Code


2”.


To change the code for the projector;


Select either “Code 1” or “Code 2” in this Setting Menu.


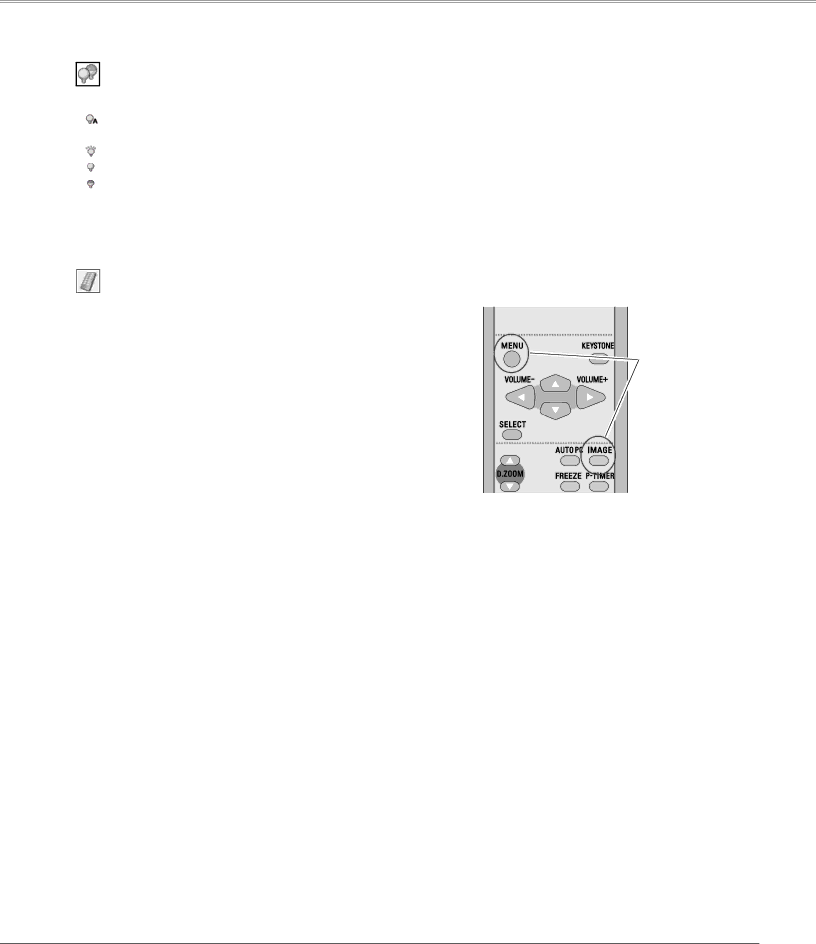
To change the code for the remote control;

Press and hold both the MENU and IMAGE buttons together for 10 seconds or more. After changing the code, make sure the remote control operates properly.

Press and hold MENU and IMAGE buttons for 10 seconds or more.

49

Image 49
Contents Model LC-XB42 Features and Design Table of Contents To the Owner Safety PrecautionSafety Instructions Moving the Projector Safety Instructions Air CirculationBottom Front Downward Upward Usual Positioning PrecautionsAC Power Cord for the United States and Canada AC Power Cord RequirementAC Power Cord for the United Kingdom ComplianceBottom Part Names and FunctionsPart Names and Functions Rear Terminal⑤ Point Volume +/- buttons ① Lamp Replace indicator⑦ Warning indicator ⑧ Power indicator⑤ Point Volume + / buttons Part Names and Functions Remote ControlAdjustable Feet Remote Control Operating RangePositioning the Projector InstallationNote Installation Connecting the AC Power CordProjector side AC outlet side For Continental Europe For the U..KCables used for connection Installation Connecting to a ComputerInstallation Connecting to Video Equipment Installation Connecting to Component Video Equipment Basic Operation What is PIN code?Turning On the Projector Enter a PIN codeBasic Operation Turning Off the Projector Remote Control Basic Operation How to Operate the On-Screen MenuTop Control On-Screen MenuFor computer source Basic Operation Menu BarFor video source Auto Setup Function Basic Operation Zoom and Focus AdjustmentKeystone Correction Direct Operation Basic Operation Sound AdjustmentMenu Operation Basic Operation Remote Control Operation Basic Operation Timer buttonNo Show button Image buttonInput Source Selection Computer InputSelecting Computer System Manually Computer Input Computer System SelectionPC System Menu To store adjustment parameters Computer Input Auto PC AdjustmentAuto PC Adj Computer Input Manual PC Adjustment To store adjusted data To clear adjusted data parametersComputer Input Computer Input Image Mode Selection Computer Input Image Adjustment Normal Screen Size AdjustmentTrue WideCustom For zooming in and out the imagesDigital zoom + Digital zoomInput Source Selection Video, S-video Video InputRGB Scart Note Video or S-Video Video Input Video System SelectionAV System Menu Video or S-Video ComponentCinema Video Input Image Mode SelectionImage1-4 Color Video Input Image AdjustmentTint Noise reduction Video InputProgressive Video Input Screen Size Adjustment Setting SettingSetting Menu Language Auto setupBlue back KeystoneKeystoneDisplay Logo select Capture Logo Logo and Logo PIN code lock settingsLogo select CaptureEnter a Logo PIN code Change the Logo PIN code lock settingChange the Logo PIN code Ceiling Ceiling RearRear Input searchOn start Power managementTo change the code for the projector To change the code for the remote controlPIN code lock Key lockSecurity Key lock and PIN code lock Key lockChange the PIN code lock setting Change the PIN code lock settingChange the PIN code Enter a PIN codeFan Fan Fan Control SettingFan control Lamp counterFactory default Factory defaultFilter counter Filter counterIndicator is blinking red Maintenance and CleaningIndicator lights red Projector is shut down and the WarningResetting the Filter Counter Maintenance and Cleaning Cleaning the FiltersCleaning the Projection Lens Maintenance and Cleaning Slide ShutterCleaning the Projector Cabinet Reset the lamp counter Maintenance and Cleaning Lamp ReplacementService Parts No 333 Maintenance and Cleaning Resetting the Lamp Counter Lamp Handling PrecautionsAppendix TroubleshootingAppendix Indicator blinks or lights Remote Control doesImage is distorted or runs off PIN code dialog box appearsAppendix Computer Input SoundMenu Tree Video Input SettingIndicators Appendix Indicators and Projector ConditionON-SCREEN Resolution Appendix Compatible Computer SpecificationsAppendix Technical Specifications Optional Parts AccessoriesCOMPONENT-VGA Cable SCART-VGA CableDimensions Appendix Configurations of TerminalsService Port Connector Terminal Mini DIN 8-PIN Terminal Analog RGB Mini D-sub 15 pinPIN Code Lock No Appendix PIN Code Number MemoLogo PIN Code Lock No China Deutschland & ÖsterreichCanada Eastern Europe