Multifunctional Settings (continued)
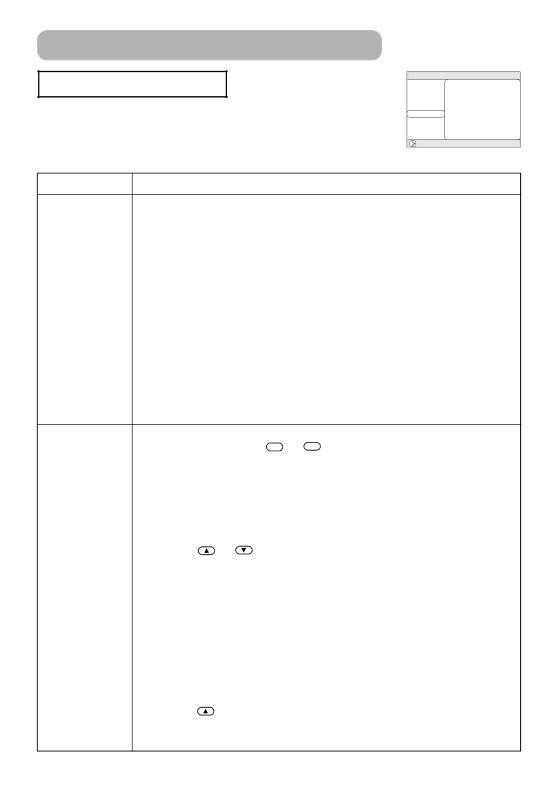
AUTO Menu
With the AUTO menu, the items shown in the table below can be performed.
Perform each operation in accordance with the instructions in the table below.
MENU
MAIN | ADJUST |
|
POWER OFF | 0 min | |
SEARCH | TURN ON | |
INPUT | RESET |
|
AUTO |
|
|
SCREEN |
|
|
OPTION |
|
|
: SELECT |
|
|
Item | Description |
Automatically Adjust the Picture:
Pressing the ![]() or the ENTER button performs this function.
or the ENTER button performs this function.
At a COMPUTER input:
•V POSITION, H POSITION, H PHASE and HSIZE are automatically adjusted. Please use this function with the maximum window size.
At a VIDEO input or
• This function performs only when the AUTO is selected under the VIDEO item
ADJUST
of the INPUT menu. For a COMPONENT VIDEO input, although this function is ineffective, the signal type is identified automatically even if the AUTO is not selected.
•This function automatically selects the optimum mode for the input signal. However, it may not work well at a PAL60 signal and some other signals. If the picture becomes unstable (ex. irregular picture, color lack), please use the function of VIDEO of the INPUT menu.
•The operation of this function requires approximately 10 seconds. Also, please note that it may not function correctly with some input.
Set the Automatically Power Off Timer:
Long (Max. 99 minutes.) ![]() ⇔
⇔ ![]() Short (Min. 0 minute =DISABLE)
Short (Min. 0 minute =DISABLE)
•This function performs only when the time is set to 1 to 99.
POWER OFF • When the set time passes without a valid signal (there is no signal, or the | ||||||
| signal is out of specifications), the projector lamp automatically goes off, and | |||||
| the POWER indicator begins blinking. Please refer to the section “Turning | |||||
| OFF The Power” of “Power ON/OFF” about the turning off. | |||||
|
|
|
| |||
| Automatically Signal Search: | |||||
| TURN ON | ⇔ | TURN OFF | |||
| • If the TURN ON is selected under this item when no signal input is detected, | |||||
| the projector begins searching for an input signal. When an input signal is | |||||
SEARCH | detected the projector will cease searching and the picture will appear. | |||||
• The priority of a search is as follows: | ||||||
| ||||||
| COMPUTER → VIDEO → | |||||
| → |
|
|
| ||
|
|
|
| |||
|
|
|
|
|
| |
| • If the projector is unstable to find an input signal at any of its ports, it will | |||||
| return to the state it was in prior to the search. | |||||
|
|
|
| |||
| Reset the AUTO Menu Items: | |||||
| Selecting the EXECUTE performs this function. | |||||
RESET | EXECUTE | ⇒ CANCEL | ||||
| • The items of the AUTO menu are collectively returned to the initial setting. | |||||
| Note that the item ADJUST is not reset. | |||||
28