Hitachi HOME-1 user manual Other Care, Caring For The Inside Of The Projector, Caring For The Lens

Page 35

Other Care

WARNINGPlease carefully read the “User’s Manual - Safety Guide”.

Before replacing the air filter, make sure the power switch is off and the power cable is not plugged in.

ATTENTION • Do not use cleaners or chemicals other than those listed below, including benzene and paint thinner.

Do not use aerosols or sprays.

Do not polish or wipe with hard objects.

Caring For The Inside Of The Projector

In order to ensure the safe use of your projector, please have it cleaned and inspected by your local dealer about once every 2 years. Never try to care for the inside of the unit yourself. Doing so is dangerous.
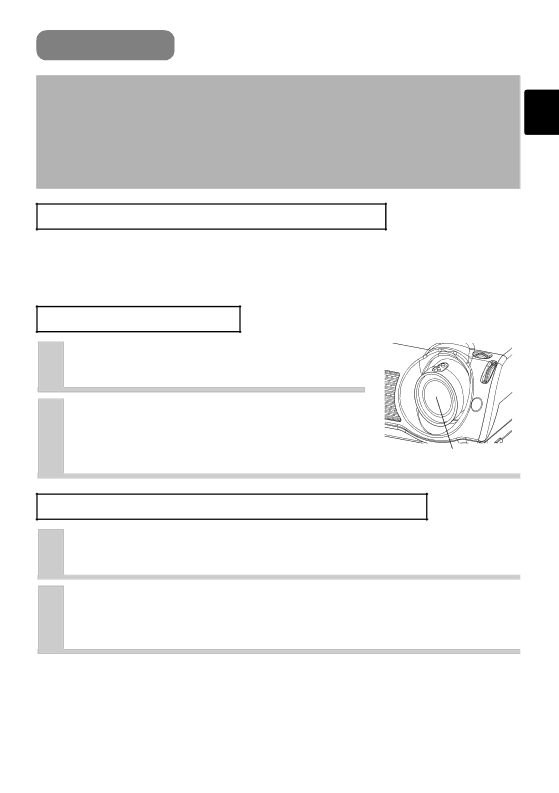
Caring For The Lens

1

Turn off the projector, and unplug the


power cord.


2

Lightly wipe the lens with a


commercially available lens-cleaning


wipe. Do not touch the lens directly


with your hand.

Lens

Caring For The Cabinet And Remote Control


1

Turn off the projector, and unplug the power cord.


2

Wipe lightly with gauze or a soft cloth.


If soiling is severe, dip soft cloth in water or a neutral cleaner dilute in water, and

wipe lightly after wringing well. Then, wipe lightly with a soft, dry cloth.

35

Image 35
Contents Projector HOME-1Preparation Projector FeaturesContents Fastening The Lens Cap Part NamesProjector ON/OFF ProjectorComponent Video Remote ControlTo adjust the keystone To adjust the volumeArrangement Setting UpAs necessary, you can also finely Adjusting The Projectors ElevatorUsing The Picture Shift Dials Adjust the height of the projector byConnecting Your Devices AUDIO-L AUDIO-R G B R Connecting to a computerConnecting Power Supply Putting Batteries Remote ControlRemove Battery cover Close Battery coverOperating The Remote Control Set the power switch to on Power ON/OFFTurning On The Power When the lens cap is attached, removePress the Input button Selecting An Input SignalUsing the projector’s control button Using the remote control Press the COMPUTER, VIDEO, S-VIDEOAttached the lens cap Turning Off The PowerSwitch the power switch to O OFF Power switch OFF positionTemporarily Muting The Sound Adjusting The VolumeOperating Correcting Keystone Distortions Using The Automatic Adjustment FeatureTemporarily Blanking The Screen Signal SearchingSelecting The Aspect Ratio Recalling Your Adjustments Selecting The Gamma ModeUsing The Menu Functions Multifunctional SettingsMain Menu Picture 1 Menu MY Memory Load/Save a SettingReset the PICTURE-1 Menu Items Picture 1 MenuSize PhasePicture 2 Menu Position3D-YCS Input MenuVideo Frame LockS2-ASPECT Input MenuVideo NR InformationSearch AdjustAuto Menu Message Screen MenuStart UP Lamp Time VolumeOption Menu Lamp Replacing The Lamp Caring For The Air Filter Air FilterFilter, while pulling down it Replacing The Air FilterNew air filter. Tell the dealer your air Hold the release buttons of the airCaring For The Lens Caring For The Cabinet And Remote ControlOther Care Caring For The Inside Of The ProjectorRelated Messages TroubleshootingRelated Messages Power Lamp Temp Regarding The Indicator LampsIndicator Regarding The Indicator LampsPhenomena That May Easily Be Mistaken For Machine Defects Phenomena That May Easily Be Mistaken For Machine Defects Warranty And After-ServiceVideo Input Ports SpecificationsSpecification RGB Input Ports Audio PortsTechnical Signal ConnectorsText Example Of Computer SignalResolution FH kHz FV Hz Rating Signal mode Initial Set Signals RS-232C Communication Connecting The CableCommunications Setting Increasing the projector setting value Increment command Requesting projector status Get commandChanging the projector settings Set command Using the projector default settings Reset Command4A D2 Command Data Chart日本語 Be EF EF F6 Be EF EC D9 Auto RGB Be EF CB D3 Turn on Be EF