Hitachi HOME-1 user manual Option Menu, Volume, Lamp Time

Page 30

Multifunctional Settings (continued)

OPTION Menu

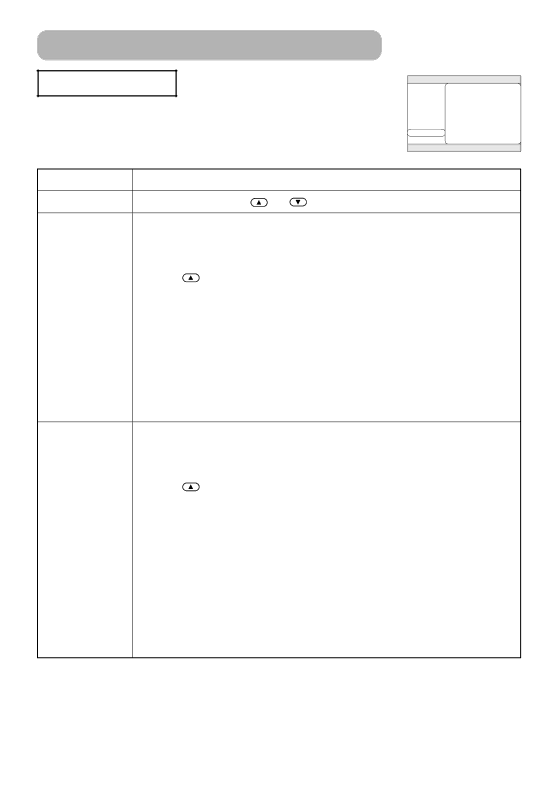
With the OPTION menu, the items shown in the table below can be performed.

Perform each operation in accordance with the instructions in the table below.

MENU

MAIN

VOLUME

16

PICTURE-1

LAMP TIME

1234h

PICTURE-2

FILTER TIME

21h

INPUT

AUTO

SCREEN

OPTION

: SELECT

Item


Description

VOLUME

Adjust Volume: High

Low

To begin the operation of this item, please press the button of the projector or the RESET button of the remote control for 3 seconds.

Reset the Lamp Timer:

Selecting the RESET performs this function.

RESET

CANCEL

The numerical value of four digits shown on this menu is the projector use time since the last RESET operation of this item. The value is reset to 0 at the

LAMP TIME

same time the RESET is selected.

The value of this function is used to display the message of “CHANGE THE LAMP”. So this function must be performed only immediately after replacing the lamp.

Do not perform this function unless you have replaced the lamp. Perform this function every time the lamp is replaced. Incorrect performing of this function causes incorrect operation of the message function.

Please see to the section “Lamp” about replacing the lamp.

To begin the operation of this item, please press the button of the projector or the RESET button of the remote control for 3 seconds.

Reset the Filter Timer:

Selecting the RESET performs this function.

RESET

CANCEL

• The numerical value of four digits shown on this menu is the projector use

time since the last RESET operation of this item. The value is reset to 0 at the

same time the RESET is selected.

FILTER TIME • The value of this function is used to display the message of “CLEAN THE AIR

FILTER”. So this function must be performed only immediately after cleaning

or replacing the air filter.

Do not perform this function unless you have cleaned or replaced the air filter.

Perform this function every time the air filter is cleaned or replaced. Incorrect

performing of this function causes incorrect operation of the message

function.


• Please see to the section “Air Filter” about cleaning and replacing the air

filter.


30

Image 30
Contents HOME-1 ProjectorProjector Features PreparationContents Part Names ProjectorFastening The Lens Cap Projector ON/OFFTo adjust the volume Remote ControlTo adjust the keystone Component VideoSetting Up ArrangementAdjust the height of the projector by Adjusting The Projectors ElevatorUsing The Picture Shift Dials As necessary, you can also finelyConnecting Your Devices Connecting to a computer AUDIO-L AUDIO-R G B RConnecting Power Supply Close Battery cover Remote ControlRemove Battery cover Putting BatteriesOperating The Remote Control When the lens cap is attached, remove Power ON/OFFTurning On The Power Set the power switch to onUsing the remote control Press the COMPUTER, VIDEO, S-VIDEO Selecting An Input SignalUsing the projector’s control button Press the Input buttonPower switch OFF position Turning Off The PowerSwitch the power switch to O OFF Attached the lens capAdjusting The Volume OperatingTemporarily Muting The Sound Using The Automatic Adjustment Feature Correcting Keystone DistortionsSignal Searching Selecting The Aspect RatioTemporarily Blanking The Screen Selecting The Gamma Mode Recalling Your AdjustmentsMultifunctional Settings Using The Menu FunctionsMain Menu Picture 1 Menu Picture 1 Menu Load/Save a SettingReset the PICTURE-1 Menu Items MY MemoryPosition PhasePicture 2 Menu SizeFrame Lock Input MenuVideo 3D-YCSInformation Input MenuVideo NR S2-ASPECTAdjust Auto MenuSearch Screen Menu Start UPMessage Volume Option MenuLamp Time Lamp Replacing The Lamp Air Filter Caring For The Air FilterHold the release buttons of the air Replacing The Air FilterNew air filter. Tell the dealer your air Filter, while pulling down itCaring For The Inside Of The Projector Caring For The Cabinet And Remote ControlOther Care Caring For The LensTroubleshooting Related MessagesRelated Messages Regarding The Indicator Lamps Power Lamp TempRegarding The Indicator Lamps IndicatorPhenomena That May Easily Be Mistaken For Machine Defects Warranty And After-Service Phenomena That May Easily Be Mistaken For Machine DefectsRGB Input Ports Audio Ports SpecificationsSpecification Video Input PortsSignal Connectors TechnicalExample Of Computer Signal Resolution FH kHz FV Hz Rating Signal modeText Initial Set Signals Connecting The Cable Communications SettingRS-232C Communication Using the projector default settings Reset Command Requesting projector status Get commandChanging the projector settings Set command Increasing the projector setting value Increment commandCommand Data Chart 4A D2日本語 Be EF EF F6 Be EF EC D9 Auto RGB Be EF CB D3 Turn on Be EF