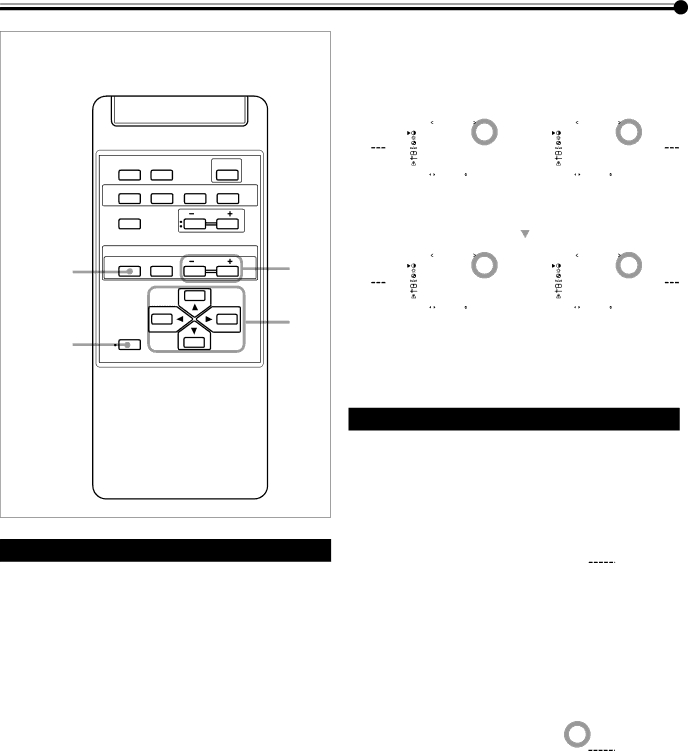
Serial Connections and Operations (Continued)
•When performing simultaneous or individual operation, use the remote control.
DISPLAY | ASPECT | POWER |
VIDEO A | VIDEO B COMPO. RGB | |
MUTING |
| VOLUME |
MULTIPLE | MONITOR | ADJUSTMENT |
MODE | ID SET | ID |
MODE |
| ID +/– |
|
| 2 / 3 |
5 Press 2/3 to make an adjustment.
At this time, if the Monitors have different “CONTRAST” settings, the adjustment is made, based on the different settings.
V I D E O A | P I C T U R E A D J . |
|
|
|
|
| V I D E O A | P I C T U R E A D J . |
|
|
| ||||||||||||
|
|
|
|
|
|
|
|
|
|
|
|
|
|
|
| ||||||||
C O N T R A S T | : – 0 1 |
|
| C O N T R A S T | : + 0 1 |
|
| ||||||||||||||||
B R I G H T | : 0 0 |
|
|
|
| B R I G H T | : 0 0 |
|
| ||||||||||||||
C H R O M A | : – 0 2 |
|
| C H R O M A | : – 0 2 | ||||||||||||||||||
P H A S E | : 0 0 |
|
|
|
| P H A S E | : 0 0 |
|
| ||||||||||||||
S H A R P N E S S | : 0 0 |
|
|
|
| S H A R P N E S S | : 0 0 |
|
| ||||||||||||||
s u b m e n u |
|
|
|
|
| s u b m e n u |
|
|
| ||||||||||||||
r e s e t |
|
|
|
|
|
|
|
|
|
| r e s e t |
|
|
|
|
|
| ||||||
A D J U S T : |
|
|
| S E L E C T : |
| E X I T : |
|
|
|
| A D J U S T : |
|
|
|
|
| S E L E C T : |
| E X I T : |
|
| ||
|
|
| M E N U |
|
|
|
|
|
|
| M E N U |
| |||||||||||
|
|
|
|
|
|
|
|
|
|
|
|
|
|
|
|
|
|
|
|
|
|
|
|
|
|
|
|
|
|
|
|
|
|
|
|
|
|
|
| ||||||||
|
|
|
|
|
|
|
|
|
|
|
|
|
|
|
|
|
| ||||||
|
|
|
|
| W h e n p r e s s i n g 3 o n c e |
|
|
| |||||||||||||||
|
|
|
|
|
|
|
|
|
|
|
|
|
|
|
|
|
|
|
|
|
|
|
|
|
|
|
|
|
|
|
|
|
|
|
|
|
|
|
|
|
|
|
|
|
|
|
|
V I D E O A | P I C T U R E A D J . |
|
|
|
|
| V I D E O A | P I C T U R E A D J . |
|
|
| ||||||||||||
|
|
|
|
|
|
|
|
|
|
|
|
|
|
|
| ||||||||
C O N T R A S T | : 0 0 |
|
|
|
| C O N T R A S T | : + 0 2 |
|
| ||||||||||||||
B R I G H T | : 0 0 |
|
|
|
| B R I G H T | : 0 0 |
|
| ||||||||||||||
C H R O M A | : – 0 2 |
|
| C H R O M A | : – 0 2 | ||||||||||||||||||
P H A S E | : 0 0 |
|
|
|
| P H A S E | : 0 0 |
|
| ||||||||||||||
S H A R P N E S S | : 0 0 |
|
|
|
| S H A R P N E S S | : 0 0 |
|
| ||||||||||||||
s u b m e n u |
|
|
|
|
| s u b m e n u |
|
|
| ||||||||||||||
r e s e t |
|
|
|
|
|
|
|
|
|
| r e s e t |
|
|
|
|
|
| ||||||
A D J U S T : |
|
| S E L E C T : |
| E X I T : |
|
|
|
| A D J U S T : |
|
|
|
| S E L E C T : |
| E X I T : |
|
| ||||
|
|
| M E N U |
|
|
|
|
|
|
| M E N U |
| |||||||||||
|
|
|
|
|
|
|
|
|
|
|
|
|
|
|
|
|
|
|
|
|
|
|
|
MENU/EXIT
MENU/EXIT
5 / 5
6 Press MENU/EXIT twice to exit from the
Operating the Monitors Simultaneously
•Check that no ID number is shown on the screens. If any ID numbers are shown, press MODE to erase them.
•The following procedure should be performed slowly and securely.
Example: When adjusting “CONTRAST”:
1 Press MENU/EXIT to display the Main Menu.
The Main Menus appear on all the connected Monitors’ screens.
2 Press 5/∞ to move the cursor (3) to “PICTURE ADJ.”
3 Press 3 to display the Picture
Adjustment Menu.
The Picture Adjustment Menus appear on all the connected Monitors’ screens.
4 Press 5/∞ to move the cursor (3) to “CONTRAST.”
menu operations.
Operating the Monitors Individually
The following procedure should be performed slowly and securely.
1 Press MODE to display the ID numbers on all the connected Monitors’ screens.
Master |
| Slave 1 |
| Slave 2 |
| Slave XX |
|
|
|
|
|
|
|
MASTER |
| [00] |
| [00] |
| [00] |
|
|
|
|
|
|
|
|
|
|
|
|
|
|
2 Press ID +/– to select the Monitor you want to operate.
Example: To select “[02]”:
Press ID + twice.
Slave 2’s ID number “[02]” is highlighted.
*The selected ID number will be also shown on the Master Monitor (in this example, “MASTER\[02]”).
Master |
| Slave 1 |
| Slave 2 |
| Slave XX |
|
|
|
|
|
|
|
MASTER\[02] |
| [01] |
| [02] |
| [XX] |
|
|
|
|
|
|
|
|
|
|
|
|
|
|
3 Perform any desired operations, such as adjusting menu items.
Notes:
•If “[00]” is displayed on all the Monitor screens or if some of the Monitor screens have no indication in step 1, press MODE to turn off the indications on all screens, and then press MODE again.
•If the ID number of the Monitor selected in step 2 is not highlighted or if the ID numbers of more than one Monitor are highlighted, press MODE to clear the ID numbers, and then start the procedure again from the beginning.
32