


Features of your new TV
The following are some of the exciting features of your new Toshiba widescreen, integrated High Definition, Plasma TV:
•Integrated digital tuning (8VSB ATSC and QAM) eliminates the need for a separate digital converter
•PC IN connection allows you to use the TV as a computer monitor.
•Two HDMI digital,
•Two sets of ColorStream® HD
•Dolby* Digital and SRS WOW™ audio technologies.
•Digital Audio Out optical audio connection.
•CableClear® picture noise reduction.
* Manufactured under license from Dolby Laboratories. Dolby and the
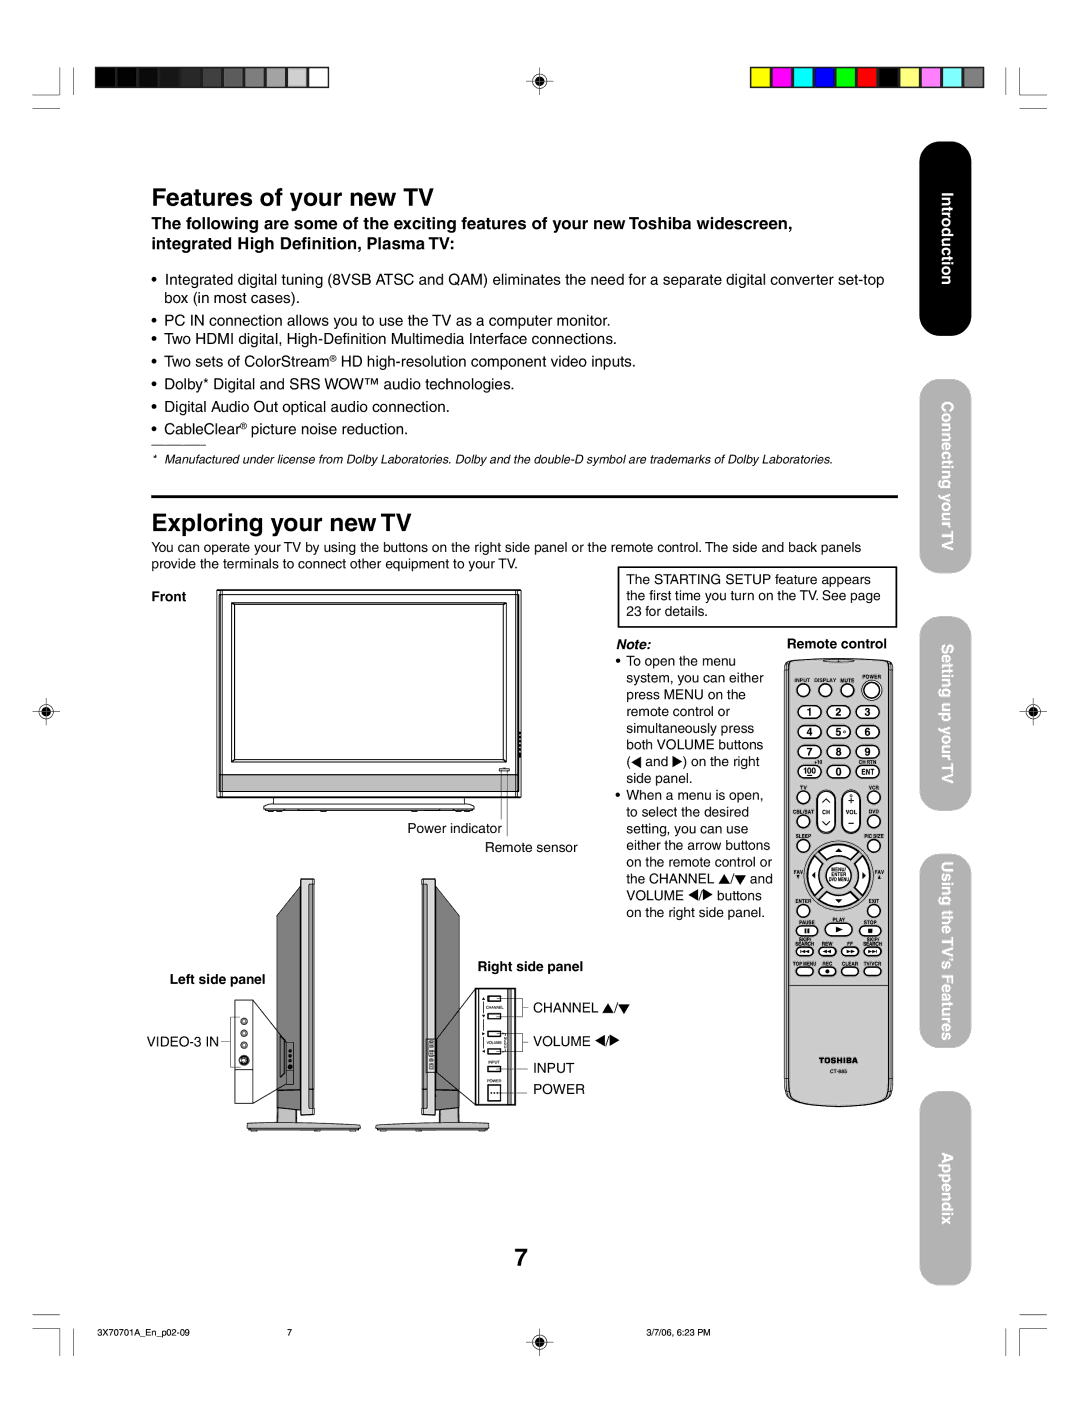
Exploring your new TV
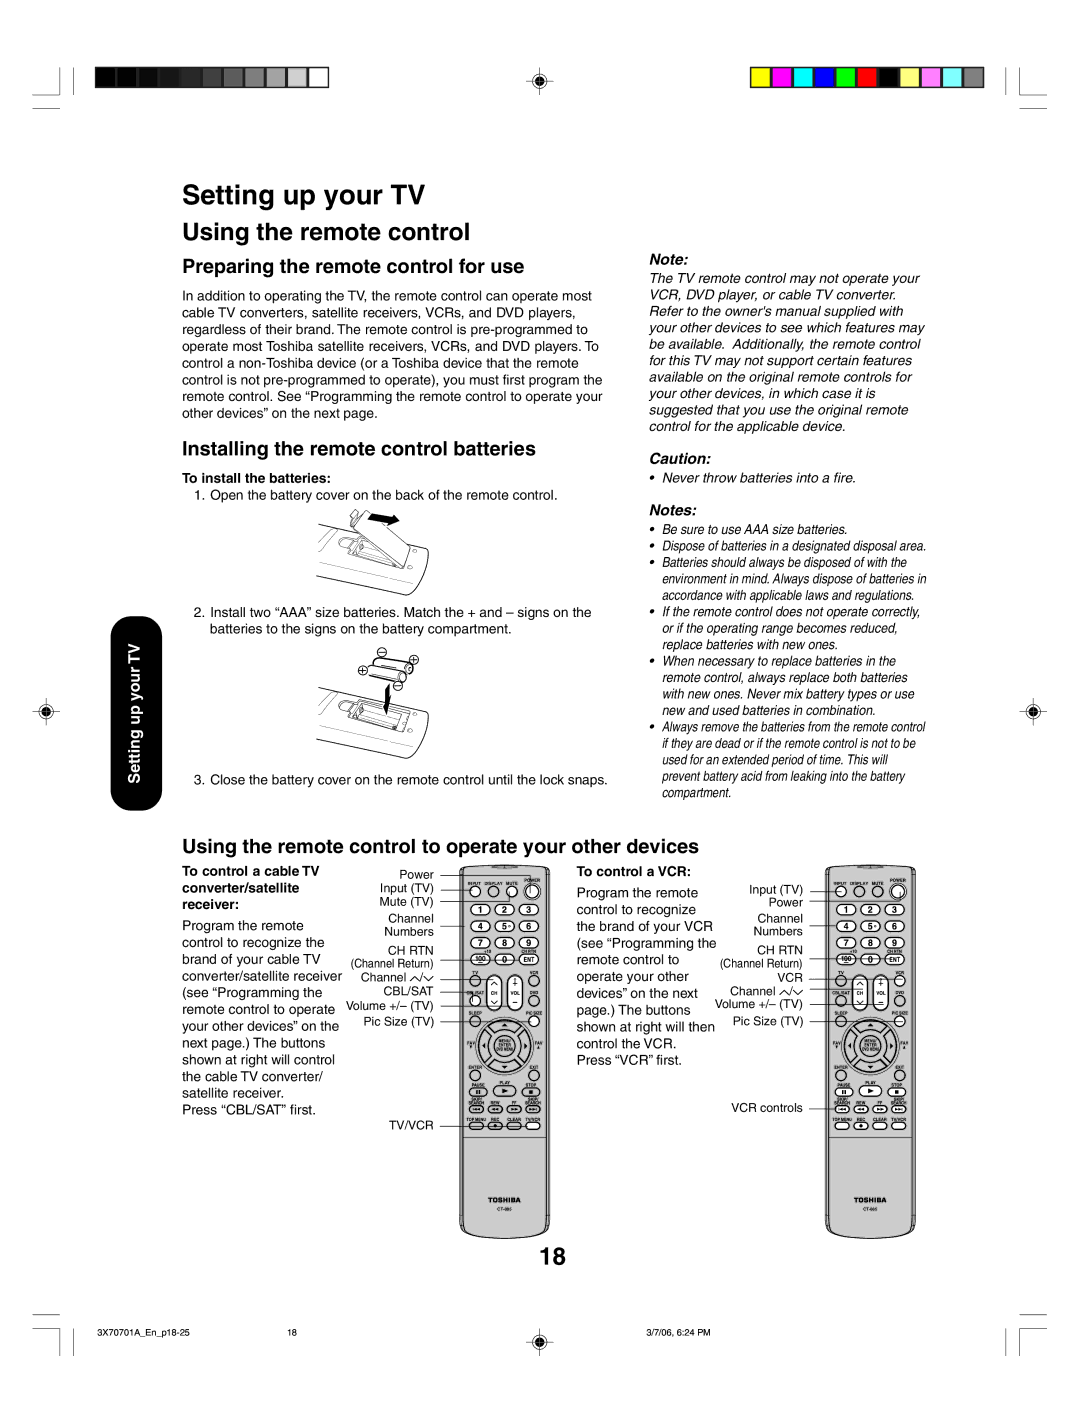
You can operate your TV by using the buttons on the right side panel or the remote control. The side and back panels provide the terminals to connect other equipment to your TV.
|
| The STARTING SETUP feature appears | ||
Front |
| the first time you turn on the TV. See page | ||
|
| 23 for details. |
|
|
|
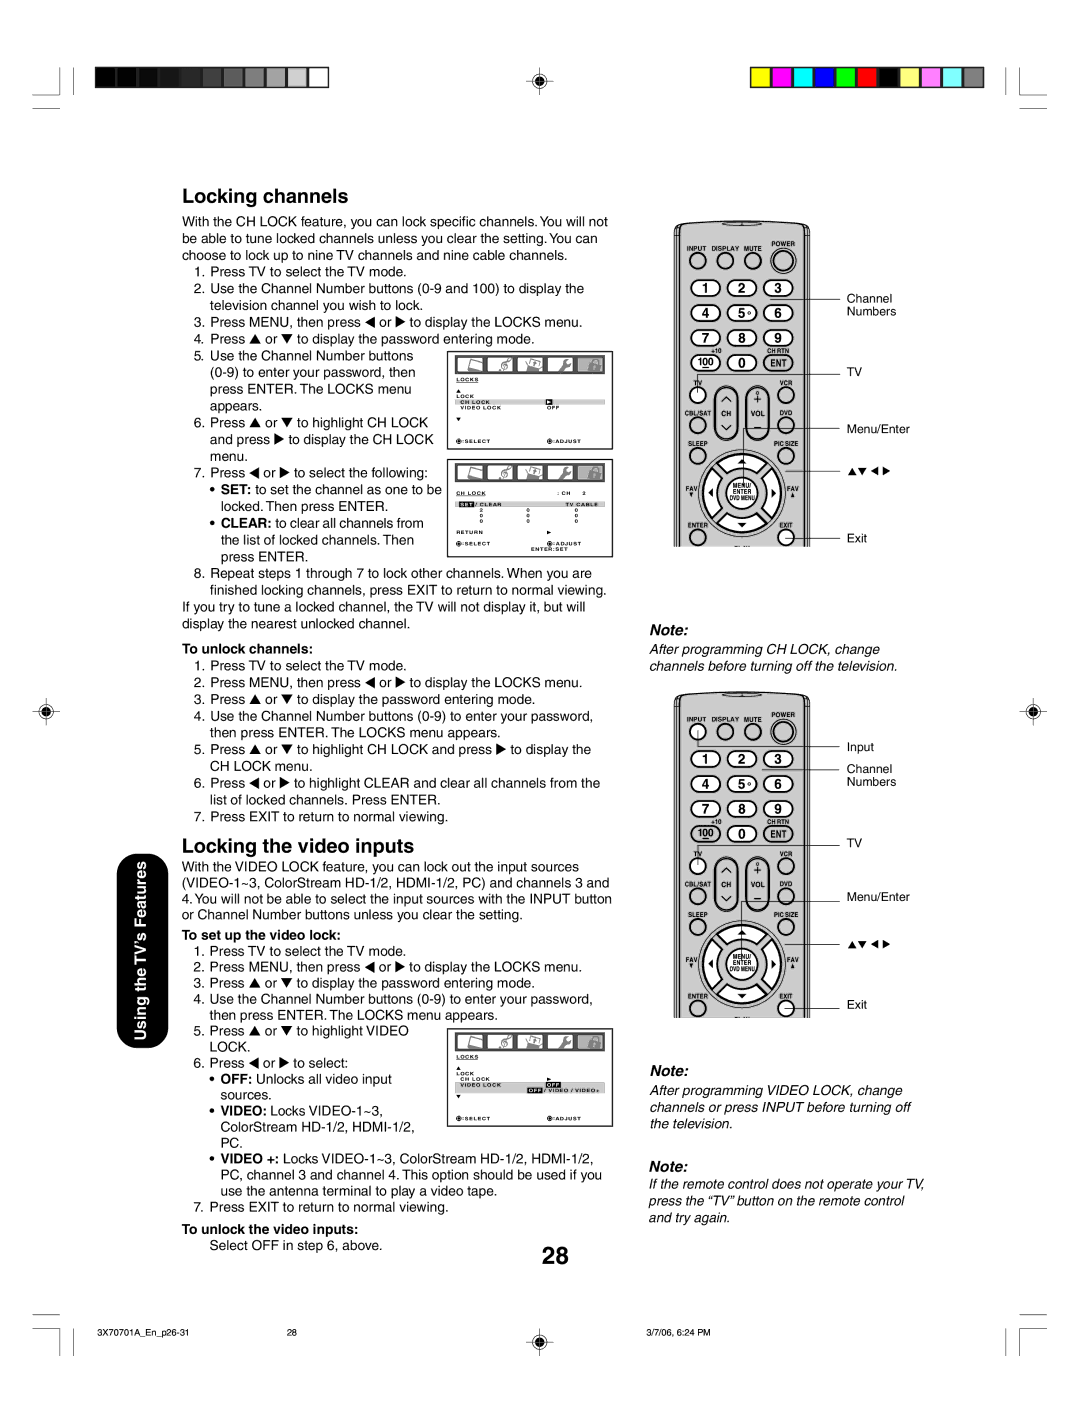
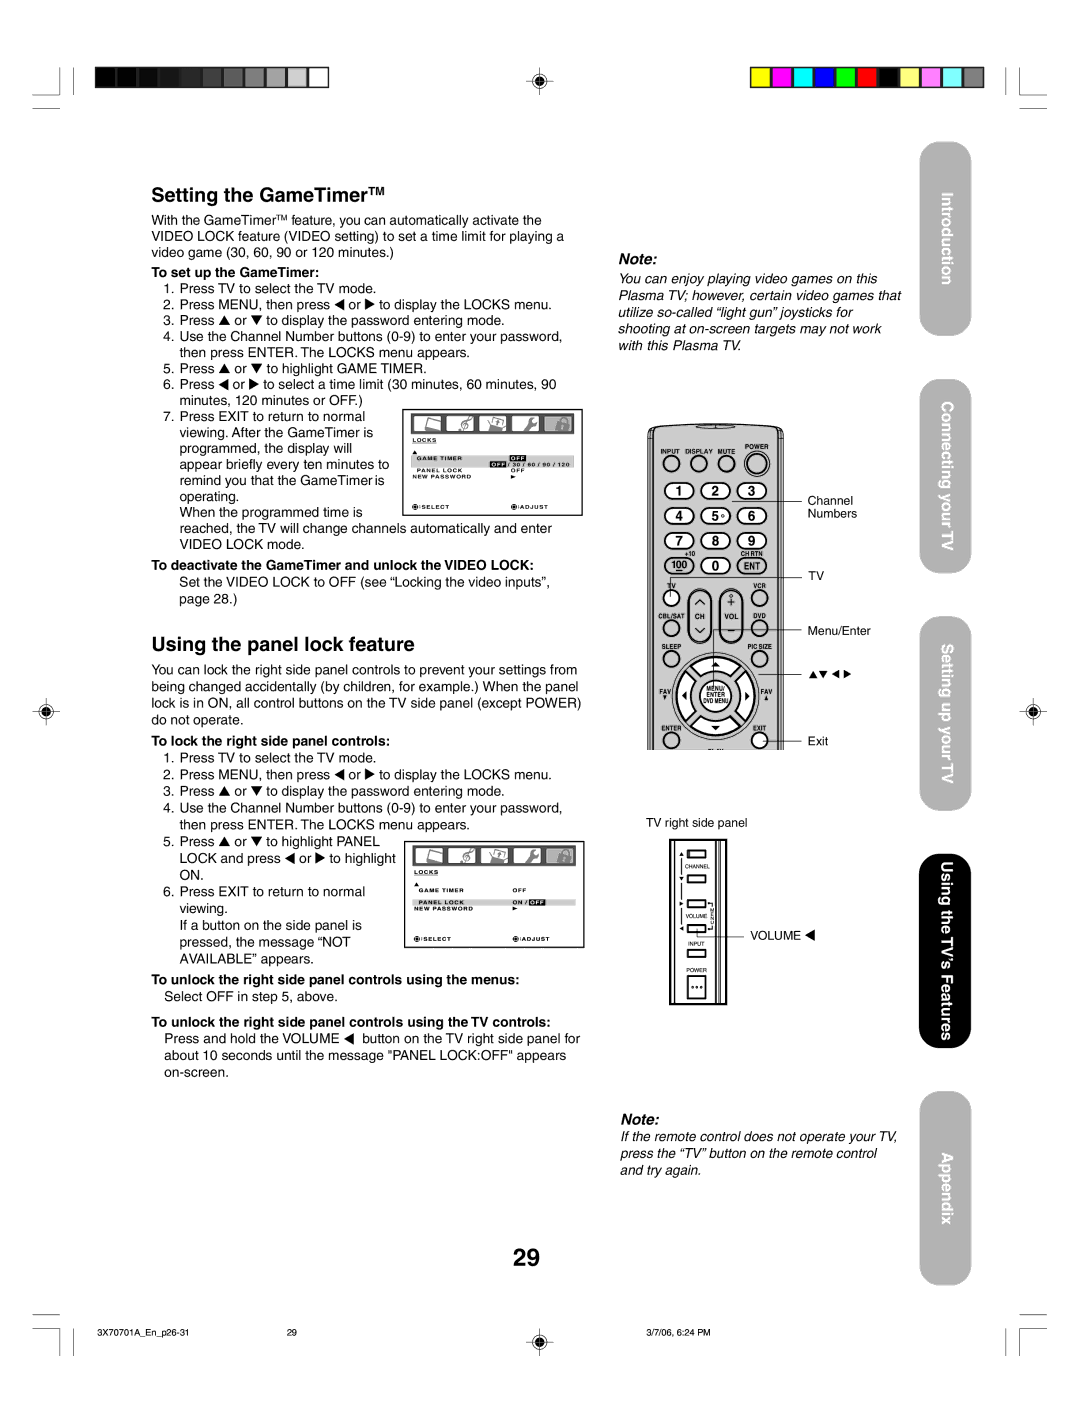
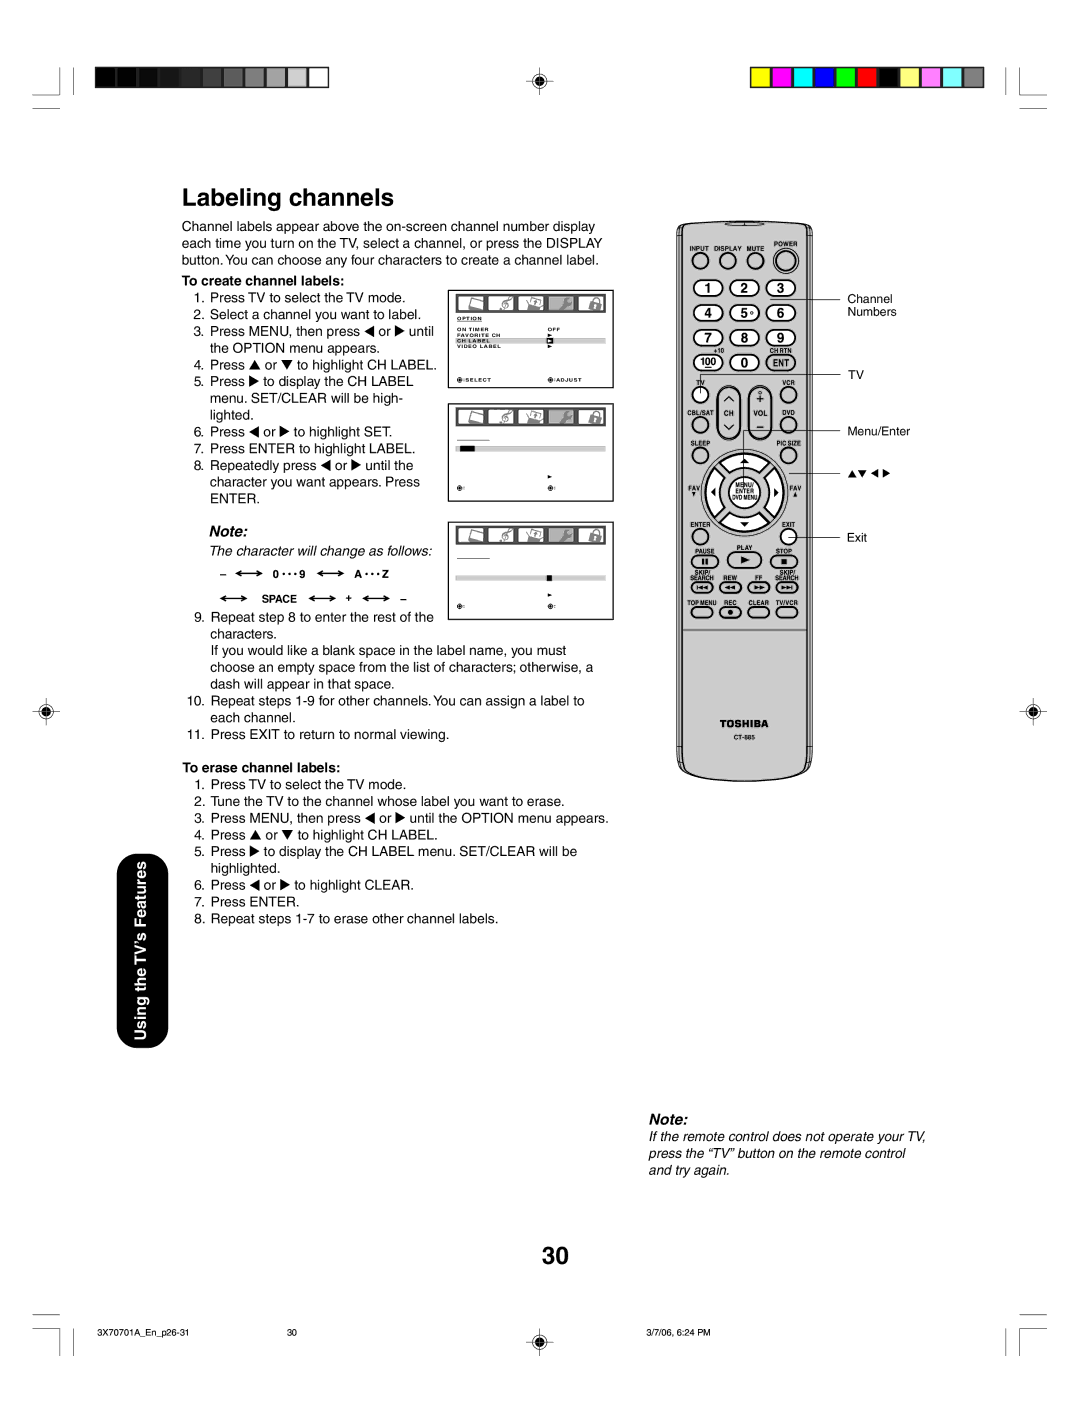
| Note: |
| Remote control |
|
| • To open the menu |
| |
|
| system, you can either | INPUT DISPLAY | |
|
| press MENU on the |
| |
|
| remote control or |
| |
|
| simultaneously press |
| |
|
| both VOLUME buttons |
| |
|
| ( and ) on the right |
| |
|
| side panel. |
|
|
|
| • When a menu is open, |
| |
|
| to select the desired |
| |
| Power indicator | setting, you can use |
| |
| Remote sensor | either the arrow buttons |
| |
|
| on the remote control or |
| |
|
| the CHANNEL | / and |
|
|
| VOLUME / | buttons |
|
|
| on the right side panel. |
| |
Left side panel | Right side panel |
|
|
|
|
|
|
| |
| CHANNEL | / |
|
|
VOLUME | / |
|
| |
| INPUT |
|
| |
| POWER |
|
|
|
7
Introduction
Connecting your TV
Setting up your TV
Using the TV’s Features
Appendix
7 | 3/7/06, 6:23 PM |