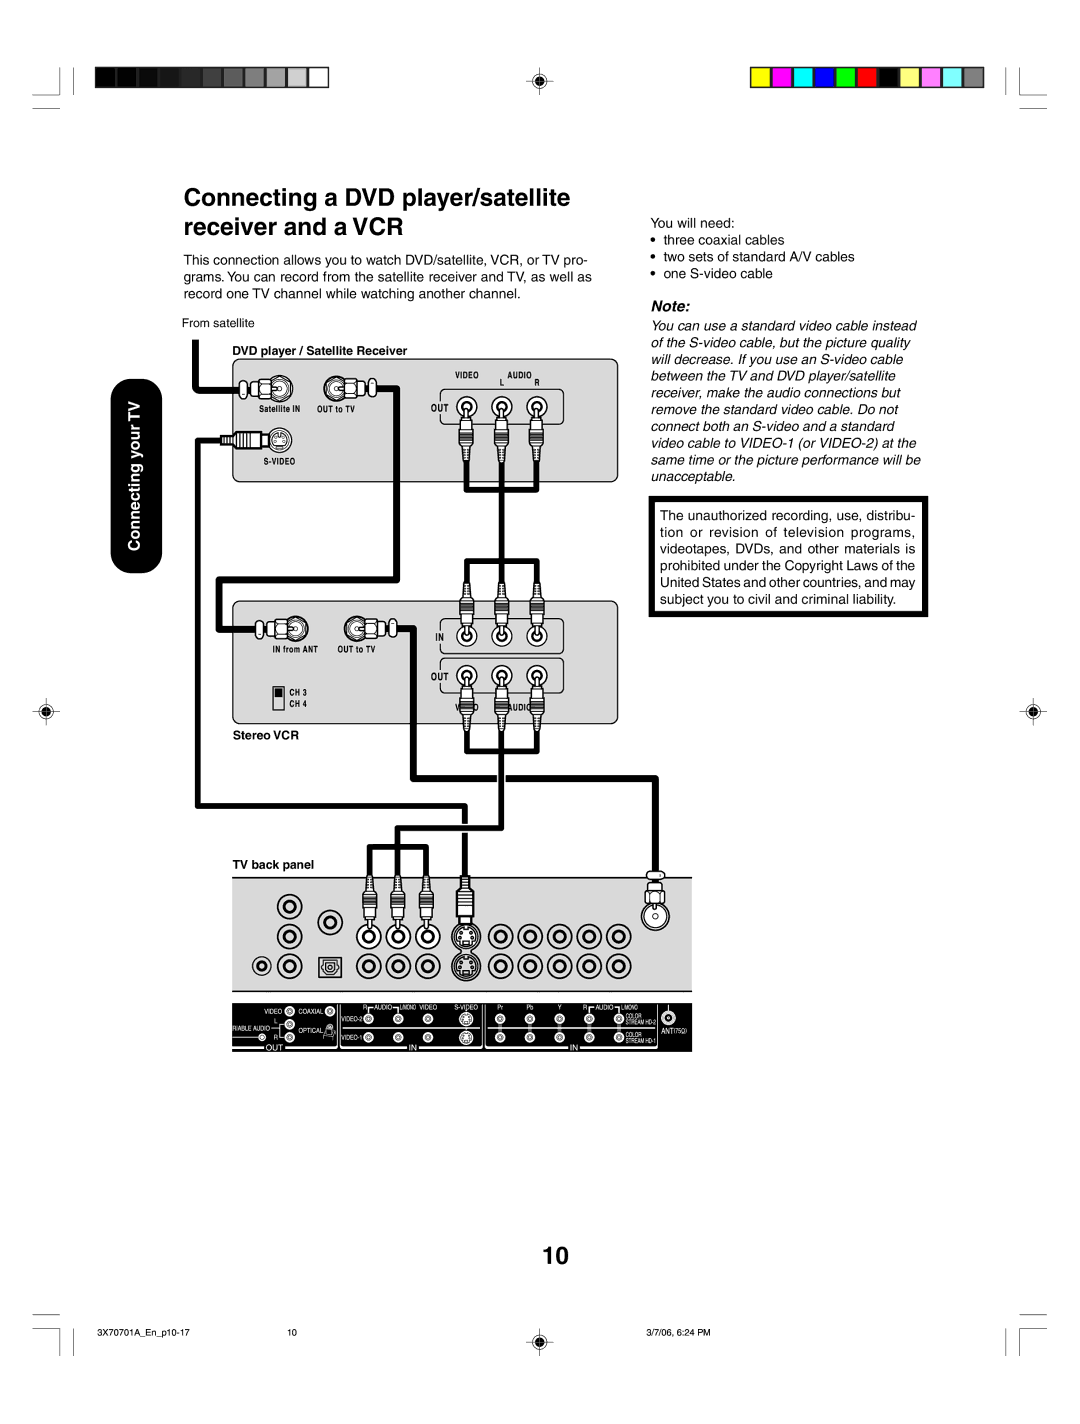
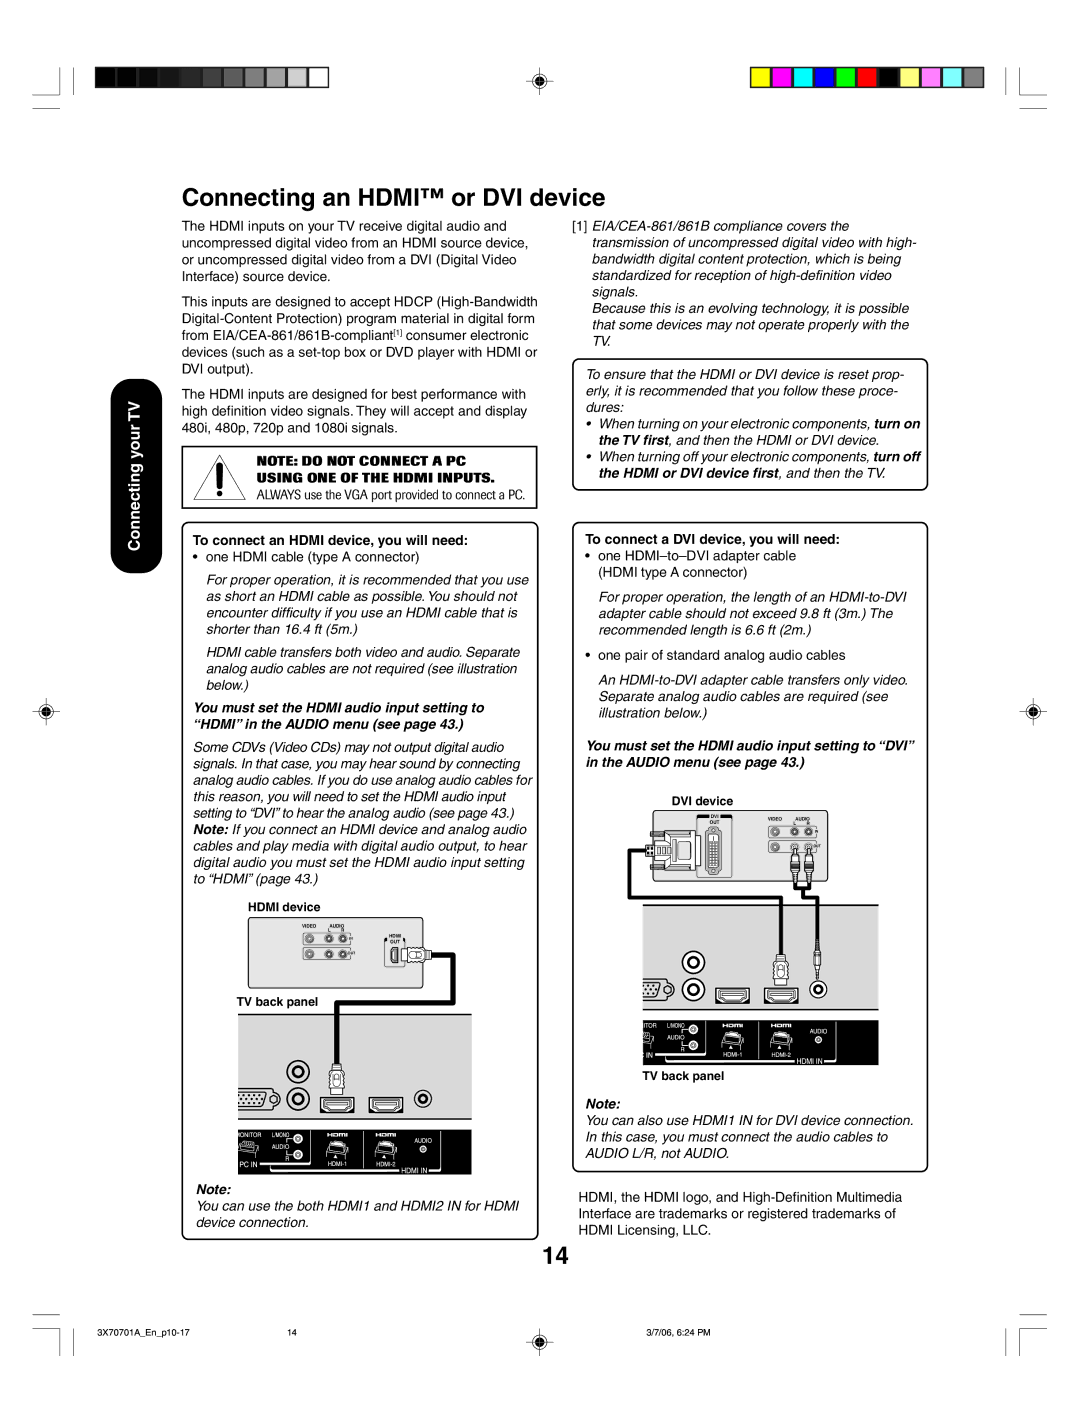


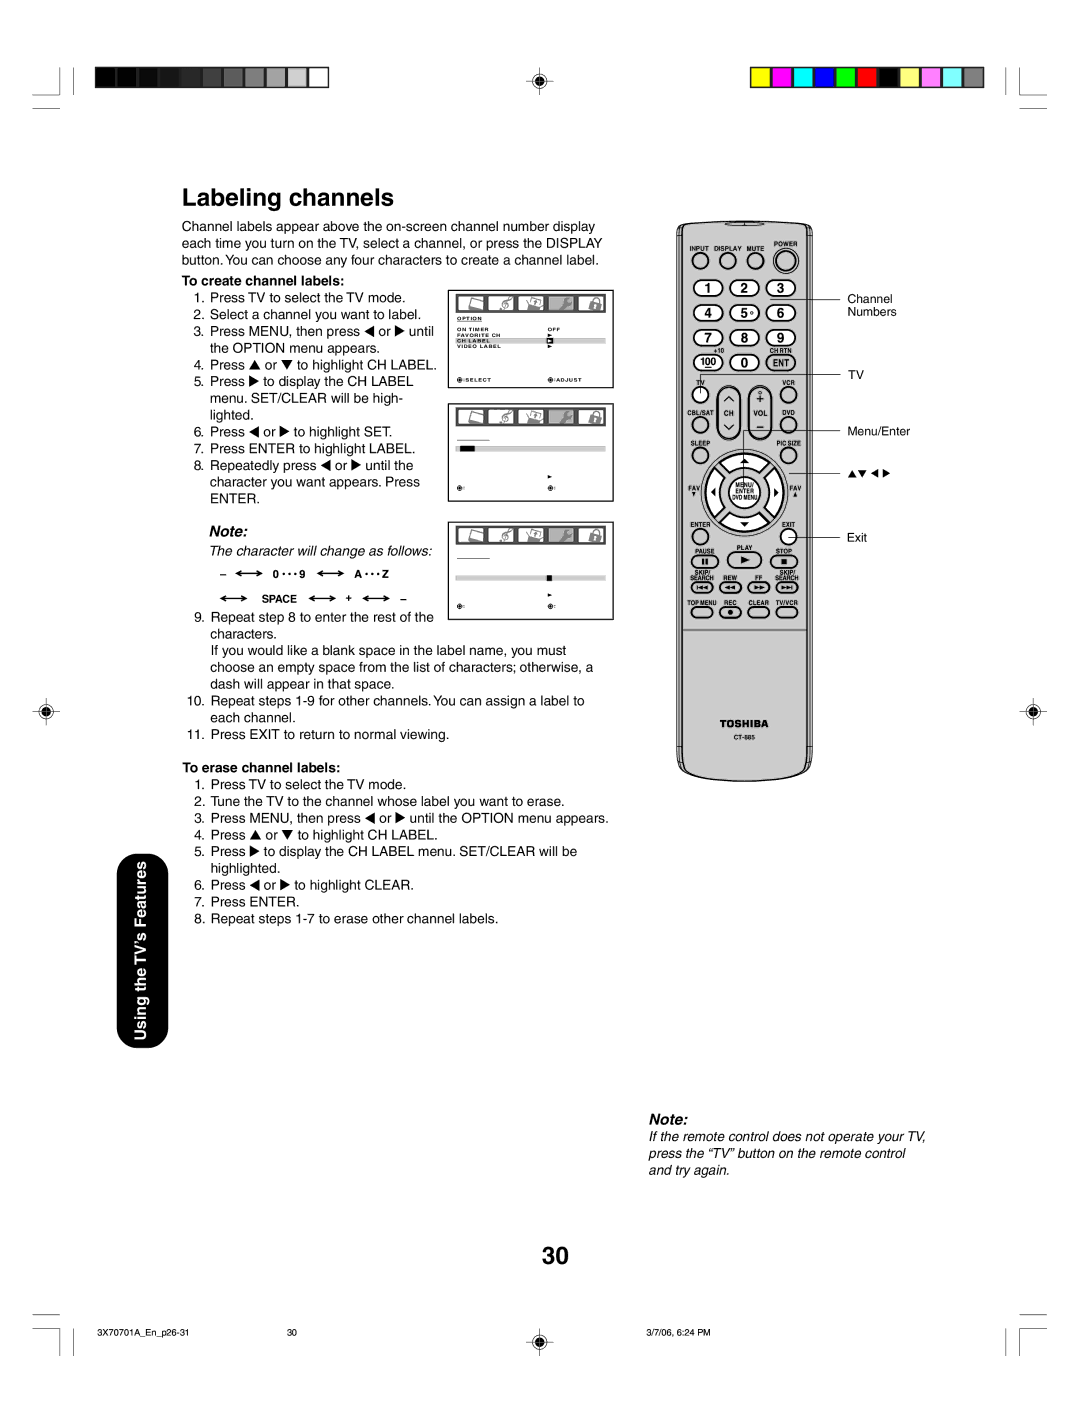
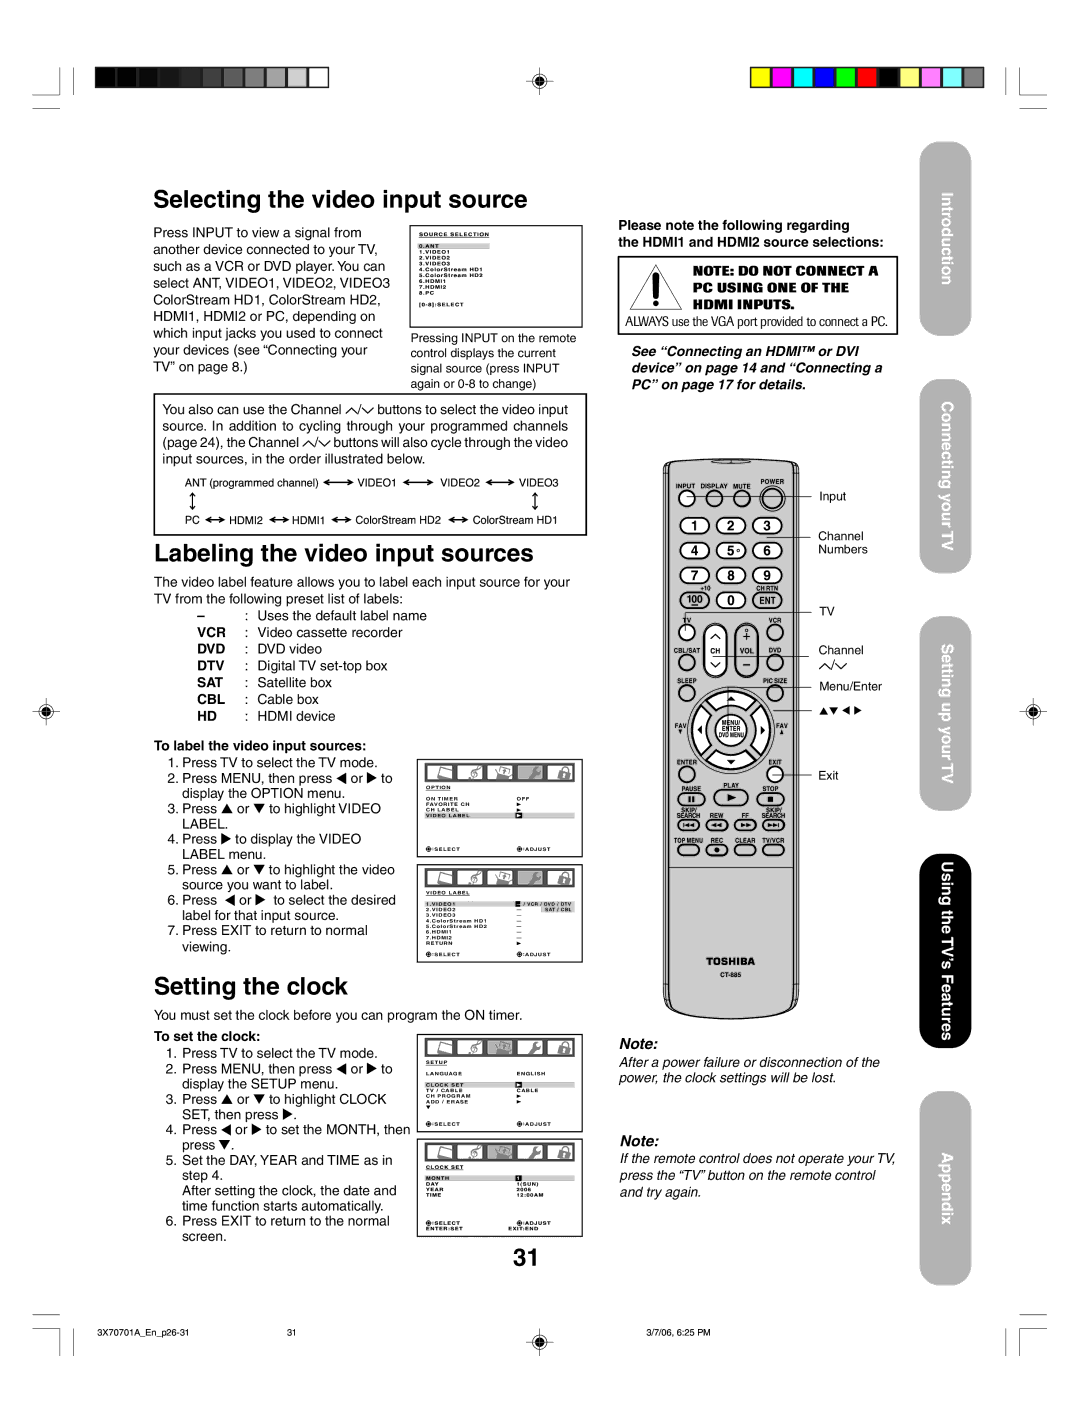
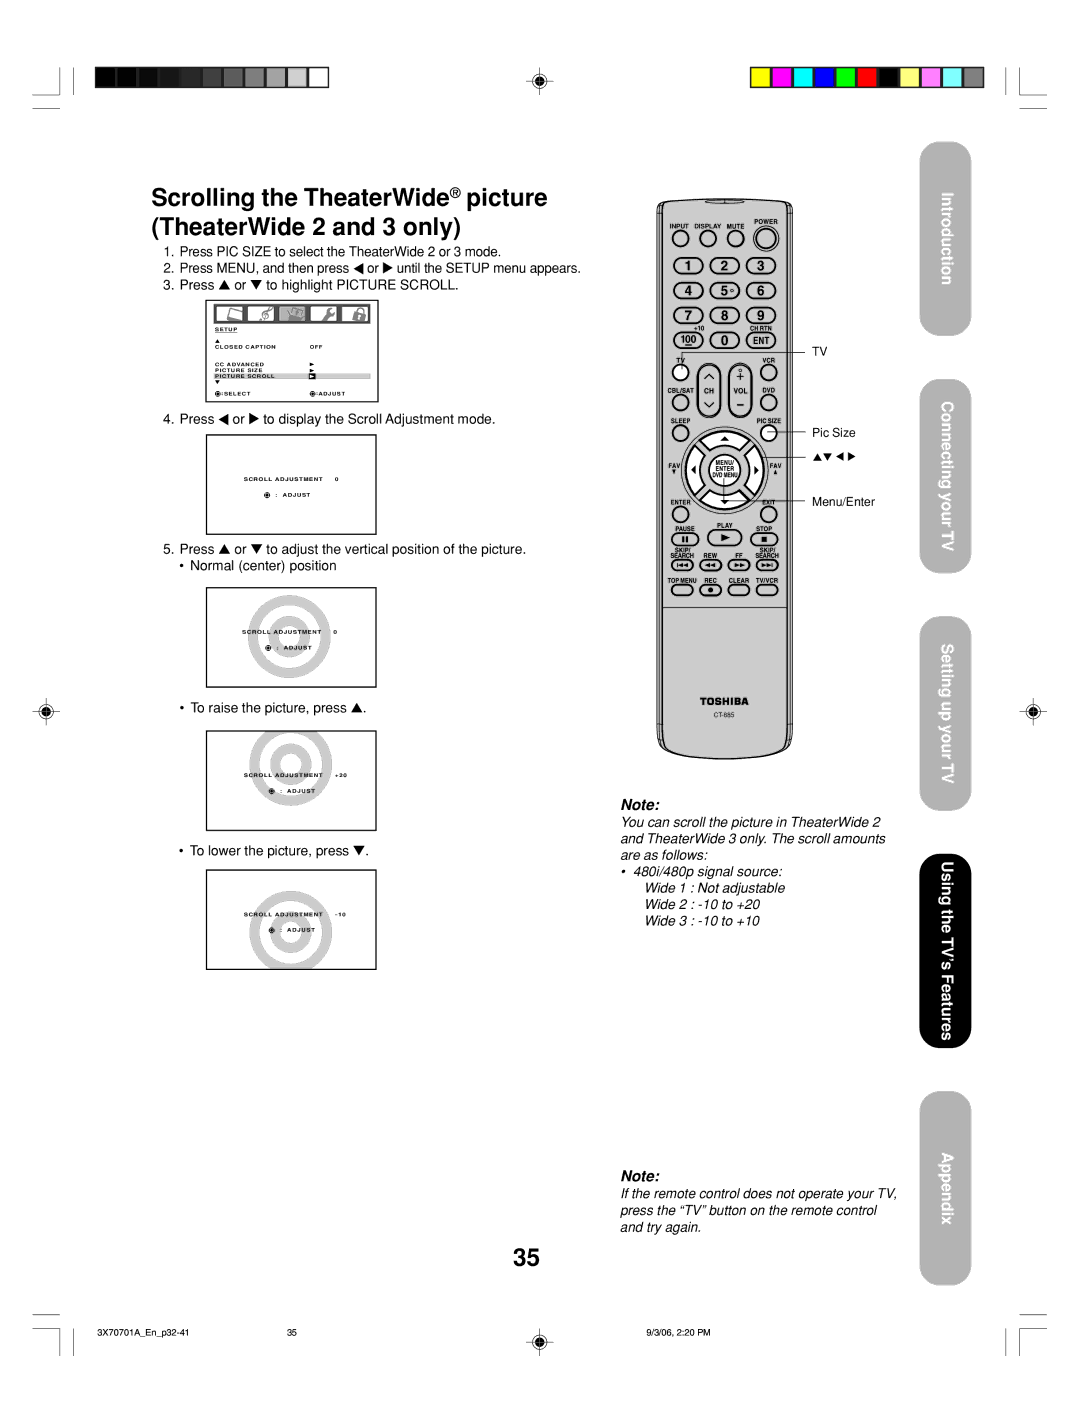


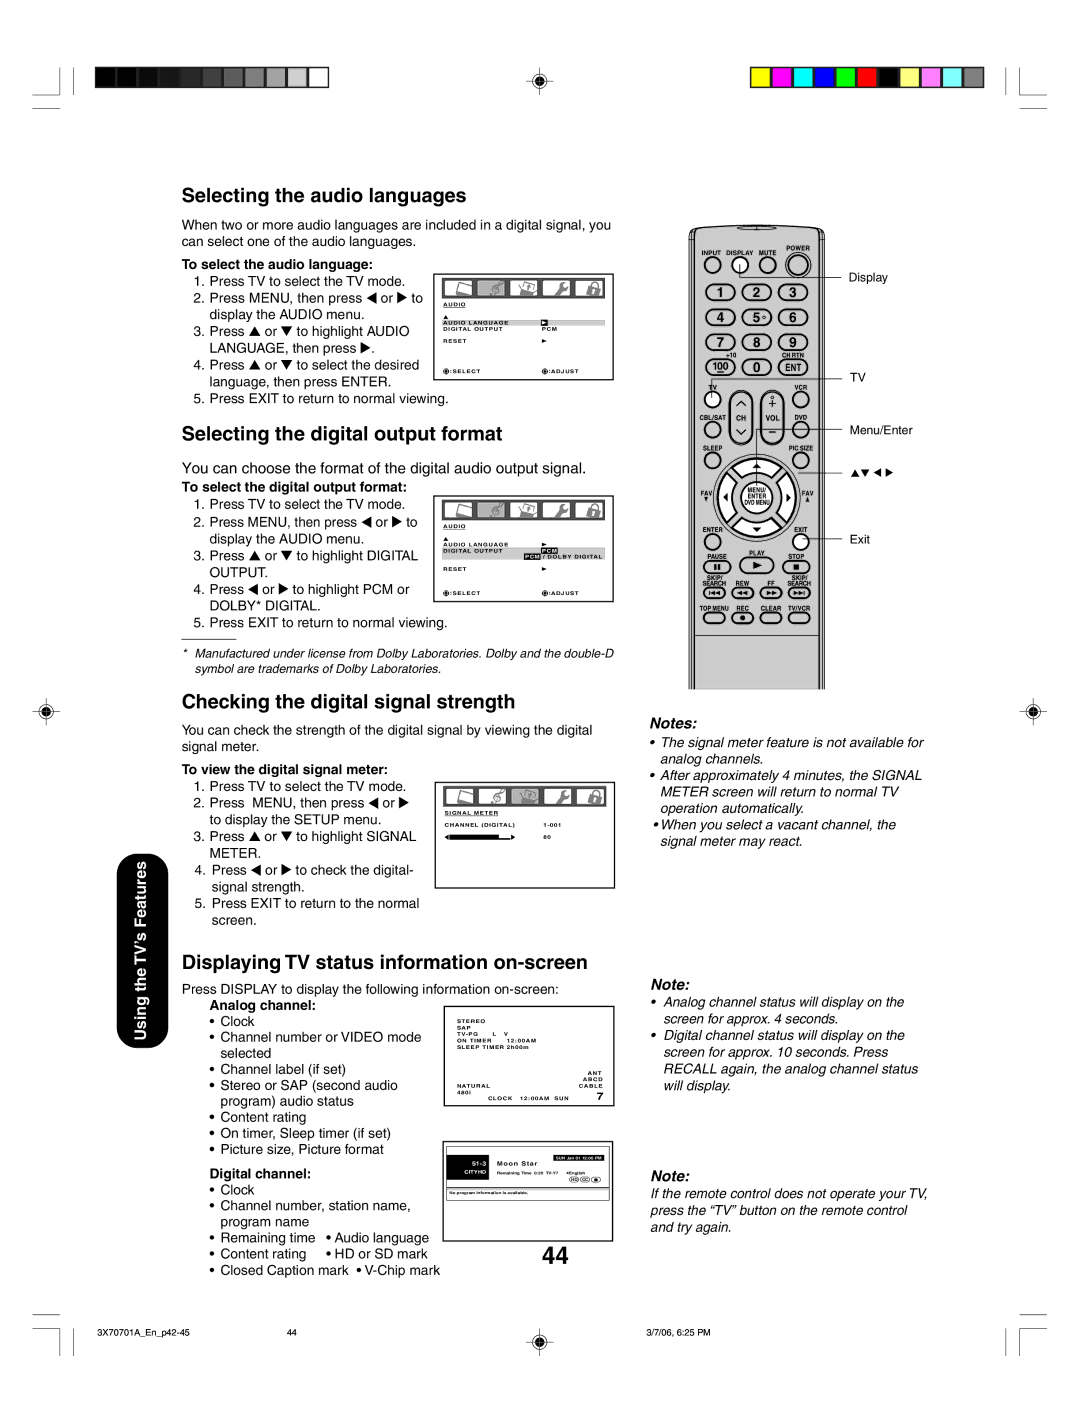

Learning about the remote control
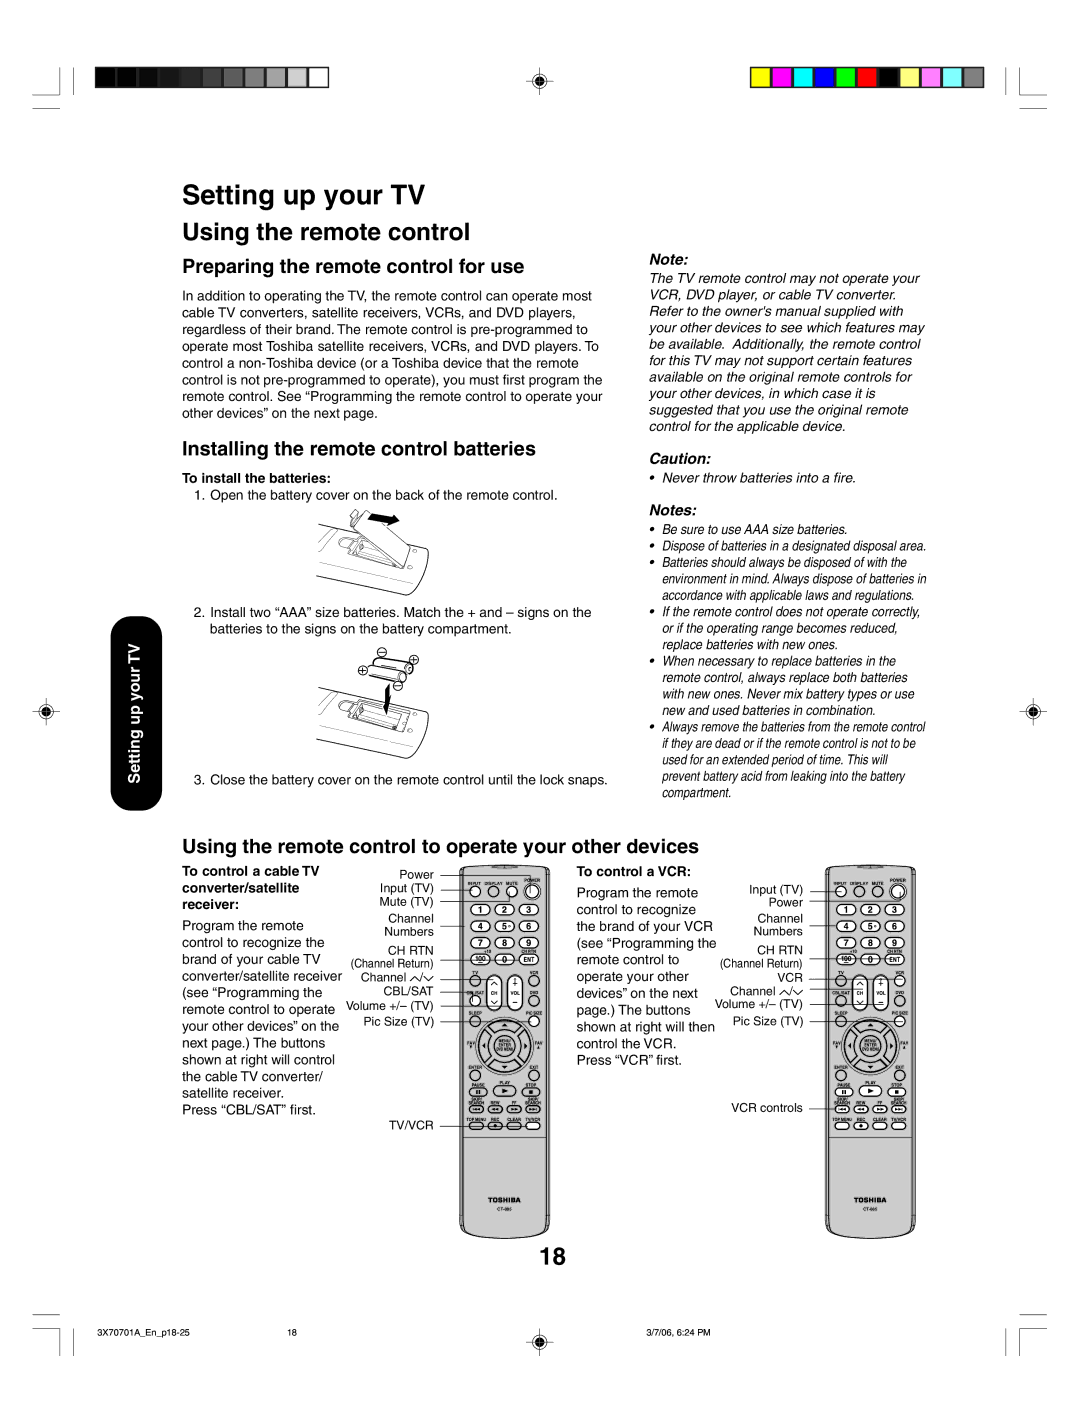
Setting up your TV
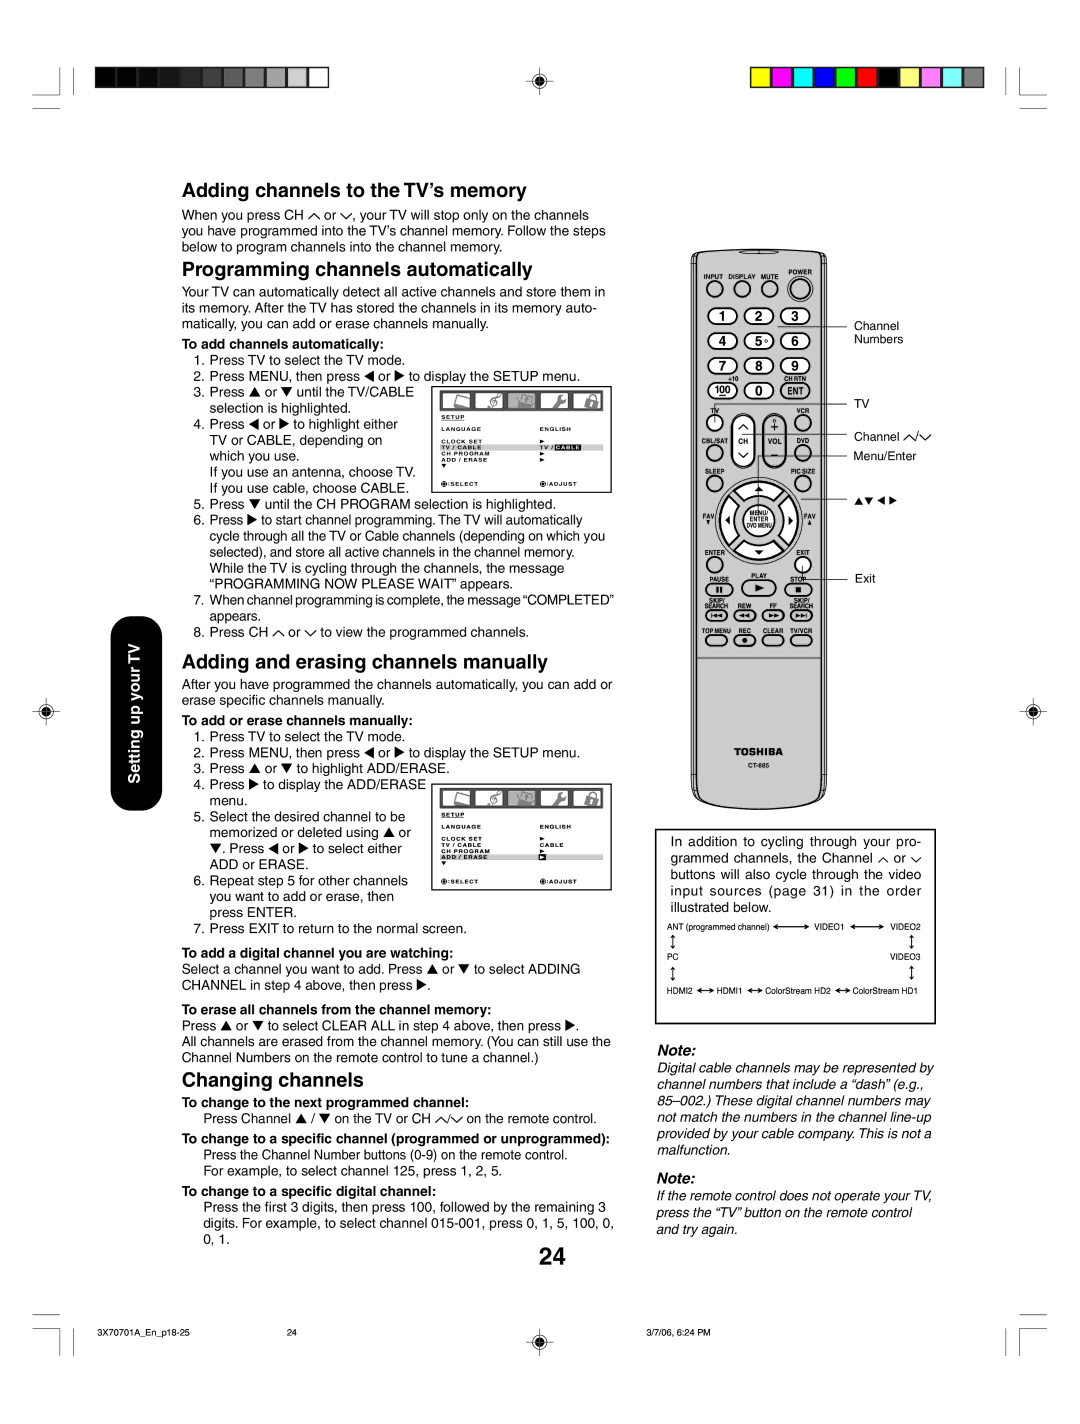
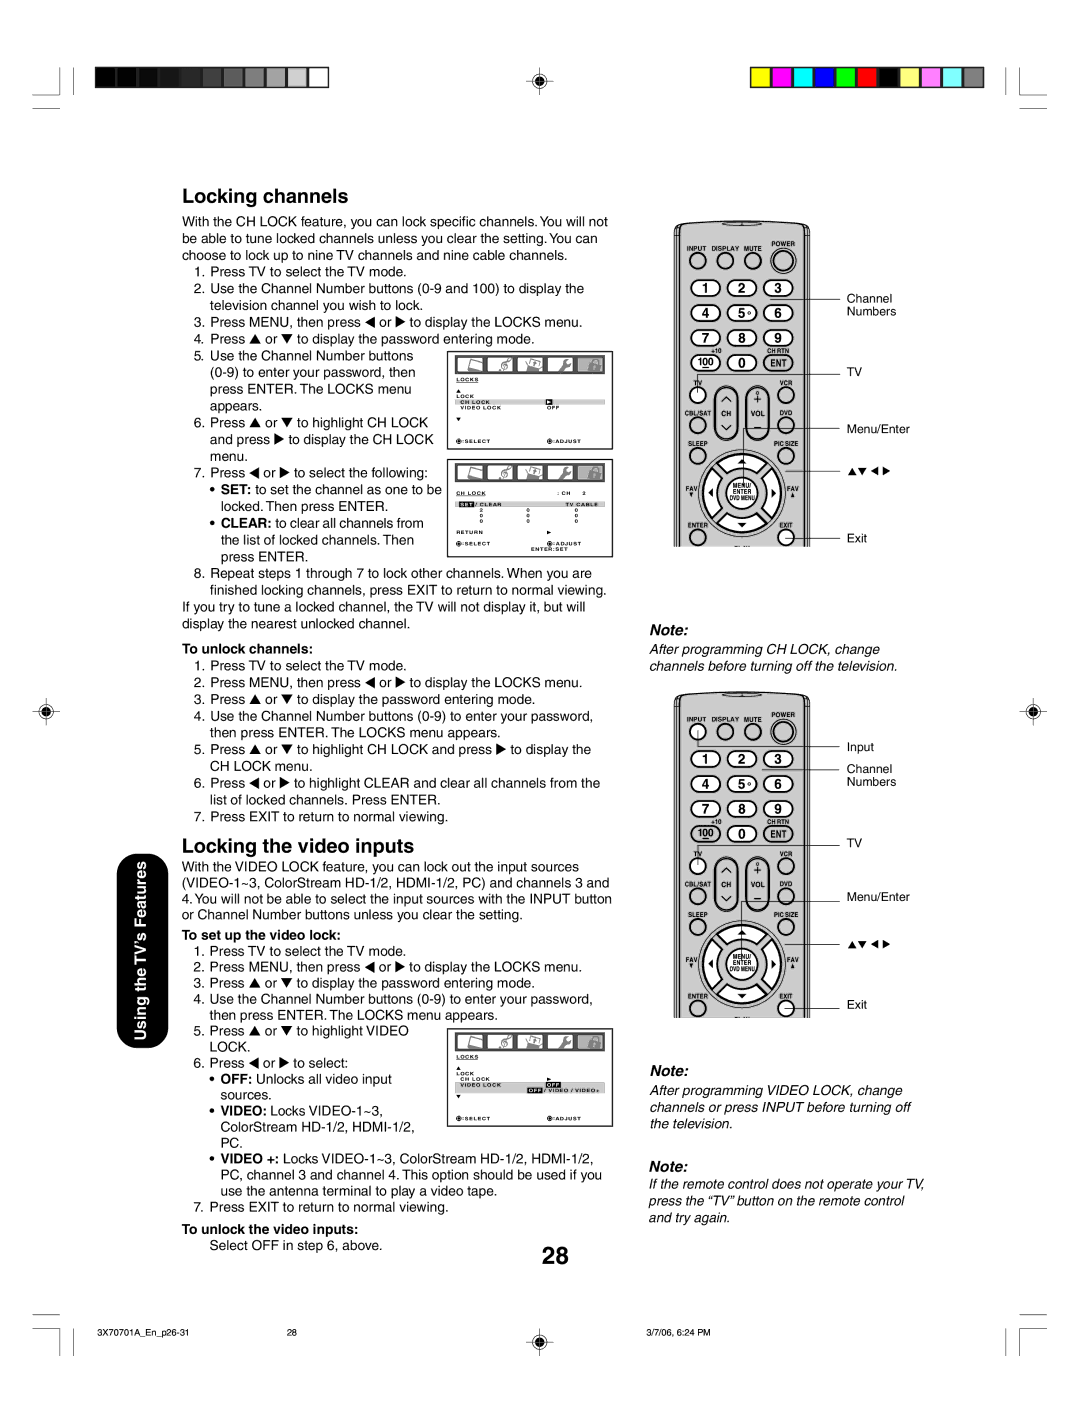
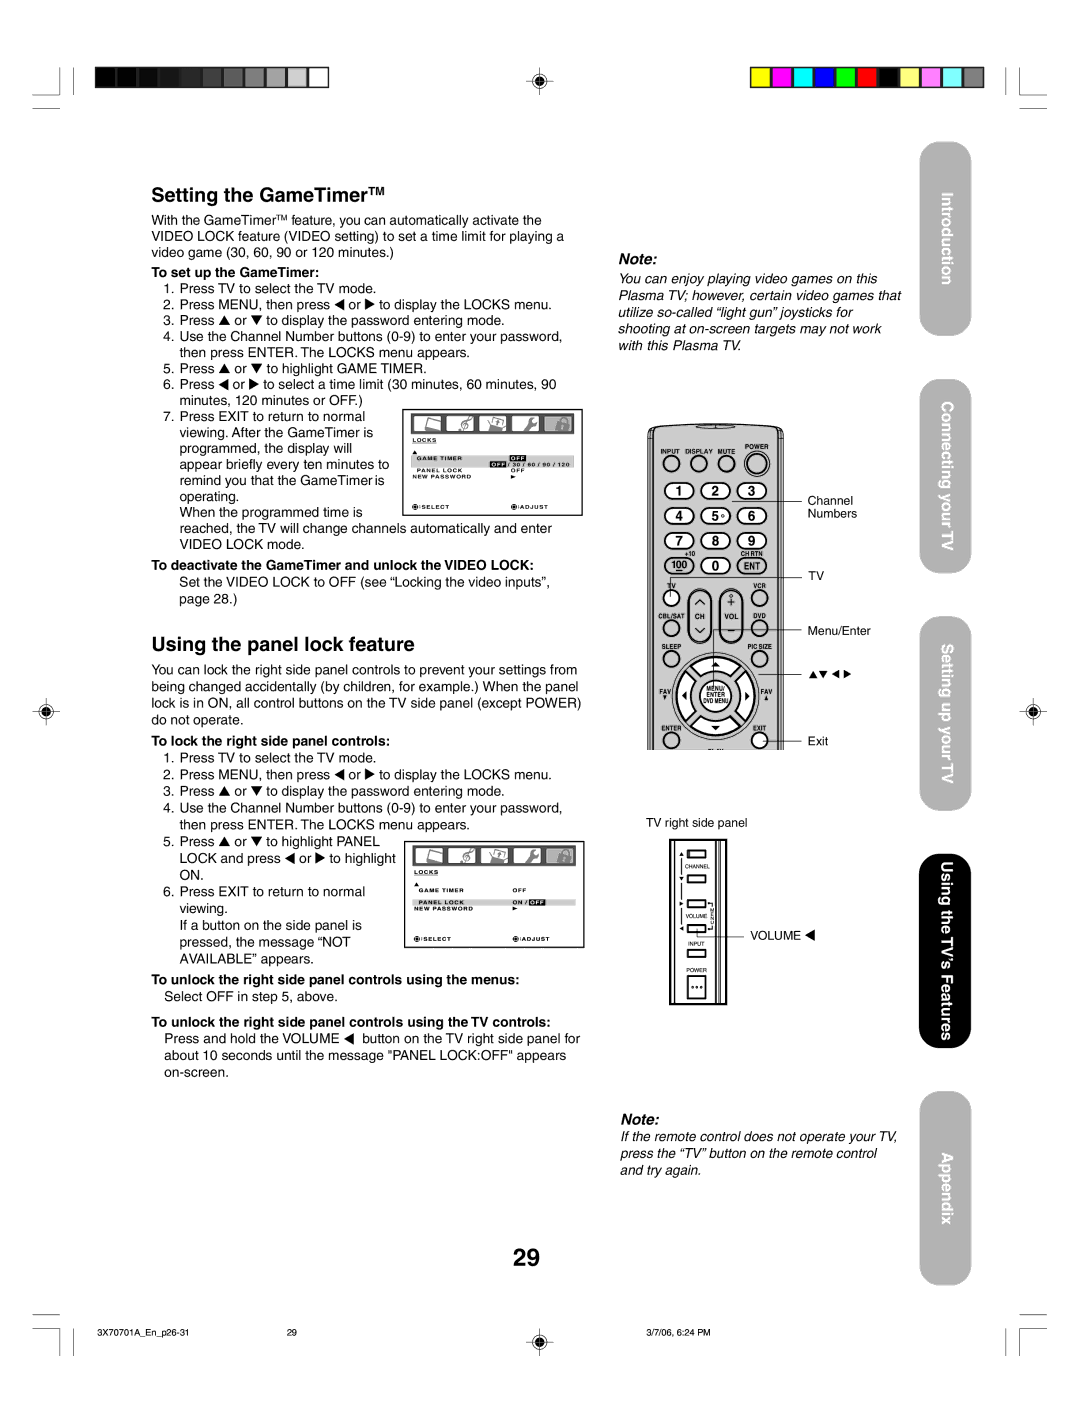
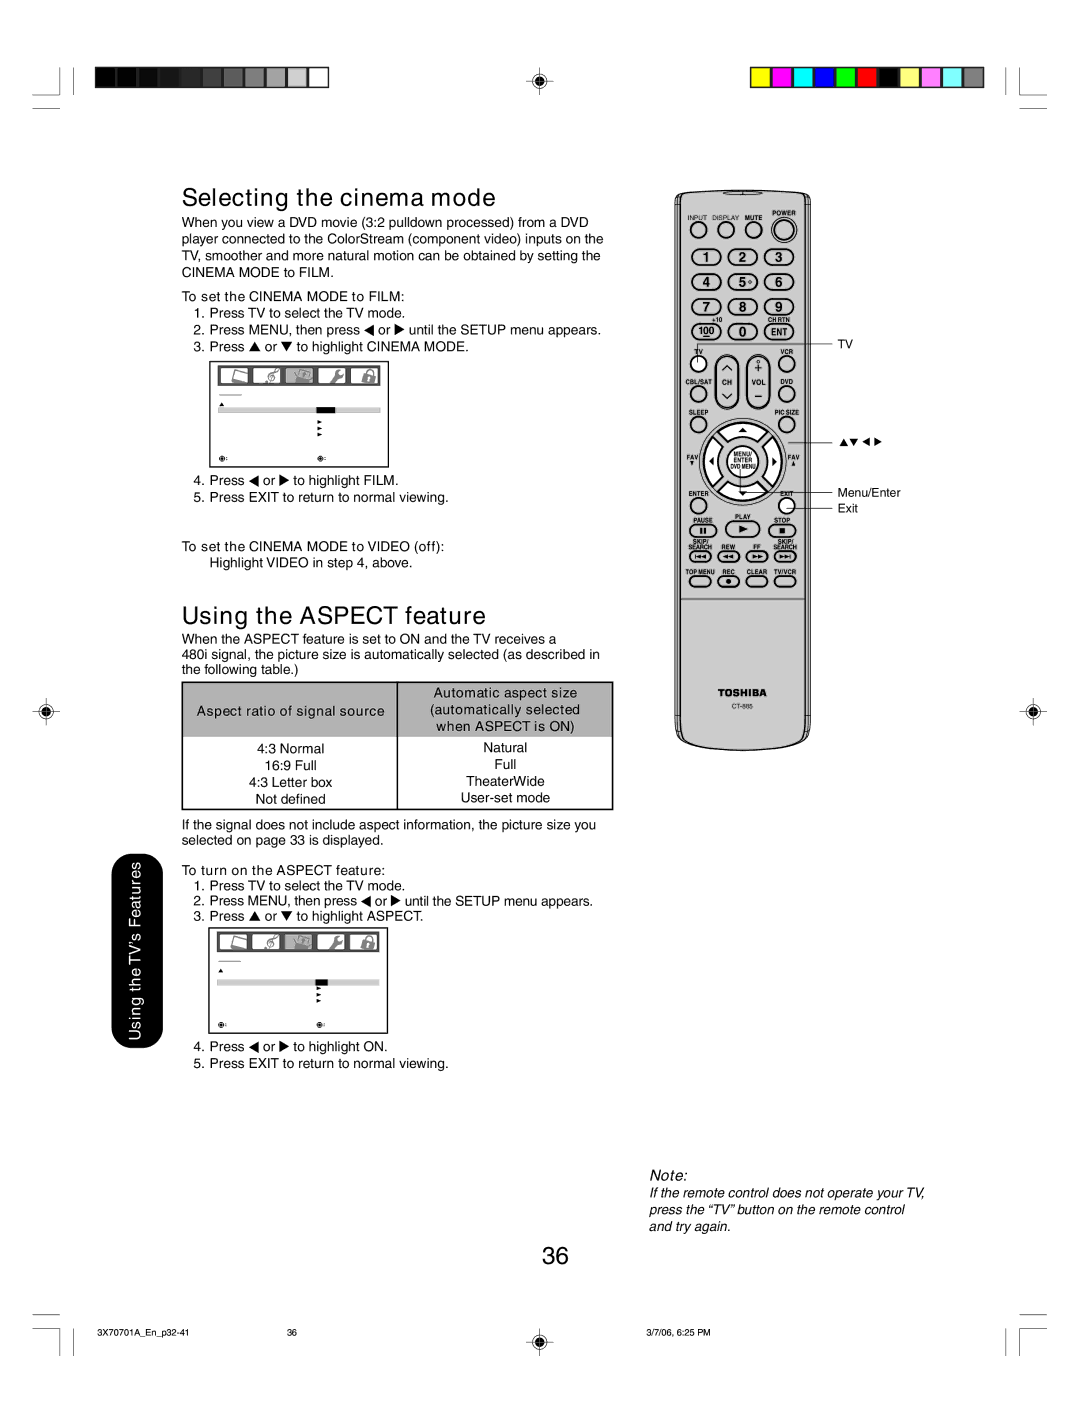
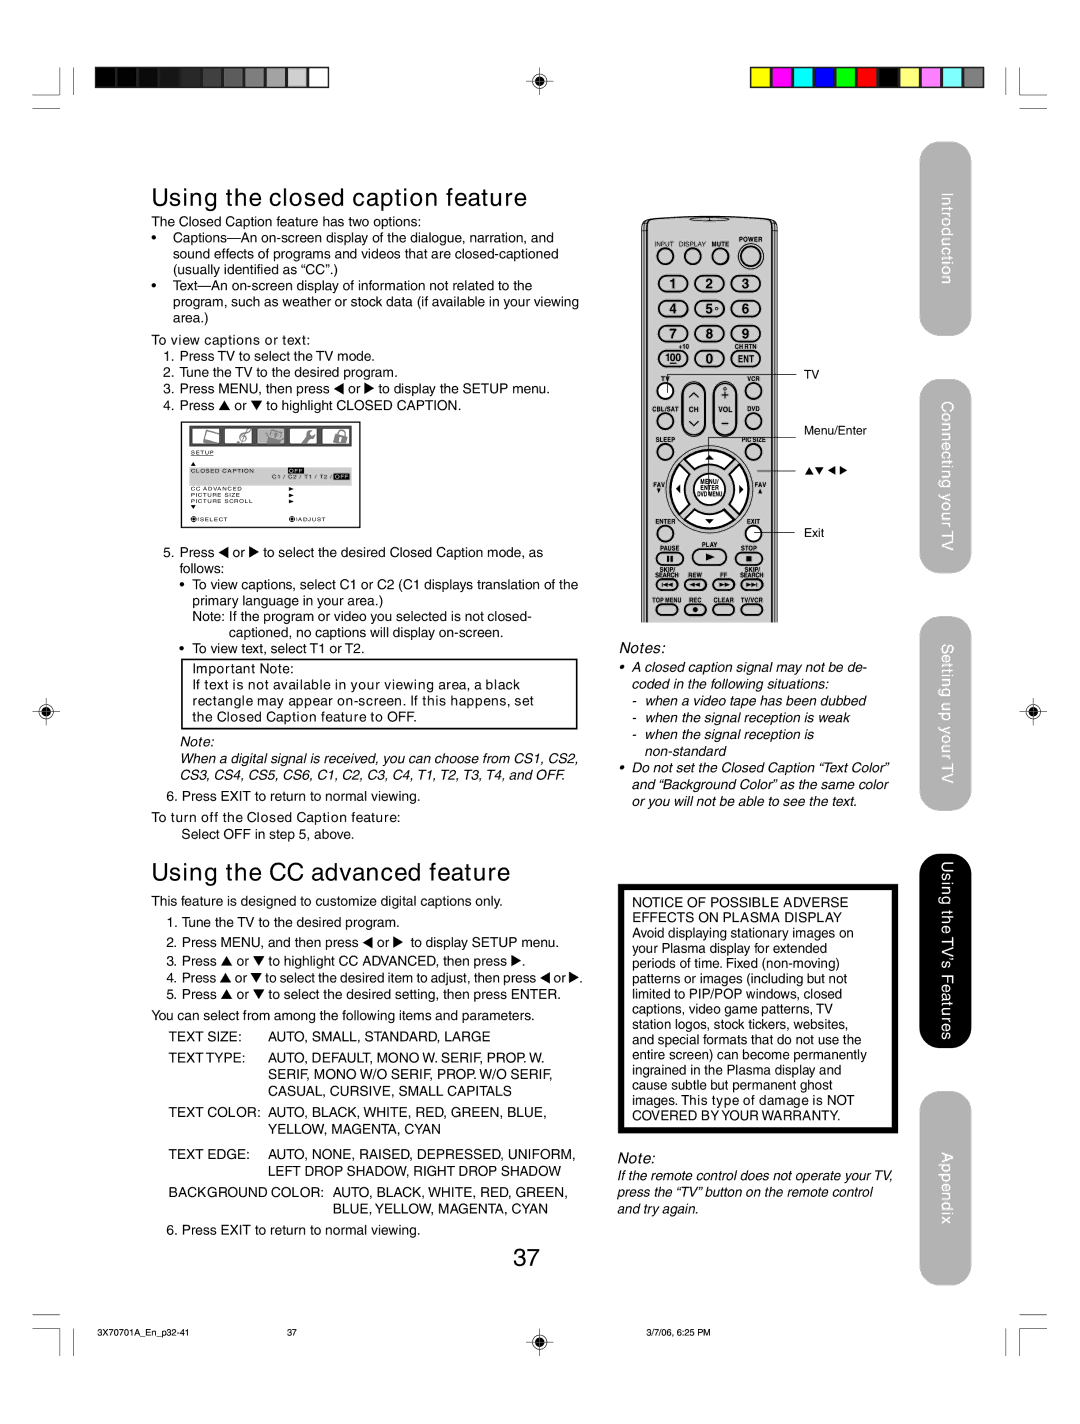
INPUT selects the video input source (page 31) DISPLAY displays status information
POWER turns the TV on and off
CHANNEL NUMBERS allow direct access to channels (page 25)
CH RTN (Channel Return) returns to the last viewed channel (page 25)
TV selects TV mode
CBL/SAT selects CBL/SAT mode (page 18)
CH ![]() /
/![]() cycles through programmed channels (page 24) VOL +/– adjusts the volume level
cycles through programmed channels (page 24) VOL +/– adjusts the volume level
VCR selects VCR mode (page 18)
DVD selects DVD mode (page 19)
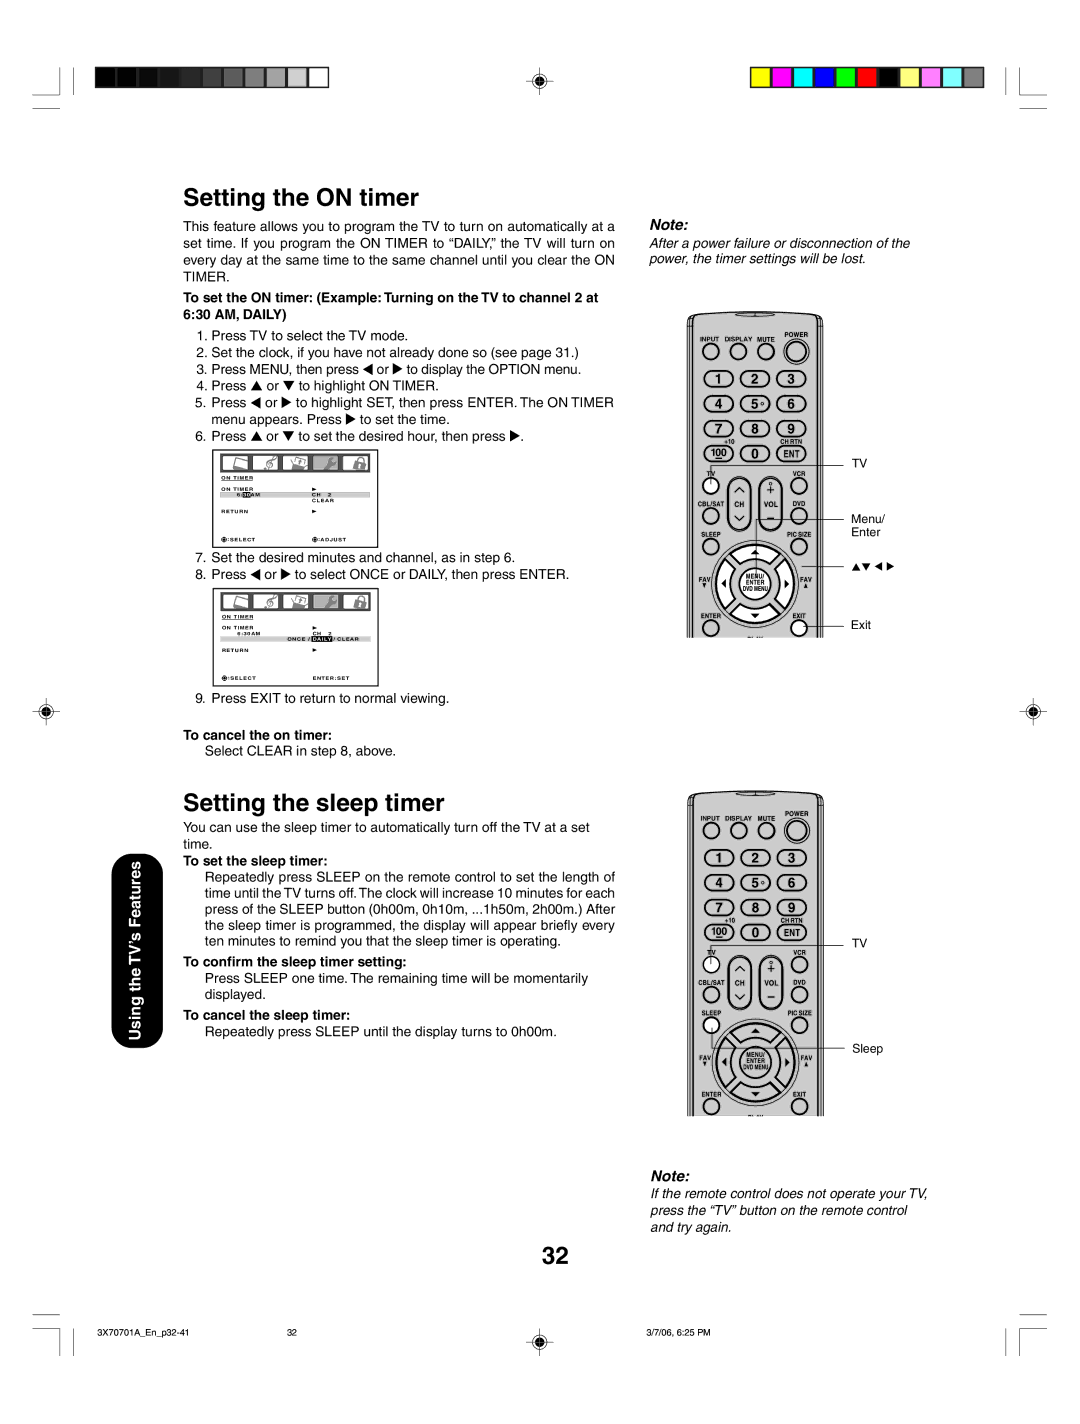
SLEEP programs the TV to turn off at a set time (page 32)
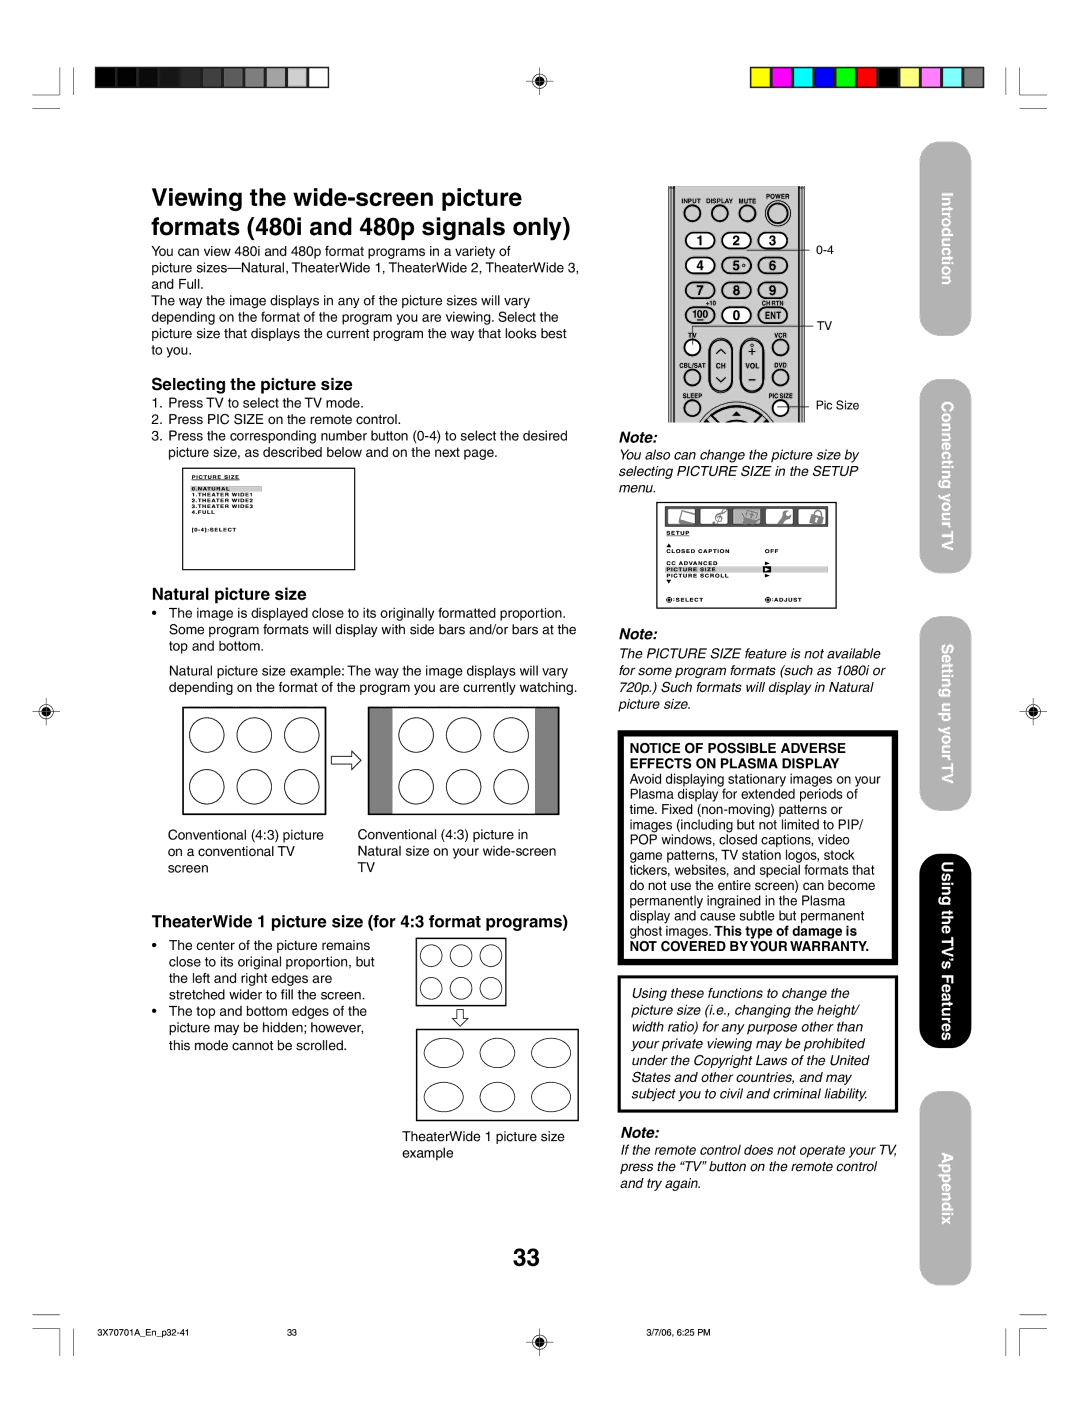
PIC SIZE cycles through the five picture sizes: Natural, TheaterWide 1, TheaterWide 2, TheaterWide 3 and full (page 33)
MENU/ENTER accesses the menu system; also sets menu selections (page 23)
FAV ▲ / ▼ (Favorite Channels) cycles through the channels you programmed as favorite channels (page 25)
EXIT closes
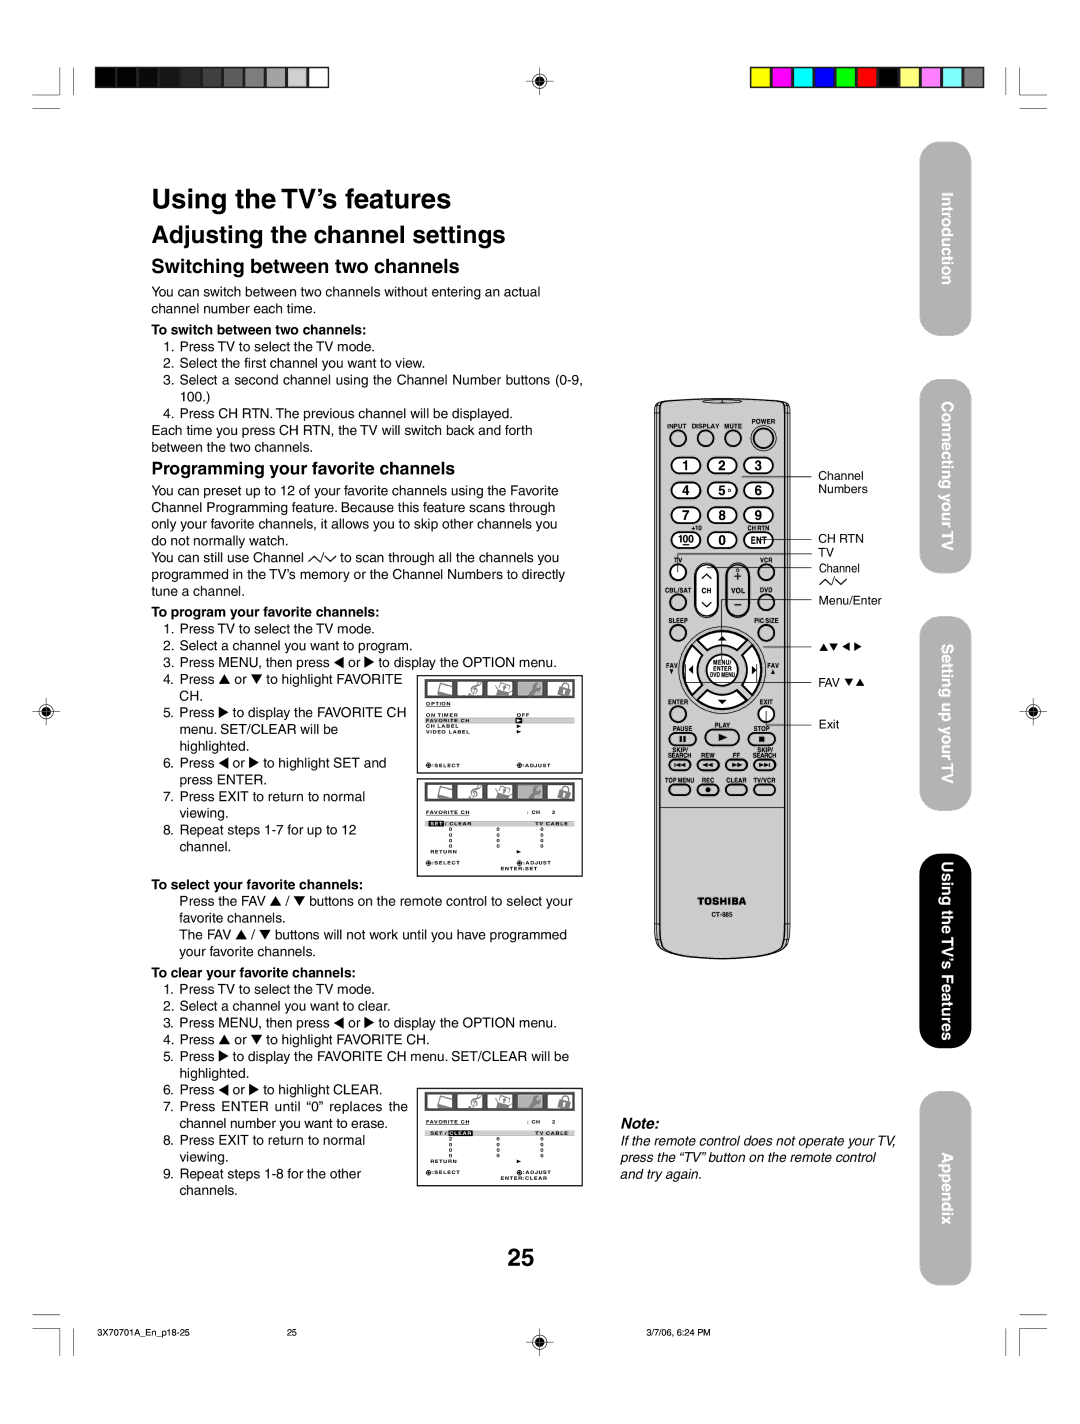
DVD MENU accesses the DVD menu
PAUSE pauses a videotape/DVD
PLAY plays a videotape/DVD
STOP stops a videotape/DVD
DVD SKIP/SEARCH ![]()
![]()
![]() skips DVD chapter
skips DVD chapter
REW rewinds/reverses a videotape/DVD
FFfast forwards a videotape/DVD
TOP MENU accesses the DVD TOP menu
REC starts recording a videotape
CLEAR clears input data in DVD mode
TV/VCR toggles between TV and VCR modes when viewing while recording
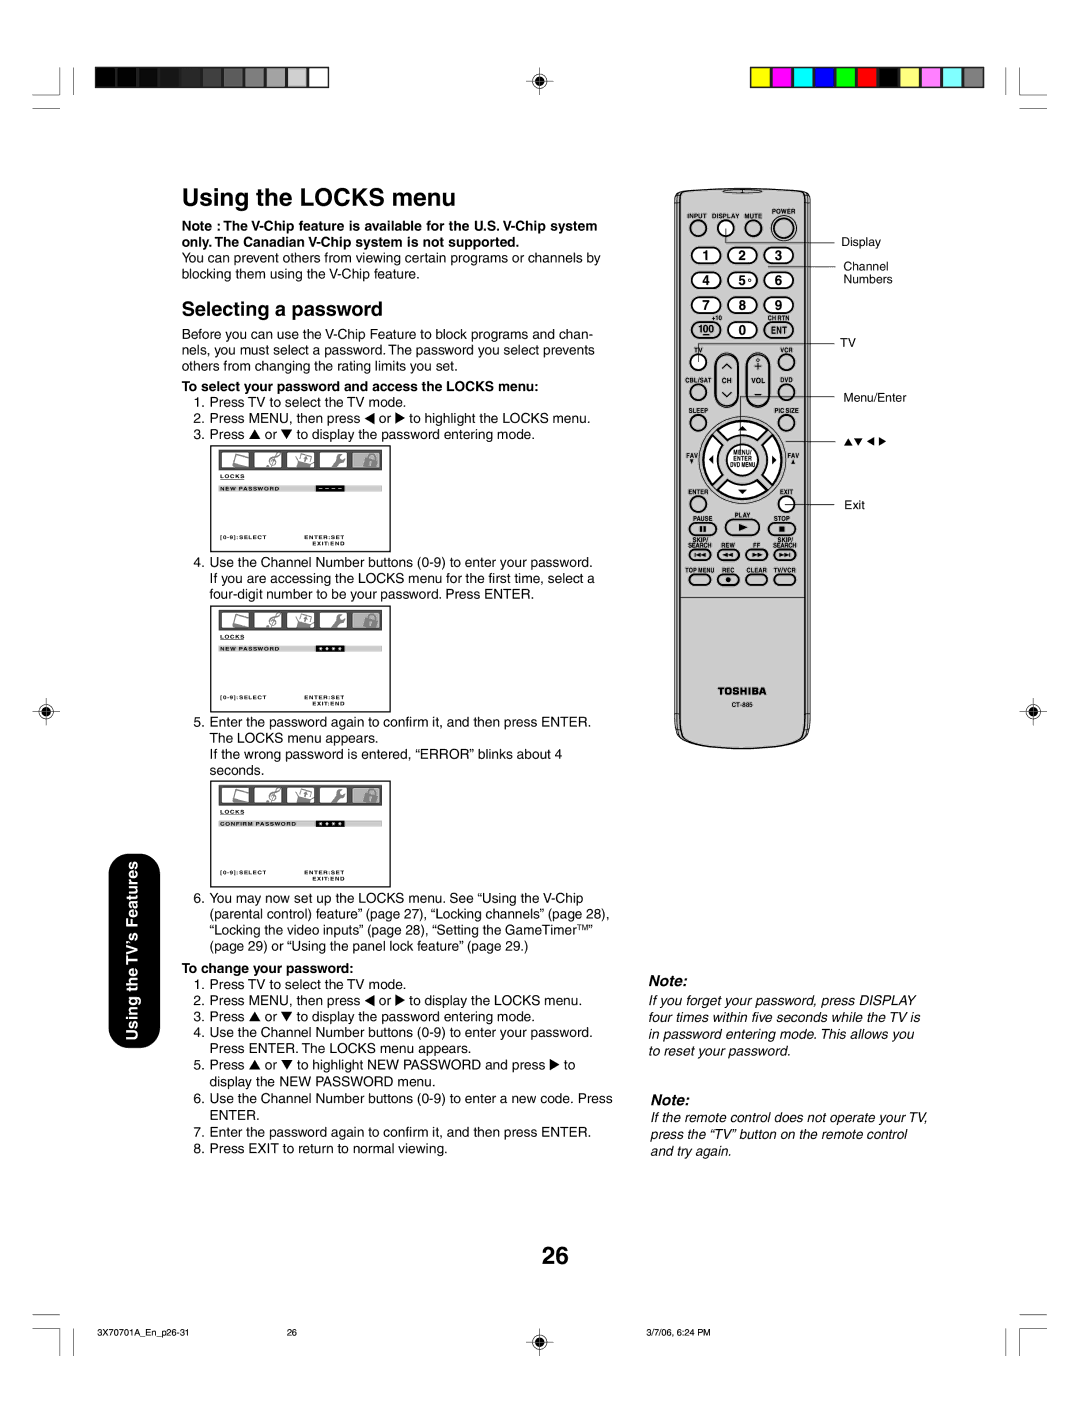
Input | INPUT DISPLAY | |
POWER | ||
Display | Mute | |
Channel |
| |
Numbers |
| |
| CH RTN | |
| (Channel Return) | |
Channel / | Volume +/- | |
TV | VCR | |
CBL/SAT | DVD | |
Sleep | Pic Size | |
| FAV ▲▼ | |
DVD Menu | (Favorite Channels) | |
Menu/Enter | ||
| ||
Enter | Exit | |
Pause | Play | |
Skip/Search | Stop | |
4 ¢ |
| |
Rew | FF | |
TOP Menu | TV/VCR | |
Rec | Clear |
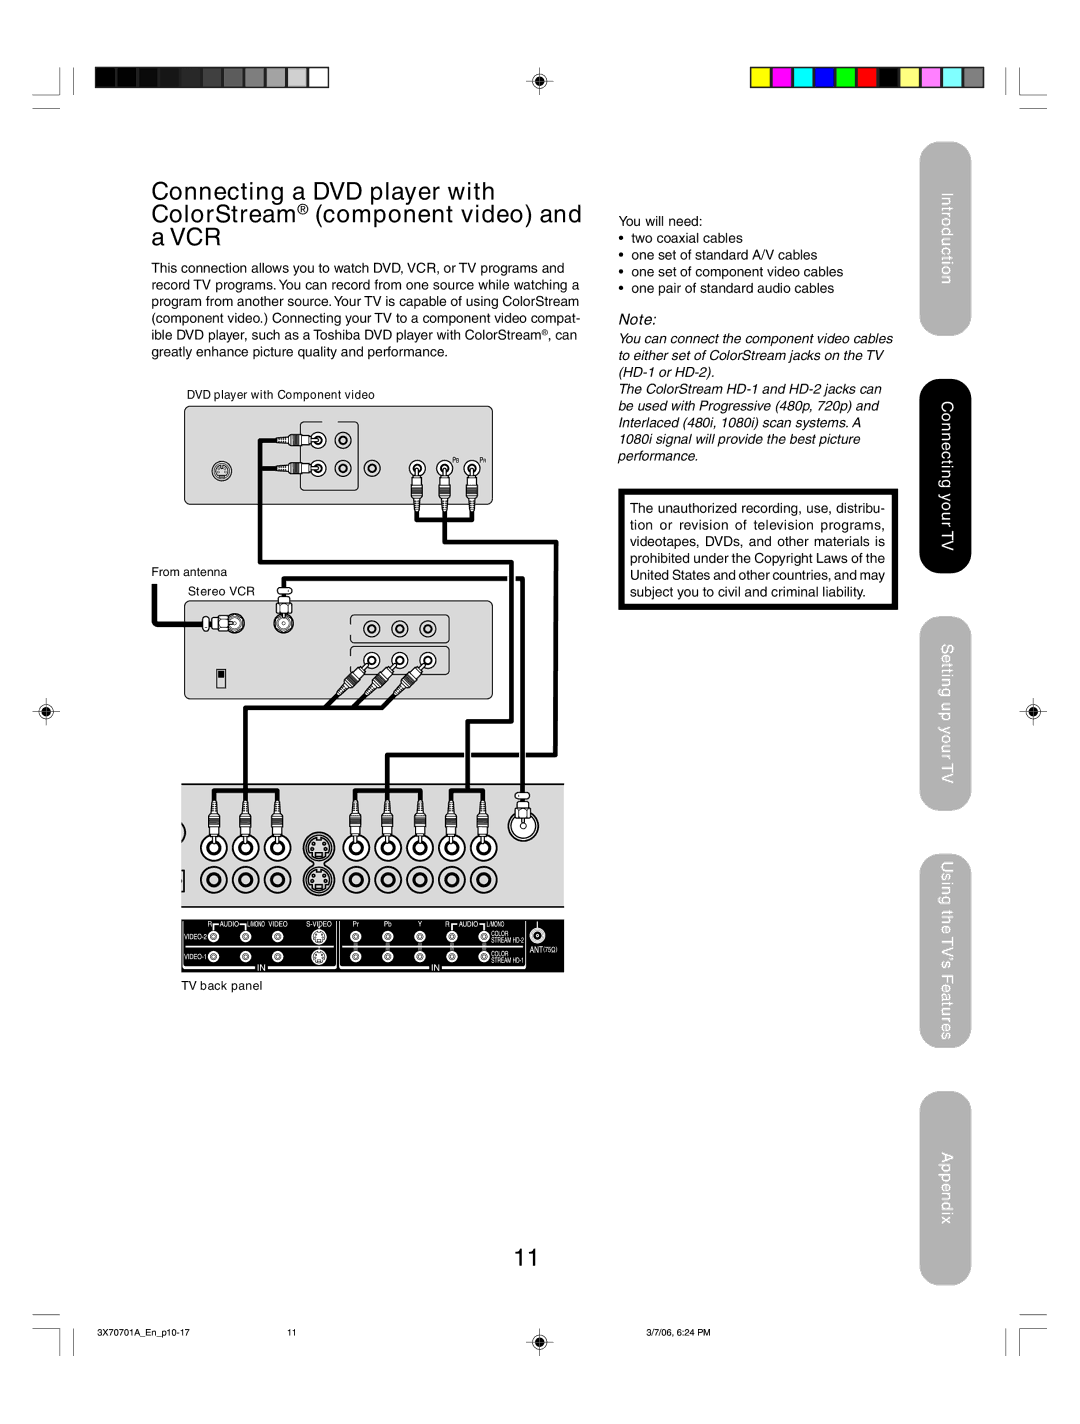
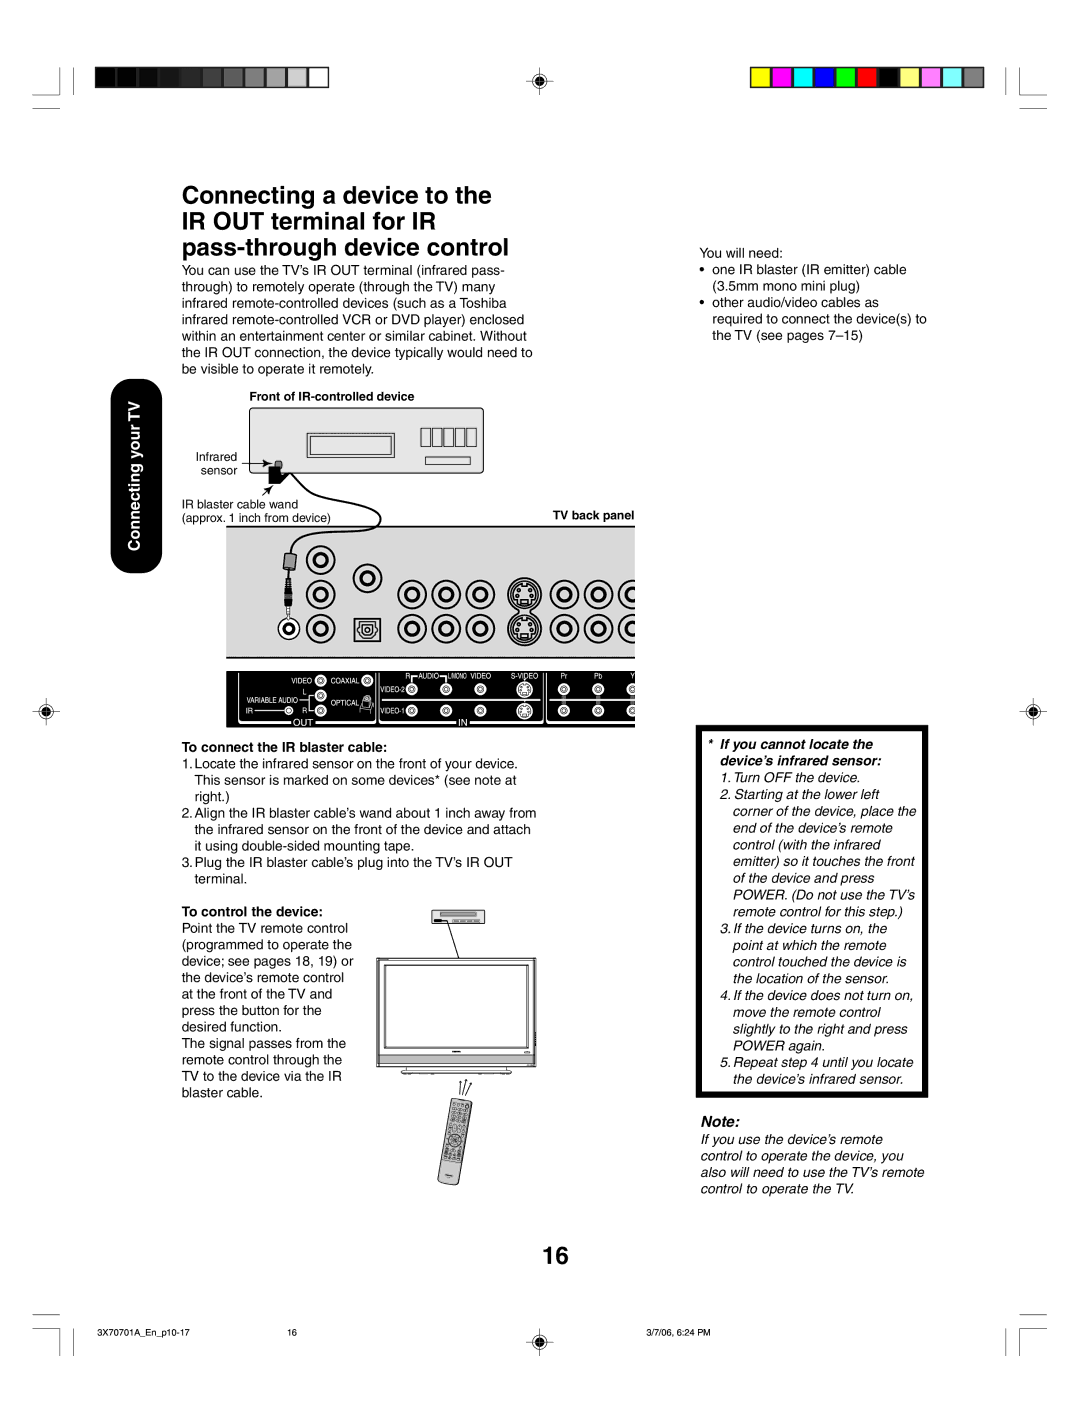
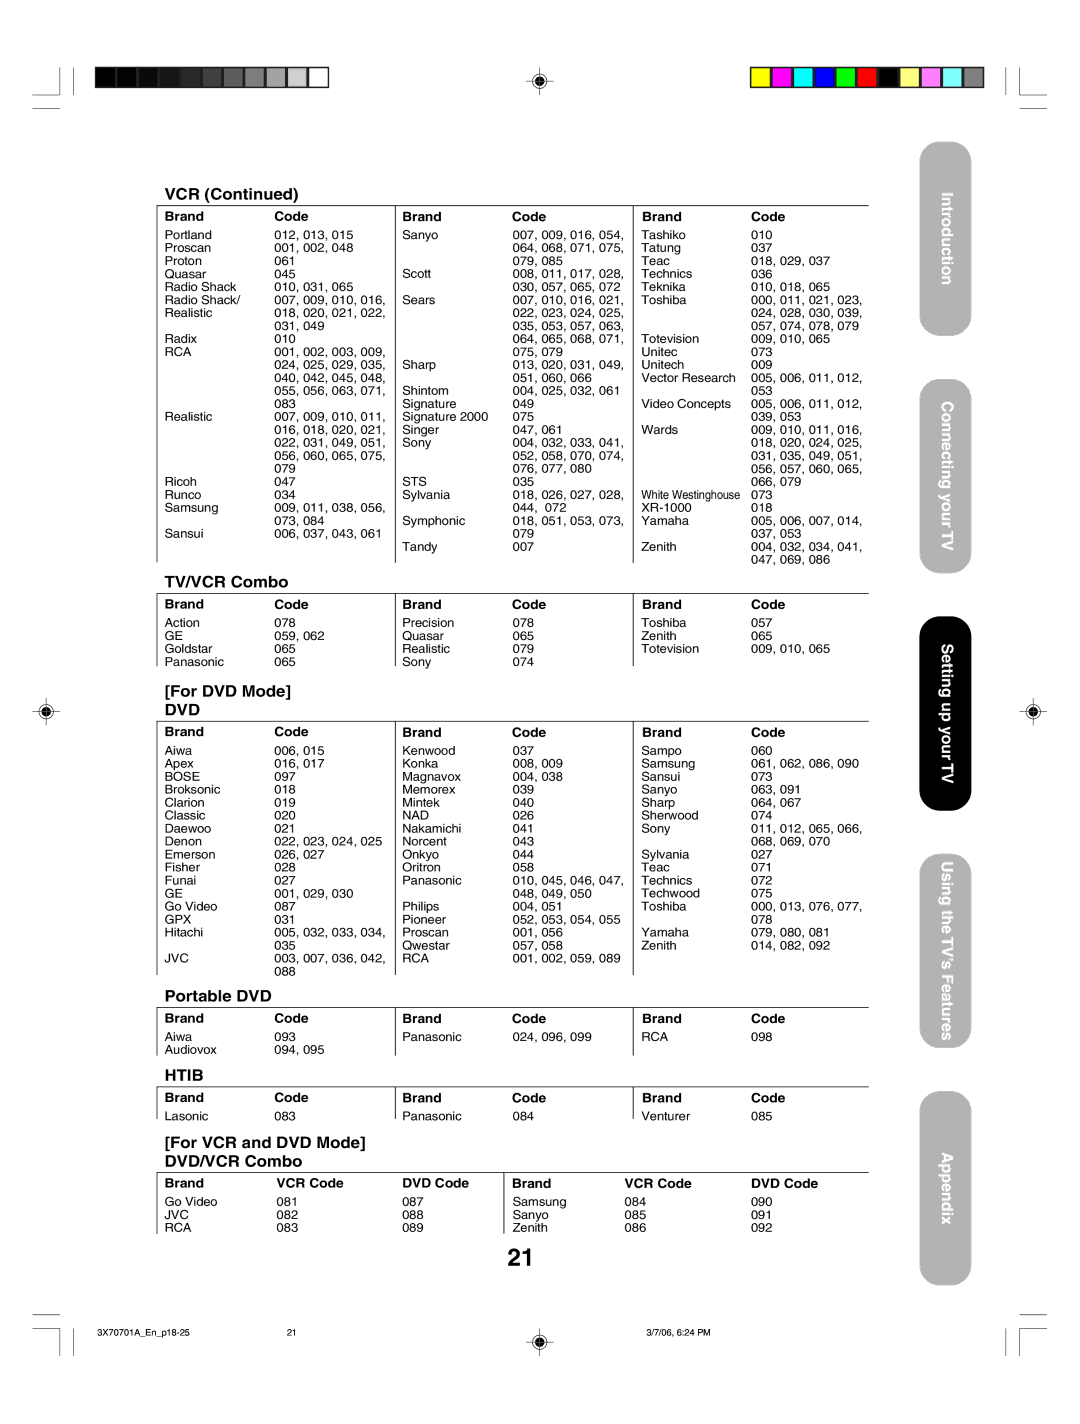
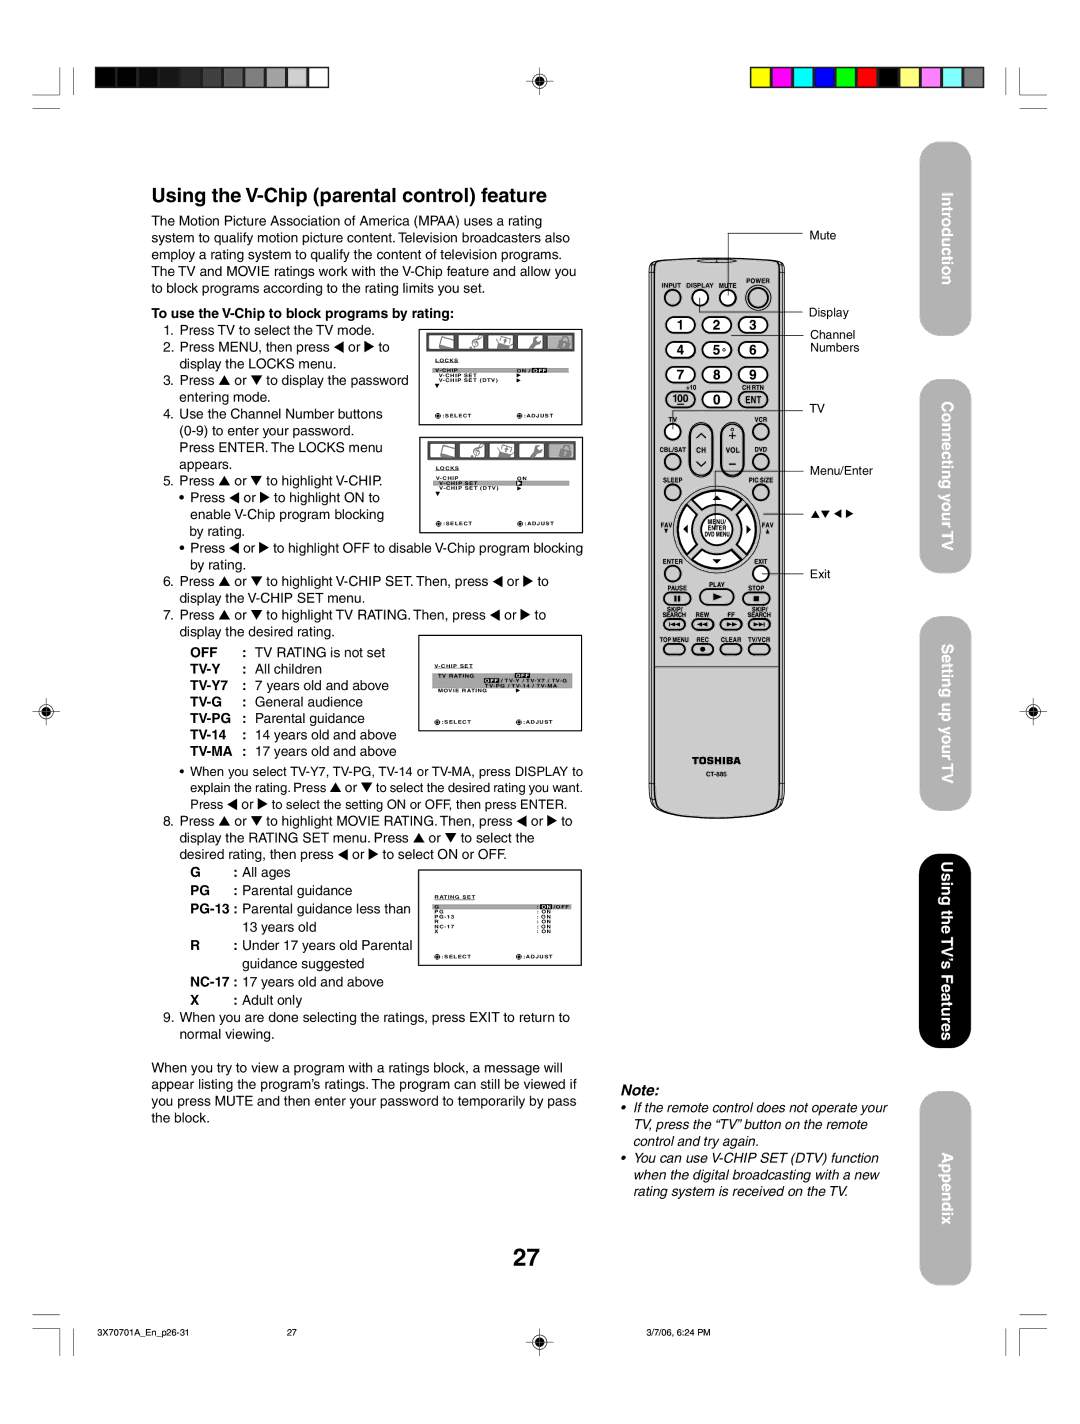
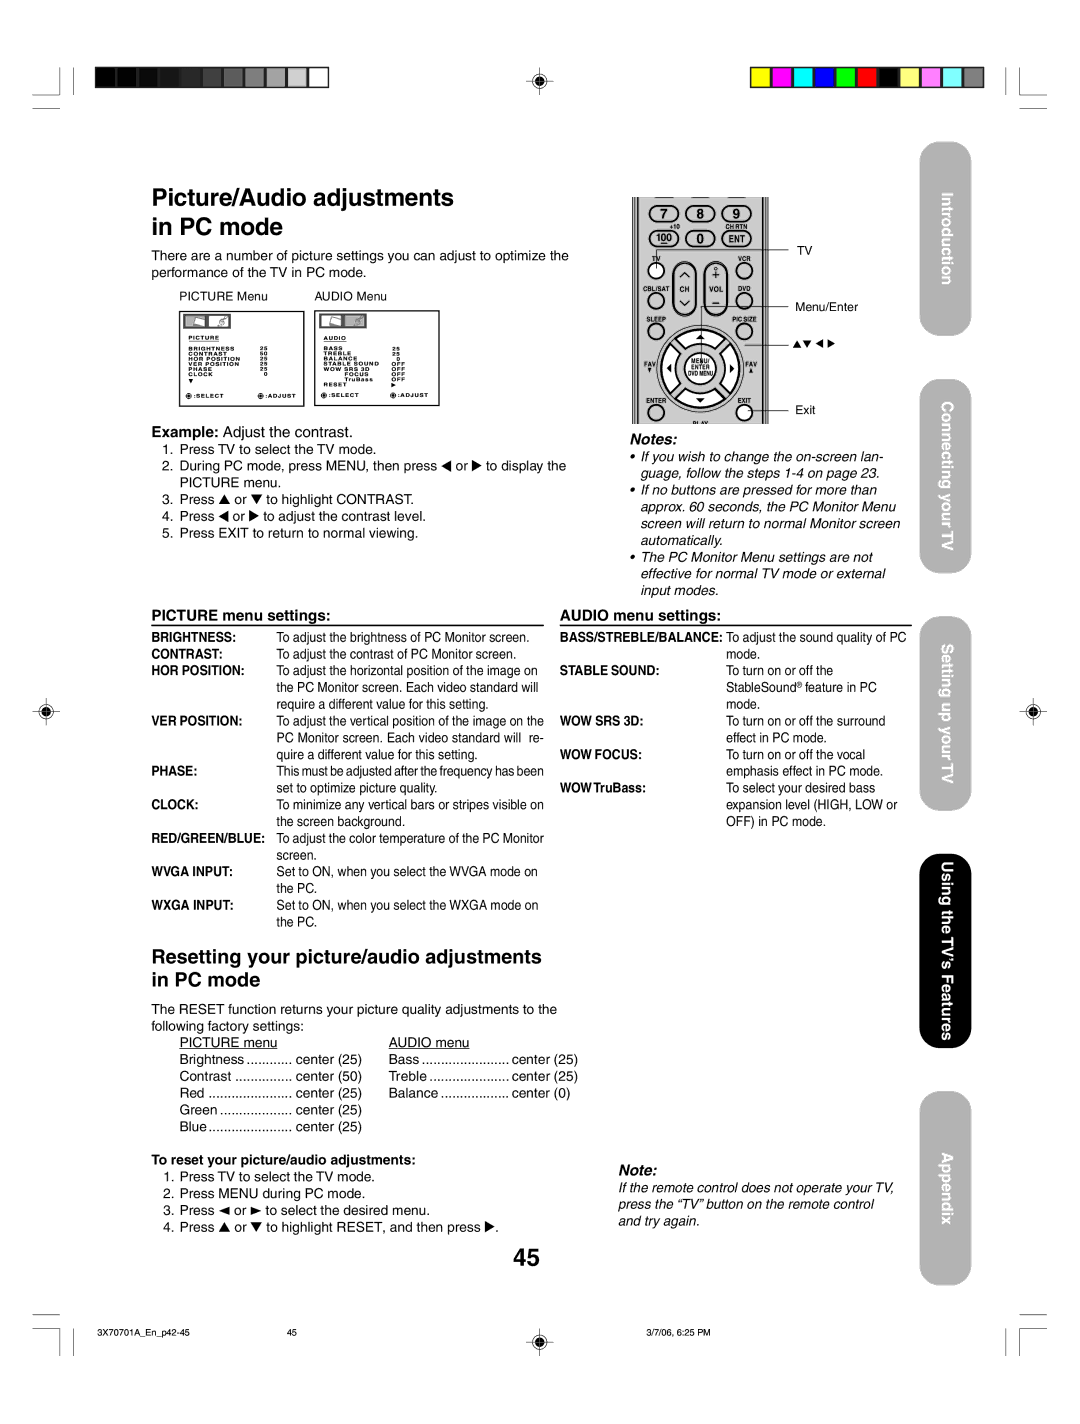
Remote control effective range
•Aim the remote control at the TV’s remote sensor (see illustration) and press the buttons to operate.
•Operate the remote control within a 30 degree angle on either side of the remote sensor, up to a distance of approx. 16 ft. (5m.)
Remote
Sensor
Approx. 5 meters
22
22 | 3/7/06, 6:24 PM |