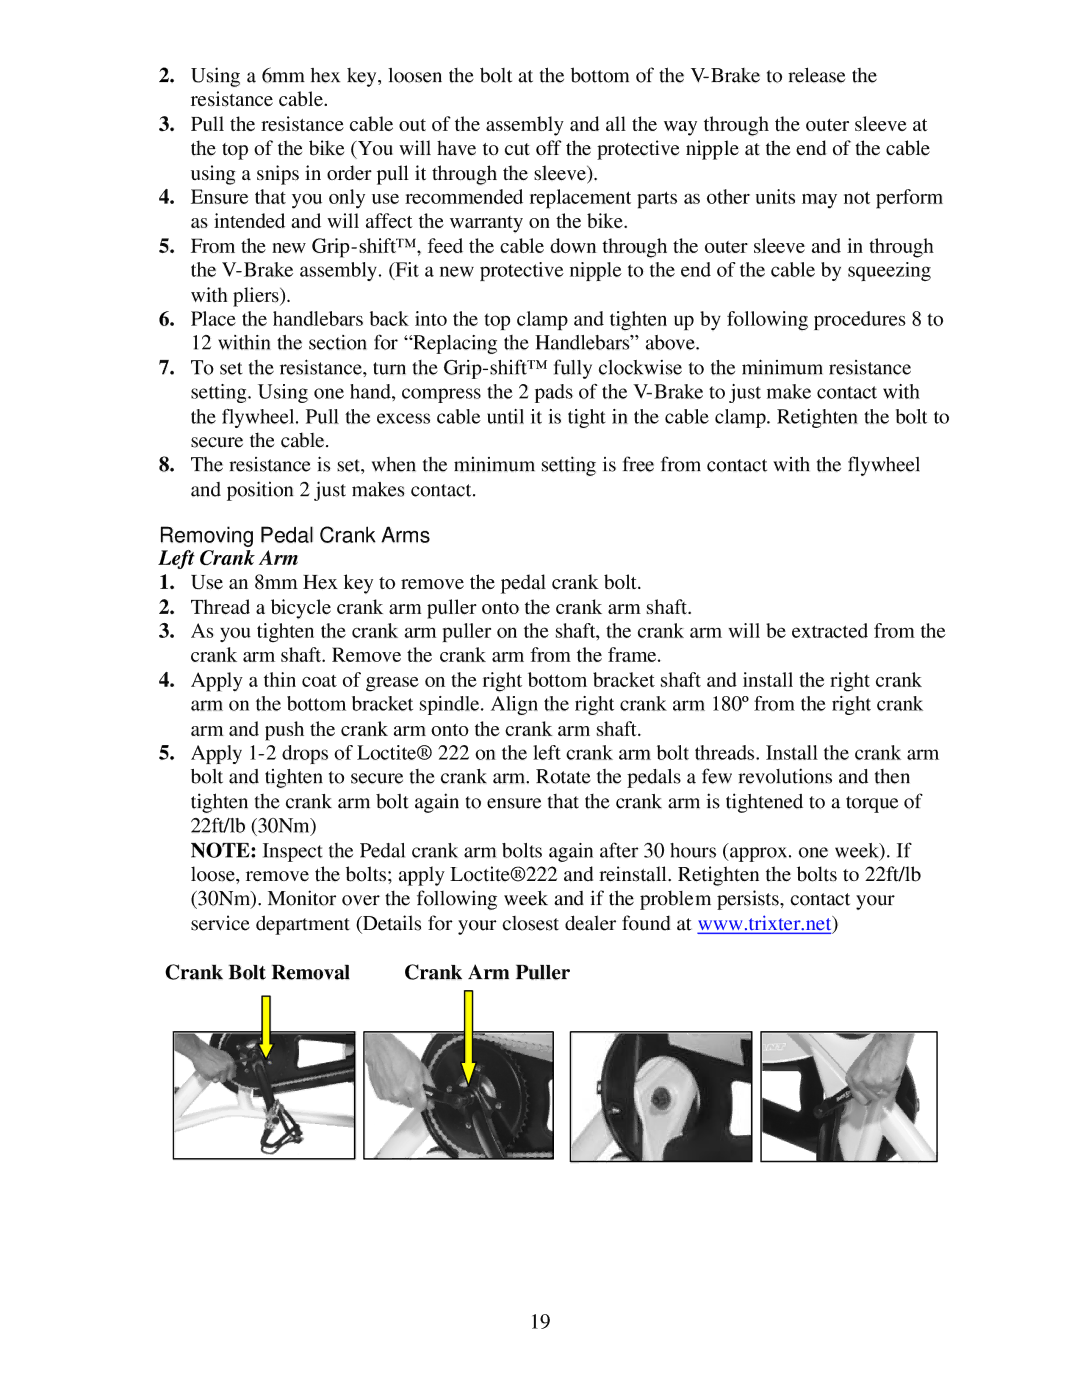
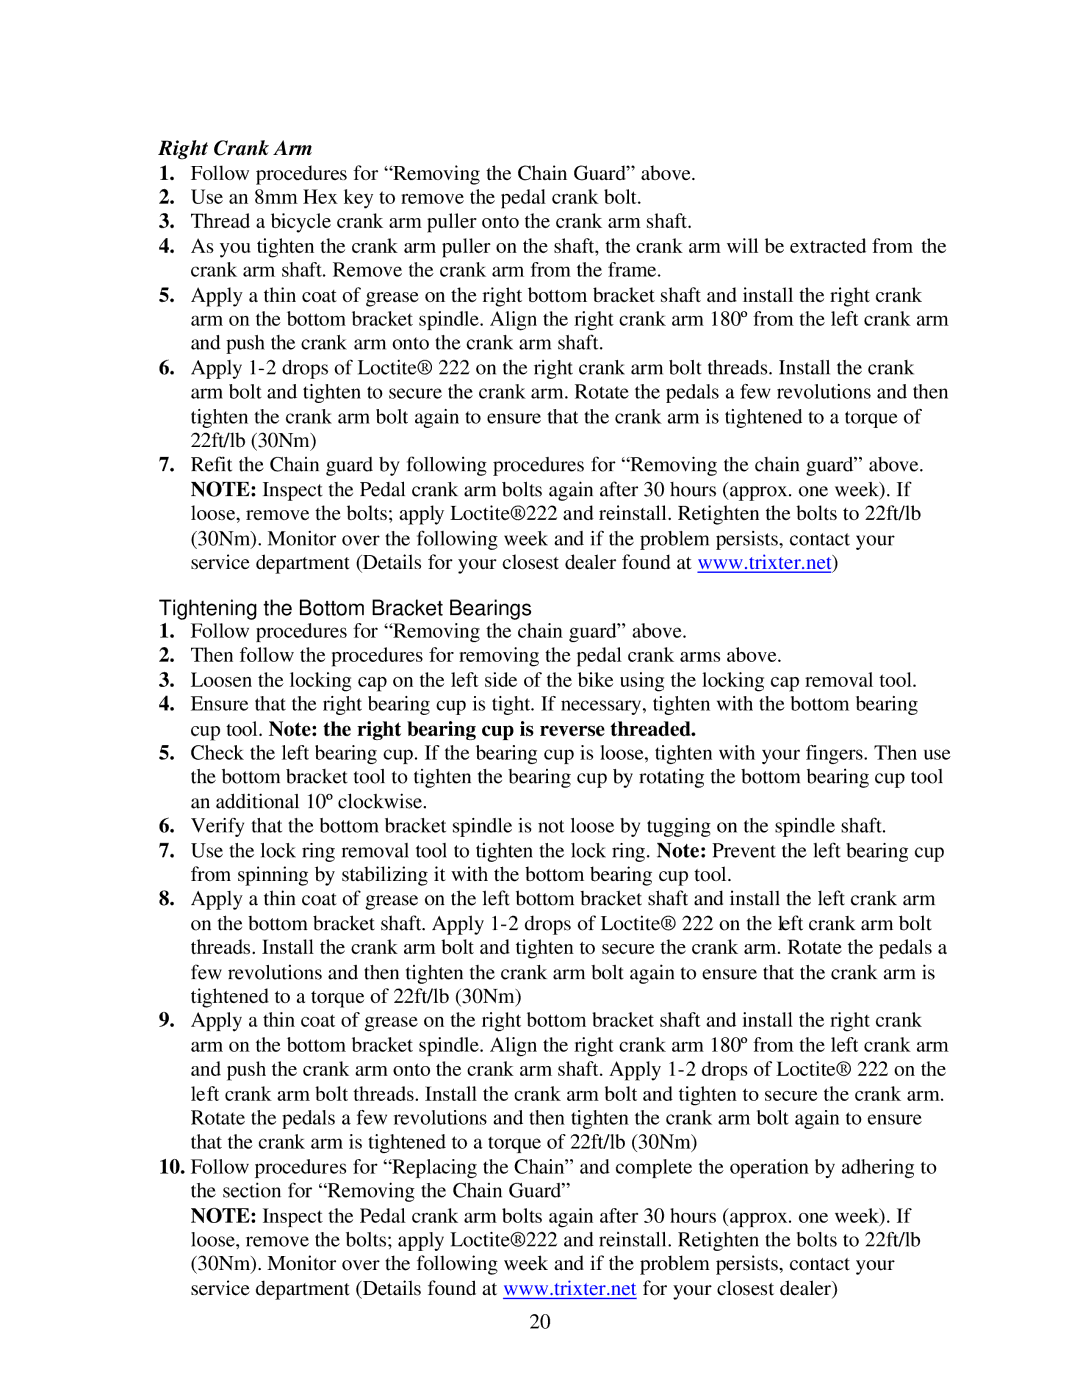
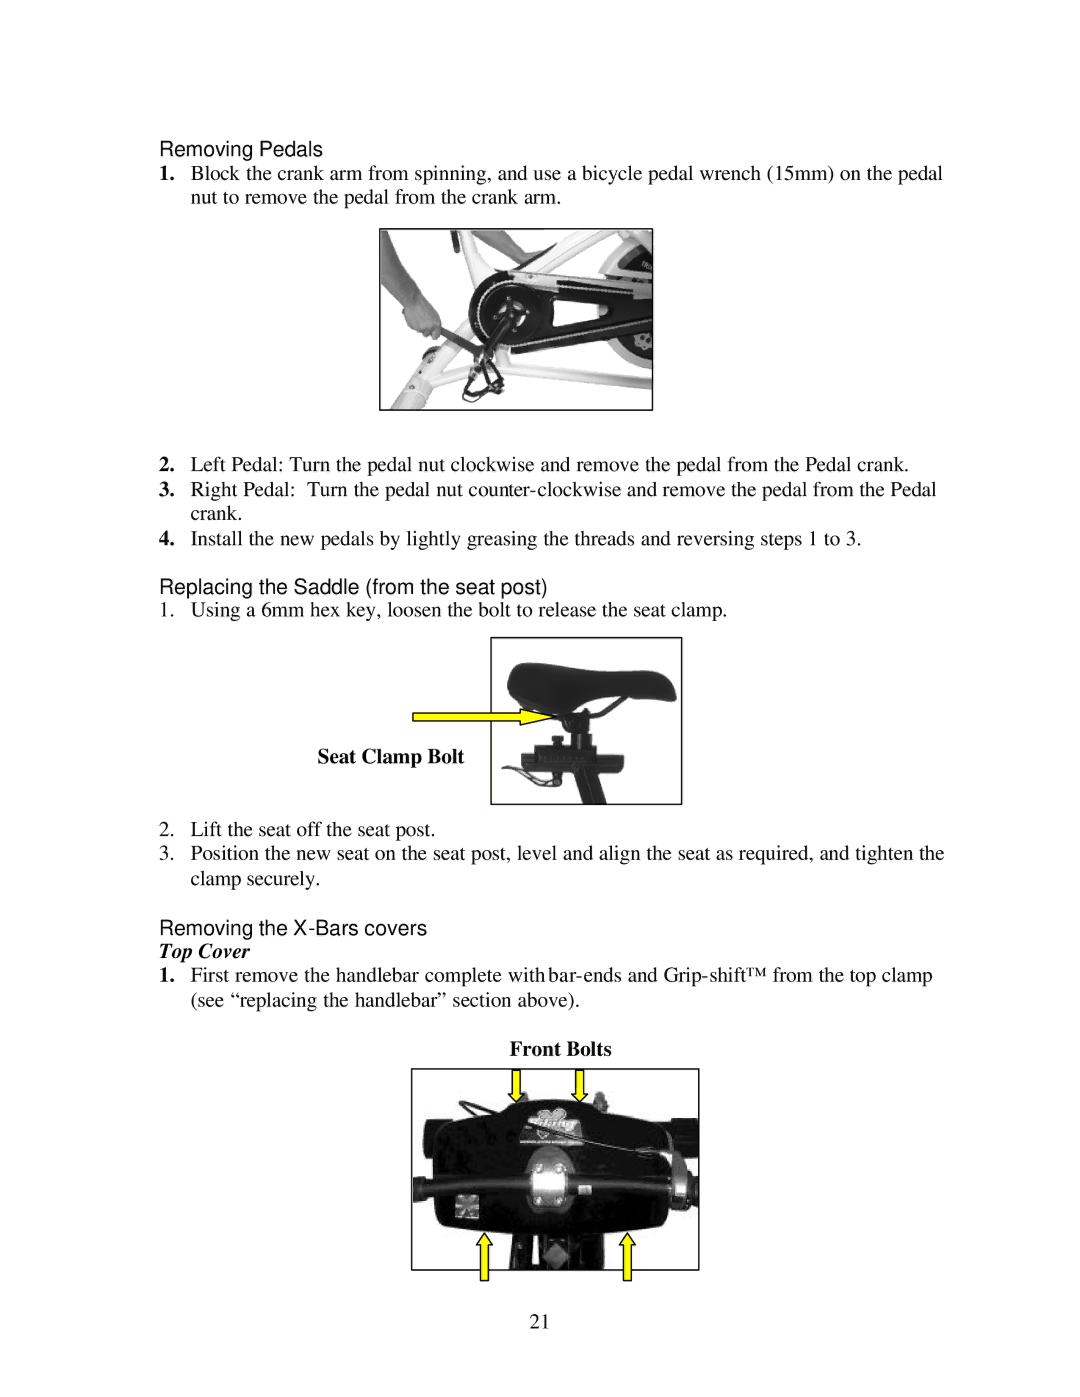
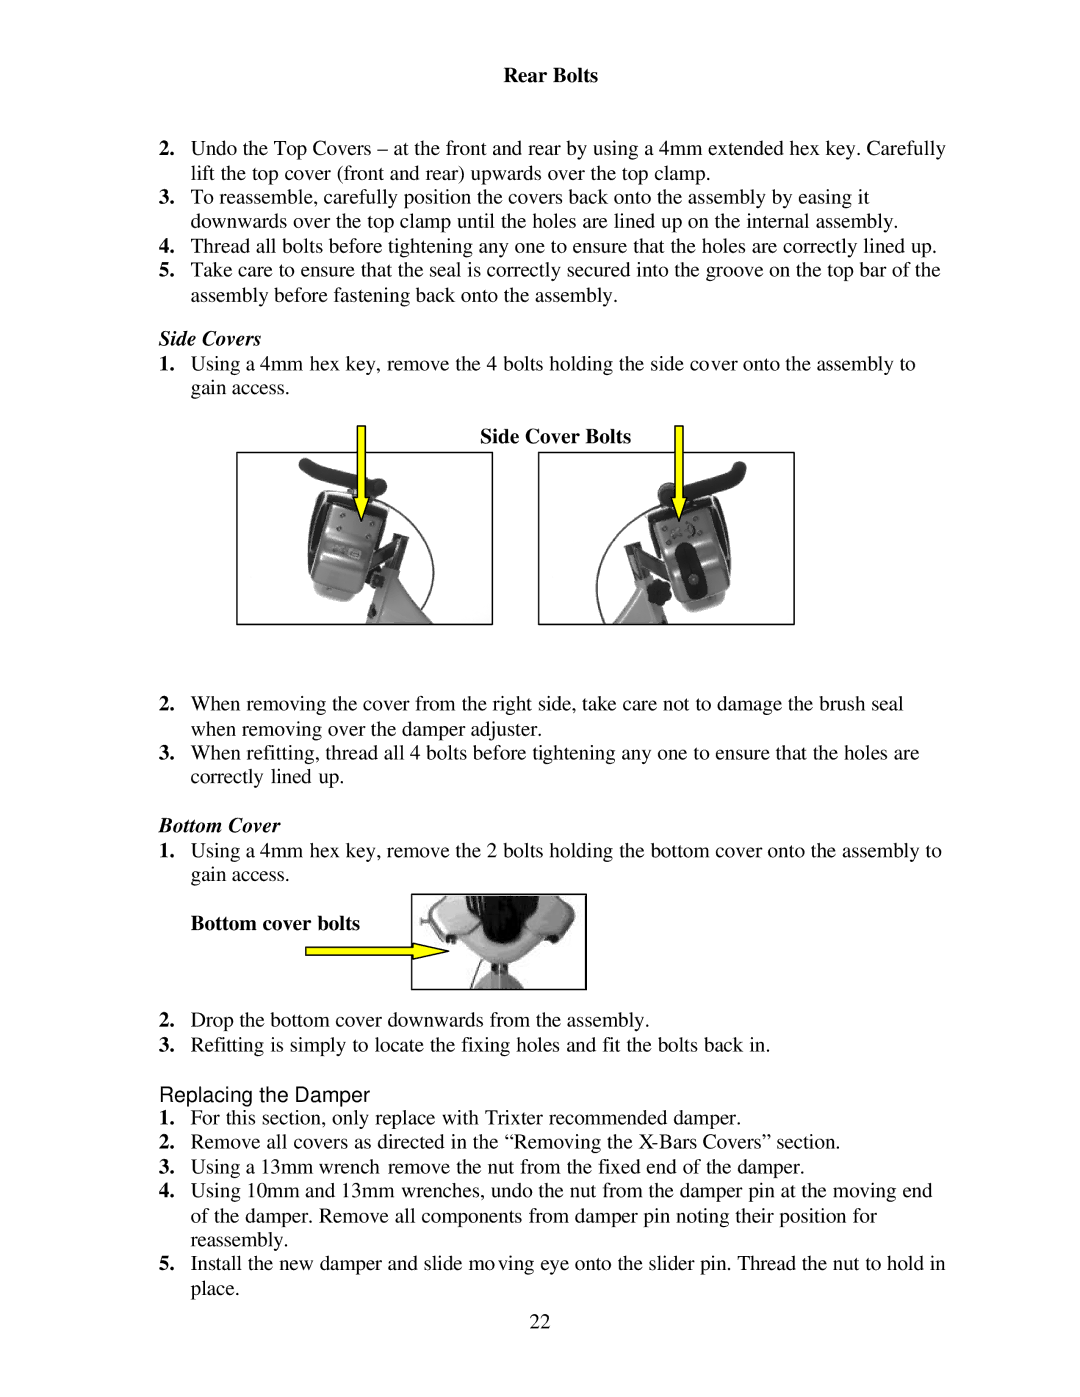
Trixter X-Bike manual Replacing the Handlebars, Replacing the Grip-shift

Page 21

until the chain slack is eliminated and the flywheel can rotate freely without pulling the pedals around with it.

Replacing the Handlebars

1.NOTE: Your X-Bike™ Indoor Performance Bike has been fitted with 580mm long handlebars as standard. You must ensure that the new bars to be fitted are within the recommended maximum length of 580mm with a tube wall thickness not less than 3.2mm and are the correct diameter 25.4mm at the clamping section.

2.As you will probably intend to use the existing Grip-shift™ mechanism, you should first remove these parts from the existing assembly.

3.Remove the bar-ends by using a 6mm hex key to loosen the bolt under the clamp.

4.Carefully prise inside the rubber handlebar grips with a small flat head screwdriver and spray some WD-40© or equivalent light oil spray. Ease the grips from either end of the handlebars.

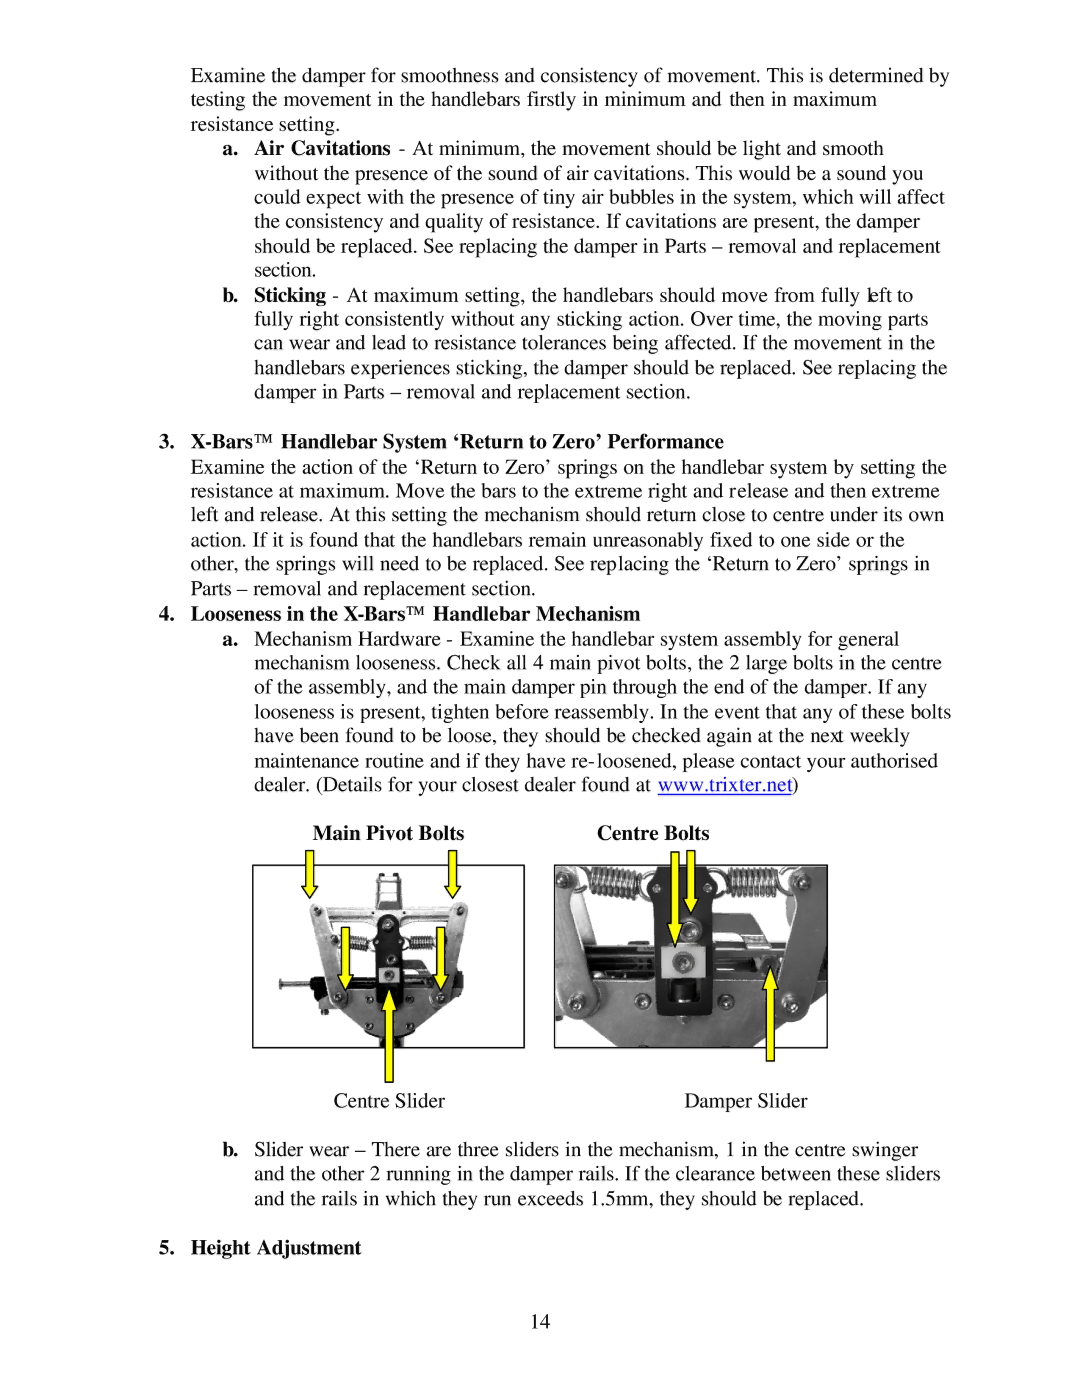
5.Using a 6mm hex key, loosen the 4 bolts from the handlebar clamp on the top of the X- Bars™ Handlebar System to release the grip on the handlebar.

6.Twist the handlebar to expose the bolt holding the Grip-shift™ and using a 2.5mm hex key loosen this bolt. Slide the assembly off the end of the bars.

7.Remove the 4 bolts from the handlebar clamp on the top of the X-Bars™ Handlebar System. Remove the bars from the clamp housing.

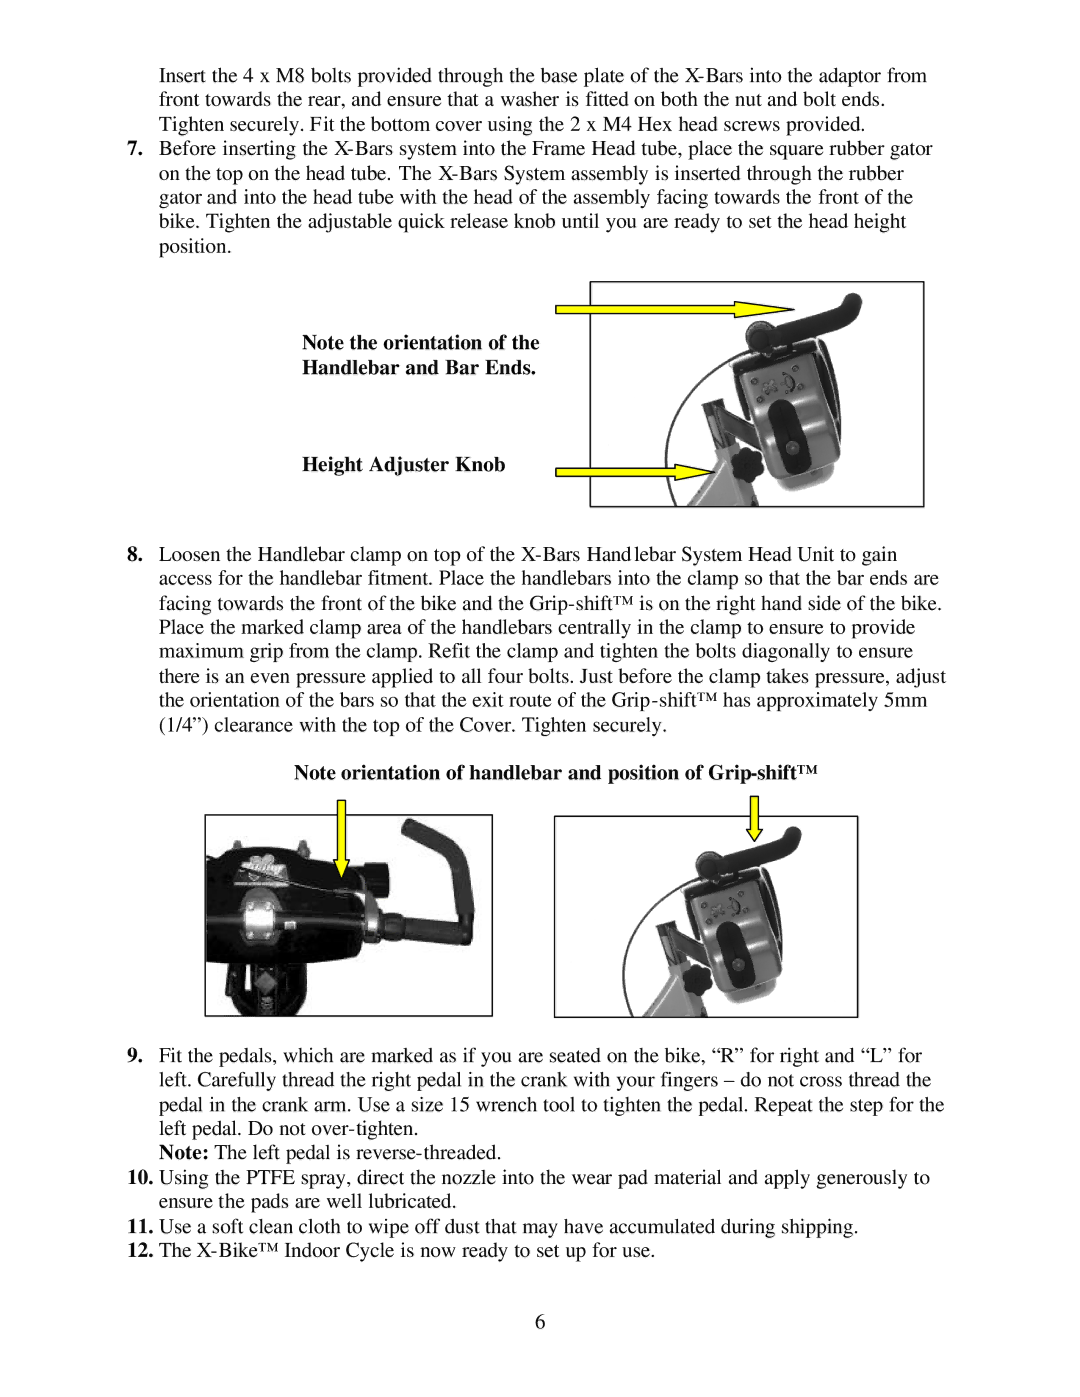
8.Fit the new bars ensuring that the orientation of the bar sweep is faced toward the rider as shown. Replace the clamp cap and leave slightly loose until the Grip-shift™ has been refitted and tightened.

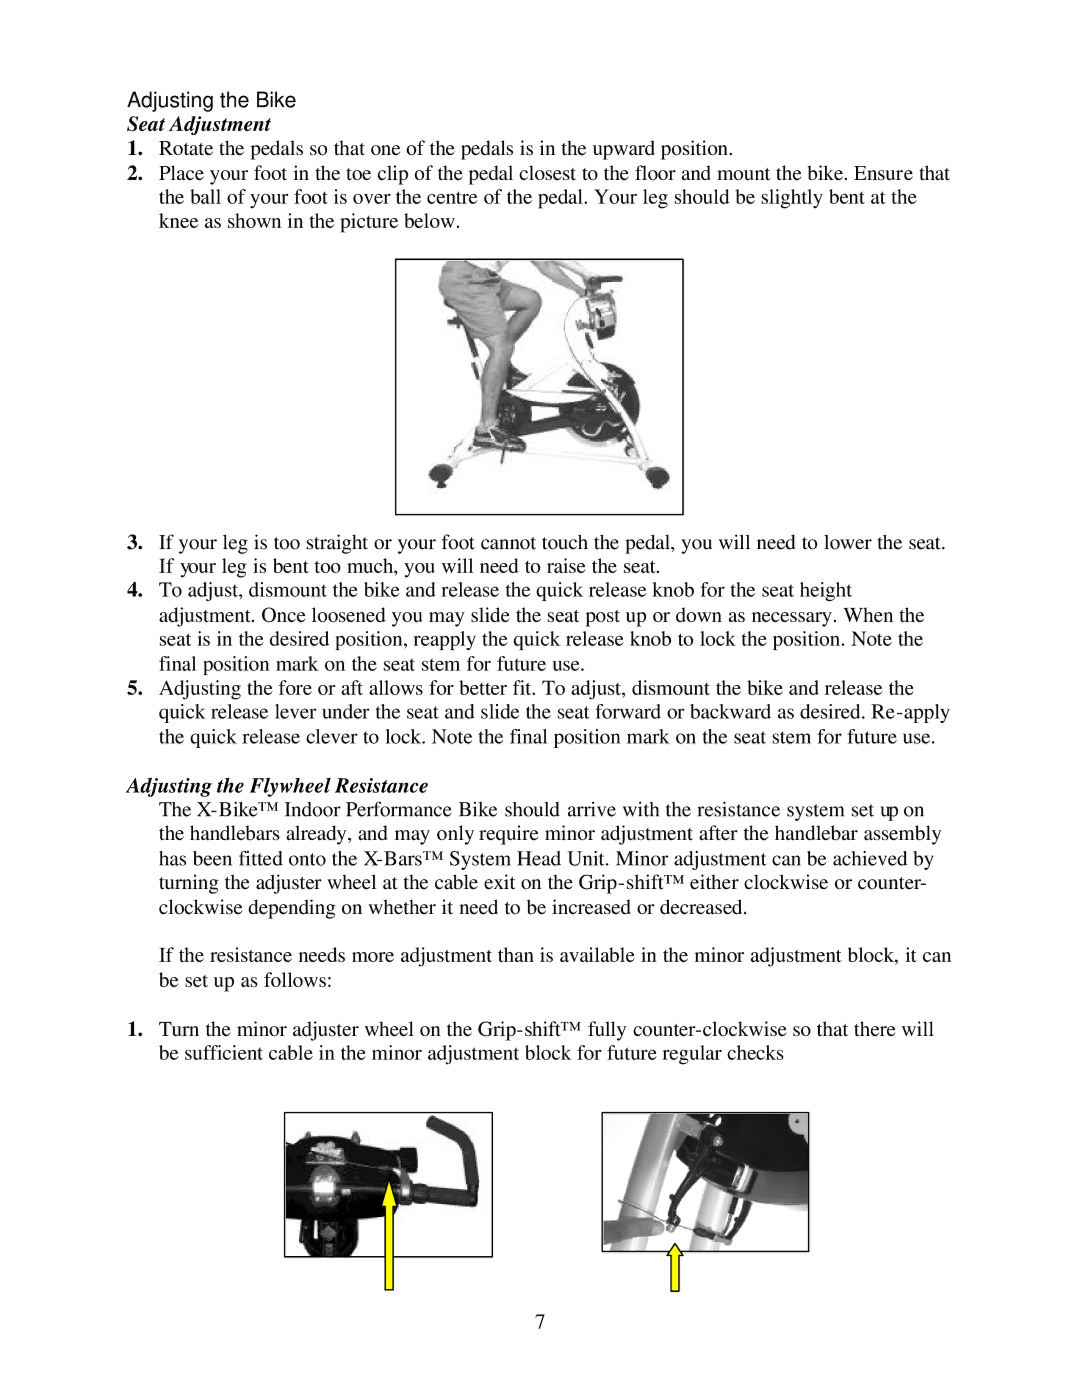
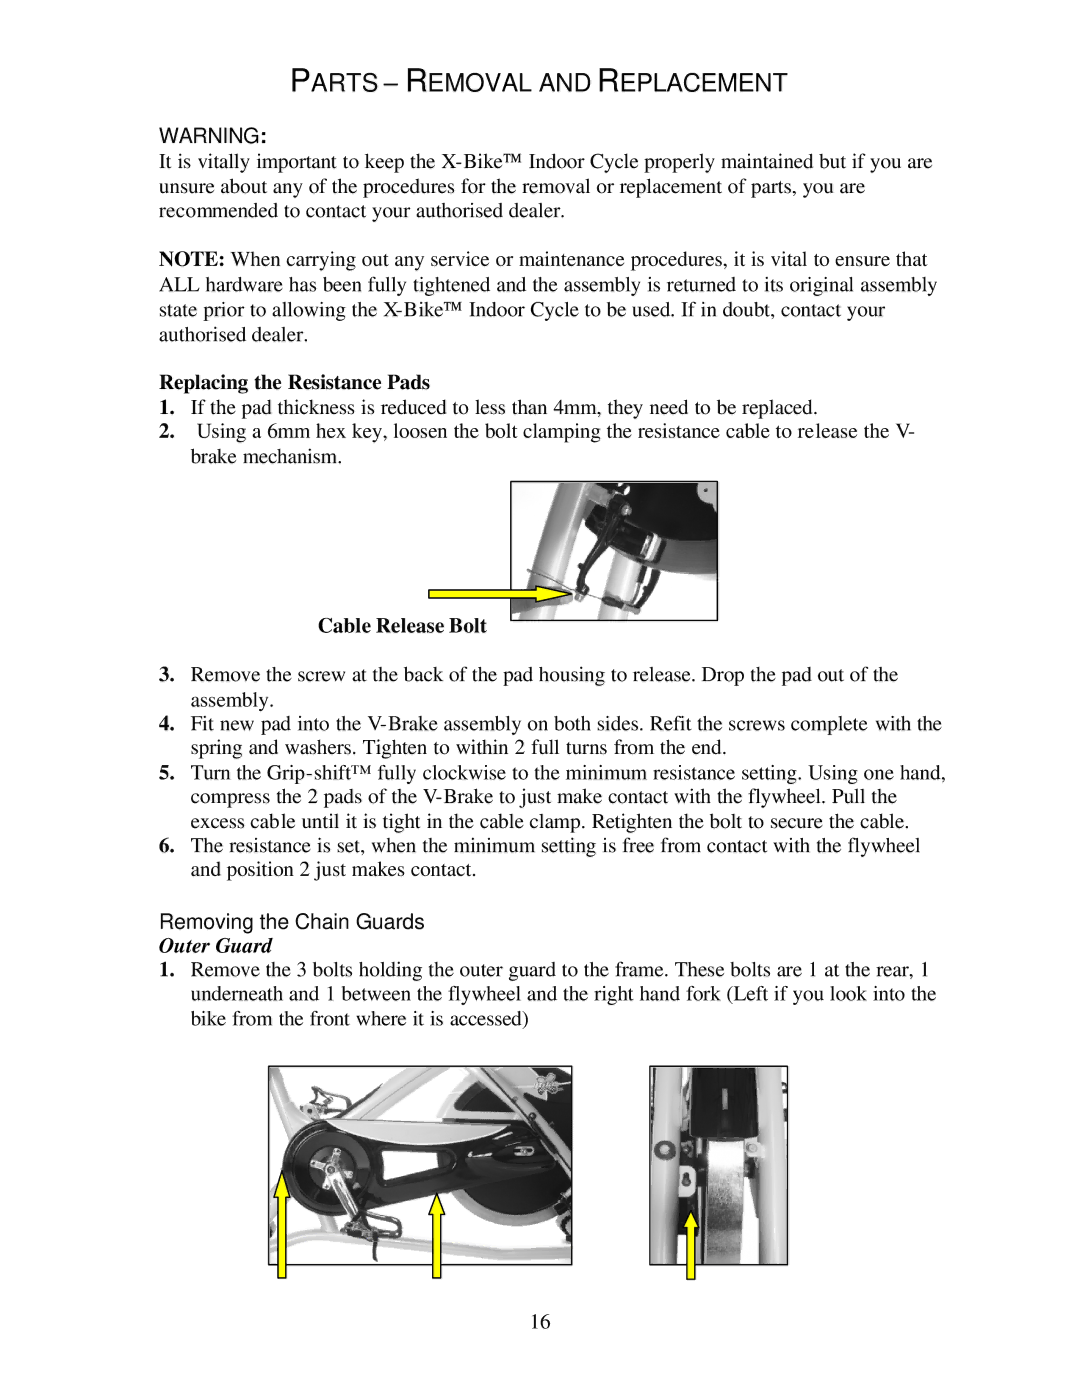
9.The Grip-shift™ should be refitted to the right side of the bars ensuring that the cable exit is facing back toward the user with about 5 to 10mm clearance between it and the top of the cover.

Note the orientation of the handlebar and bar ends.

10.Tighten the 4 clamp bolts ensuring a) that the marked clamping area of the bars is central within the clamp and b) the clamp is tightened evenly by all 4 bolts (This can be verified by checking the width of the gap on both sides of the bars – it should be the same).

11.Using conventional hair spray, apply a film of spray to the inside of the grips before fitting onto the ends of the handlebars. The hairspray dries rather quickly and it is recommended to get the grips in place without delay ensuring to leave enough space at the end of the bar for the bar ends. (The reason for the hair spray is that it acts briefly as a lubricant but then dries to create a good grip with the bar).

12.Refit the bar-ends and fully tighten all points before riding the bike.

Replacing the Grip-shift™

1.For removal of the old Grip-shift™, follow procedures 3 to 7 within the section for “Changing the handlebars” above. As the Grip-shift™ is removed from the right side only, you do not nave to touch the left side of the handlebars.

18

Image 21
Contents Page Page Table of Contents Safety Information Page Introduction Dimensions of the X-BikeBike Indoor Performance Bike Biking Indoor Cycling ProgramsInstallation & Adjustment Setting UP the X-BIKEIndoor Performance CycleRemove the bike and components from the shipping carton Seat Fore/Aft Adjust Lever Seat Height Adjuster Knob Assembling the BikeLeveller Foot Handlebar and Bar Ends Height Adjuster Knob Adjusting the Bike Seat AdjustmentAdjusting the Flywheel Resistance Minor Cable Adjuster Handlebar Bar Height AdjustmentPedal Strap Adjustment General Exercise Guidelines Using Your X-BIKEINDOOR Performance BikePedalling Pumping the X-BarsYour First Workout Mounting and DismountingBasic Instructions Pedalling ResistanceHelpful Hints Maintenance InstructionsFront of Bike Frame Serial Number Tool ListPreventative Maintenance DailyWeekly Monthly Axle Position Markings Chain Adjusting BoltsChain Tensioning BarsHandlebar System Damper PerformanceBarsHandlebar System ‘Return to Zero’ Performance Height AdjustmentPage Replacing the Resistance Pads Parts Removal and ReplacementCable Release Bolt Removing the Chain GuardsInner Guard BoltRemoving the Flywheel Replacing the ChainReplacing the Grip-shift Replacing the HandlebarsRemoving Pedal Crank Arms Left Crank ArmCrank Bolt Removal Crank Arm Puller Tightening the Bottom Bracket Bearings Right Crank ArmSeat Clamp Bolt Top CoverFront Bolts Side Covers Rear BoltsSide Cover Bolts Bottom CoverPage Replacing the Return to Zero Springs Outer Spring Loop Inner Spring LoopLubricating the Mechanism Page Replacing the Centre Slider Centre Slider Damper SliderReplacing the Damper Slider Equipment and Technical Information Bike Frame SpecificationsExploded View & Parts Identification Bars Exploded View Bars Parts Identification Table Structure Maximum User Weight Capacity 300 lbsBike Indoor Performance Bike Bars Handlebar SystemPerformance AdjustabilitySafety Style & ComfortProtection Easily accessible chain tensioning points Service and MaintenanceAdditional Features & Options Mobility & StorageThank YOU for Purchasing AN X-BIKEINDOOR Performance Bike Bike Indoor Performance Bike Warranty CardLimited Remedy Limited WarrantyWarranty Registration Card Thank YOU Index