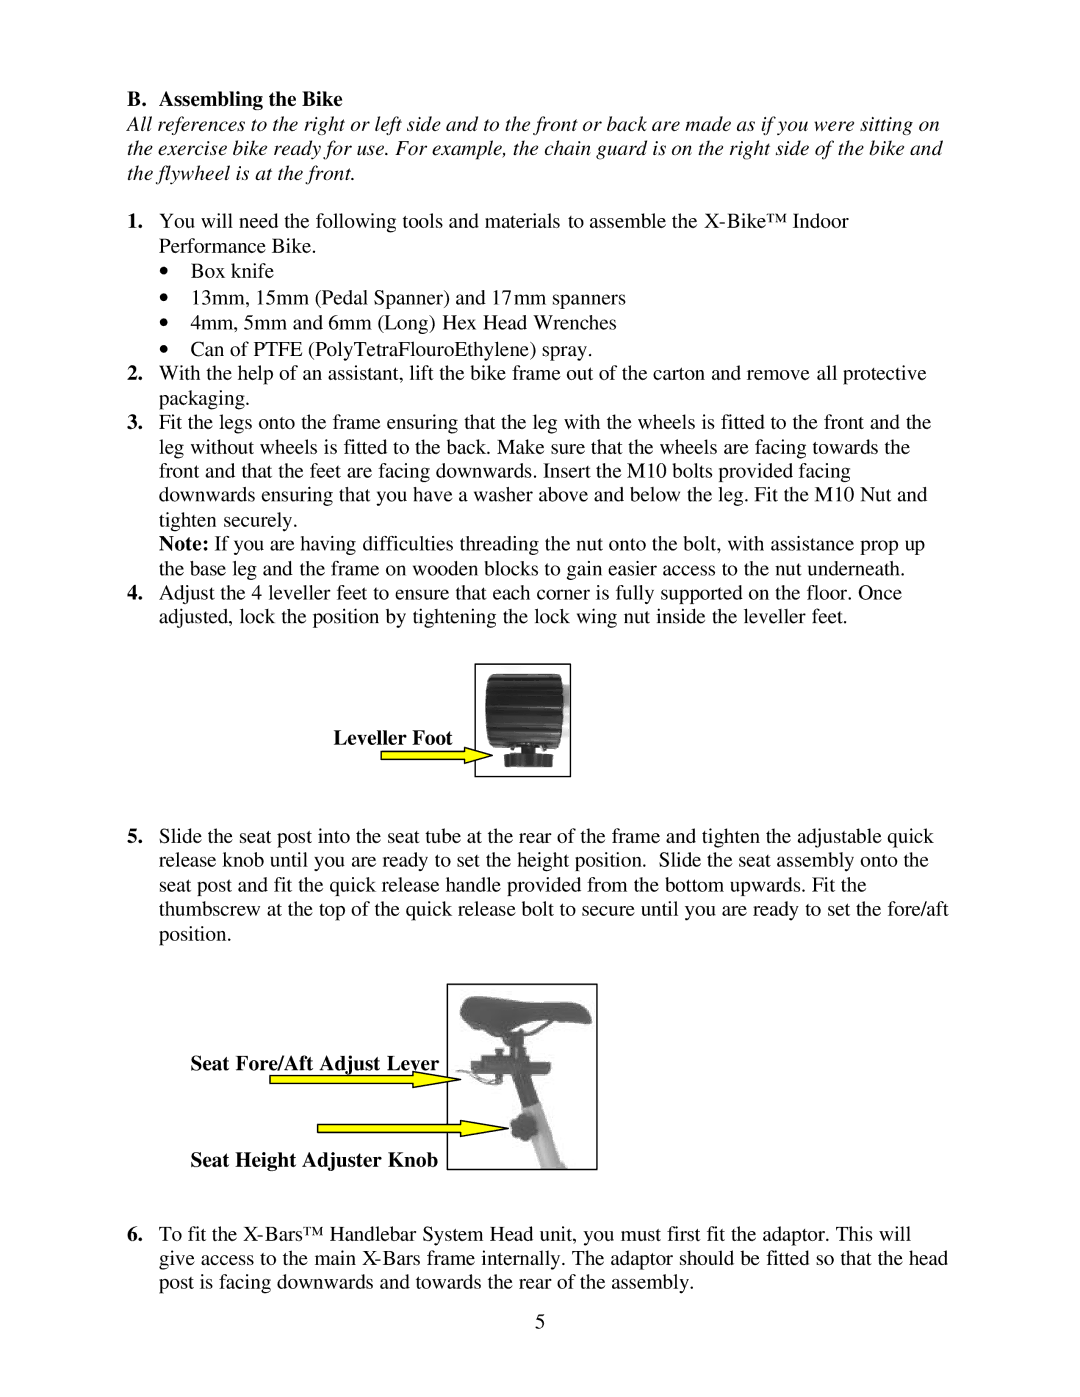
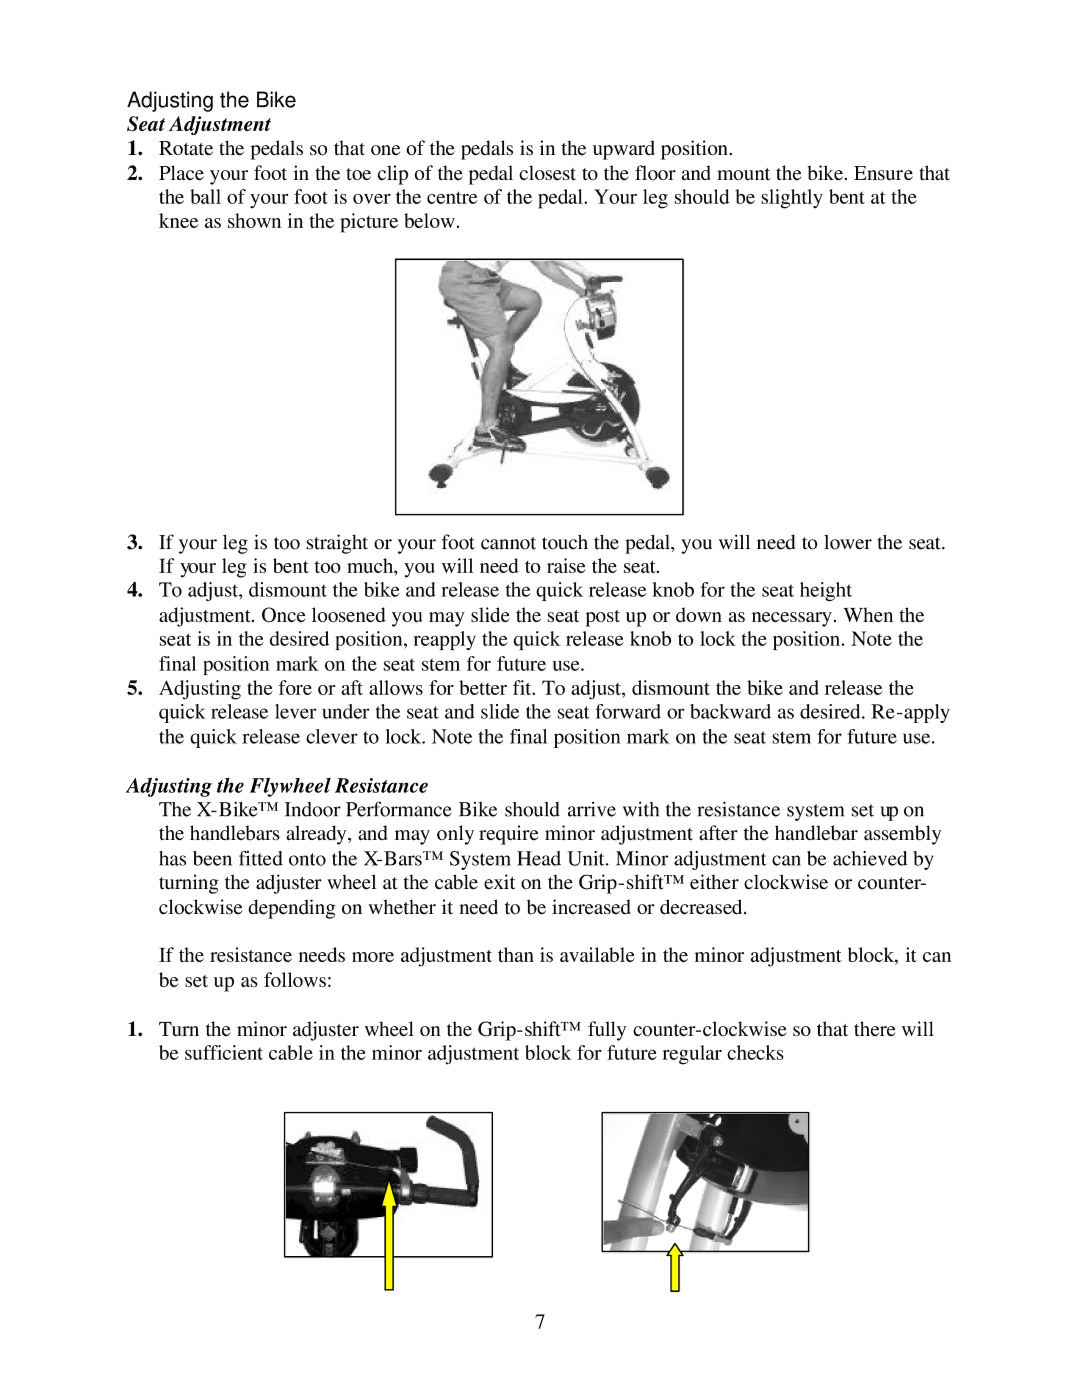
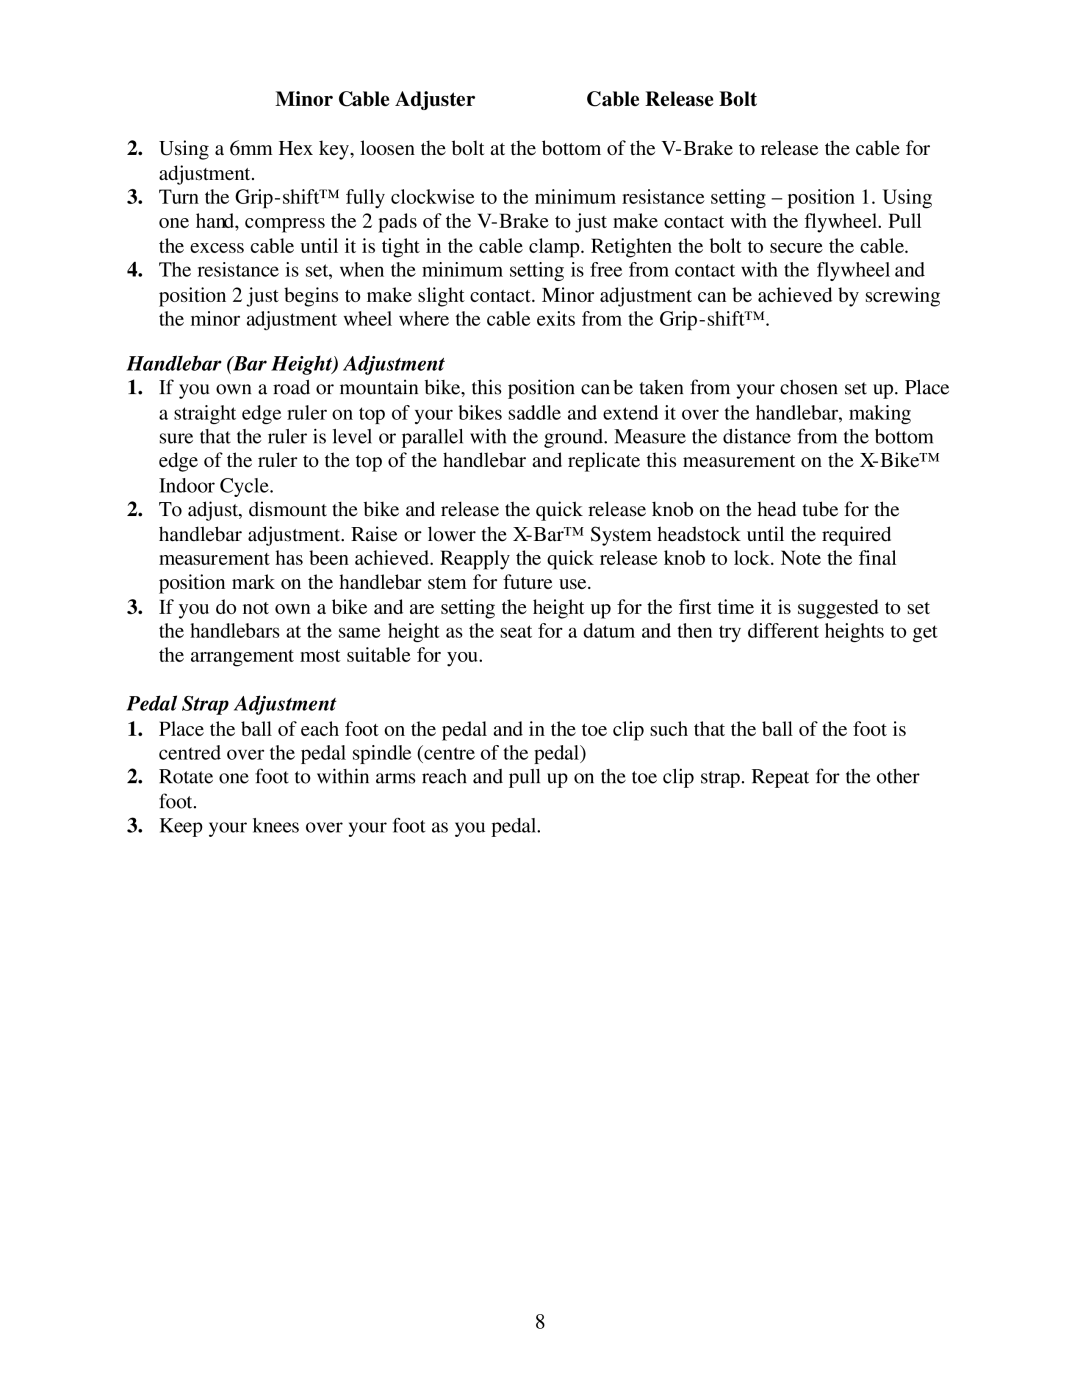
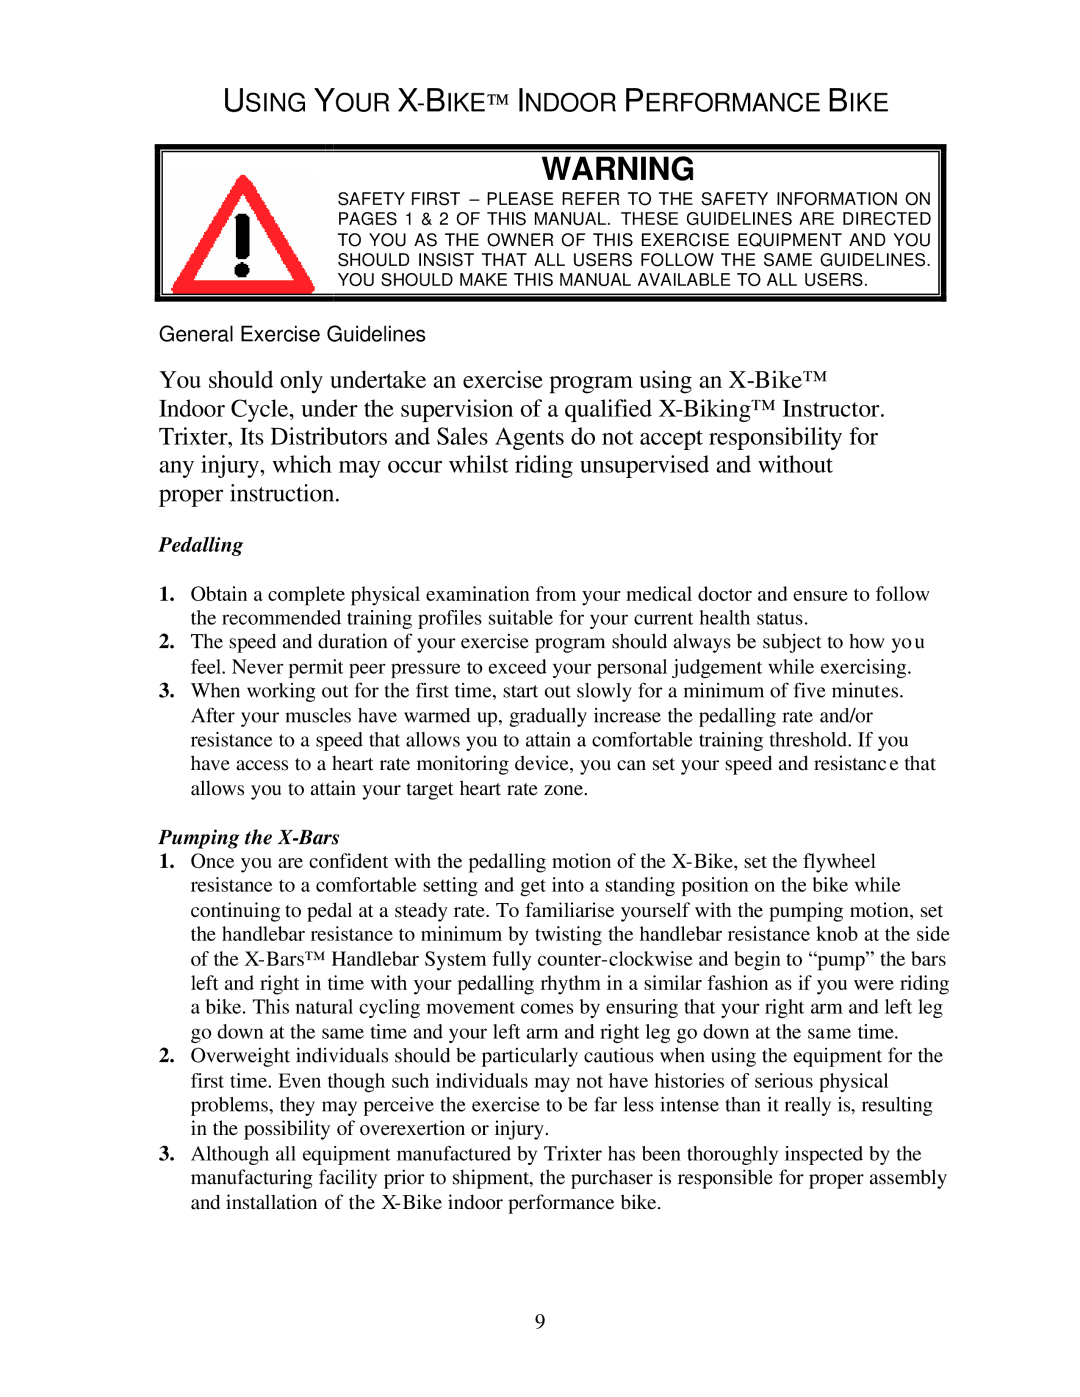
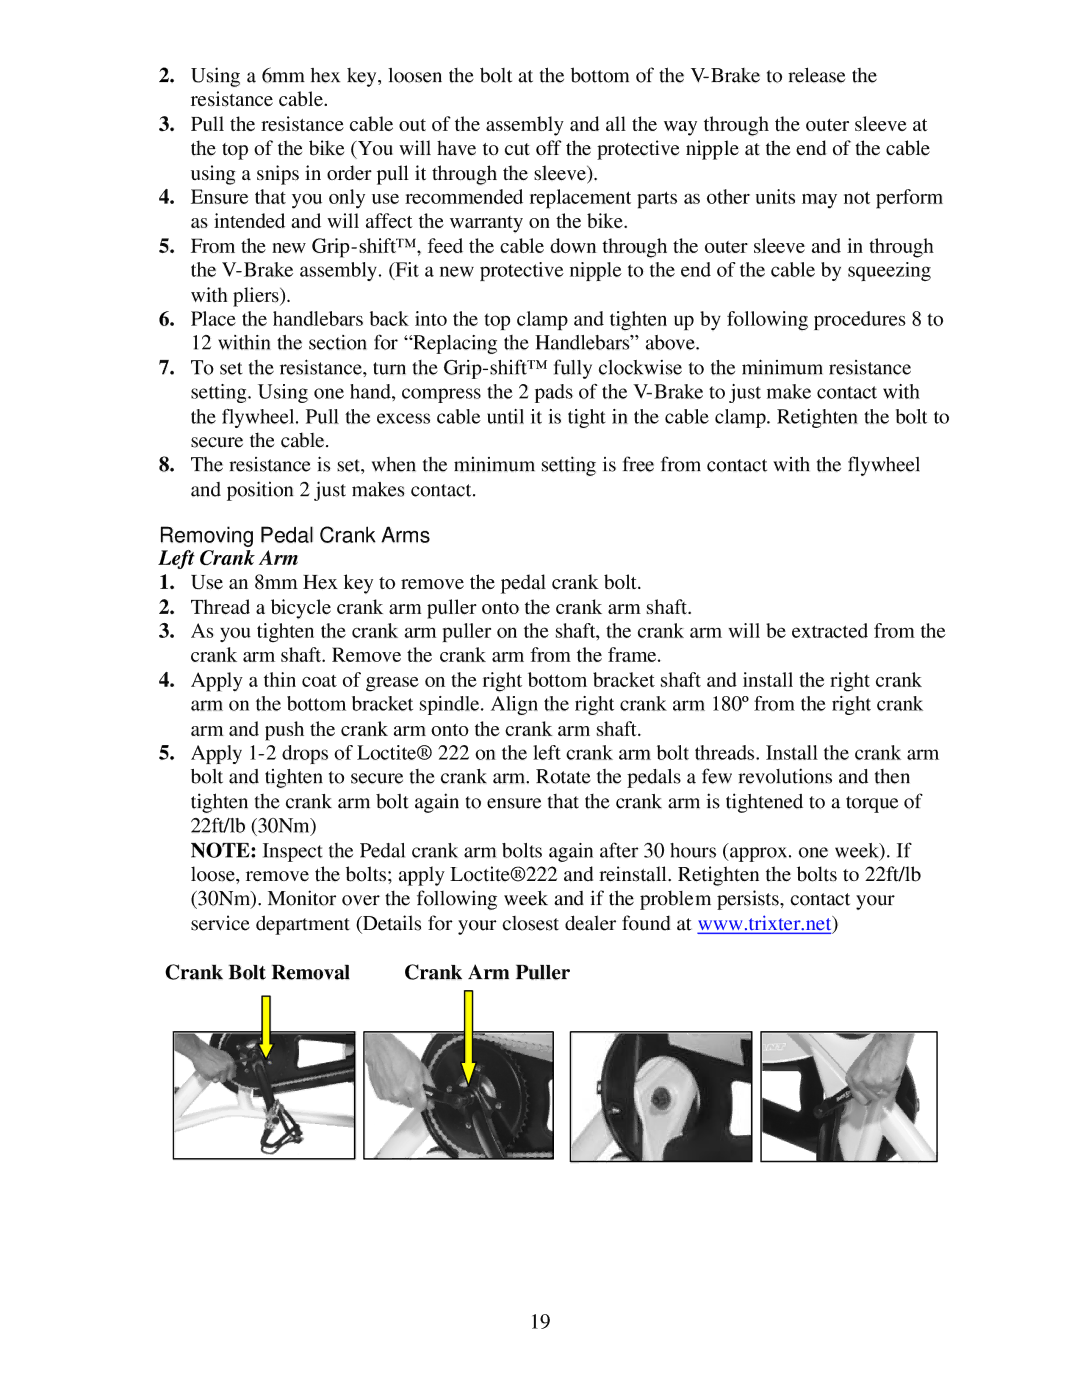
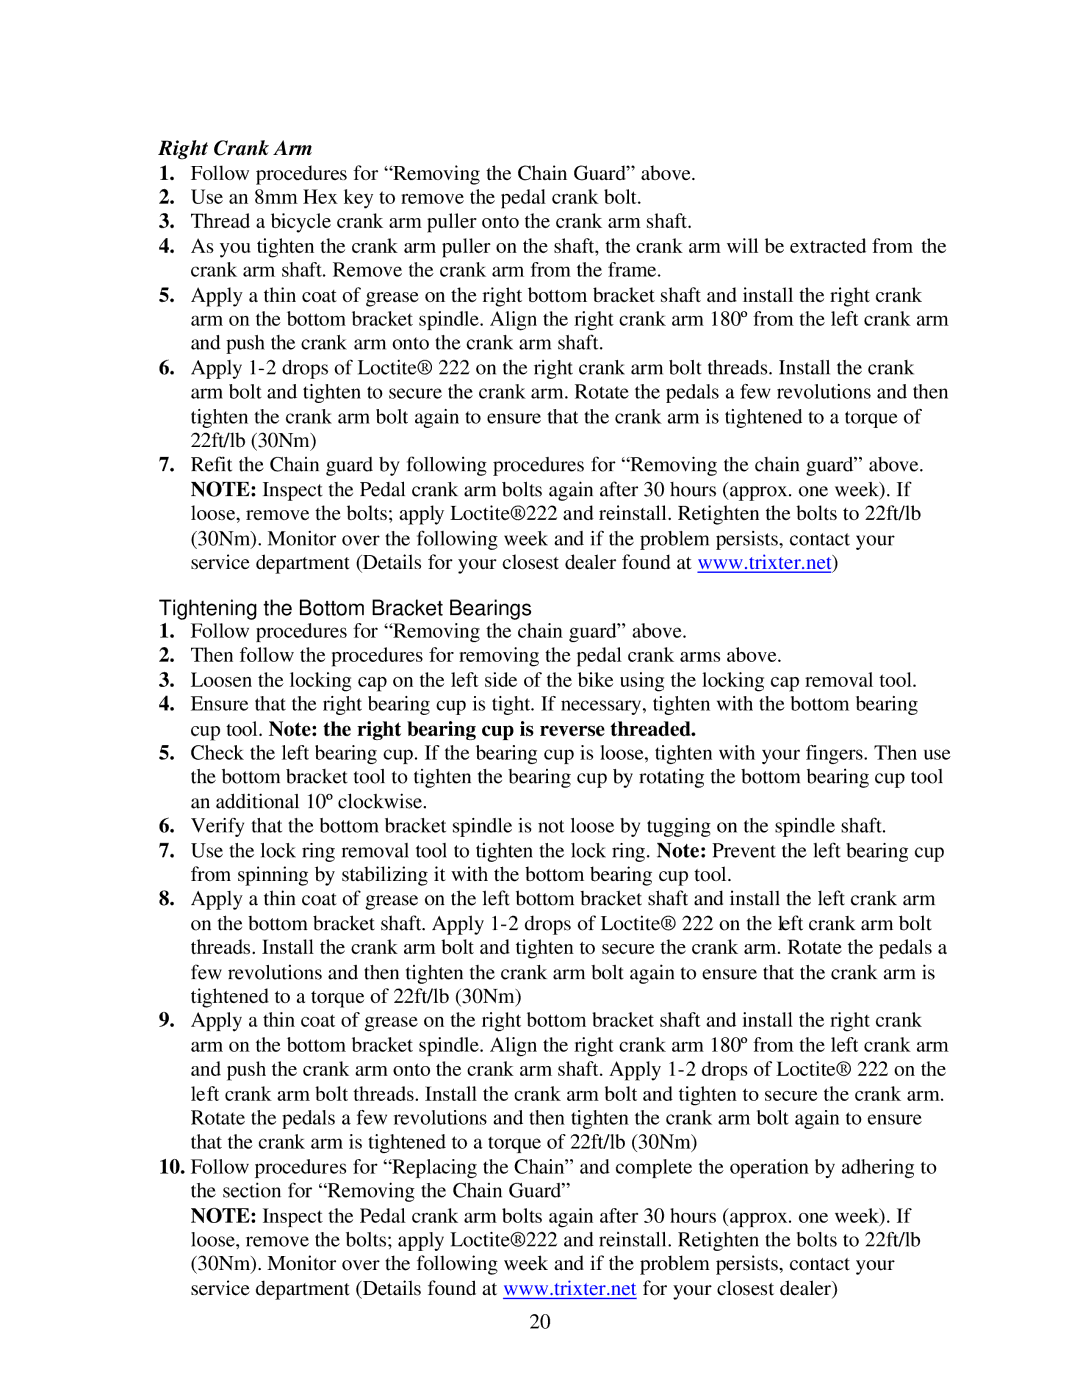
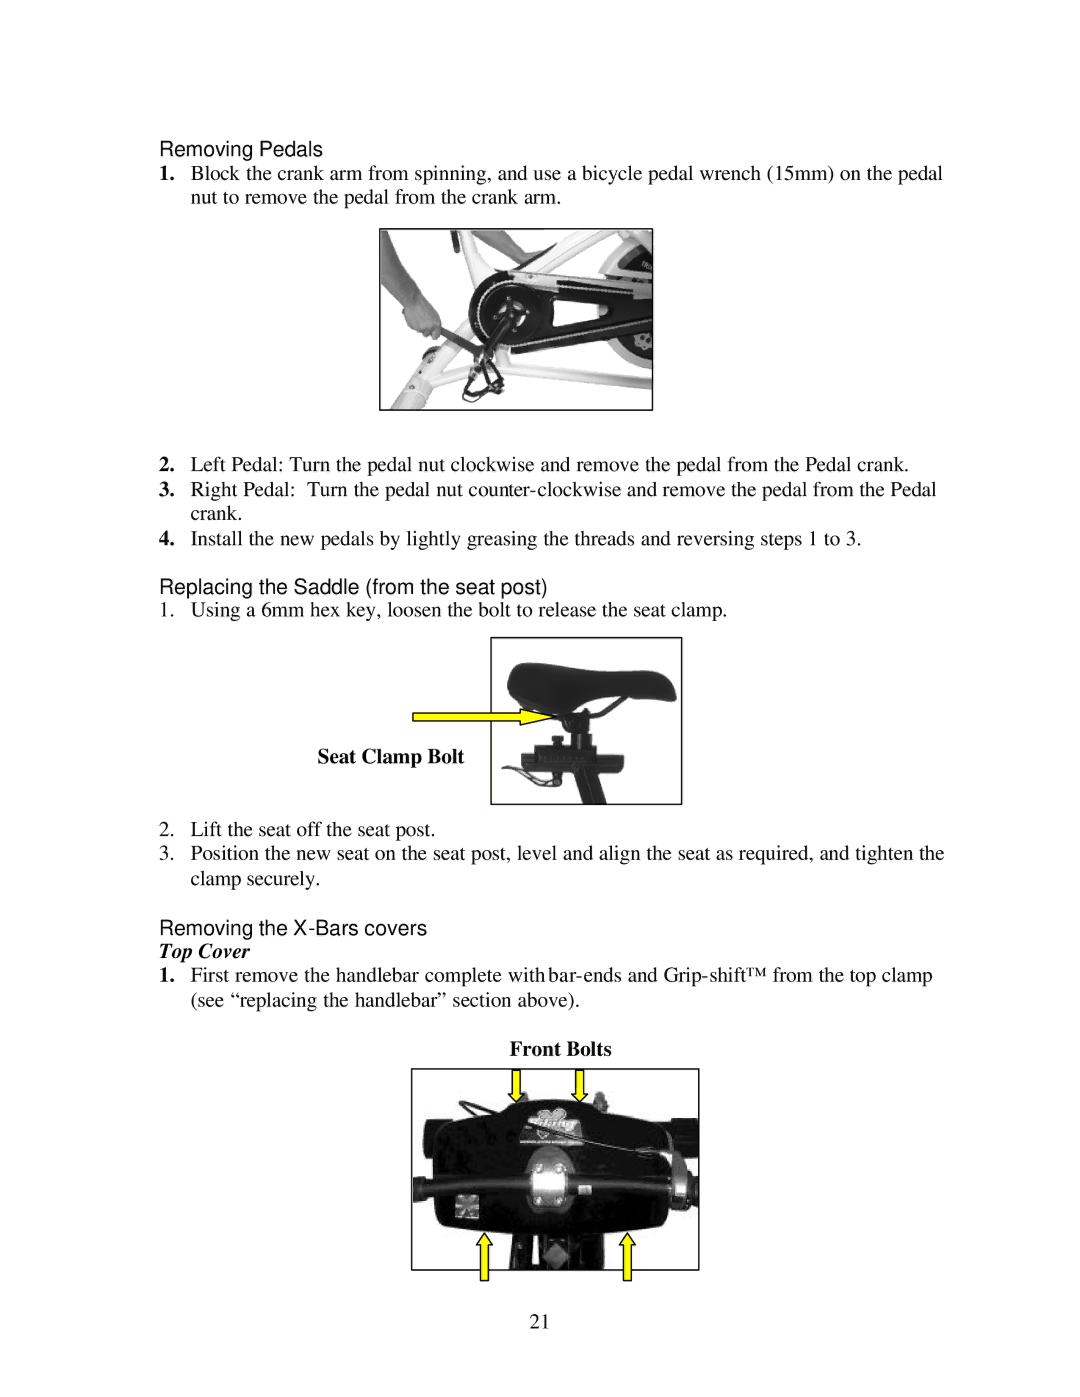
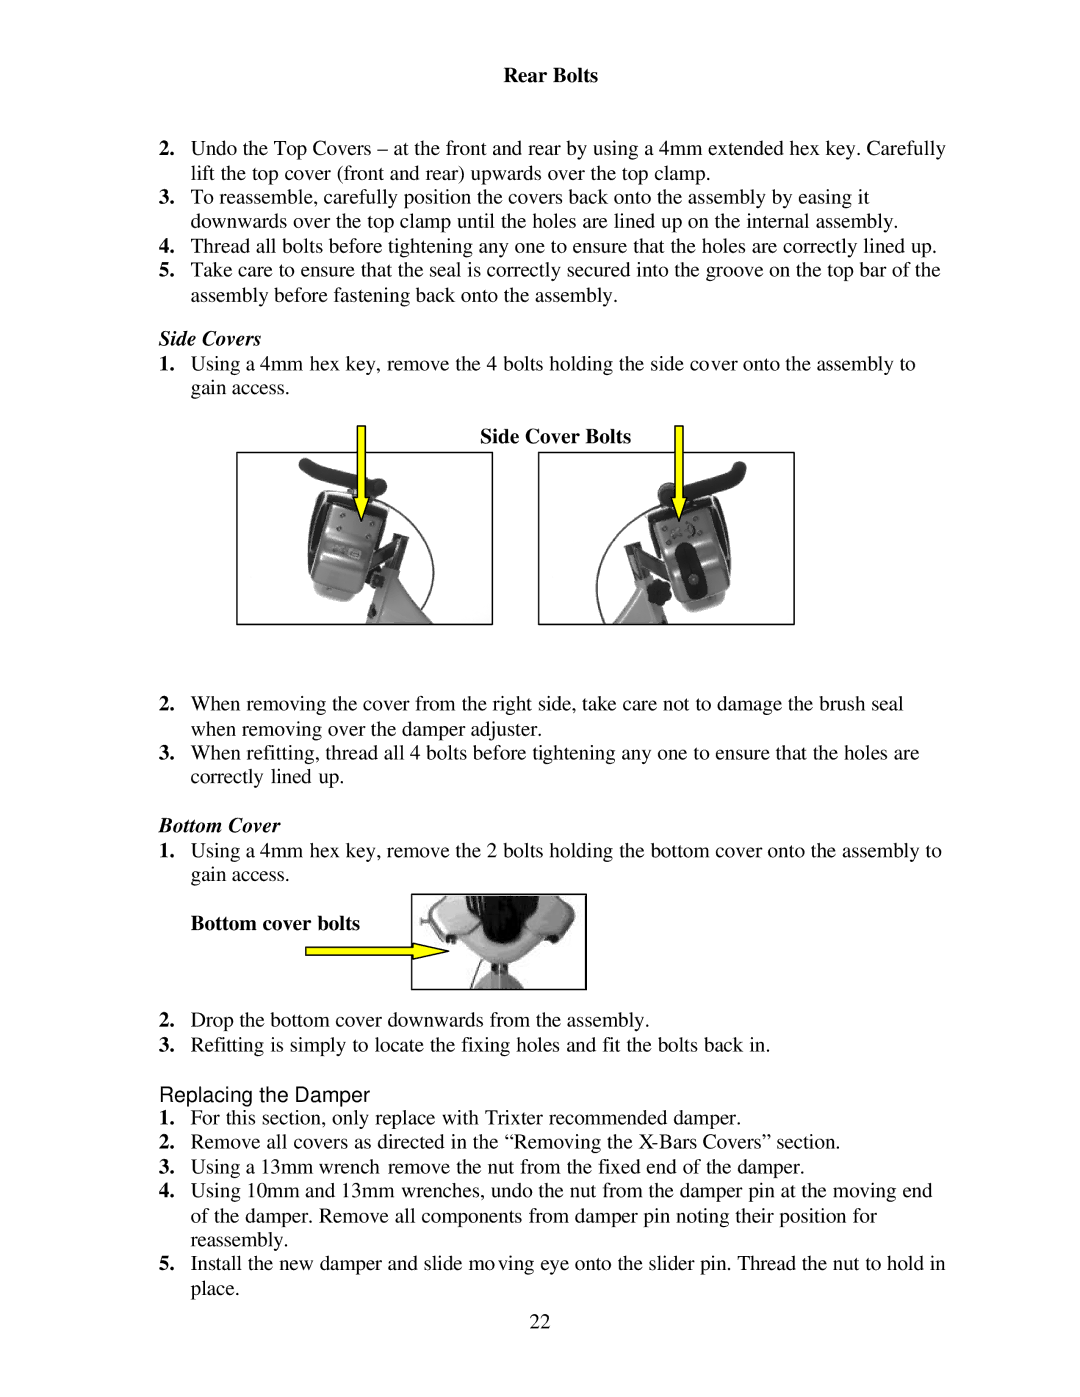
Trixter X-Bike manual Mounting and Dismounting, Your First Workout, Basic Instructions

Page 13

Mounting and Dismounting

Once sitting comfortably on the Bike, make sure to tighten each toe strap securely before commencing exercise. Dismount the bike by first loosening each toe clip and then removing your feet from the pedals. Carefully step off the bike.

Your First Workout

Basic Instructions

Once an instructor has helped you to properly adjust the bike to your body size and you are sitting comfortably on the bike, slowly begin pedalling. Allow your hands to rest comfortably on the handlebars.

WARNING

If at any time during your workout you feel any chest pain, experience severe muscular discomfort, feel faint, or are short of breath, STOP EXERCISING IMMEDIATELY. If the condition persists, you should consult your medical doctor immediately.

Pedalling Resistance

Pedalling resistance is controlled by the turning of the Twist- grip™ located on the right side of the handlebar. The minimum resistance setting is located with the Twist-Grip™ turned fully clockwise – increasing to a maximum Resistance when the Twist-Grip™ is turned fully counter- clockwise. It may be adjusted at any time during exercising by turning the Twist-grip™ to the desired resistance setting.

X-BarHandlebar System Resistance

Handlebar resistance is controlled by the knob located at the end of the resistance damper on the right side of the head section. There are seven settings from minimum to maximum. The resistance can be adjusted at any time by twisting the knob anti-clockwise for minimum and clockwise to maximum setting.

*Your instructor will advise you on the correct use of the X-Bars™ System.

10

Image 13
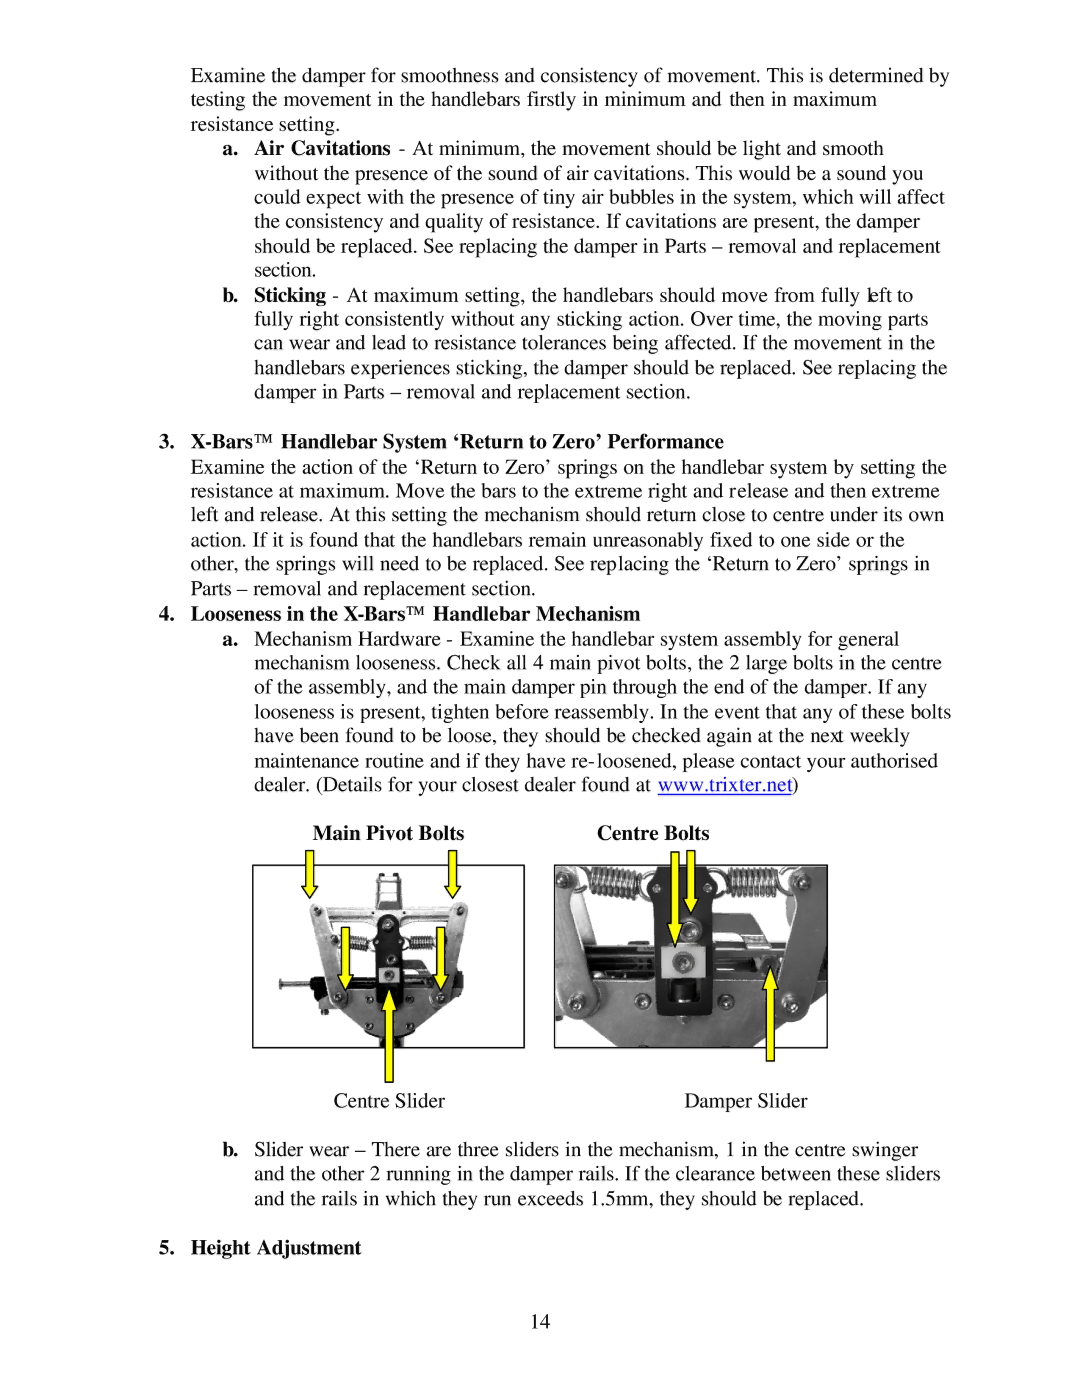
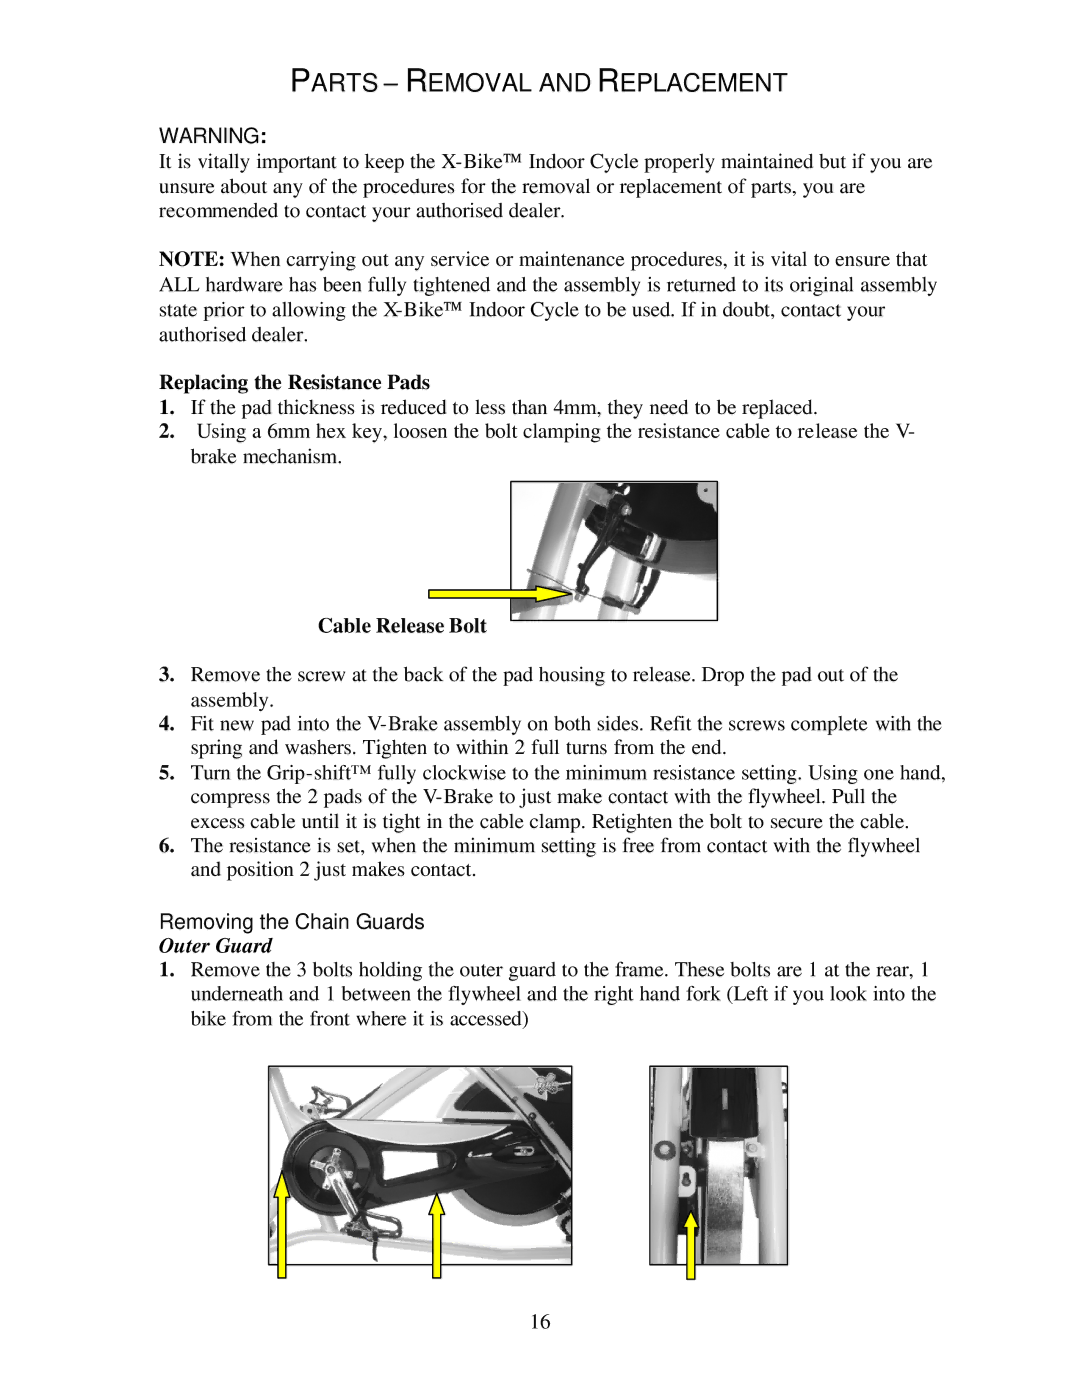
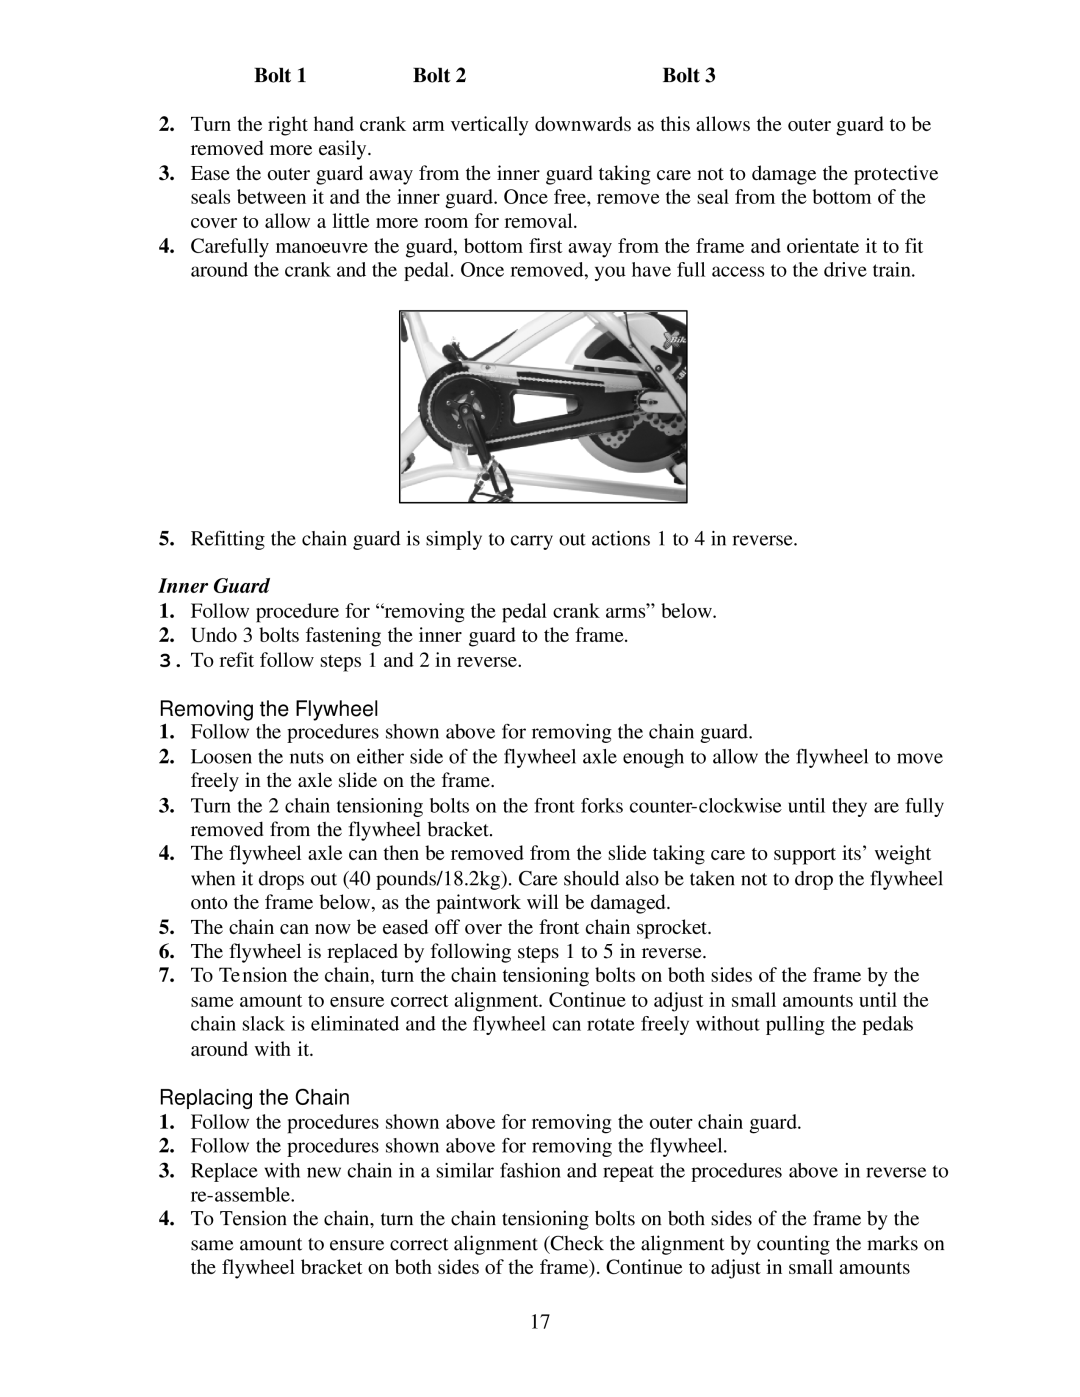
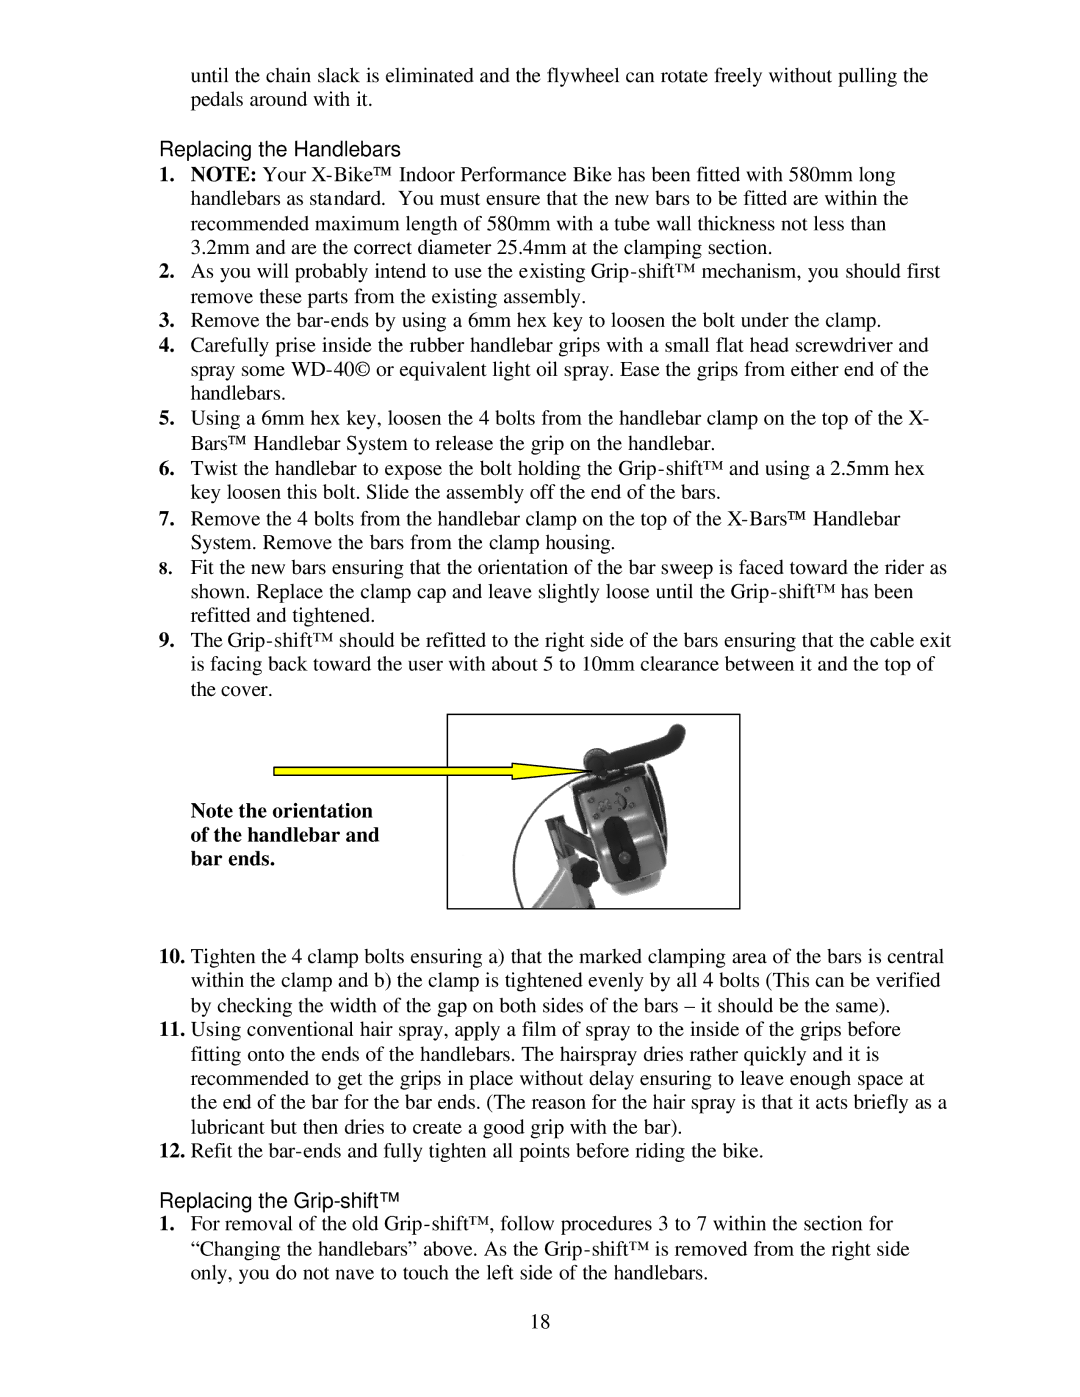
Contents Page Page Table of Contents Safety Information Page Introduction Dimensions of the X-BikeBike Indoor Performance Bike Biking Indoor Cycling ProgramsSetting UP the X-BIKEIndoor Performance Cycle Installation & AdjustmentRemove the bike and components from the shipping carton Assembling the Bike Seat Fore/Aft Adjust Lever Seat Height Adjuster KnobLeveller Foot Handlebar and Bar Ends Height Adjuster Knob Seat Adjustment Adjusting the BikeAdjusting the Flywheel Resistance Handlebar Bar Height Adjustment Minor Cable AdjusterPedal Strap Adjustment General Exercise Guidelines Using Your X-BIKEINDOOR Performance BikePedalling Pumping the X-BarsYour First Workout Mounting and DismountingBasic Instructions Pedalling ResistanceHelpful Hints Maintenance InstructionsFront of Bike Frame Serial Number Tool ListDaily Preventative MaintenanceWeekly Monthly Axle Position Markings Chain Adjusting BoltsChain Tensioning BarsHandlebar System Damper PerformanceBarsHandlebar System ‘Return to Zero’ Performance Height AdjustmentPage Replacing the Resistance Pads Parts Removal and ReplacementCable Release Bolt Removing the Chain GuardsInner Guard BoltRemoving the Flywheel Replacing the ChainReplacing the Grip-shift Replacing the HandlebarsLeft Crank Arm Removing Pedal Crank ArmsCrank Bolt Removal Crank Arm Puller Tightening the Bottom Bracket Bearings Right Crank ArmTop Cover Seat Clamp BoltFront Bolts Side Covers Rear BoltsSide Cover Bolts Bottom CoverPage Outer Spring Loop Inner Spring Loop Replacing the Return to Zero SpringsLubricating the Mechanism Page Centre Slider Damper Slider Replacing the Centre SliderReplacing the Damper Slider Equipment and Technical Information Bike Frame SpecificationsExploded View & Parts Identification Bars Exploded View Bars Parts Identification Table Structure Maximum User Weight Capacity 300 lbsBike Indoor Performance Bike Bars Handlebar SystemPerformance AdjustabilityStyle & Comfort SafetyProtection Easily accessible chain tensioning points Service and MaintenanceAdditional Features & Options Mobility & StorageThank YOU for Purchasing AN X-BIKEINDOOR Performance Bike Bike Indoor Performance Bike Warranty CardLimited Remedy Limited WarrantyWarranty Registration Card Thank YOU Index