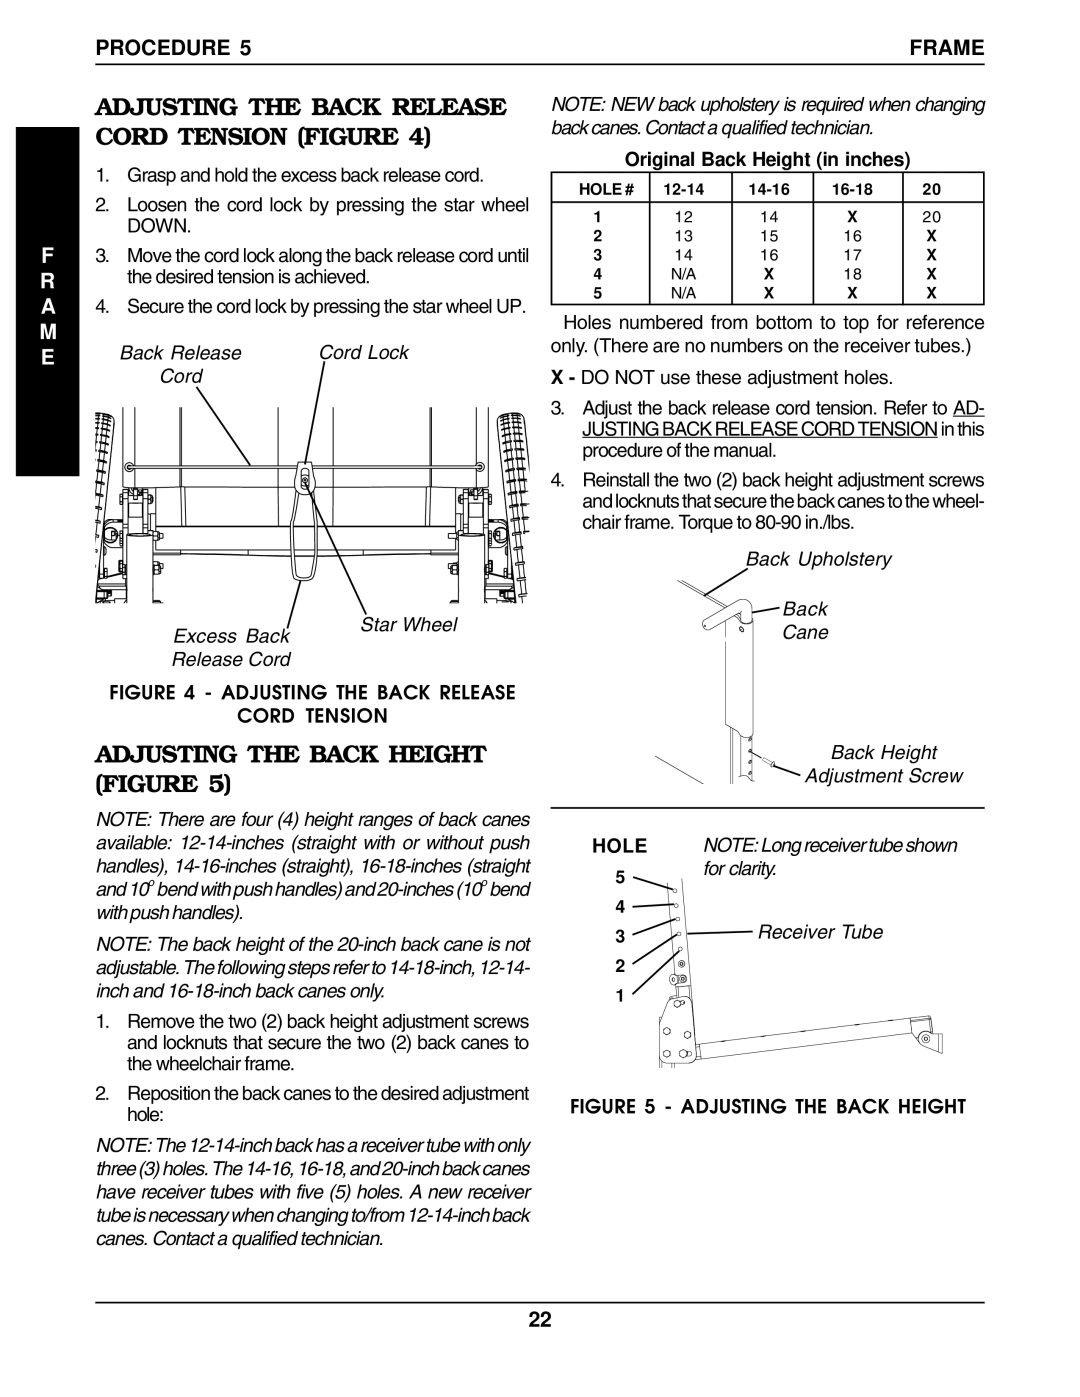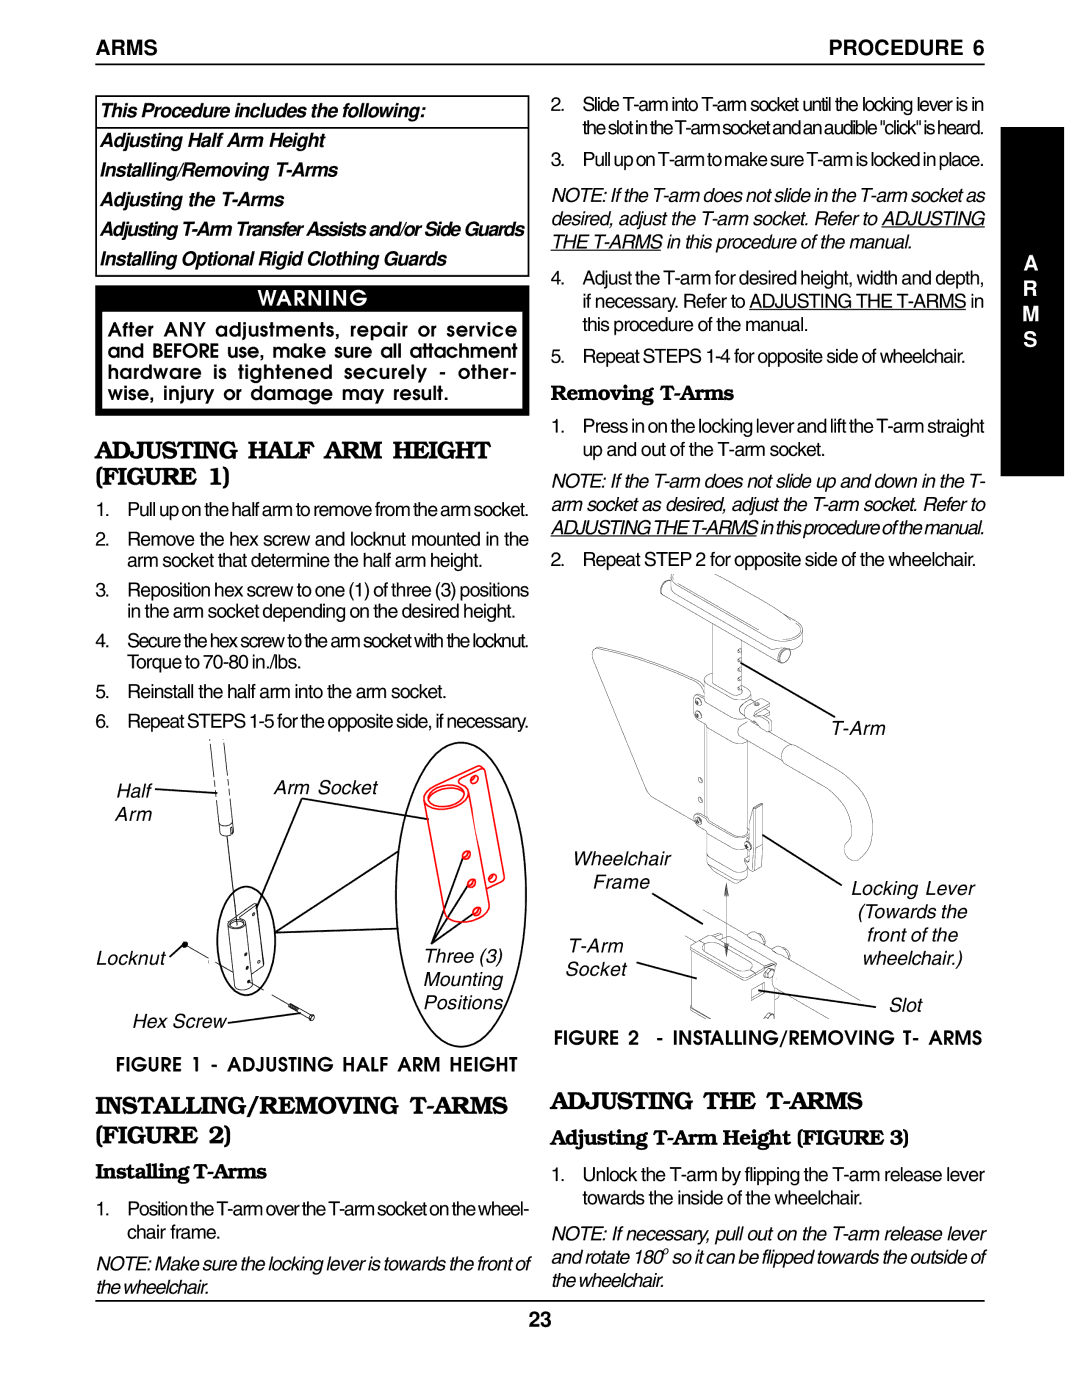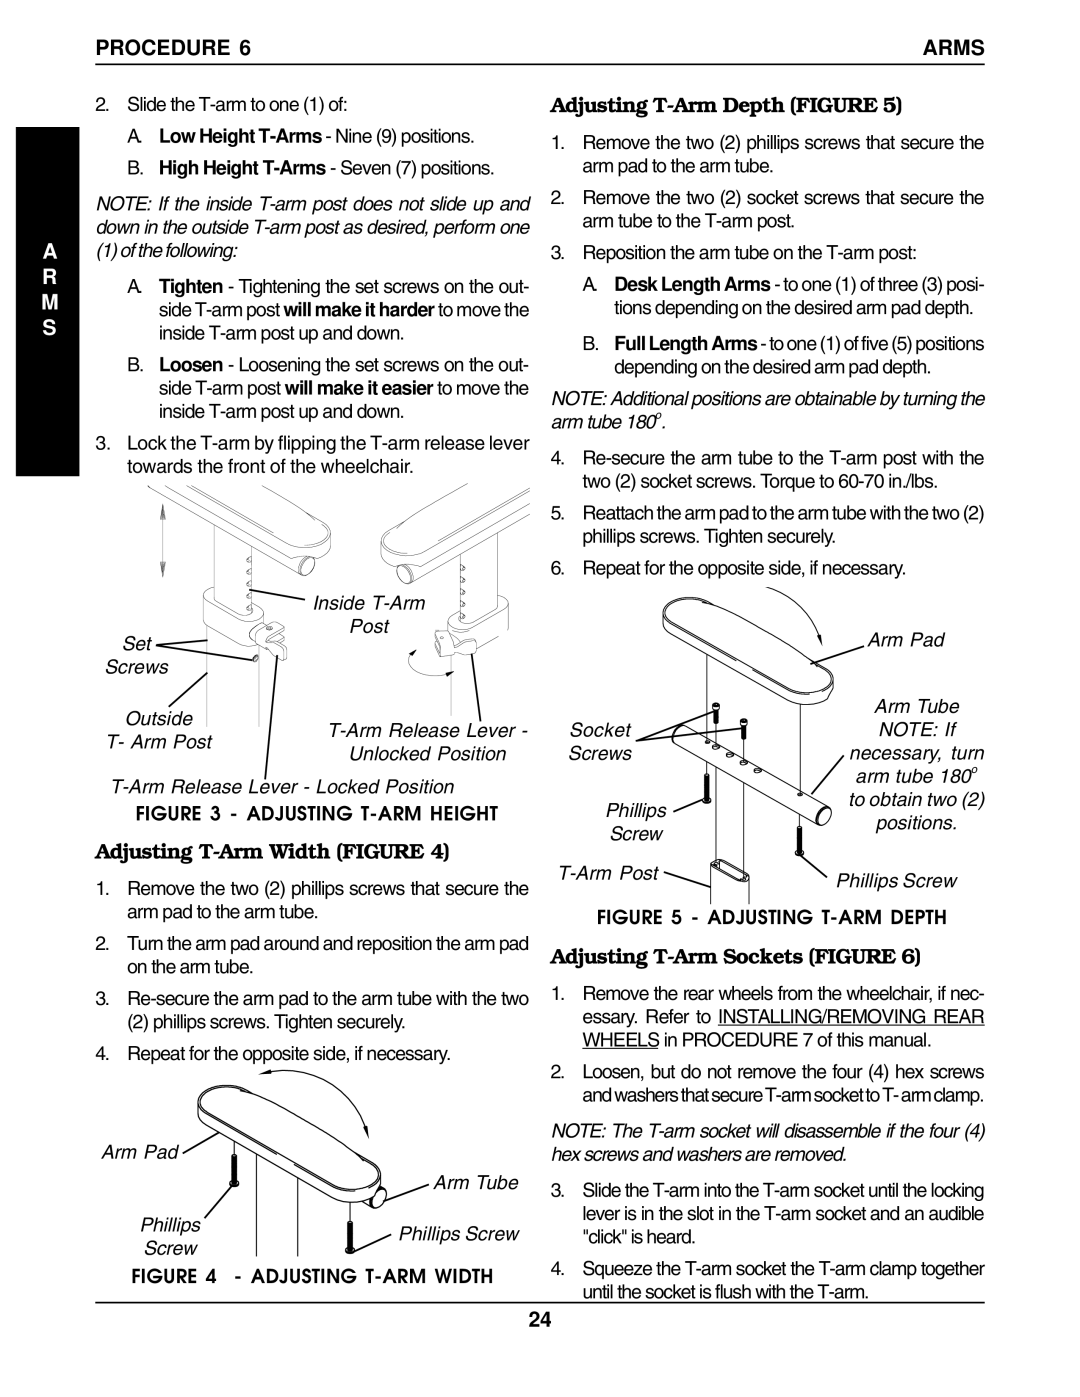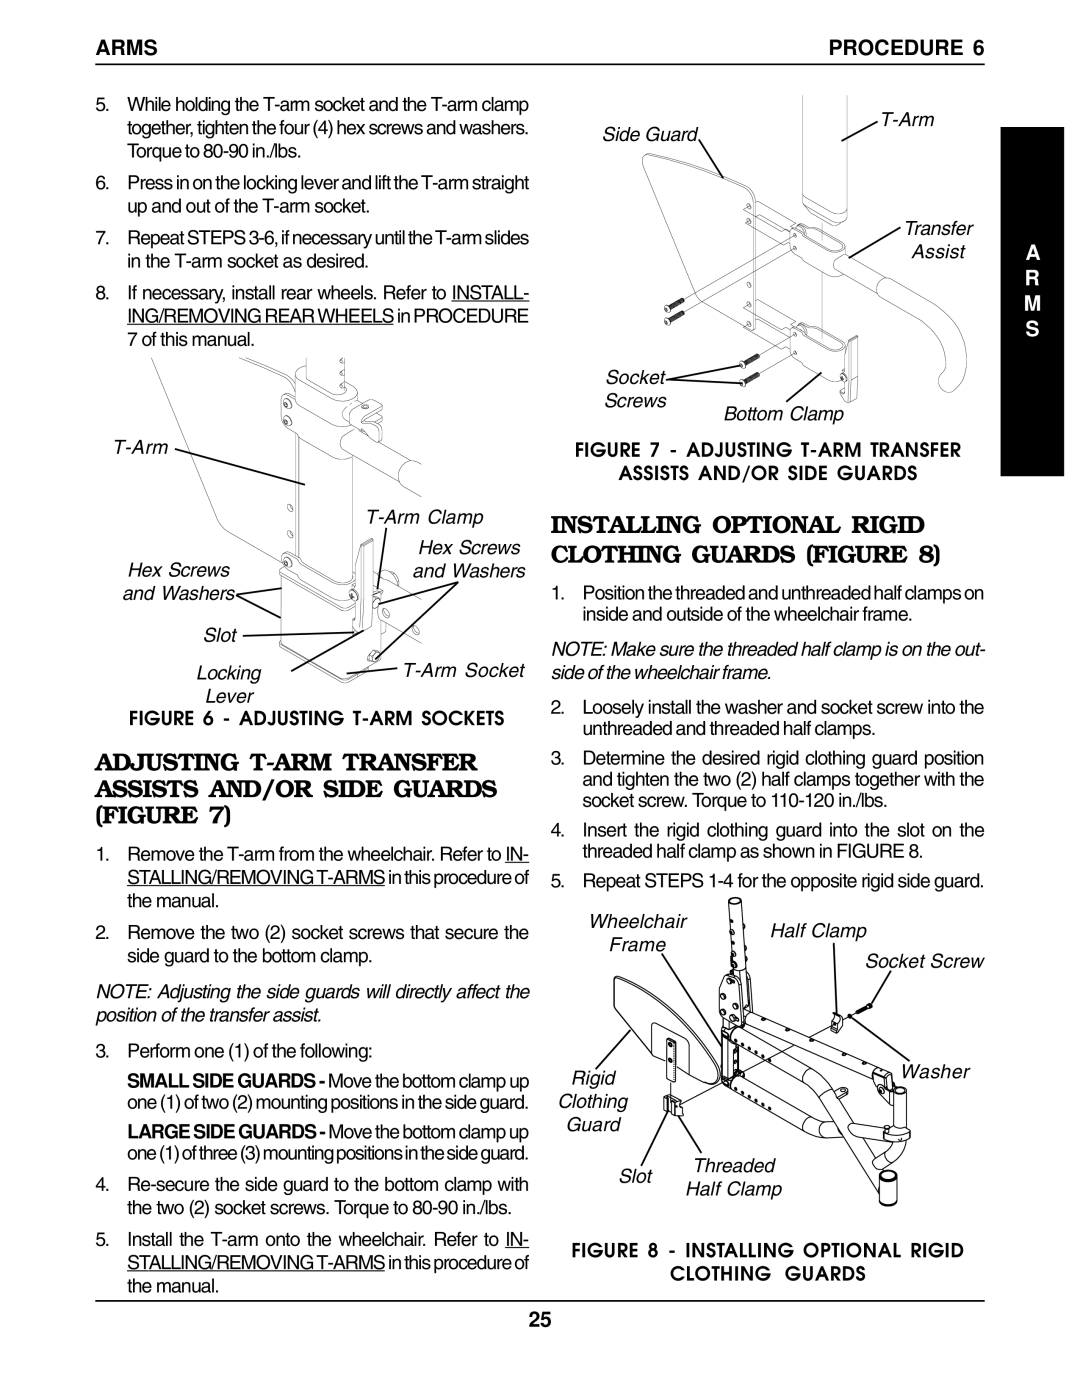
SAFETY INSPECTION | PROCEDURE 2 |
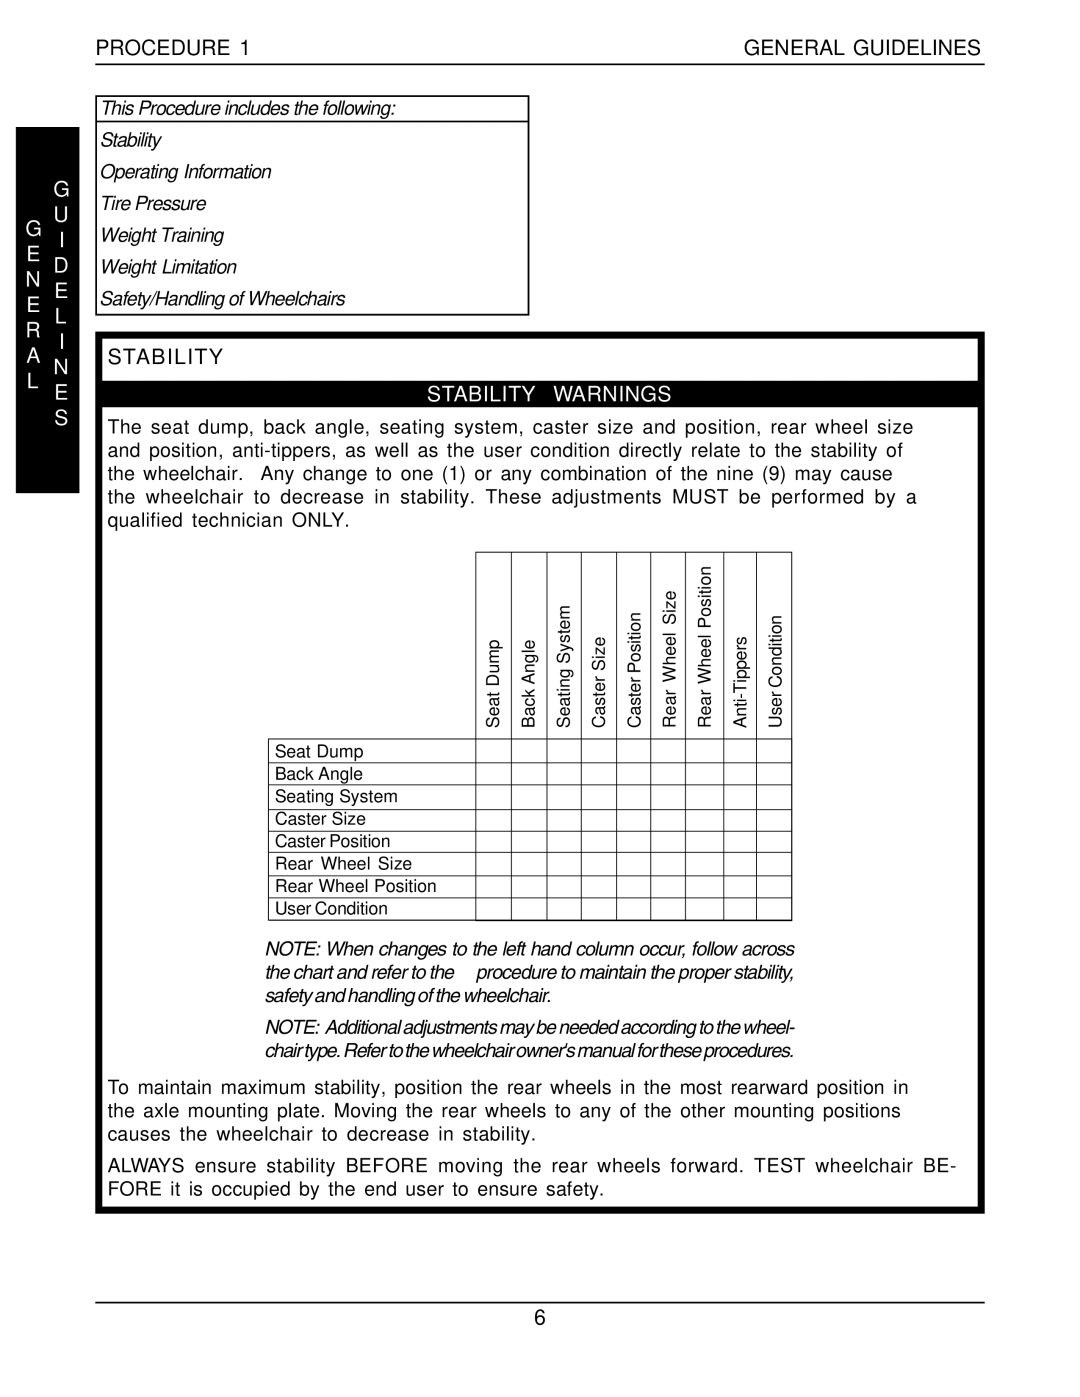
This Procedure includes the following:
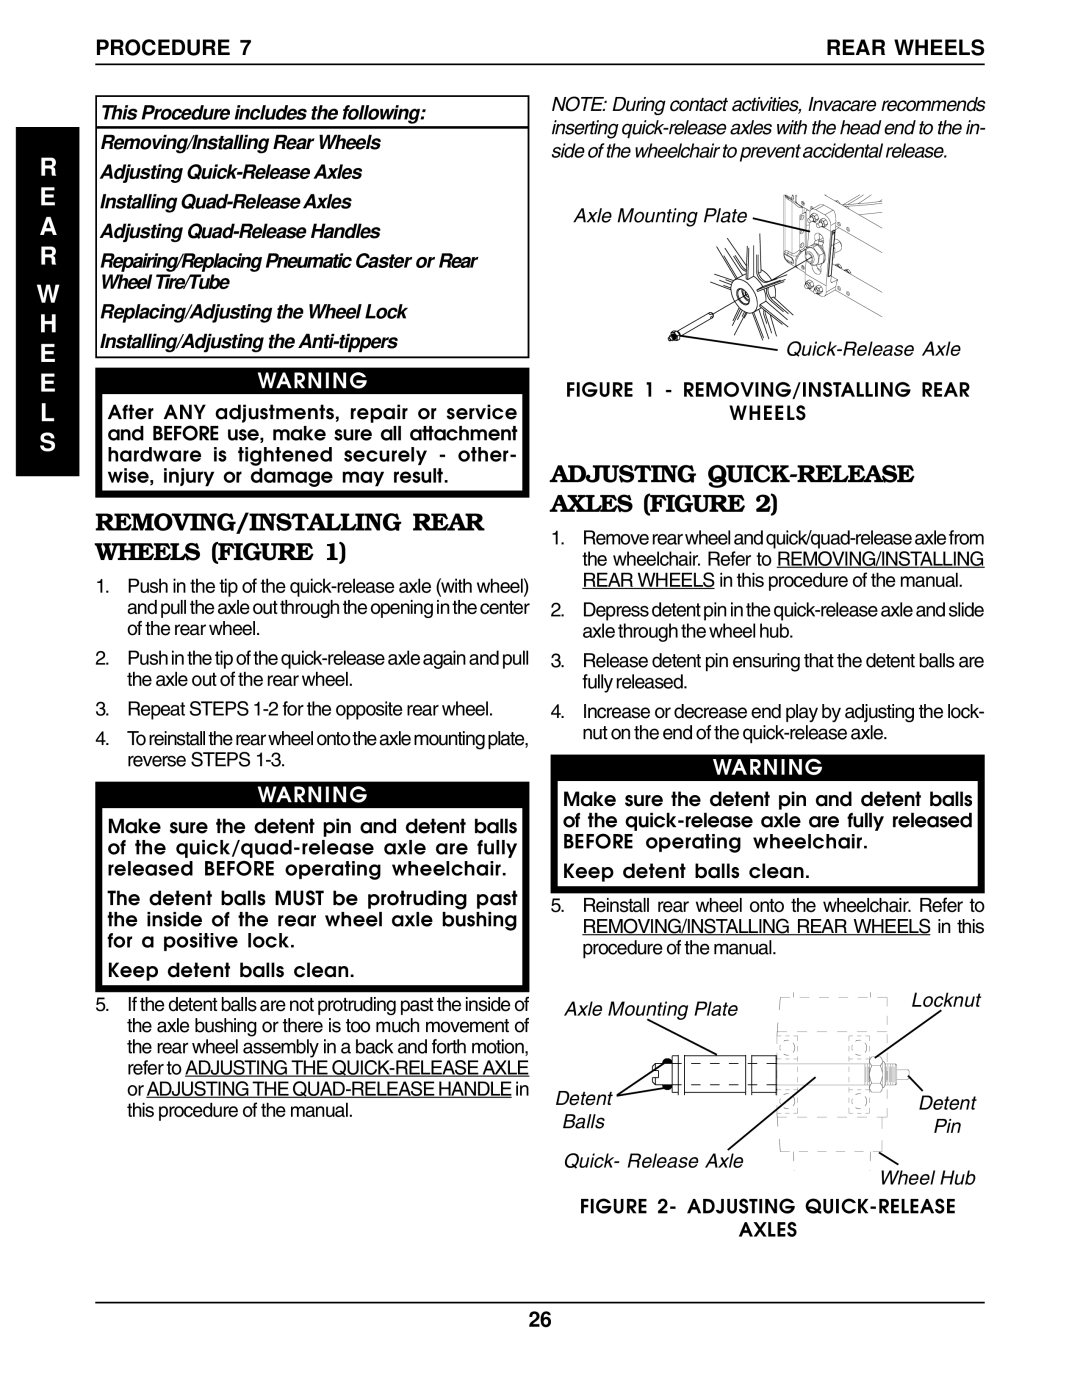
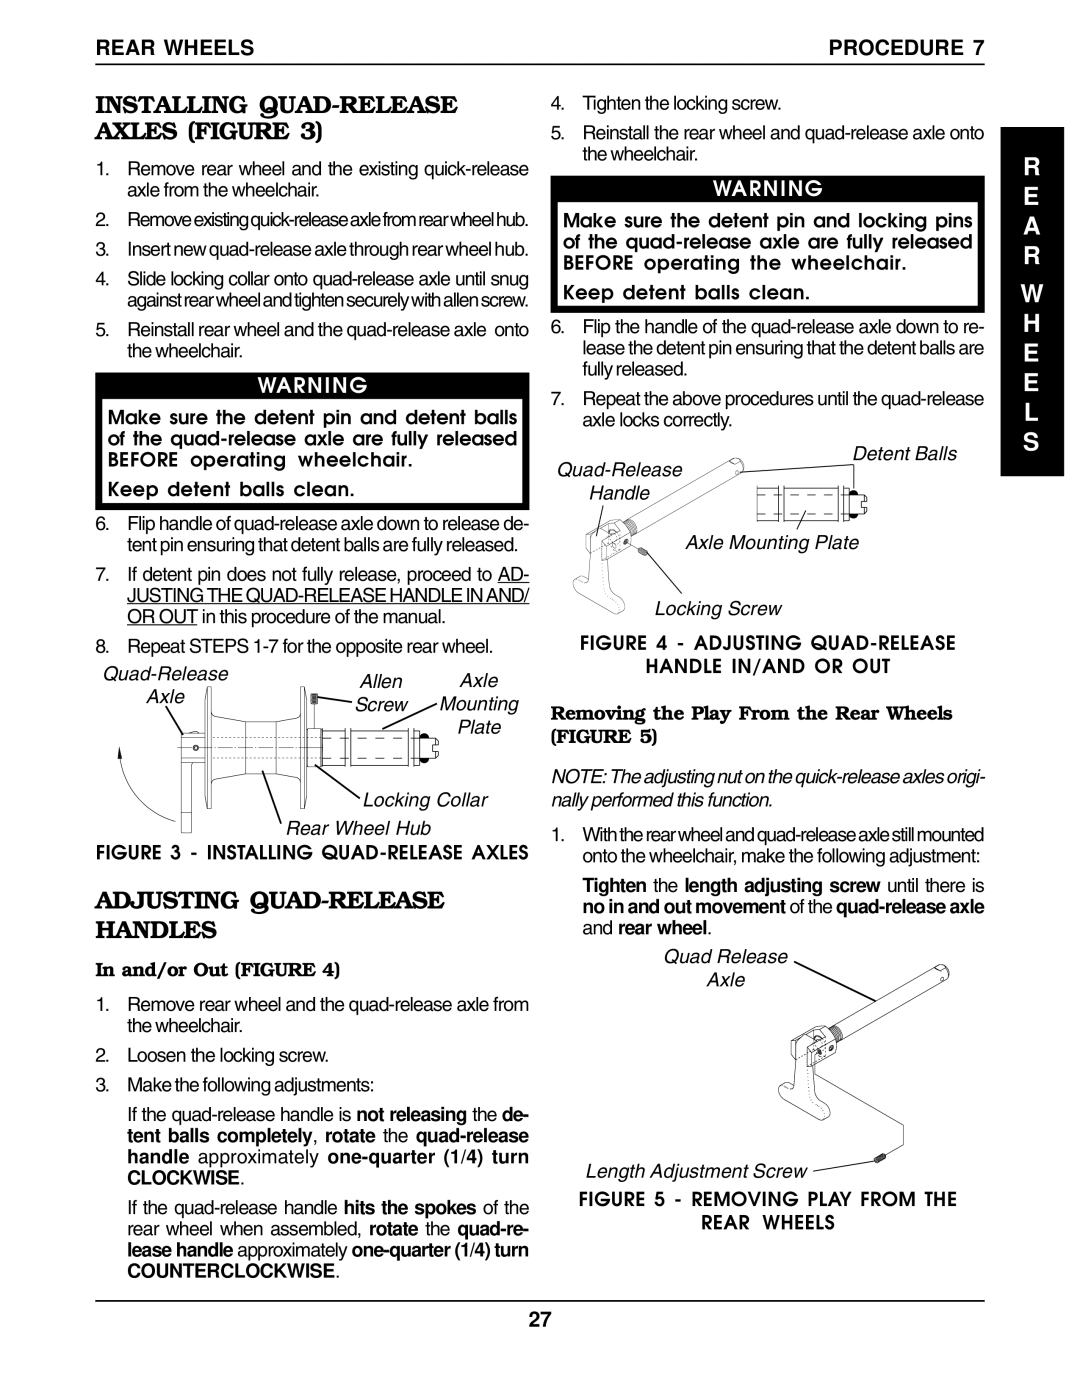
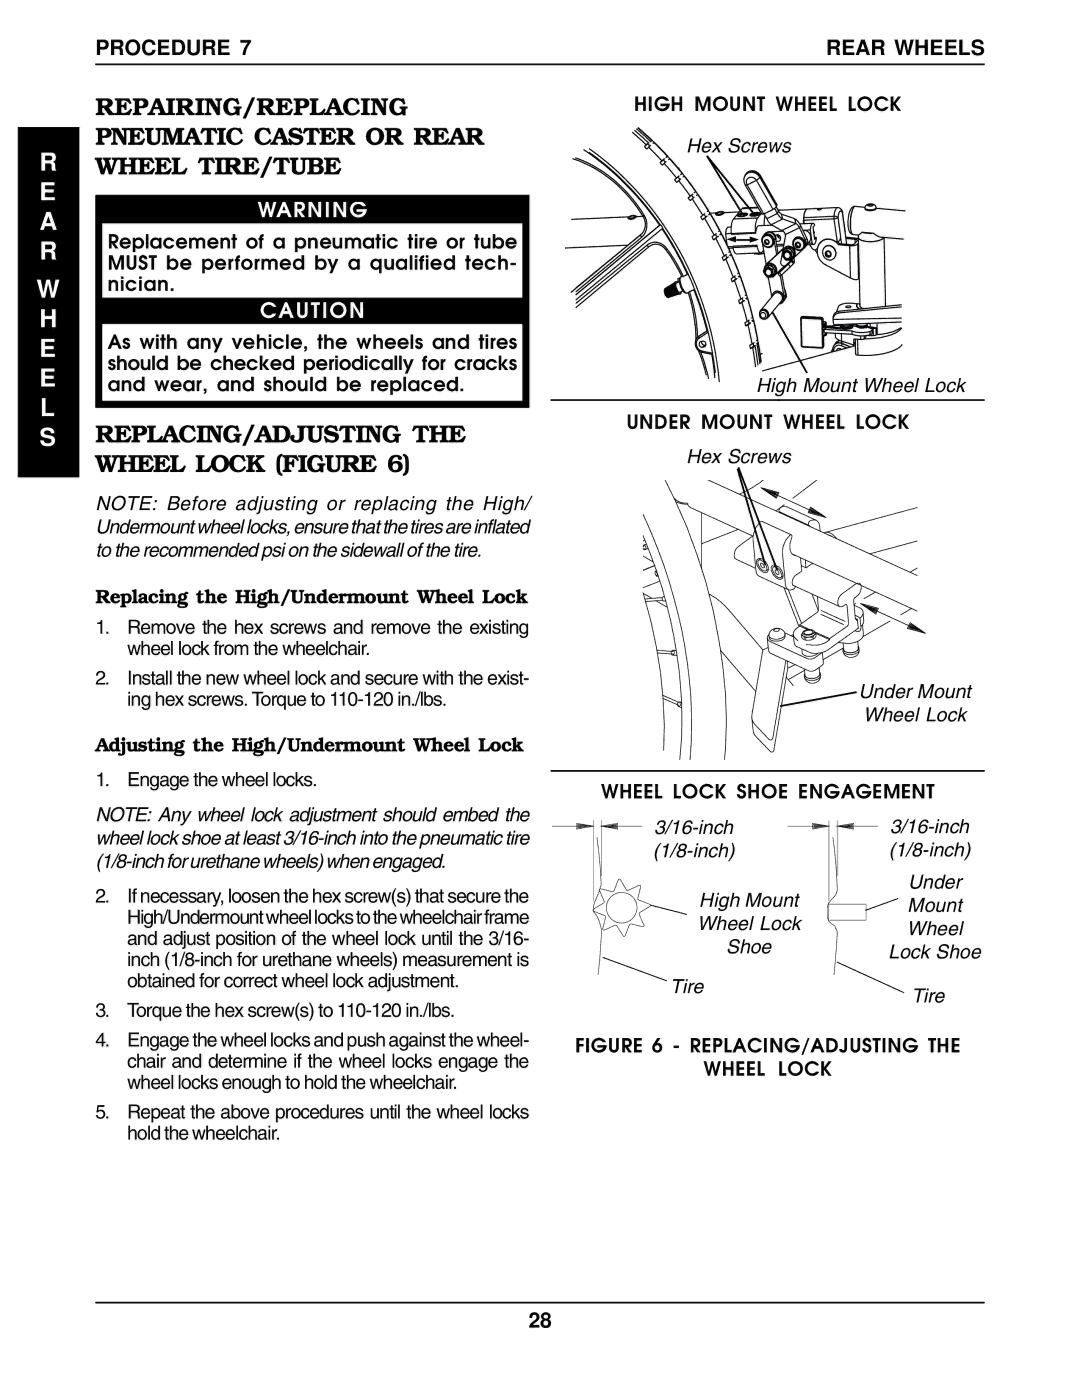
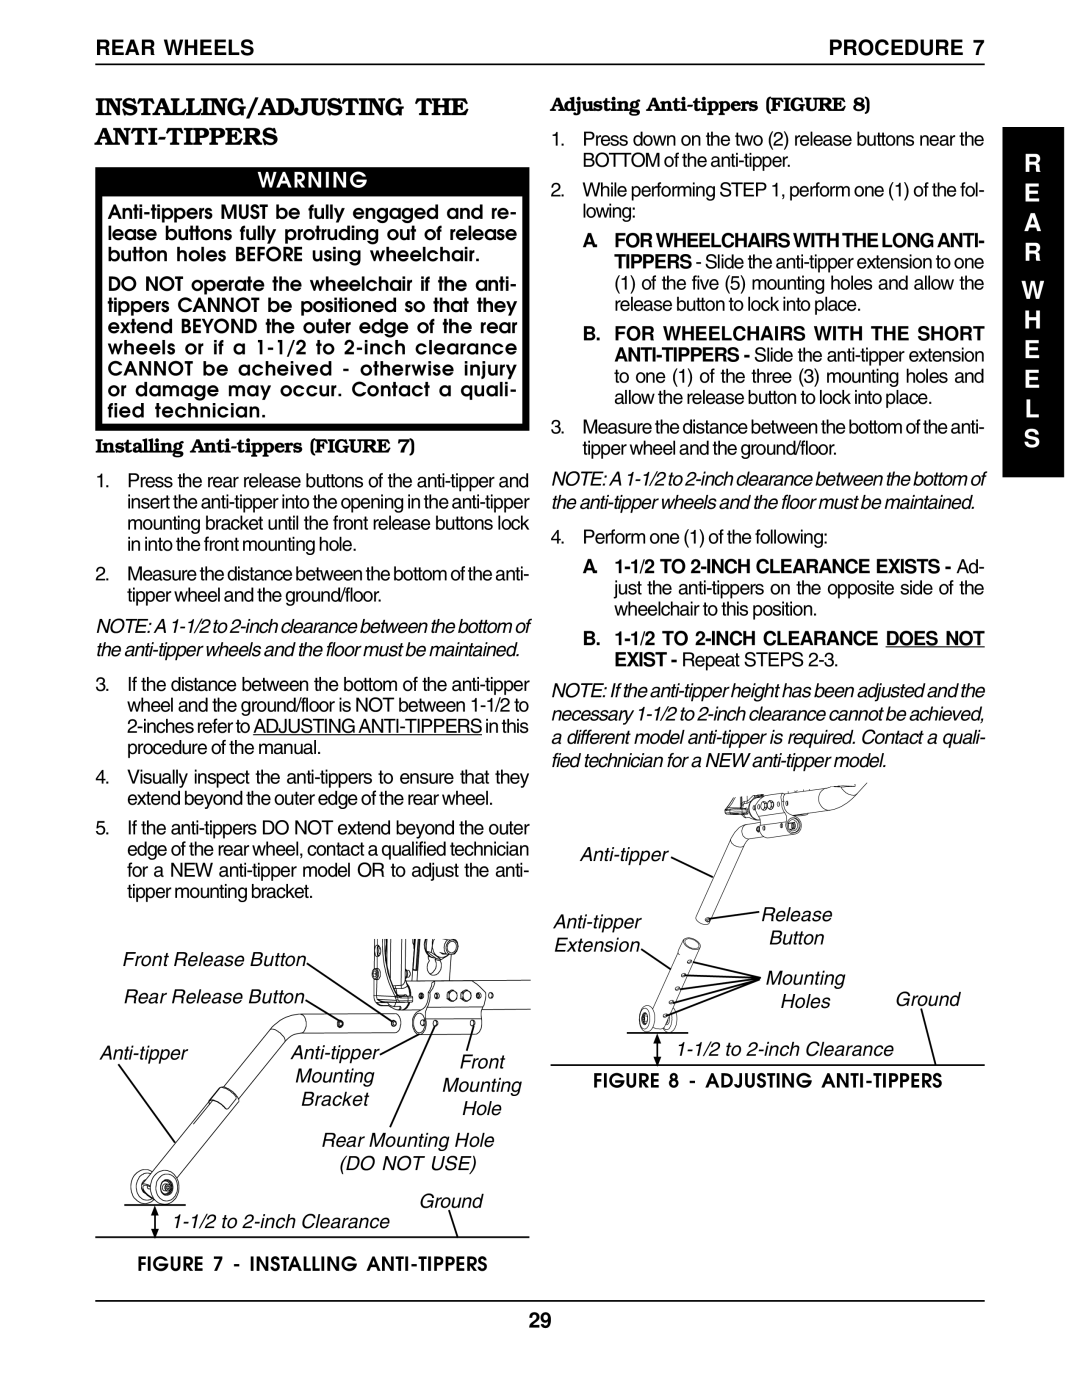
Safety Inspection Checklist
Troubleshooting
Maintenance/Transport
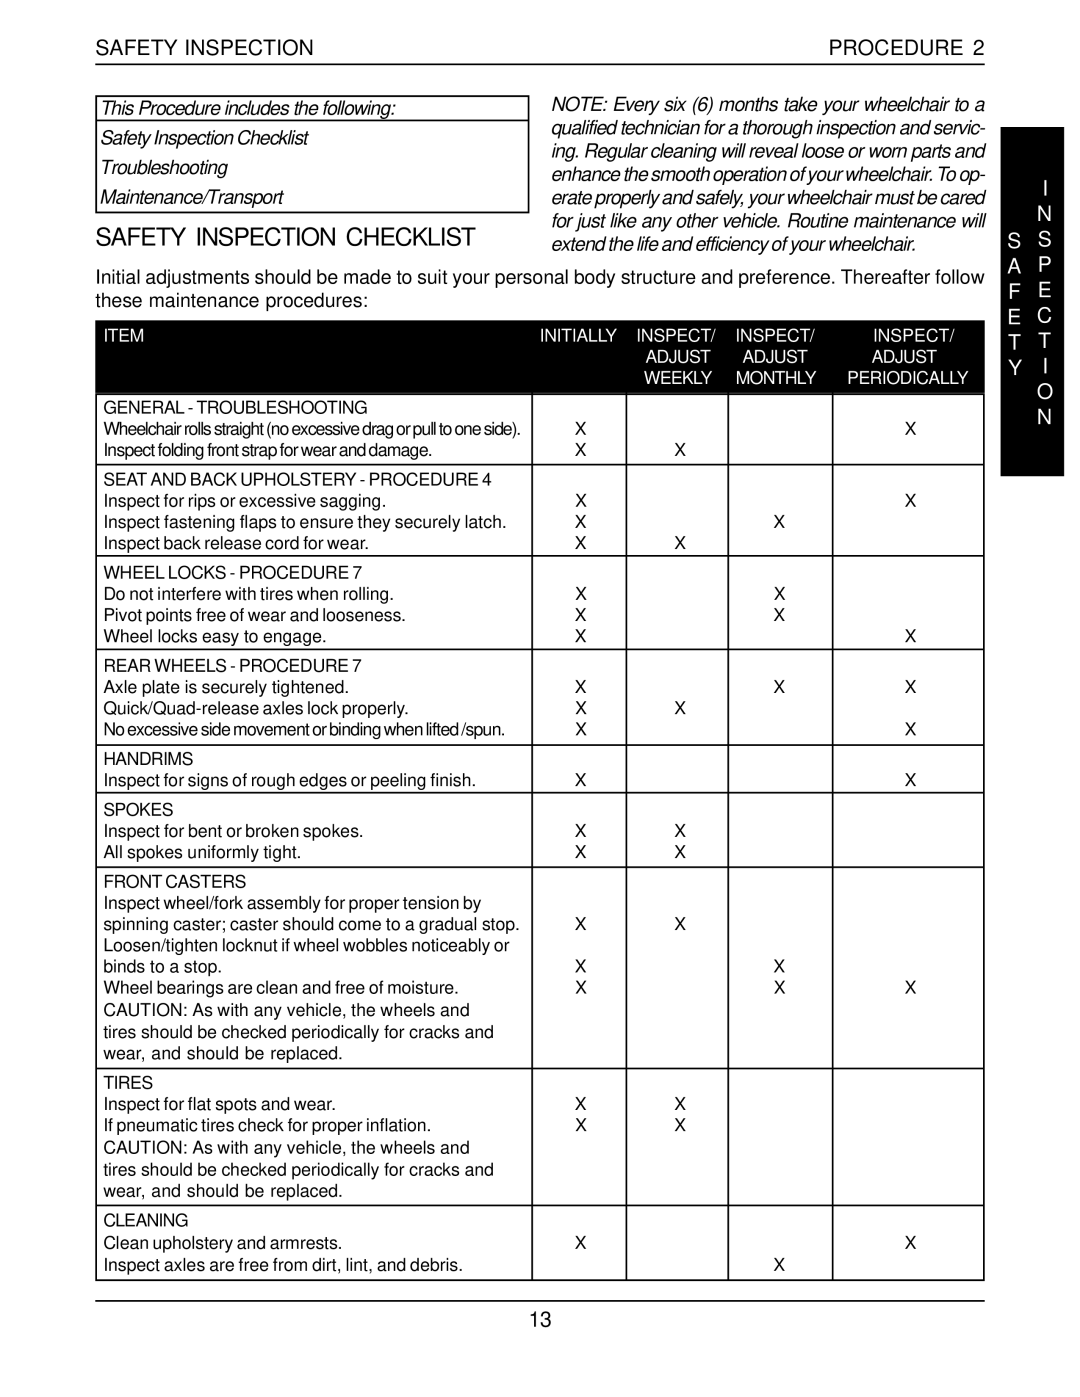
SAFETY INSPECTION CHECKLIST
NOTE: Every six (6) months take your wheelchair to a qualified technician for a thorough inspection and servic- ing. Regular cleaning will reveal loose or worn parts and enhance the smooth operation of your wheelchair. To op- erate properly and safely, your wheelchair must be cared for just like any other vehicle. Routine maintenance will extend the life and efficiency of your wheelchair.
I
N
S S |
A P |
Initial adjustments should be made to suit your personal body structure and preference. Thereafter follow these maintenance procedures:
ITEM | INITIALLY | INSPECT/ | INSPECT/ | INSPECT/ |
|
| ADJUST | ADJUST | ADJUST |
|
| WEEKLY | MONTHLY | PERIODICALLY |
|
|
|
|
|
GENERAL - TROUBLESHOOTING |
|
|
|
|
Wheelchair rolls straight (no excessive drag or pull to one side). | X |
|
| X |
Inspect folding front strap for wear and damage. | X | X |
|
|
|
|
|
|
|
SEAT AND BACK UPHOLSTERY - PROCEDURE 4 |
|
|
|
|
Inspect for rips or excessive sagging. | X |
|
| X |
Inspect fastening flaps to ensure they securely latch. | X |
| X |
|
Inspect back release cord for wear. | X | X |
|
|
|
|
|
|
|
WHEEL LOCKS - PROCEDURE 7 |
|
|
|
|
Do not interfere with tires when rolling. | X |
| X |
|
Pivot points free of wear and looseness. | X |
| X |
|
Wheel locks easy to engage. | X |
|
| X |
|
|
|
|
|
REAR WHEELS - PROCEDURE 7 |
|
|
|
|
Axle plate is securely tightened. | X |
| X | X |
X | X |
|
| |
No excessive side movement or binding when lifted /spun. | X |
|
| X |
|
|
|
|
|
HANDRIMS |
|
|
|
|
Inspect for signs of rough edges or peeling finish. | X |
|
| X |
|
|
|
|
|
SPOKES |
|
|
|
|
Inspect for bent or broken spokes. | X | X |
|
|
All spokes uniformly tight. | X | X |
|
|
|
|
|
|
|
FRONT CASTERS |
|
|
|
|
Inspect wheel/fork assembly for proper tension by |
|
|
|
|
spinning caster; caster should come to a gradual stop. | X | X |
|
|
Loosen/tighten locknut if wheel wobbles noticeably or |
|
|
|
|
binds to a stop. | X |
| X |
|
Wheel bearings are clean and free of moisture. | X |
| X | X |
CAUTION: As with any vehicle, the wheels and |
|
|
|
|
tires should be checked periodically for cracks and |
|
|
|
|
wear, and should be replaced. |
|
|
|
|
|
|
|
|
|
TIRES |
|
|
|
|
Inspect for flat spots and wear. | X | X |
|
|
If pneumatic tires check for proper inflation. | X | X |
|
|
CAUTION: As with any vehicle, the wheels and |
|
|
|
|
tires should be checked periodically for cracks and |
|
|
|
|
wear, and should be replaced. |
|
|
|
|
|
|
|
|
|
CLEANING |
|
|
|
|
Clean upholstery and armrests. | X |
|
| X |
Inspect axles are free from dirt, lint, and debris. |
|
| X |
|
|
|
|
|
|
|
|
|
|
|
F | E |
E C | |
T | T |
Y | I |
| O |
| N |
13
