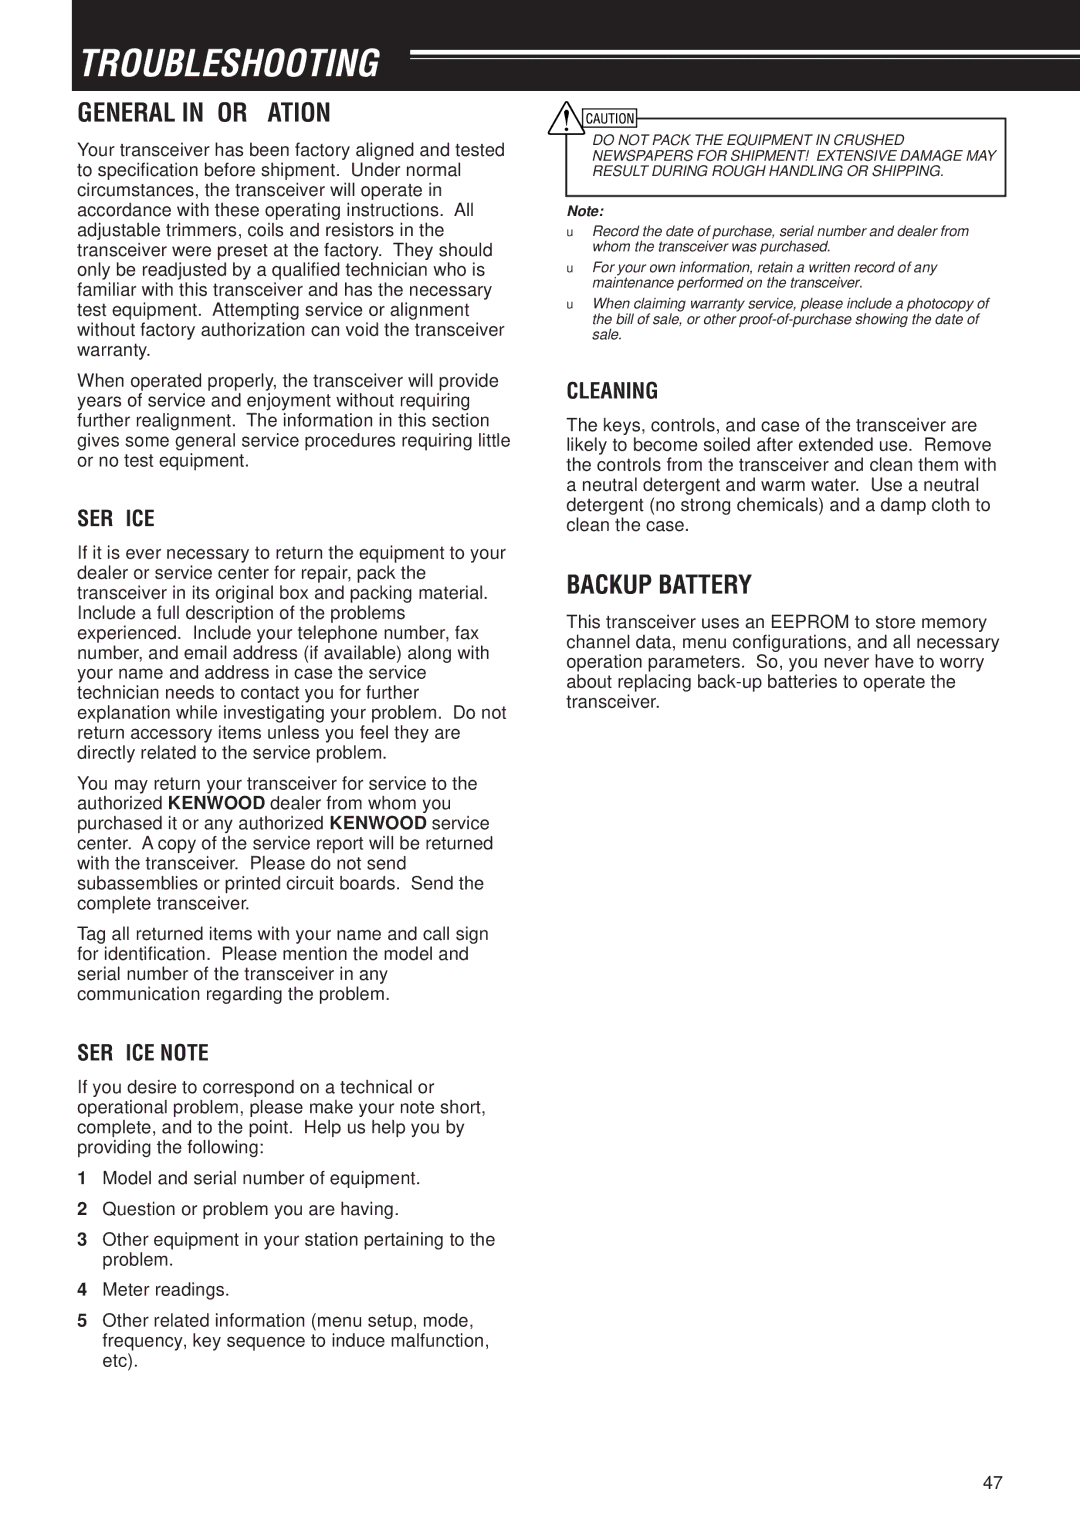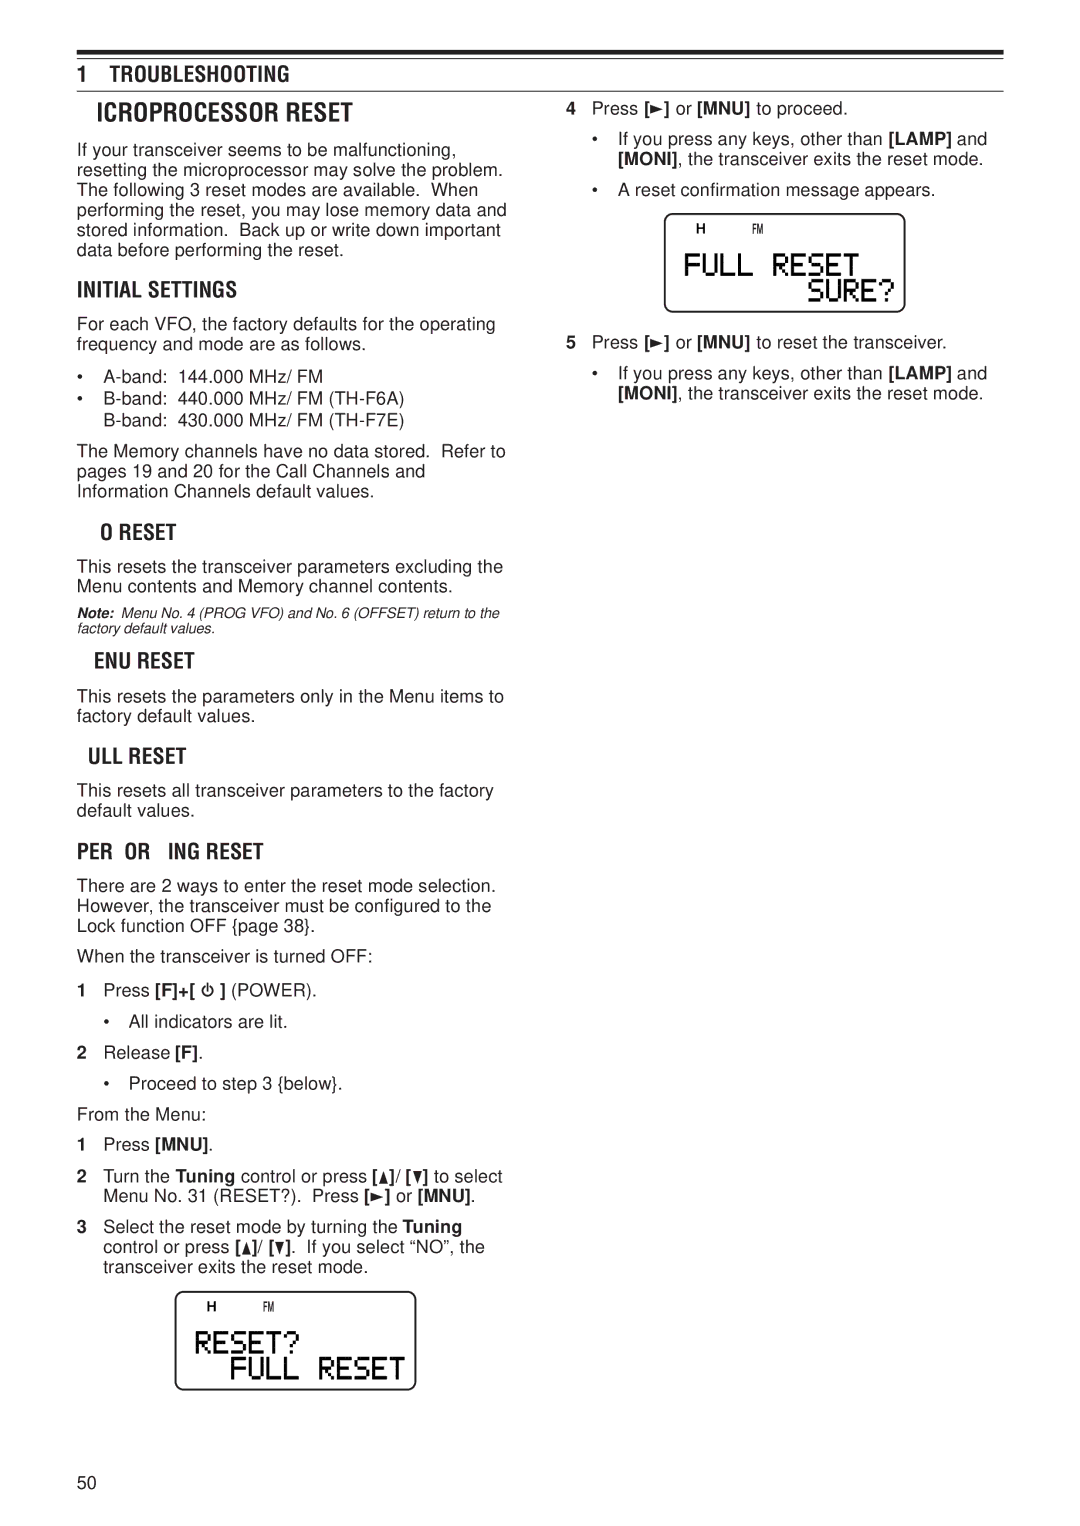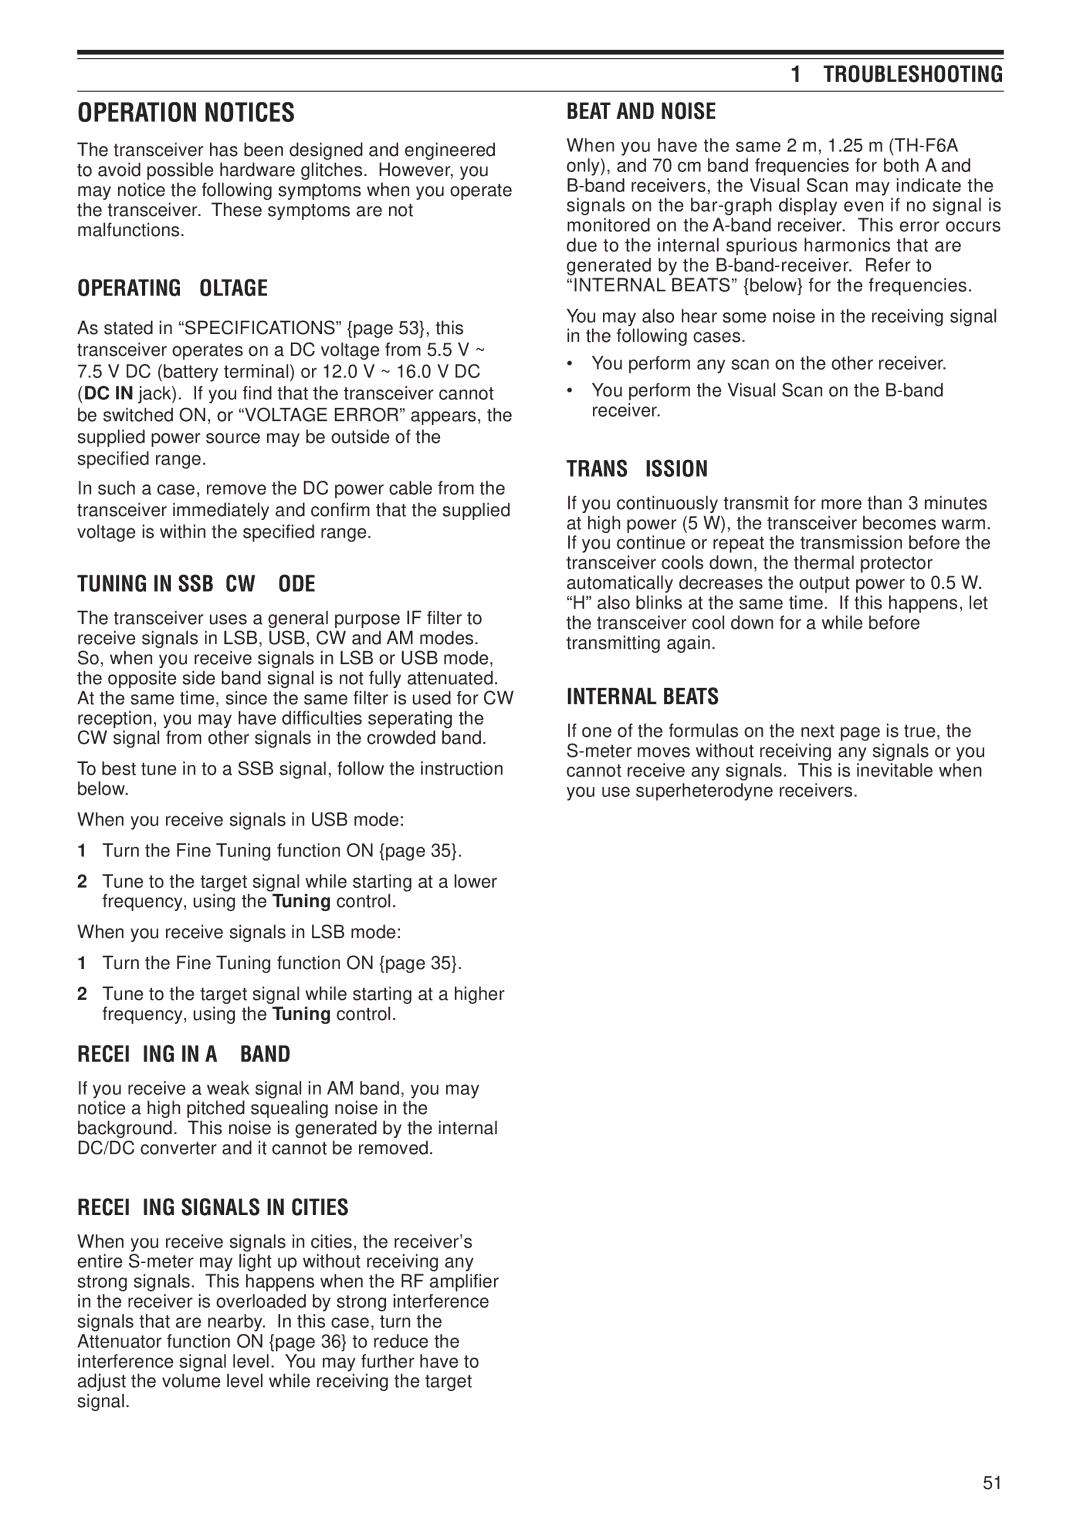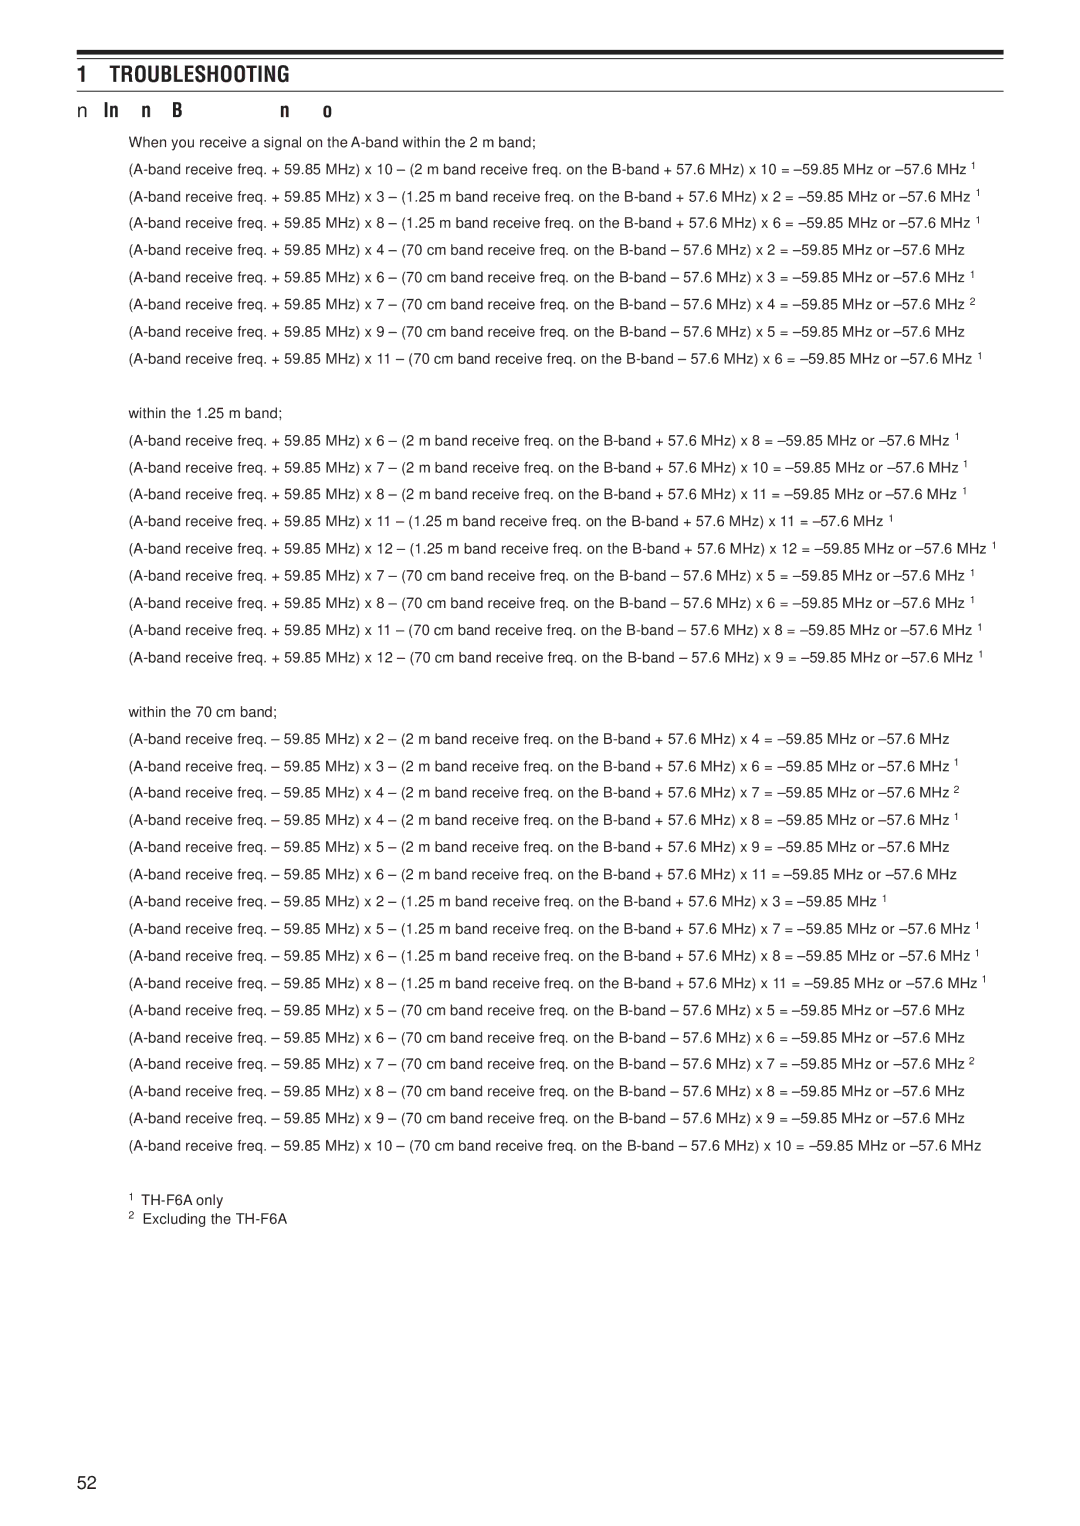
15 TROUBLESHOOTING
TROUBLESHOOTING
The problems described in the following table are commonly encountered operational malfunctions. These types of difficulties are usually caused by improper
Note: Placing powered PC peripherals near this transceiver may cause noise in the transceiver.
Problem |
| Probable Cause |
| Corrective Action | Ref. Page | ||
|
|
|
|
|
| ||
Nothing appears on the | 1 | The battery pack is discharged. | 1 | Recharge the battery pack or | 2 | ||
display when the |
|
|
| replace the batteries. |
| ||
transceiver is switched | 2 | The protection circuit for the | 2 | Release the | 2 | ||
ON, or the display is |
|
| once, then recharge the battery |
| |||
blinking ON and OFF. | 3 | If using the optional DC cable: | 3 | pack. |
| ||
|
|
|
|
| |||
|
| a) Bad power cable or |
| a) Check the power cable and | 2 | ||
|
| connections |
| connections, then correct/ |
| ||
|
|
|
| replace as necessary. |
| ||
|
| b) Open (blown) power supply |
| b) Investigate the cause for the | 2 | ||
|
| fuse |
| open fuse. Replace the fuse. |
| ||
Most keys and the | 1 | Transceiver Lock is ON (the “ ” | 1 | Press [F] (1 s) to switch OFF | 38 | ||
Tuning control do not |
| icon is visible). |
| Transceiver Lock. |
| ||
function. | 2 | The transceiver is in Channel | 2 | Press [A/B]+[ |
| ] (POWER) to exit | 21 |
| |||||||
|
| ||||||
|
| Display mode. |
| Channel Display mode. |
| ||
| 3 | Tone Alert is ON (the “ ” icon | 3 | Press [F], [ENT] to switch OFF | 40 | ||
|
| is visible). |
| Tone Alert. |
| ||
|
|
|
|
|
| ||
You cannot select the | 1 | The current frequency step size | 1 | Press [F], [FINE] to select an | 37 | ||
exact desired frequency |
| does not allow the frequency to |
| appropriate frequency step size. |
| ||
using [ ]/ [ ] or the |
| be selected. |
|
|
|
|
|
Tuning control. | 2 | The Fine Tuning function is not | 2 | Press [FINE] to activate the Fine | 35 | ||
|
| activated. |
| Tuning function. |
| ||
| 3 | The Fine Tuning frequency step | 3 | While the Fine Tuning function is | 35 | ||
|
| size is wrong. |
| ON, press [F], [FINE] to select an |
| ||
|
|
|
| appropriate Fine Tuning frequency |
| ||
|
|
|
| steps size. |
| ||
| 4 | Programmable VFO frequency | 4 | Access Menu No. 4 (PROG VFO) | 39 | ||
|
| range is programmed. |
| to expand the frequency range. |
| ||
You cannot recall any | 1 | You have stored no data in any | 1 | Store the desired frequencies in | 15 | ||
memory channels. |
| of the memory channels using |
| memory channels using the current |
| ||
|
| the current band. |
| band. |
| ||
| 2 | “CURRENT BAND” is selected | 2 | Access Menu No. 3 (MR METHOD) | 16 | ||
|
| for Menu No. 3 (MR METHOD). |
| and select “ALL BANDS”. |
| ||
The receiving sound | 1 | Attenuator function is ON. | 1 | Press [F], [MONI] to turn the | 36 | ||
volume is weak even if | 2 |
|
| Attenuator function OFF. |
| ||
the signal is strong. | The receiving station may be | 2 | Access Menu No. 29 (FM | 39 | |||
|
| operating in narrow band FM |
| NARROW) and select “ON”. |
| ||
|
| bandwidth. |
|
|
|
|
|
Turning the VOL control | 1 | The speaker for the band you | 1 | Press [BAL], then turn the Tuning | 41 | ||
does not allow you to |
| want to monitor is muted. |
| control to adjust the volume |
| ||
hear audio. | 2 |
| 2 | balance between A and |
| ||
| The 9600 bps is selected for | Select 1200 bps for Menu No. 28 | 45 | ||||
|
| Menu No. 28 (PACKET) |
| (PACKET). |
| ||
You cannot transmit by | 1 | You selected a frequency | 1 | Select a frequency within the | 7, 53 | ||
pressing the PTT |
| outside the allowable range. |
| allowable transmit frequency range. |
| ||
switch. | 2 | You selected a transmit offset | 2 | Press [F], [REV] repeatedly so | 12 | ||
|
| that places the transmit |
| neither “+” nor |
| ||
|
| frequency outside the limit. |
|
|
|
|
|
| 3 | TX Inhibit is ON. | 3 | Access Menu No. 8 (TX INHIBIT) | 40 | ||
|
|
|
| and select “OFF”. |
| ||
| 4 | Tone Alert is ON. | 4 | Press [F], [ENT] to switch OFF | 40 | ||
|
|
|
| Tone Alert. |
| ||
| 5 | The battery pack voltage is too | 5 | Charge or replace the battery pack. | 2, 36 | ||
|
| low to transmit. |
|
|
|
|
|
48
