RIDGID SP6263 manual Personal Safety Instructions, Work Area Safety Instructions

Page 7

Safety

Safety Instructions

Read and follow all safety instructions.

Personal Safety Instructions

WARNING

Some dust created by power sanding, sawing, grinding, drilling, and other construction activities contains chemi- cals known (to the State of California) to cause cancer, birth defects or other reproductive harm. Some examples of these chemicals are:

Lead from lead-bases paints,

Crystalline silica from bricks and cement and other masonry products, and

Arsenic and chromium from chemi- cally-treated lumber.

Your risk from these exposures varies, depending on how often you do this type of work. To reduce your exposure to these chemicals: work in a well ven- tilated area, and work with approved safety equipment, such as those dust masks that are specially designed to filter out microscopic particles.

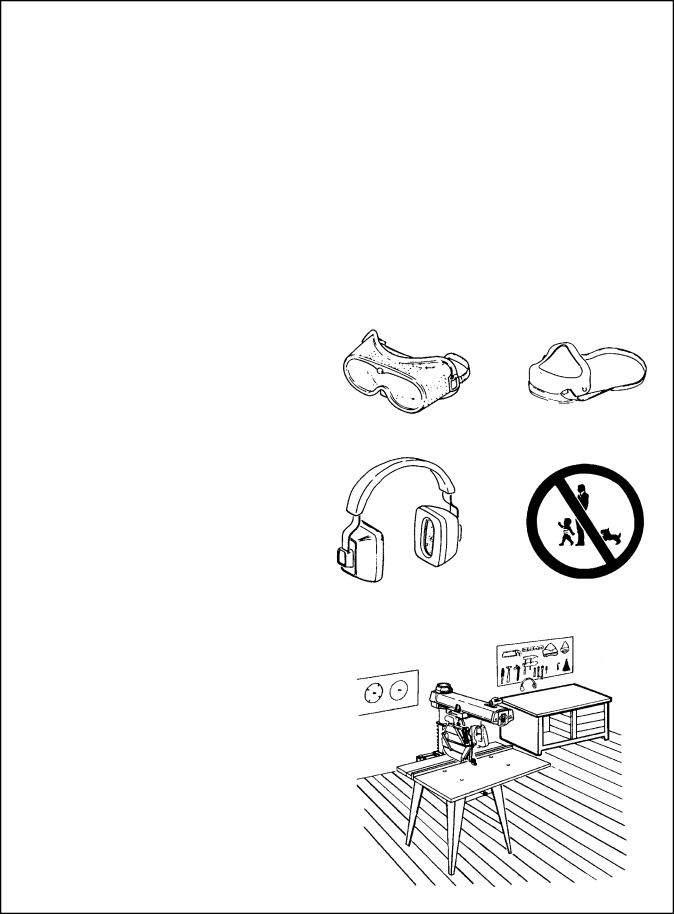
1.Wear safety goggles labeled ANSI Z87.1 (or in Canada CSA Z94.3-99) on the pack- age. It means the goggles meet impact stan- dards set by the American National Standards Institute. Regular eyeglasses are not safety goggles.

2.Wear close fitting clothes, short sleeved shirts, and non-slip shoes. Tie up long hair. Do not wear gloves, ties, jewelry, loose cloth- ing, or long sleeves. These can get caught in the spinning blade and pull body parts into the blade.

3.Wear dust mask to keep from inhaling fine particles.

4.Wear ear protectors, plugs or muffs if you use saw daily.

5.Keep good footing and balance; do not over-reach.

Work Area Safety Instructions

1.Keep children, pets, and visitors out of work area; they could be hit by a thrown workpiece, workpiece chips or pieces of blade.

2.Turn saw off, remove yellow key, and unplug before leaving work area. Do not leave until blade has stopped spinning.

3.Make work area child-proof: remove yel- low key to prevent accidental start-up; store key out of sight and reach; lock work area.

4.Keep floors clean and free of sawdust, wax and other slippery materials.

5.Keep work area well lighted and unclut- tered.

6.Use saw only in dry area. Do not use in wet or damp areas.

Safety Goggles

Dust Mask


Ear Protectors

7

Image 7
Contents RS1000 Table of Contents Major Hazards SafetySafety Symbol and Signal Words Read and follow all safety information and instructionsKickback Hazard Guard Function and Features Hazards Associated with Clear Por- tion of Guard Arsenic and chromium from chemi- cally-treated lumber Safety InstructionsPersonal Safety Instructions Work Area Safety InstructionsWorkpiece Safety Instructions Saw Safety InstructionsBlade Safety Instructions On-Product Safety Labels On the clear plastic guard is this Osha required label This model includes AssemblyIdentify Parts Introduction16-18 x 3/4 Long Diam. Hex Nut Tools Needed for Assembly and Alignment Assembling steel legs Attach Elevation Crank Mounting SawElevate arm approximately 3 to 4 Inches Attaching Carriage Motor to Arm Install arm cap Make certain power cord is unpluggedLock miter/arm lock before proceeding Attach Table Supports Remove saw bladeAdjustments Yoke Clamp Adjustment Bevel Lock Lever Adjusting Column Tube in Column Support Arm to Column AdjustmentAlignment Checks Alignment Adjustments Adjusting Carriage Bearings Lock Five Counterbored Holes Top Bottom Channel Clip Lnstalling Front TableTo lower center, tighten center 1-3/4 long pan head screw Make Front Table FlatSquaring cross cut travel Alignment and Adjustment StepsAlignment Square Crosscut TravelAlignment Front Table Fence Square Blade to Table for Crosscutting Square Blade to Fence Make Blade Parallel to Table Lnstalling and Adjusting Rip Scale Indica- tors Install Guard Raise riving knife and tighten pawls/riving knife knob Align Riving Knife to BladeBevel index lever must be unindexed before moving motor ControlsYoke Index Lever Table Clamp Elevation Crank Always Lock before ripping Controls Pawls/Riving Knife Knob Guard Tab Electrical Connections Motor SpecificationsExtension Cords Motor Protection & Reset ButtonTo Change Motor Voltage to 240 Volt A.C Crosscutting Crosscutting SafetyCrosscutting Defined Keep one hand on saw handle through step Crosscut KerfsMaking Crosscuts Repetitive Crosscutting Infeed and Outfeed Directions RippingRipping Defined In-Rip and Out-Rip PositionsRipping Kickback Tial barrier to outfeed side To reduce risk of kickbackPawls and Riving Knife Function Hold Down FunctionFollow these steps before ripping Ripping Set-up ProcedureMaking Rip Cuts Keep Hand Edging Dado Blades, Molding HeadsRipping Hints Cutting Aides Putting it together Making the HandleAuxiliary Fence Featherboard Molding/SandingH.A. Requirements Cutting AidsAccessories Safety AccessoriesInformation for Edging General Information MaintenanceLubrication Blade Changing Lubricating Blade Guard AssemblyAdjusting the Trigger Replacing PawlsTroubleshooting Motor Problem Possible Causes What to Do Cutting Problem Possible Causes What to Do Possible Causes What to Do Saw ProblemPage Repair Always order by Part Number Not by Key Number Repair PartsRepair Parts Yoke Assembly44 45 Standard Hardware Item May Be Purchased Locally Location of Lower Guard Guard Parts List for Ridgid 10 Radial SAW Leg Set Always order by Part Number Not by Key Number What is not covered What is coveredHow can you get service What we will do to correct problems