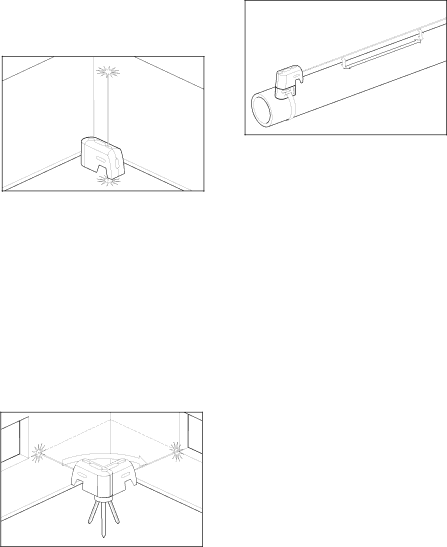
Transferring points with the plumb beam
1.Mark the point to be transferred (labeled A in this illustration).
2.Use the Mounting accessory or a Tripod to position the plumb down beam over point A.
3.The plumb up beam will transfer this point along a perfectly vertical axis to point B.
4.Mark point B.
Note: This process may be reversed. Plumb Transfer
B |
A |
Leveling |
1.Adjust the height of tool using the mounting accessory or a tripod so that the horizontal beam hits a reference point (labeled A in this illustration).
2.Rotate tool around its mounting axis to position the front level beam at a point of interest (labeled B in this illustration).
Note: It is possible to use the beam as a leveling instrument without marking a line through beam locations, however, some may find it more satisfying to mark the beam location at a variety of points and then create a straight line through those points to achieve a level line.
Level |
|
A | B |
| |
Grading |
|
1.Position tool at the highest point of the surface to be graded.
2.Turn tool on.
3.Measure distance A and make a note of the distance.
4.Measure distance B at distance X away from A and note these distances.
5.Slope = (B – A)/X
Note: To calculate Pitch, set X equal to 12”.
Grade |
B |
x |
A |
Squaring |
1.Position tool in the corner of the
two surfaces to be squared (as illustrated).
2.Turn tool on.
3.Measure distance A at a point relatively close to tool and make a note of
the distance.
4.Measure distance B at a point further away from tool and make a note of the distance.
Note: The greater the distance between the two points of measurement, the greater the accuracy.
5.Compare distance A with distance B.
6.If distance A equals distance B, proceed to the next step. If distance A does not equal distance B, then adjust the position of tool until distance A does equal distance B and proceed to the next step.
7.Measure distance Y at a point relatively close to tool and make a note of
the distance.
8.Measure distance Z at a point further away from tool and make a note of
the distance.
Note: The greater the distance between the two points of measurement, the greater the accuracy.
9. Compare distance Y with distance Z.