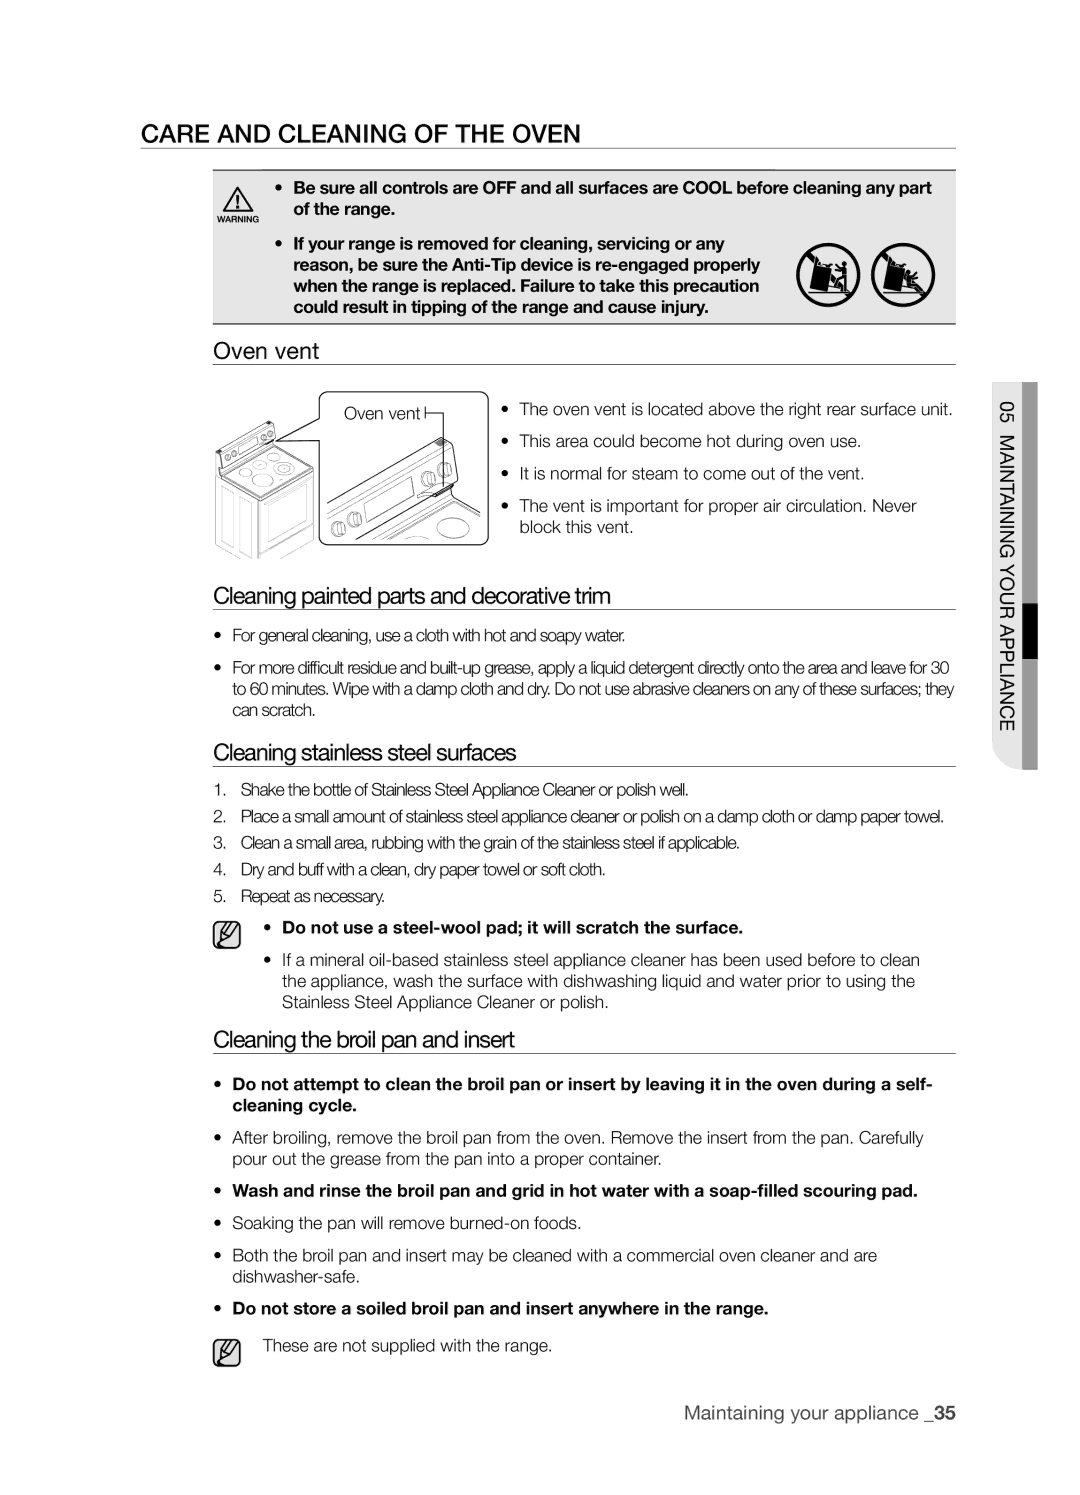
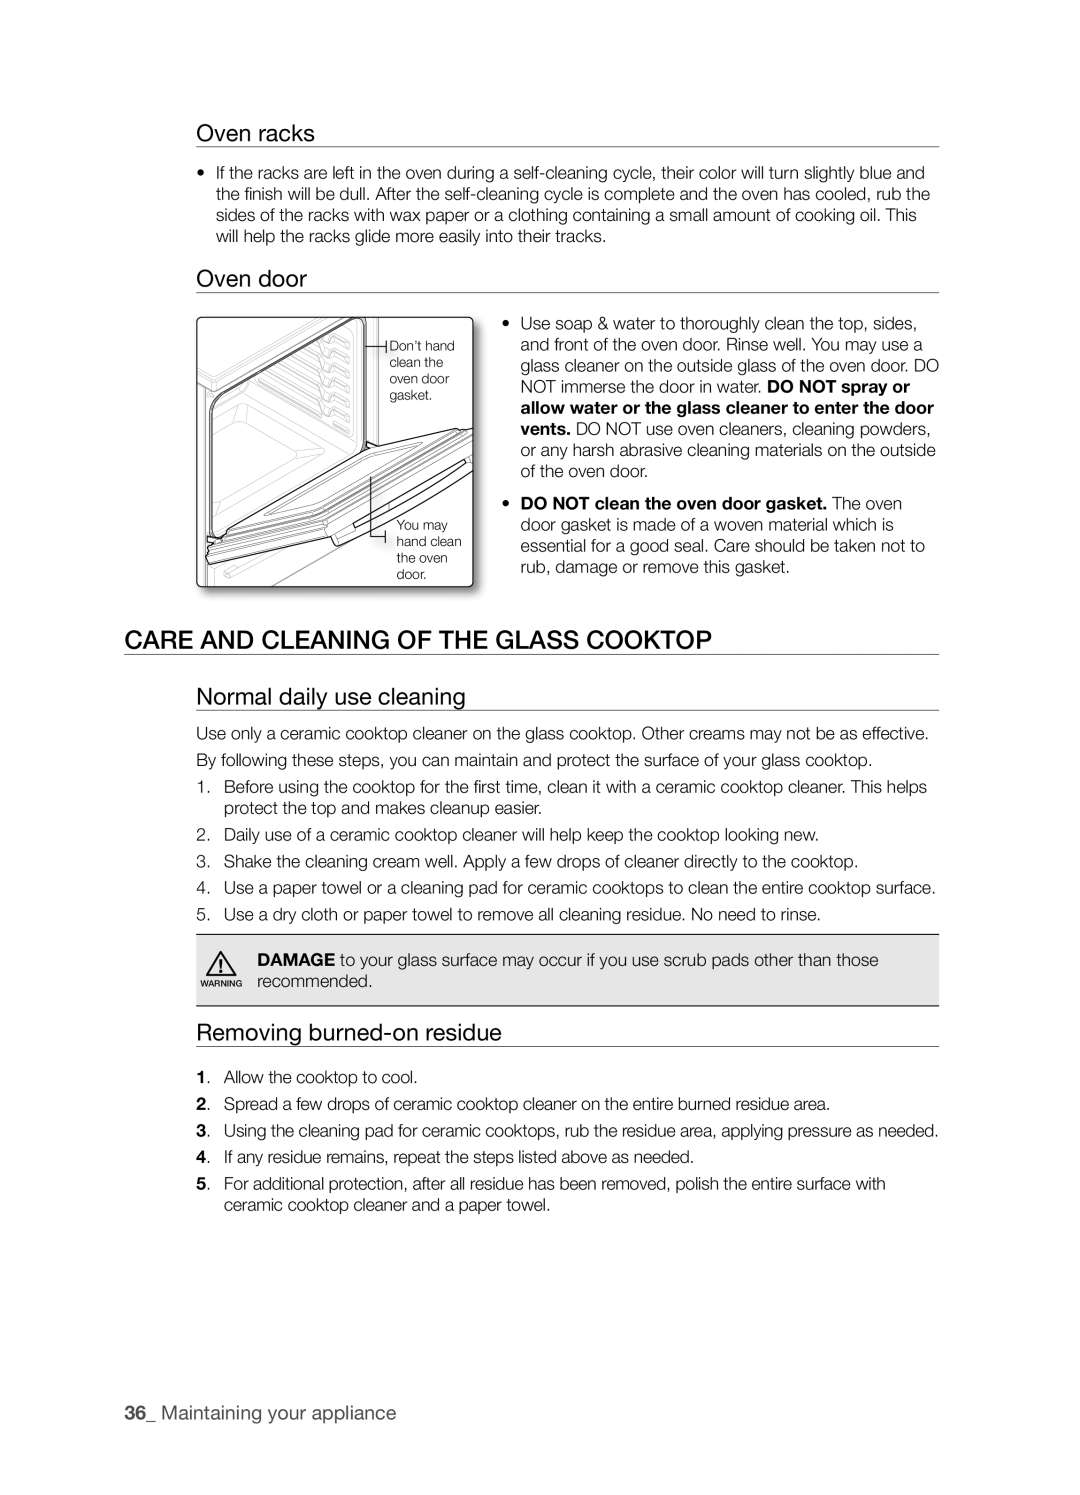
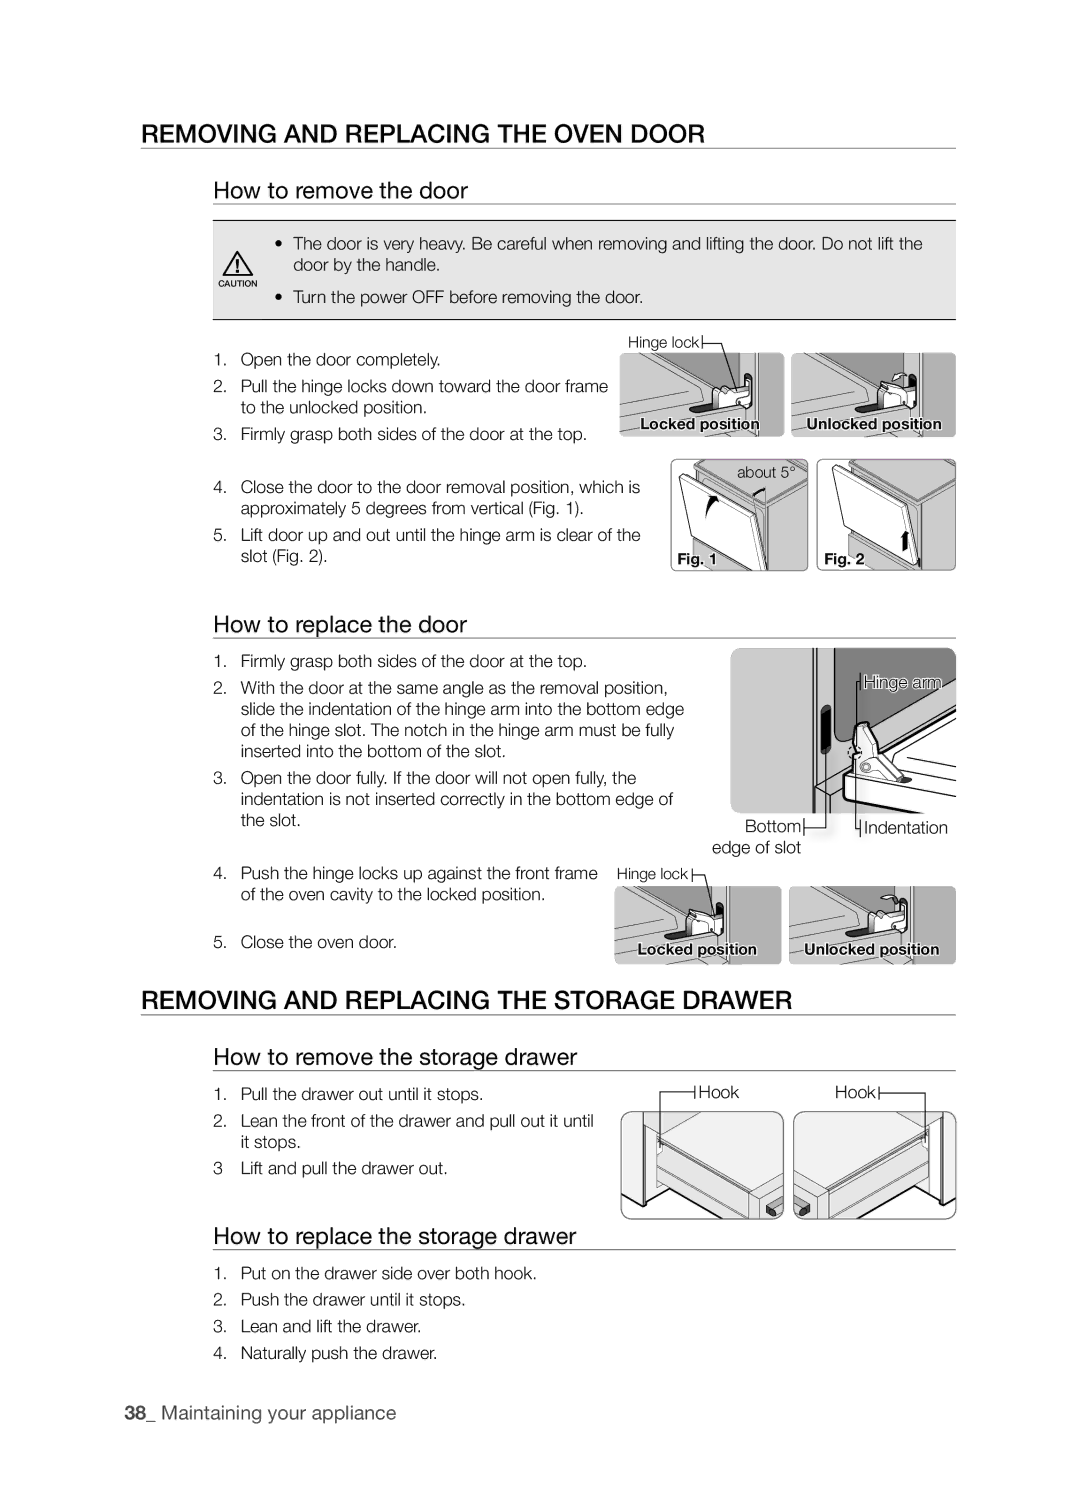
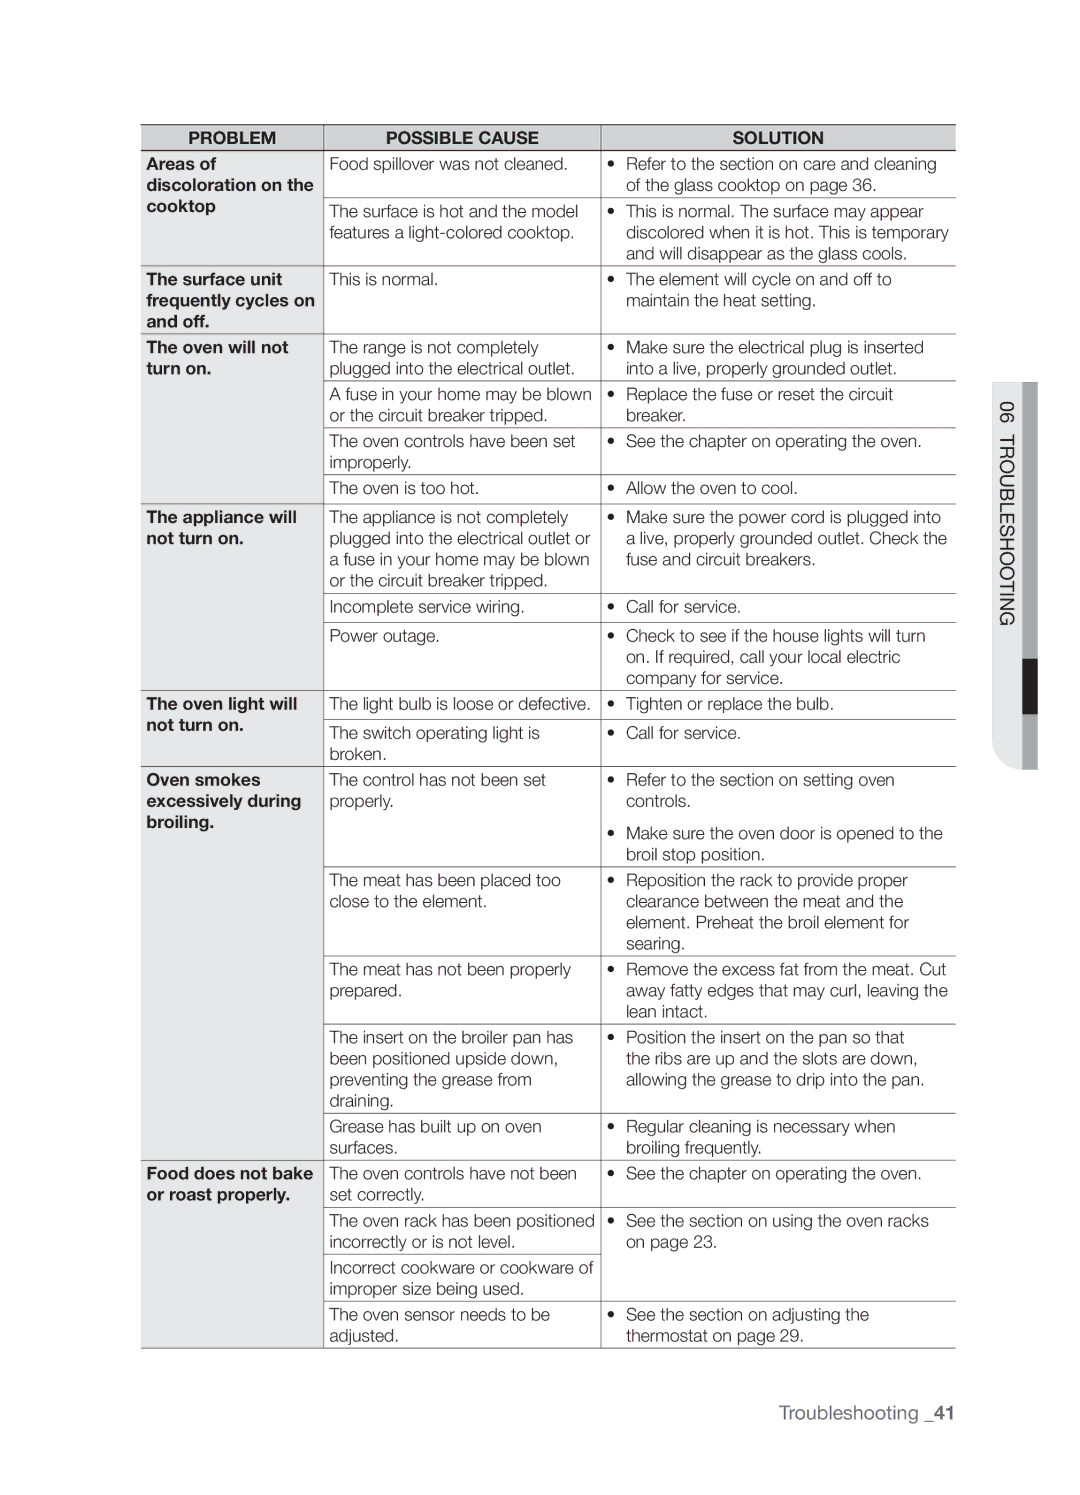
Samsung DG68-00297A How to set the appliance for surface cooking, Using the proper cookware

Page 19

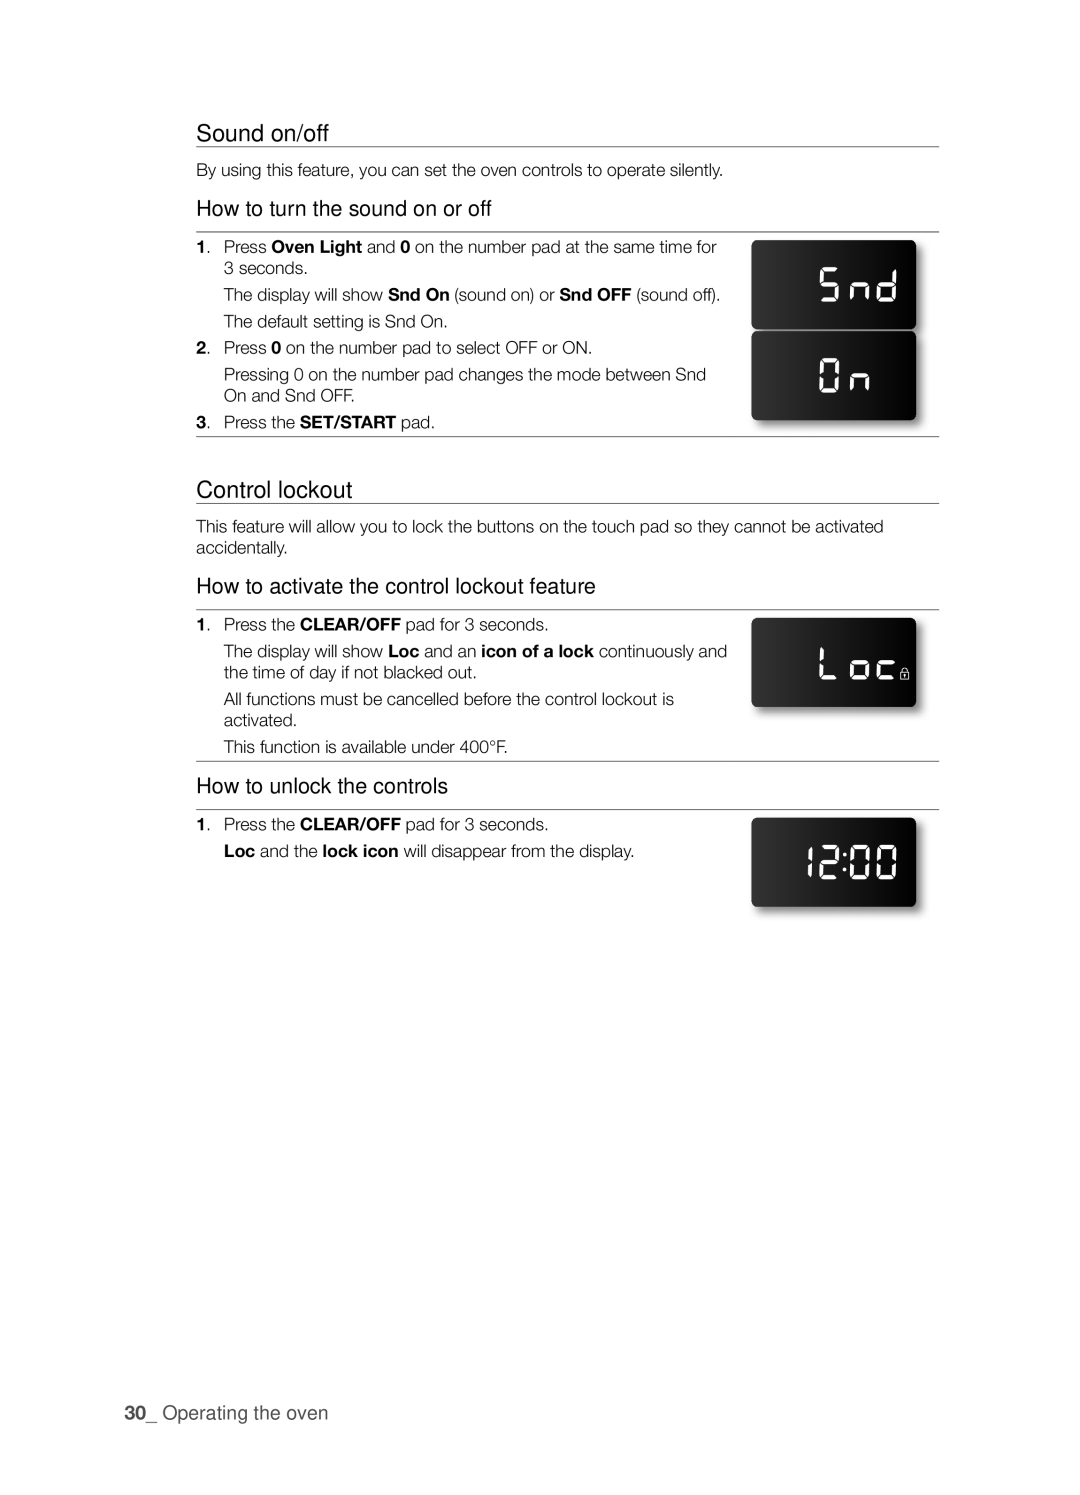
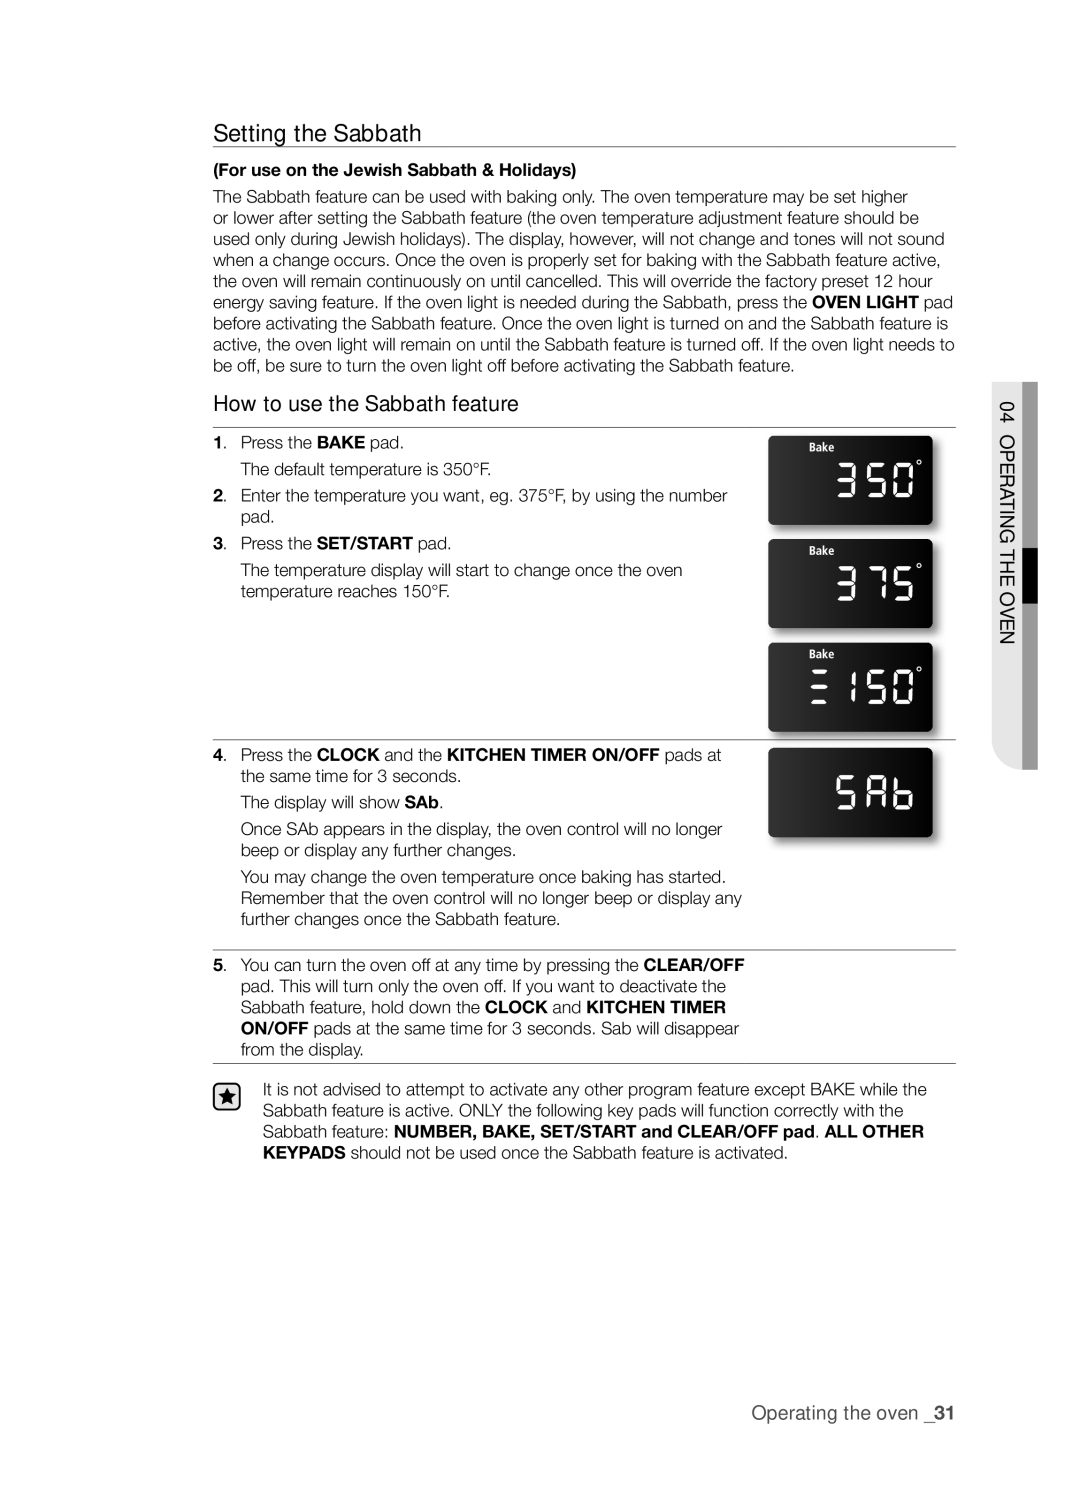
How to set the appliance for surface cooking

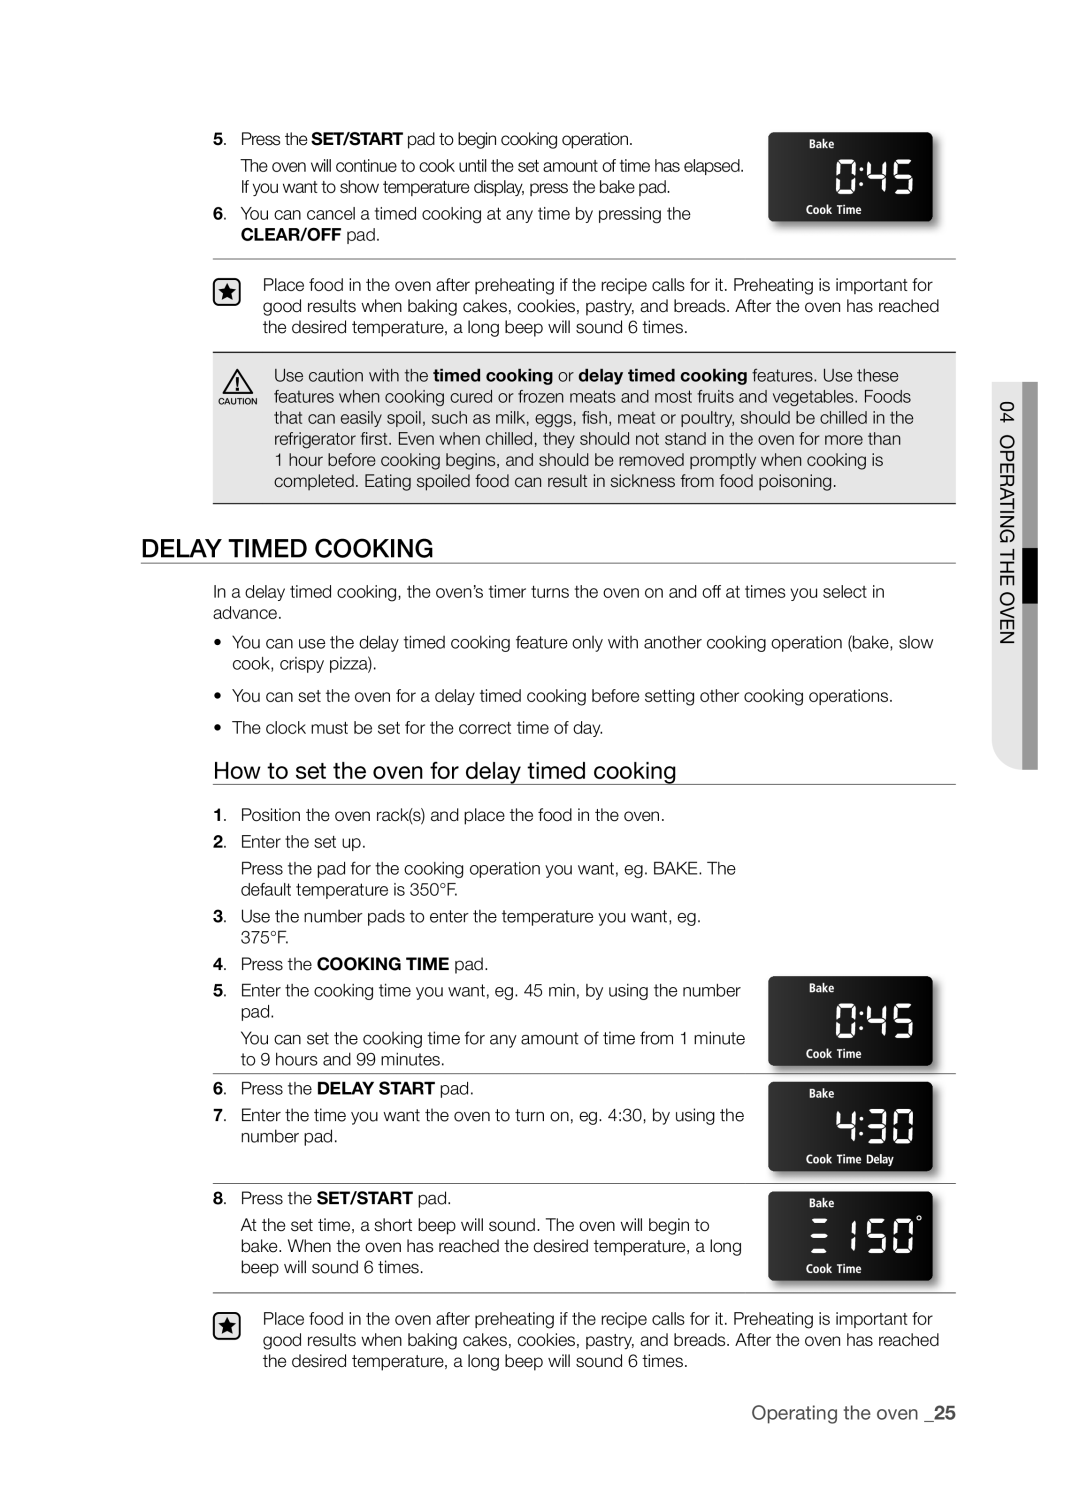
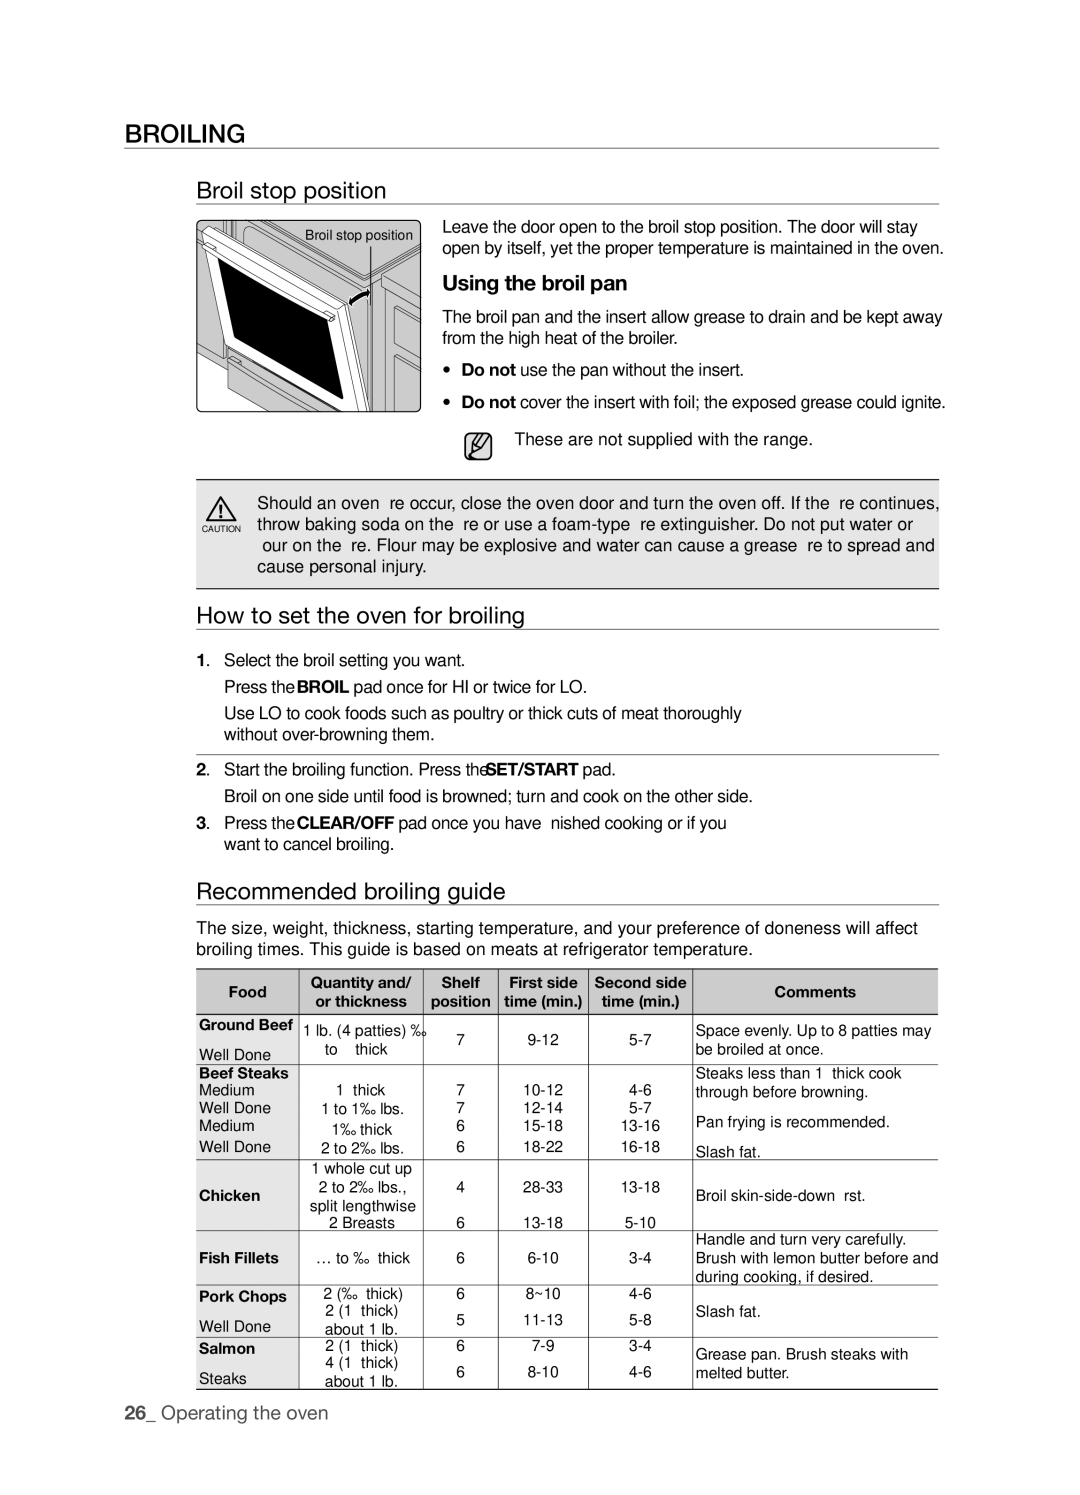
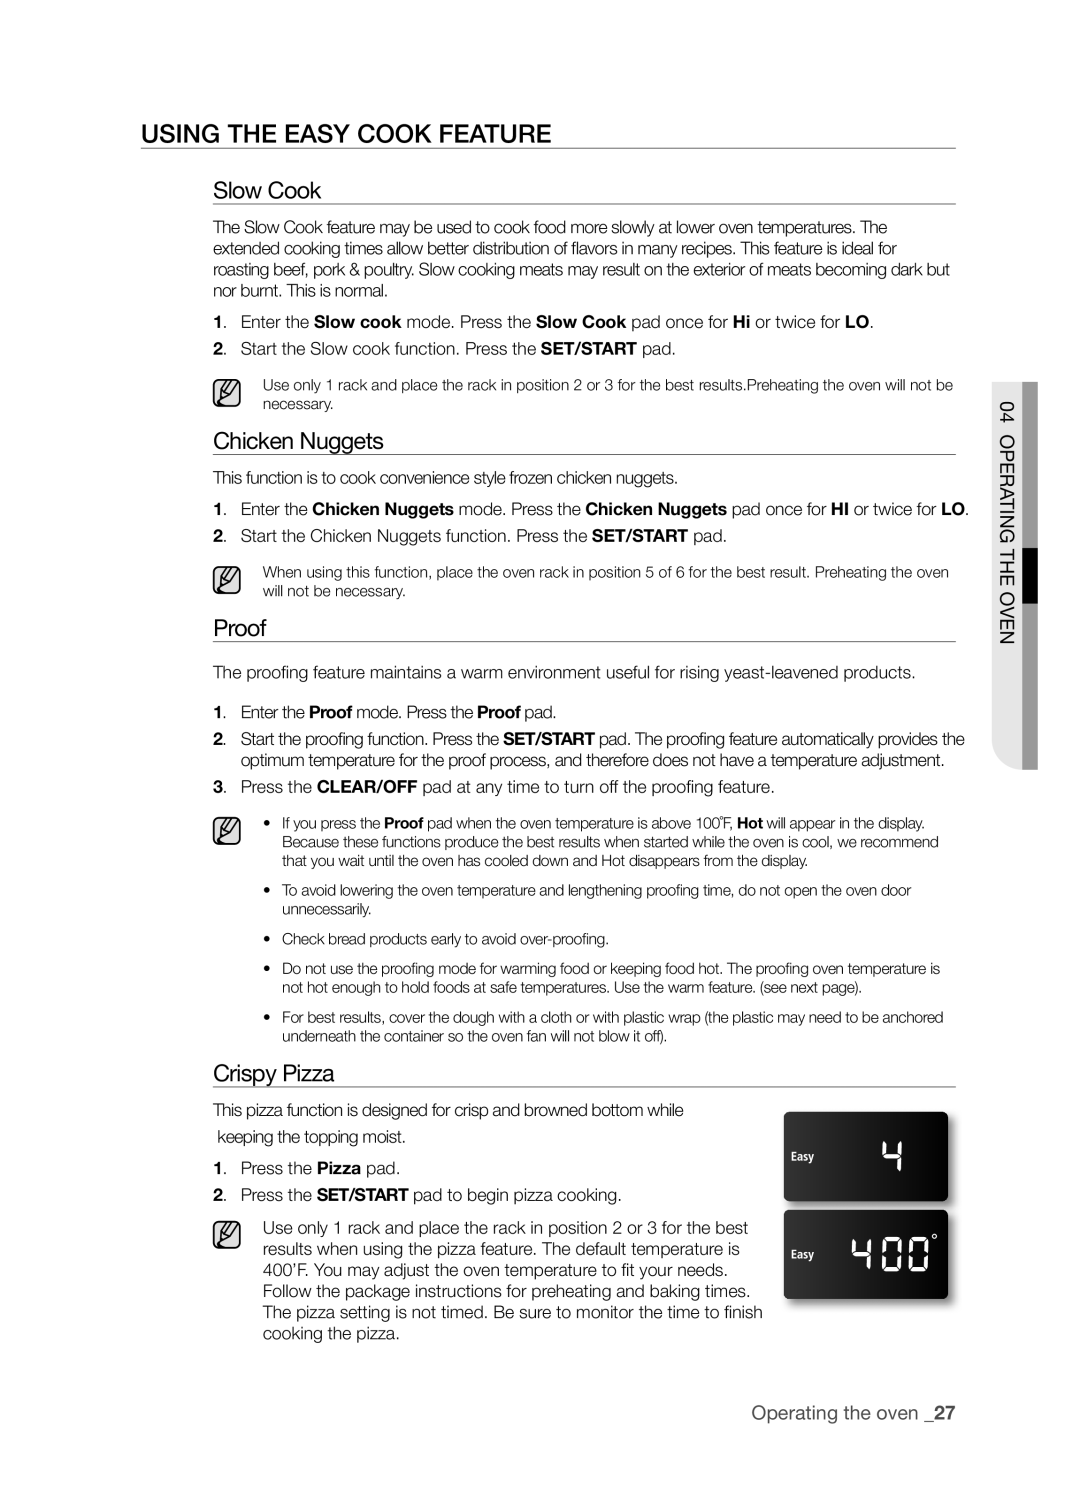
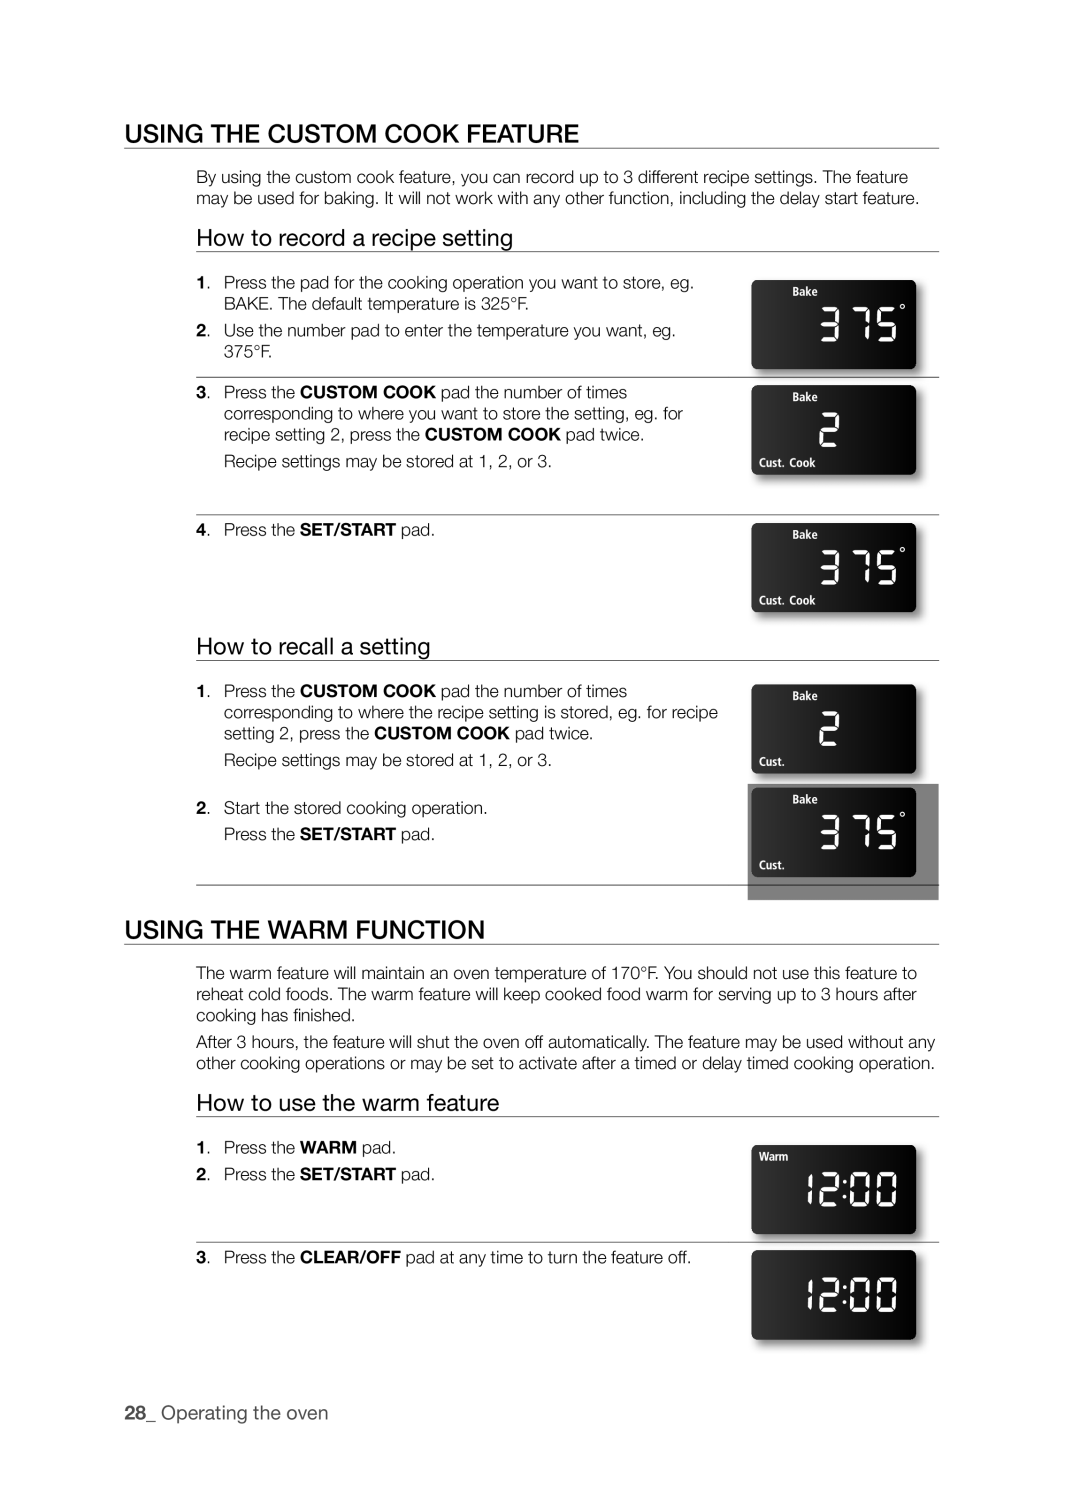
The surface elements may be hot and burns may occur. Do not touch surface

CAUTION

elements until they have cooled down sufficiently.

At high or medium-high settings, never leave food unattended. Boilovers cause smoking and greasy spillovers may catch on fire.

Be sure you turn the control knob to OFF when you finish cooking.

The area between the high and off settings, are not appropriate for cooking.

Using the proper cookware

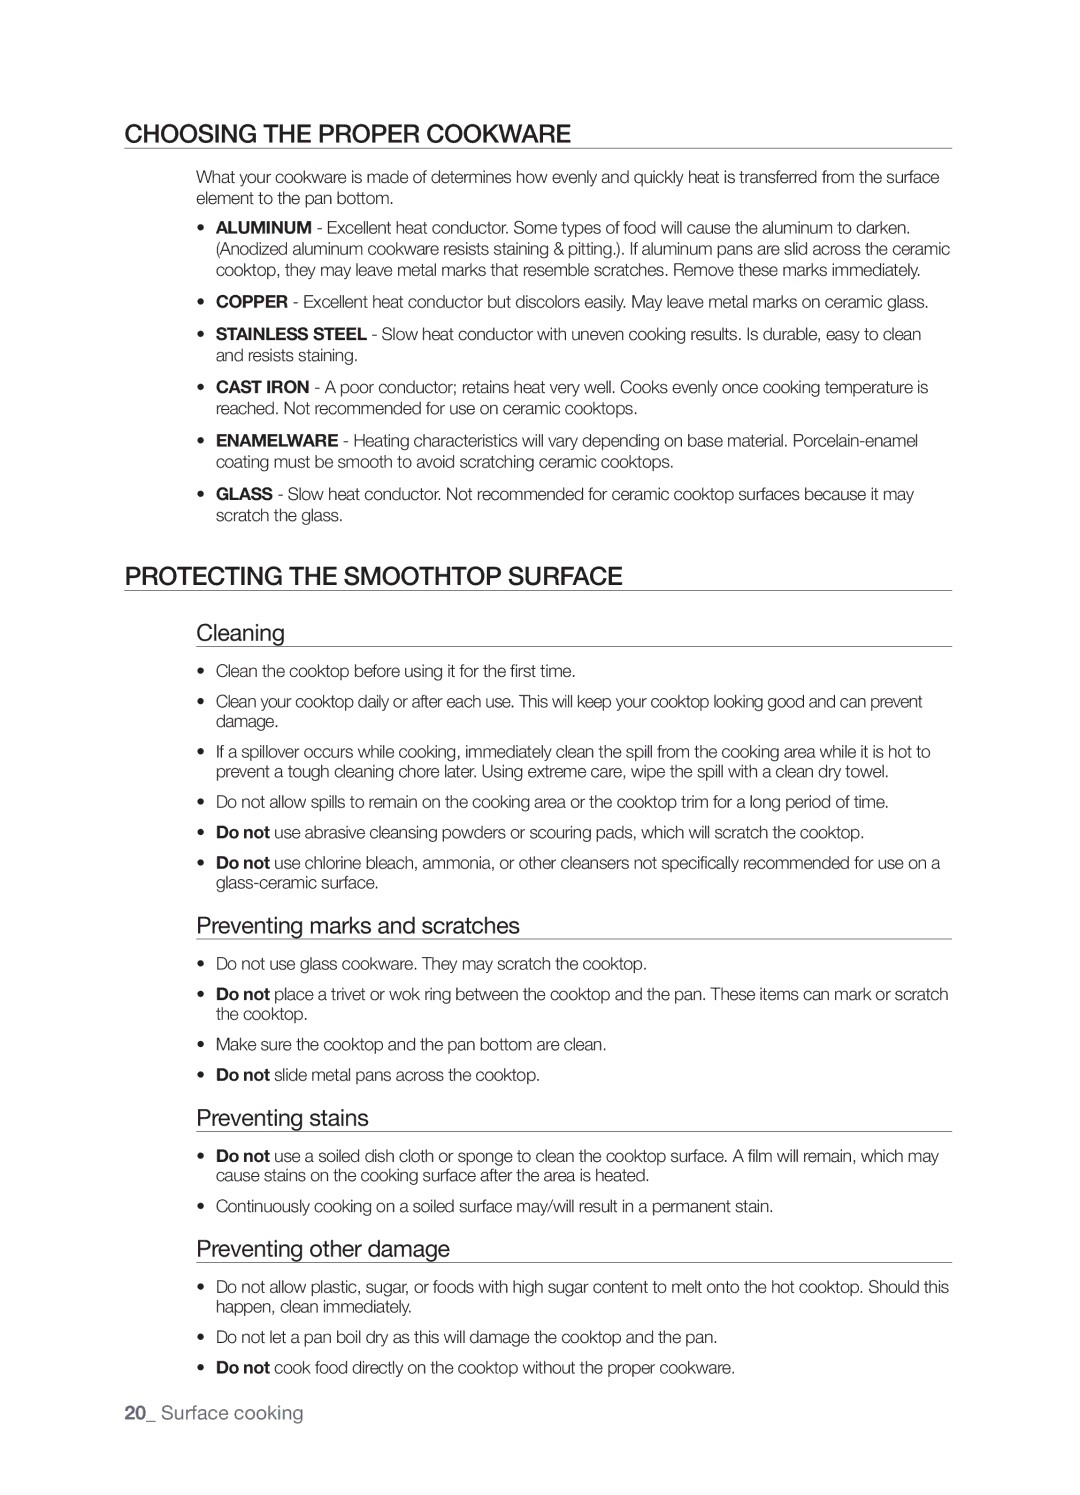
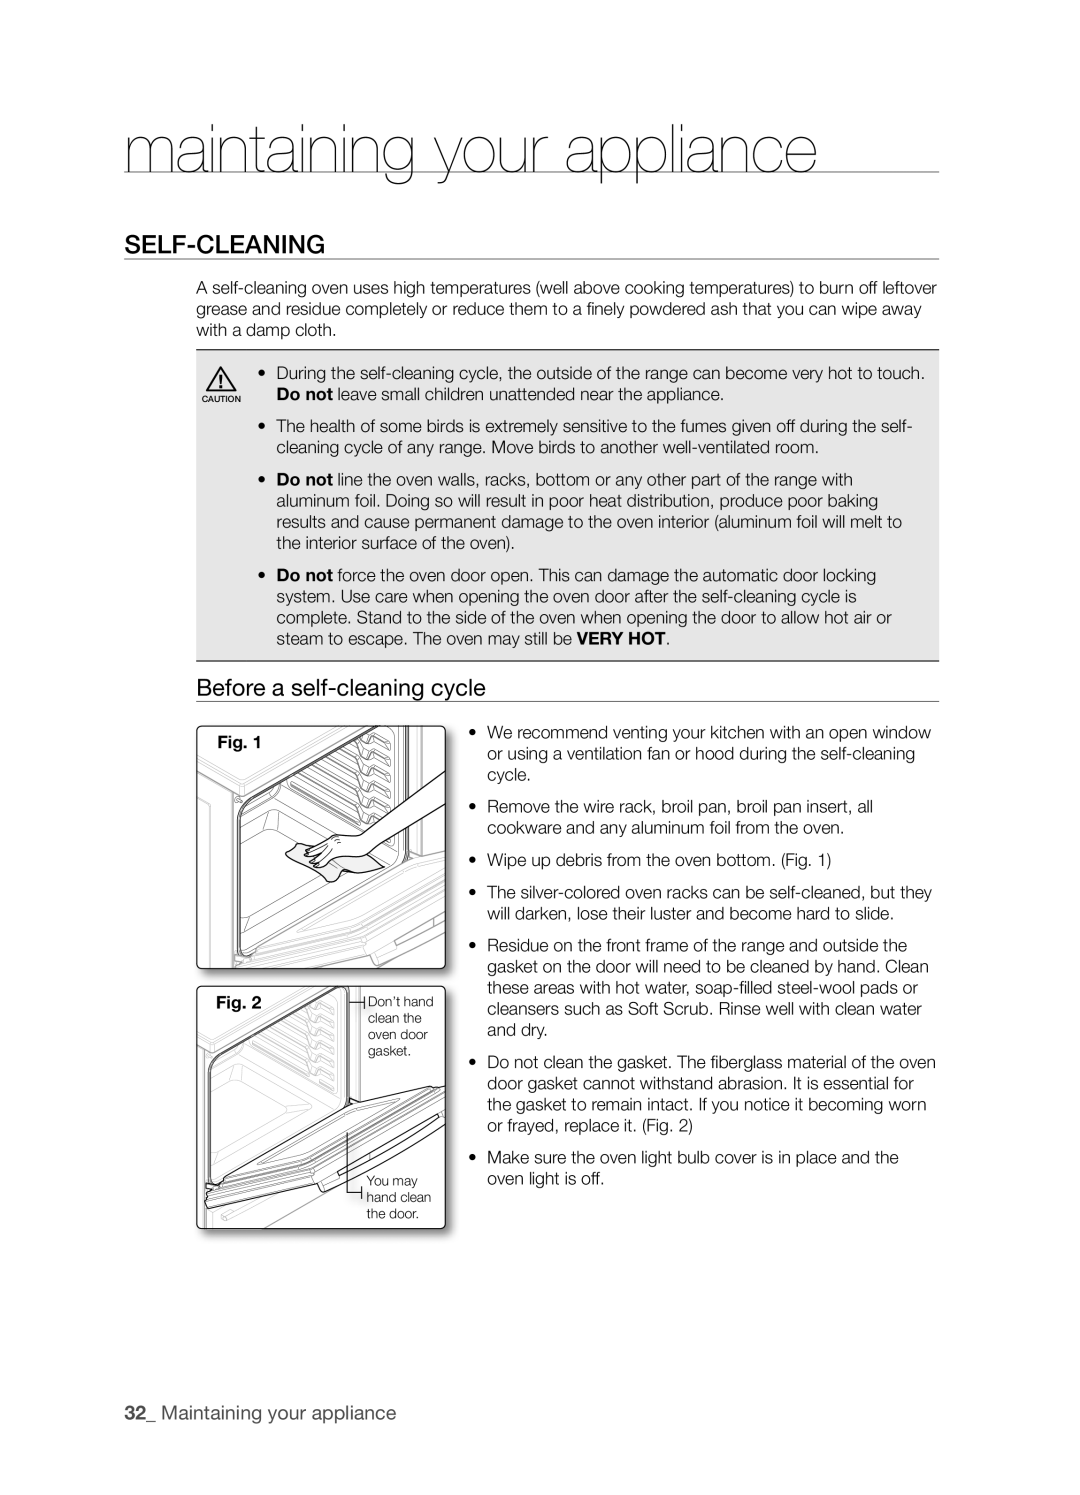
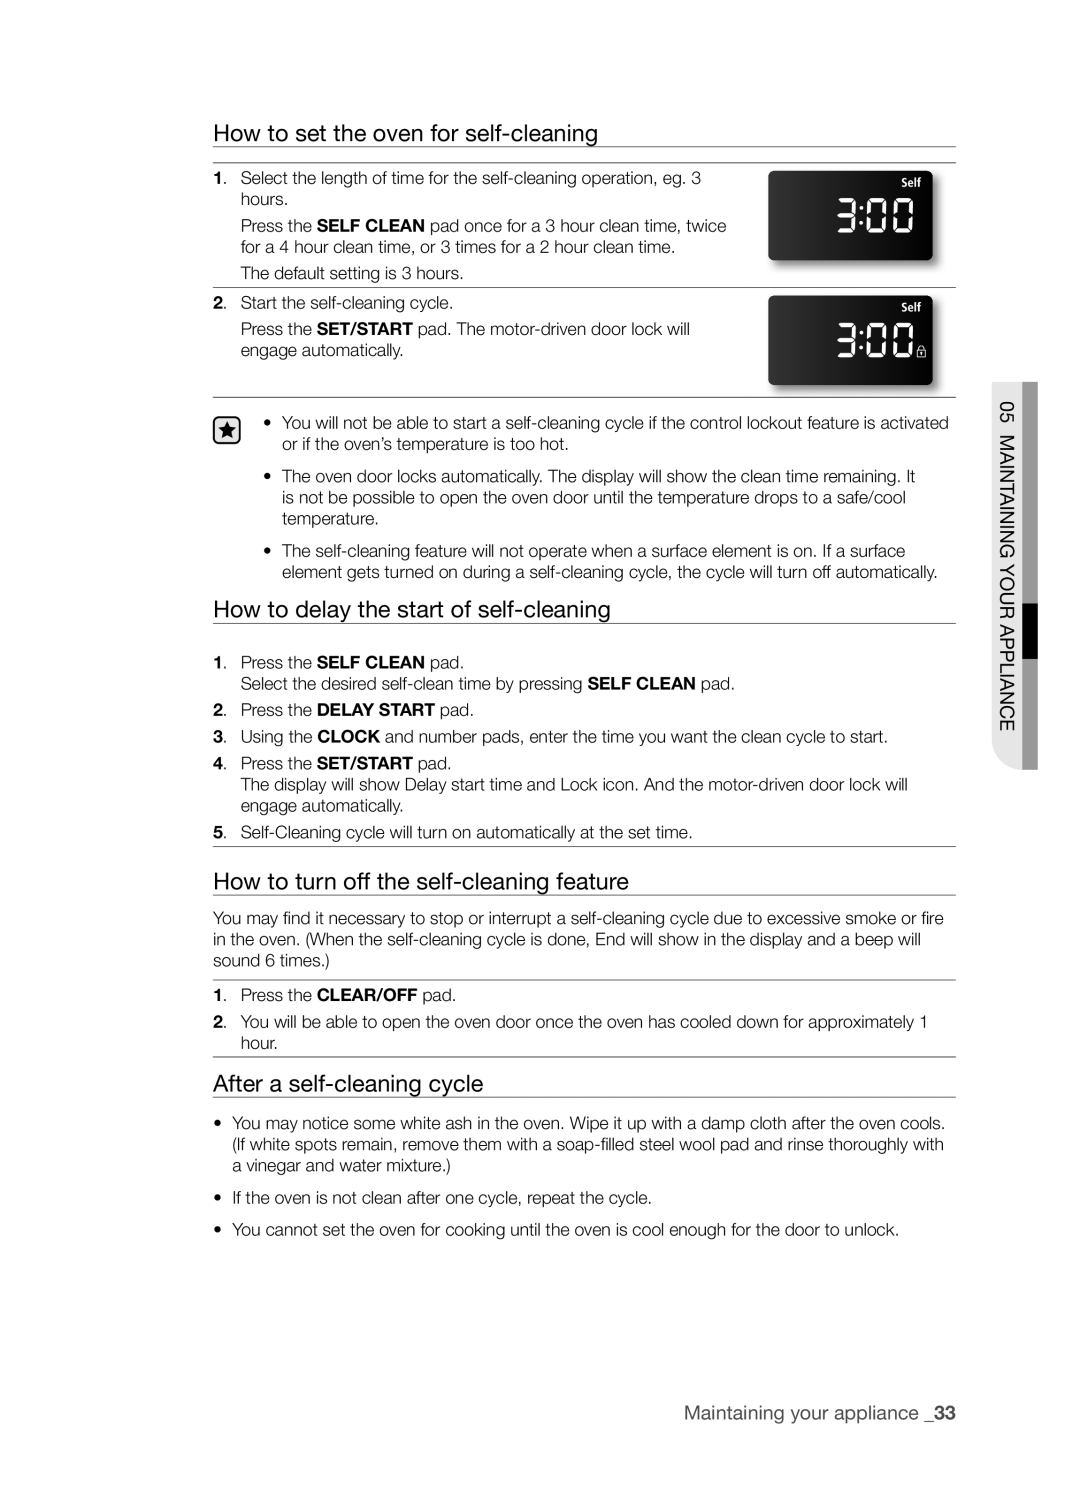
Using the right cookware can prevent many problems, such as uneven cooking or extended cooking times. Using the proper pans will reduce cooking times and cook food more evenly.

02 SURFACE

Check for flatness by rotating a ruler across the bottom of the cookware.

CORRECT

INCORRECT

Flat bottom and straight sides.

Curved and warped pan

Tight fitting lids.

bottoms.


Weight of handle does not tilt


pan.


Pan is well balanced.


Pan overhangs element by more

Pan size matches the amount

than one-half inch.


of food to be prepared


and the size of the surface


element.


Made of a material that


conducts heat well.

Pan is smaller than element.


Always match pot diameter to element surface diameter.

COOKING

Heavy handle tilts pan.

Surface cooking _19
Image 19
Contents Electric Range Steam Quick cleaning Features of your new rangeImportant safety instructions ANTI-TIP Device Do not enter inside the oven Surface Cooking Units Oven SELF-CLEANING Ovens Important safety instructions Important safety instructions Important safety instructions Important safety instructions This may result in fire. Do not over-heat food Contents Overview Introducing your new rangeWhat’s included with your range About surface cooking Surface cookingAbout the radiant surface elements Single surface unit control knob left rear, right rear Hot surface indicatorLocation of the radiant surface elements and controls Cooking areasSurface warmer will not glow red like the cooking elements Using the warming centerPress the Warming Center ON/OFF pad Using the proper cookware How to set the appliance for surface cookingProtecting the smoothtop surface Choosing the proper cookwareOven control panel Operating the ovenHow to change between a 12-hour and 24-hour display Setting the clockSetting the kitchen timer How to set the clockOven rack positions Minimum and maximum settingsUsing the oven racks Before using the racksBaking How to set the thermostatHow to adjust the thermostat while cooking How to set the oven for timed cookingHow to set the oven for delay timed cooking Delay timed cookingRecommended broiling guide How to set the oven for broilingBroiling Broil stop positionProof Using the Easy Cook FeatureSlow Cook Chicken NuggetsHow to recall a setting Using the custom cook featureUsing the warm function How to record a recipe settingHour energy saving Extra featuresFahrenheit or Celsius temperature selection Thermostat adjustmentControl lockout Sound on/offFor use on the Jewish Sabbath & Holidays Setting the SabbathBefore a self-cleaning cycle Self-cleaningMaintaining your appliance After a self-cleaning cycle How to set the oven for self-cleaningHow to delay the start of self-cleaning How to turn off the self-cleaning featureHow to set the oven for steam-cleaning Steam-cleaningAfter a steam-cleaning cycle Cleaning the broil pan and insert Care and cleaning of the ovenCleaning painted parts and decorative trim Cleaning stainless steel surfacesOven door Care and cleaning of the glass cooktopNormal daily use cleaning Oven racksRemoving metal marks and scratches Cleaning the cooktop sealCleaning sugary spills and melted plastic Removing heavy, burned-on residueRemoving and replacing the storage drawer Removing and replacing the oven doorChanging the oven light Troubleshooting TroubleshootingFrequently cycles on AreasDiscoloration on CooktopNot open after a Self-cleaning cycle Temperature is tooSelf-clean Cleaning cycleEmitting from Oven not clean afterSteam from the vent Burning or oily odorLimited Warranty to Original Purchaser WarrantyPage Questions or COMMENTS?