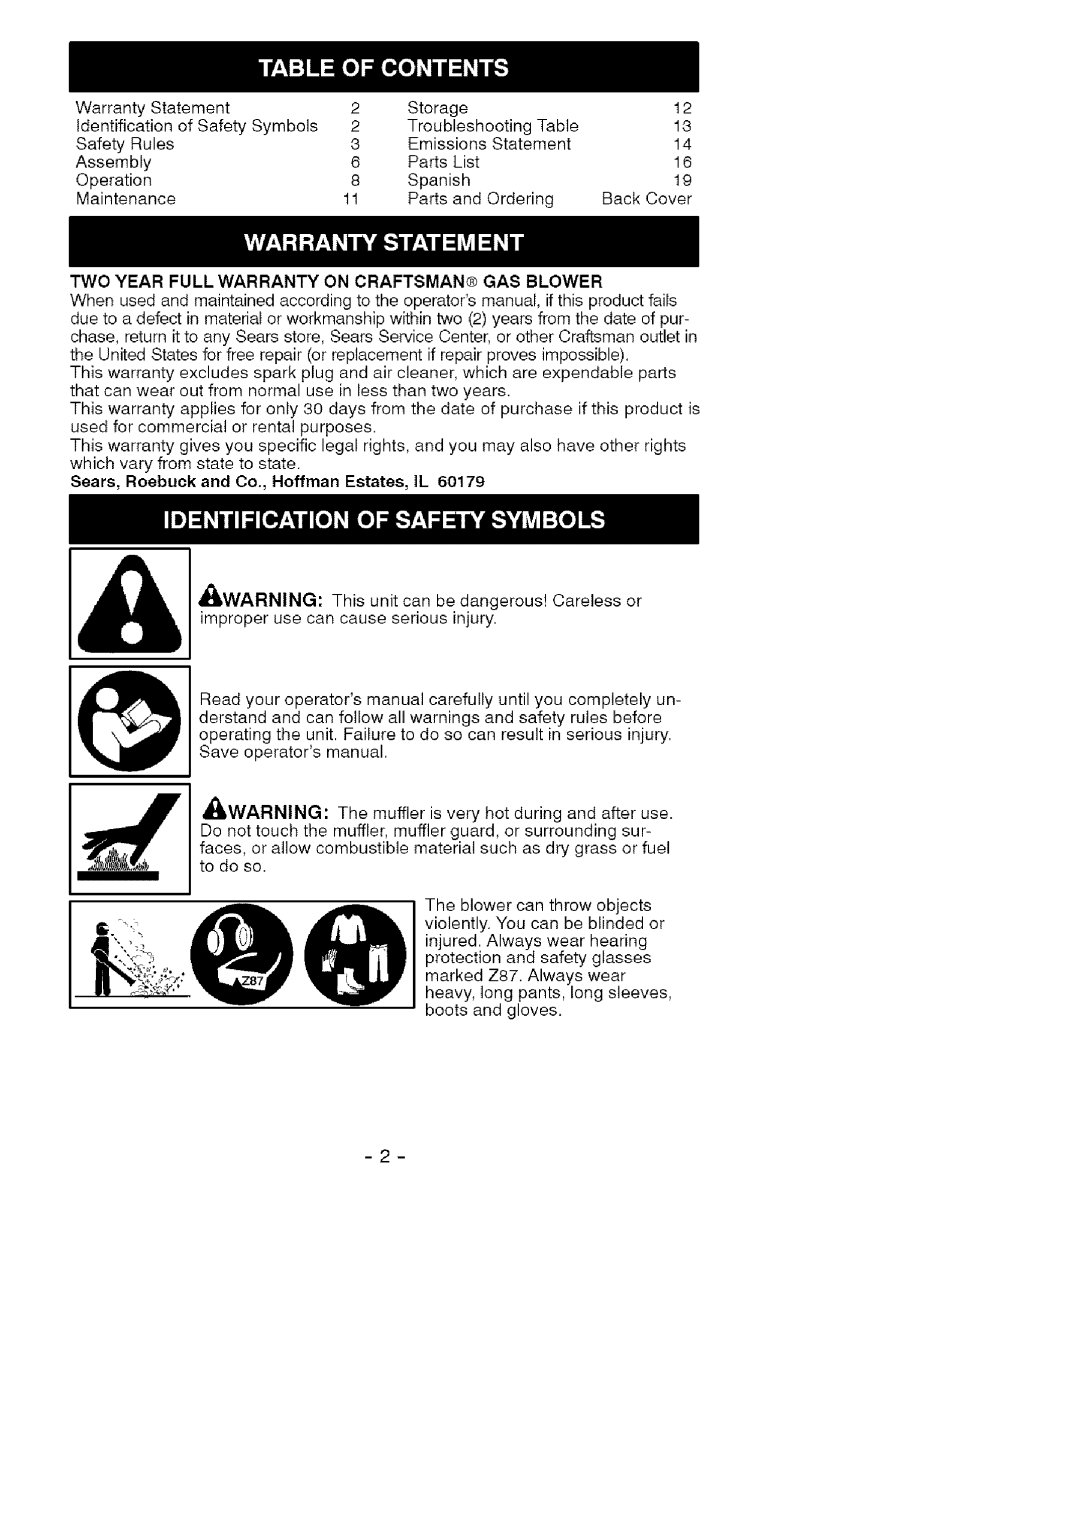
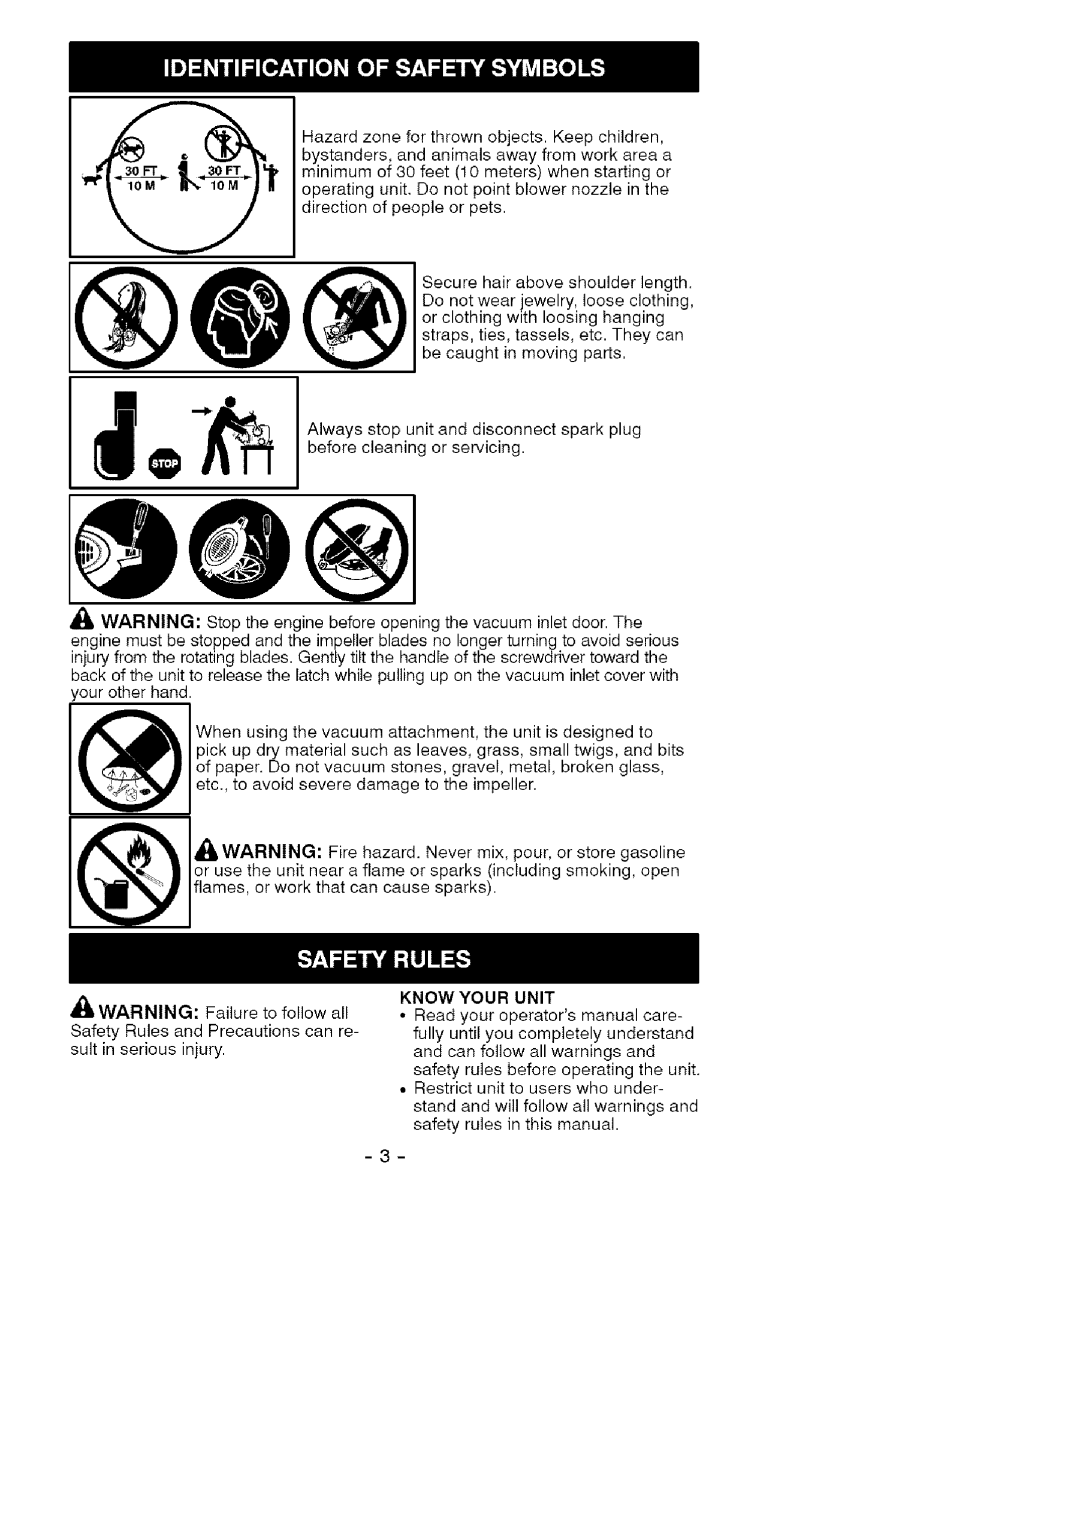
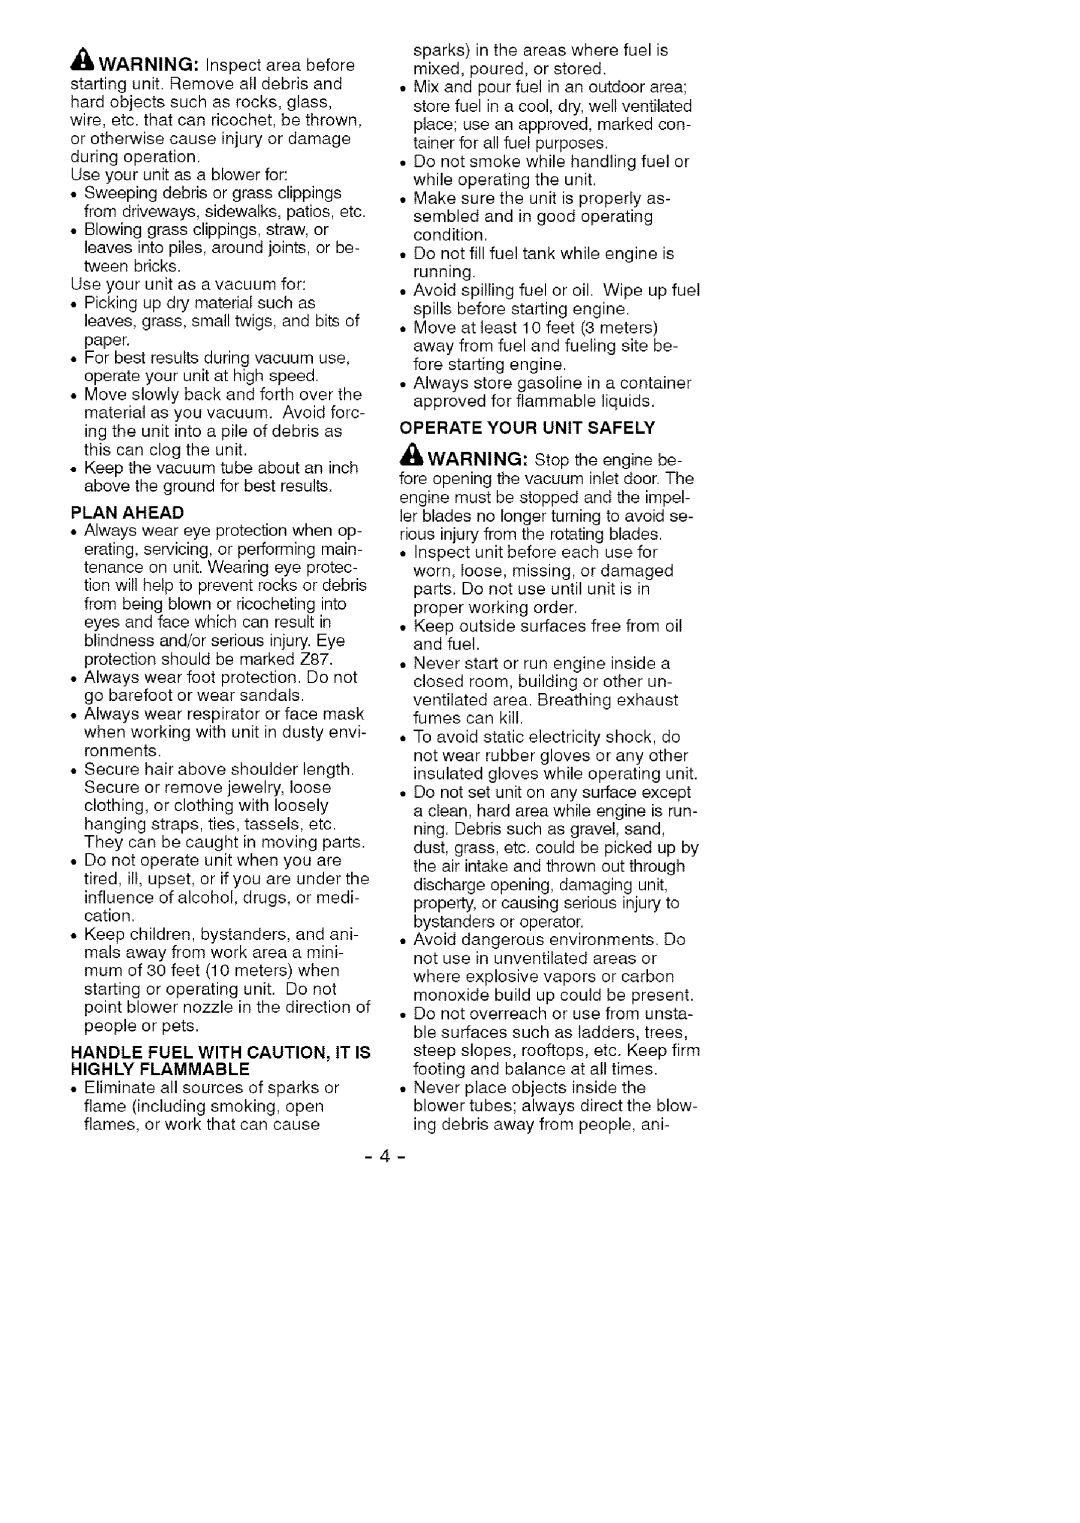
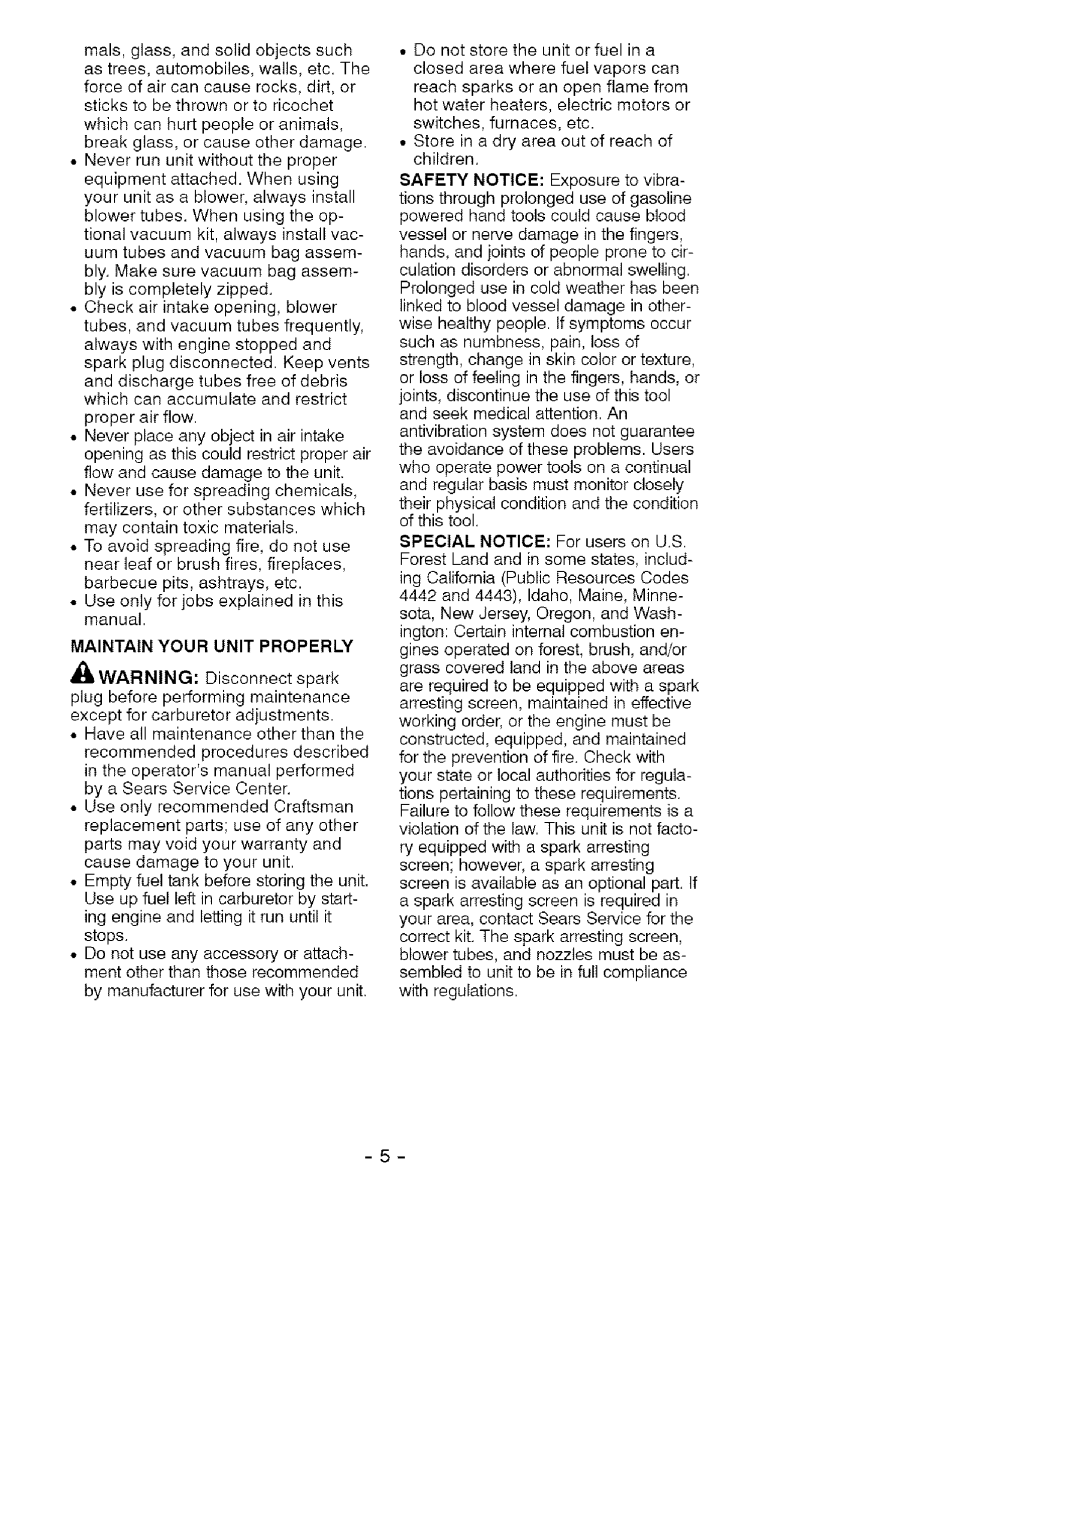
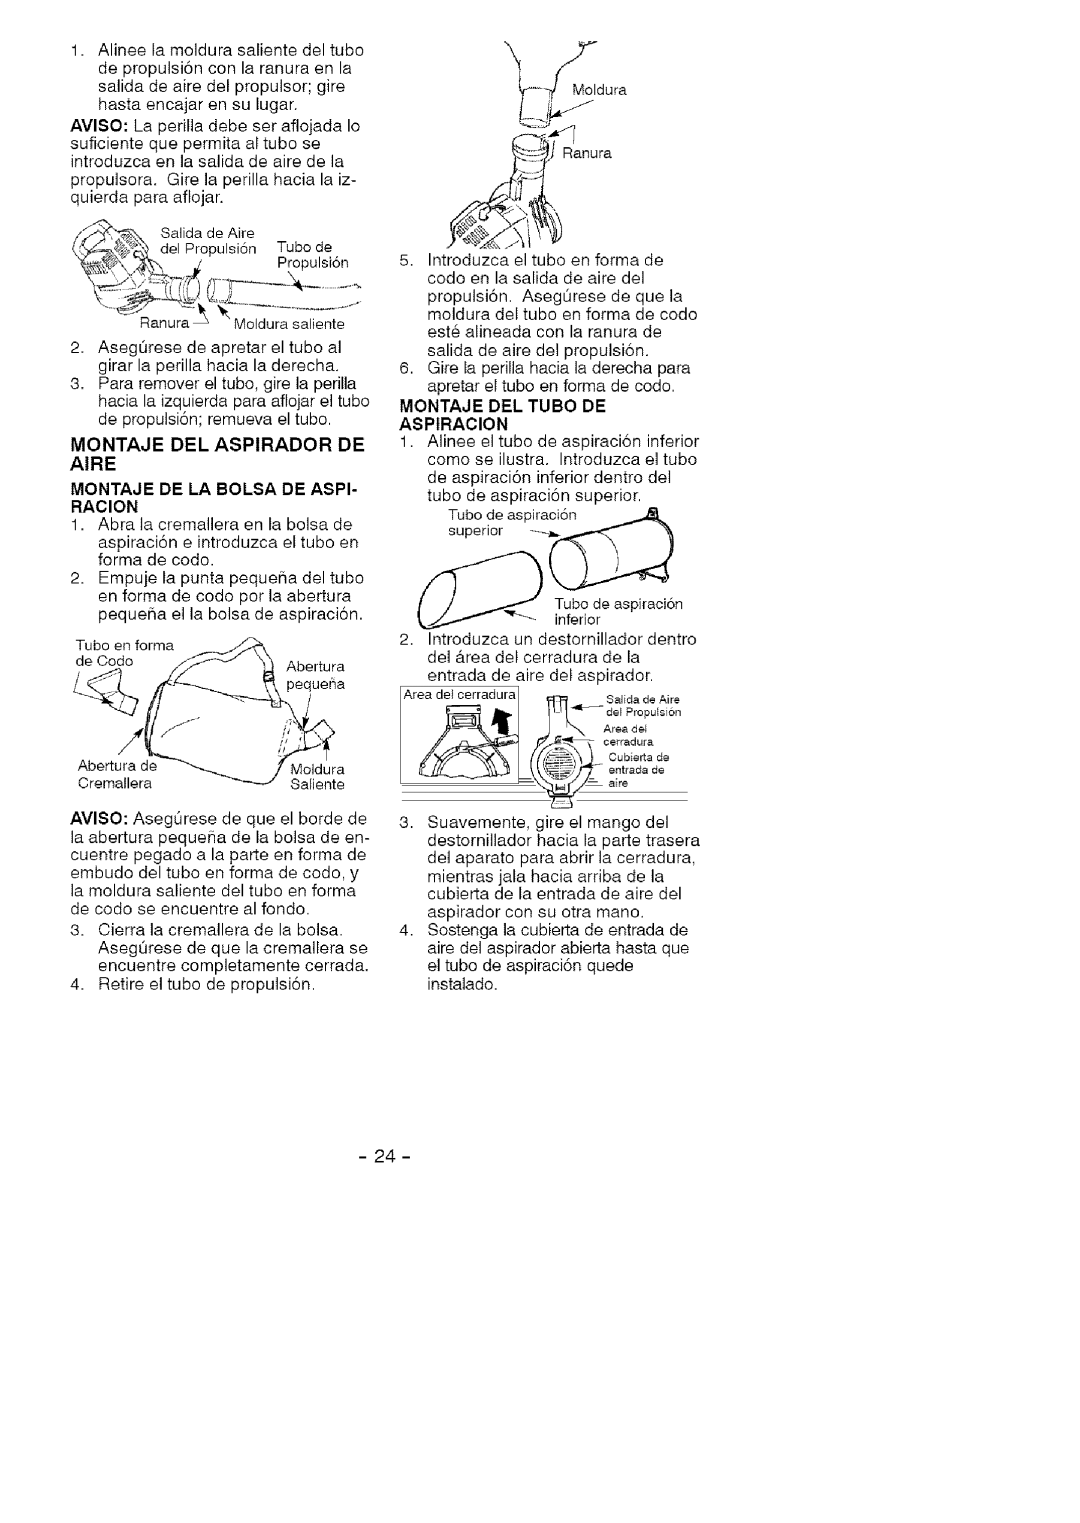
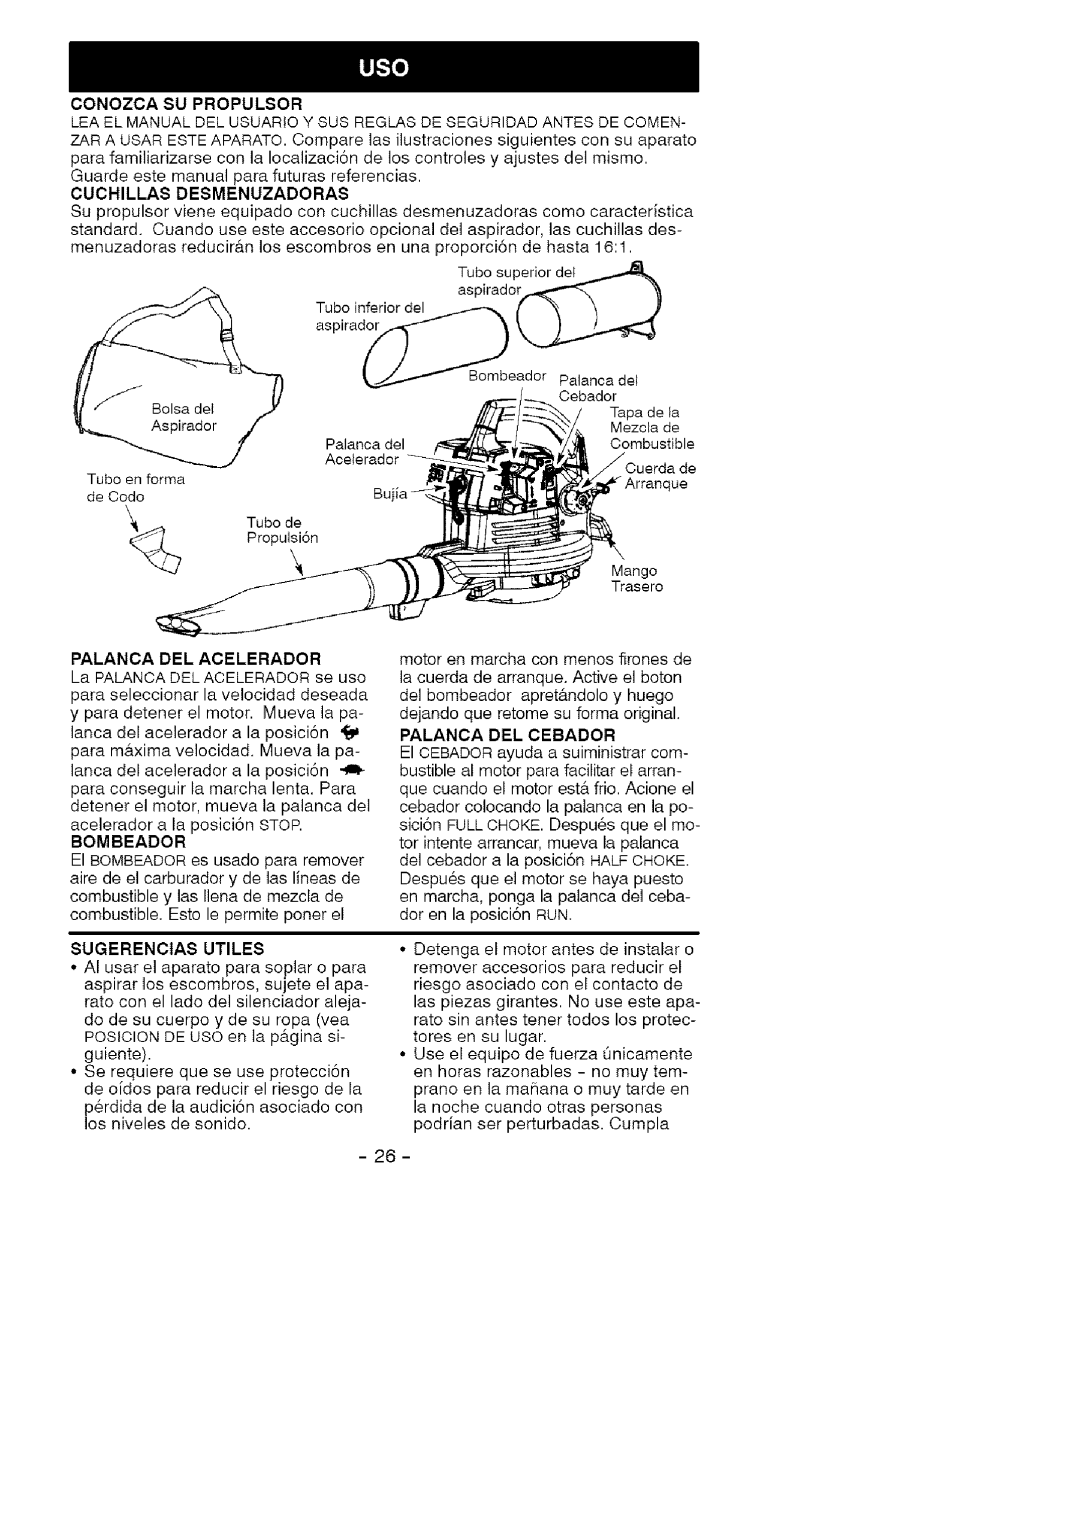
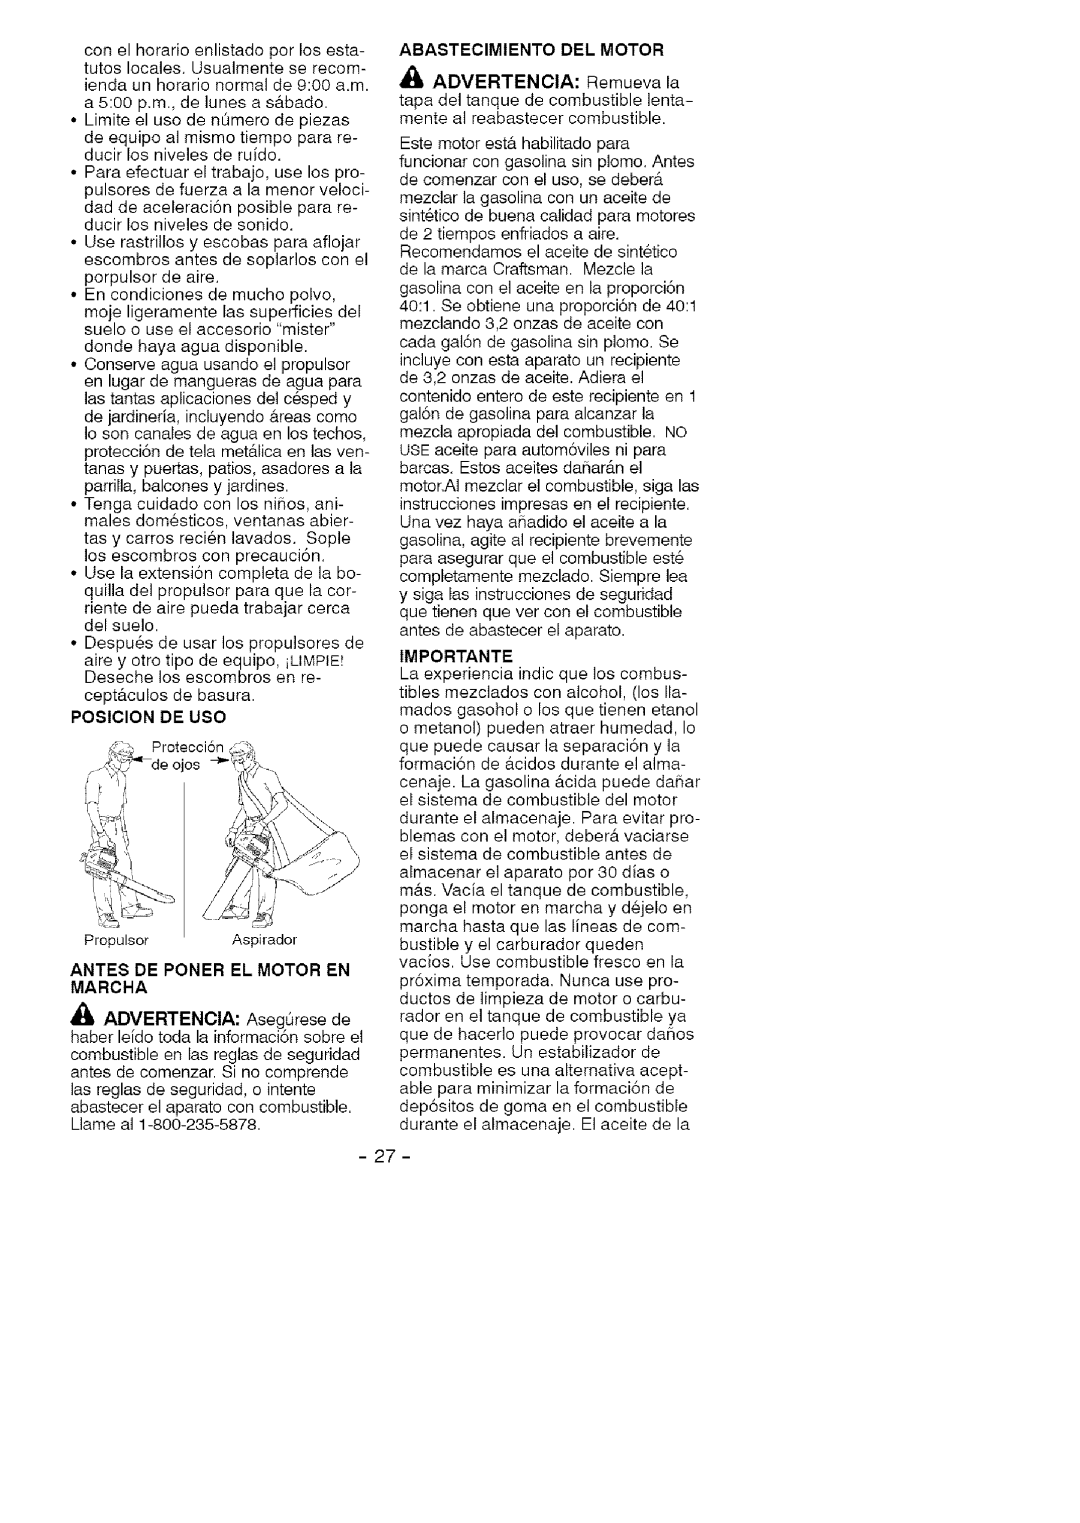
Craftsman 358.794964 manual Blower Tube Assembly, Shoulder Strap Adjustment for vacuum use only

Page 7


Outlet


_.

Latch Area


Vacuum

L,__

_

BlowerInlet Cover

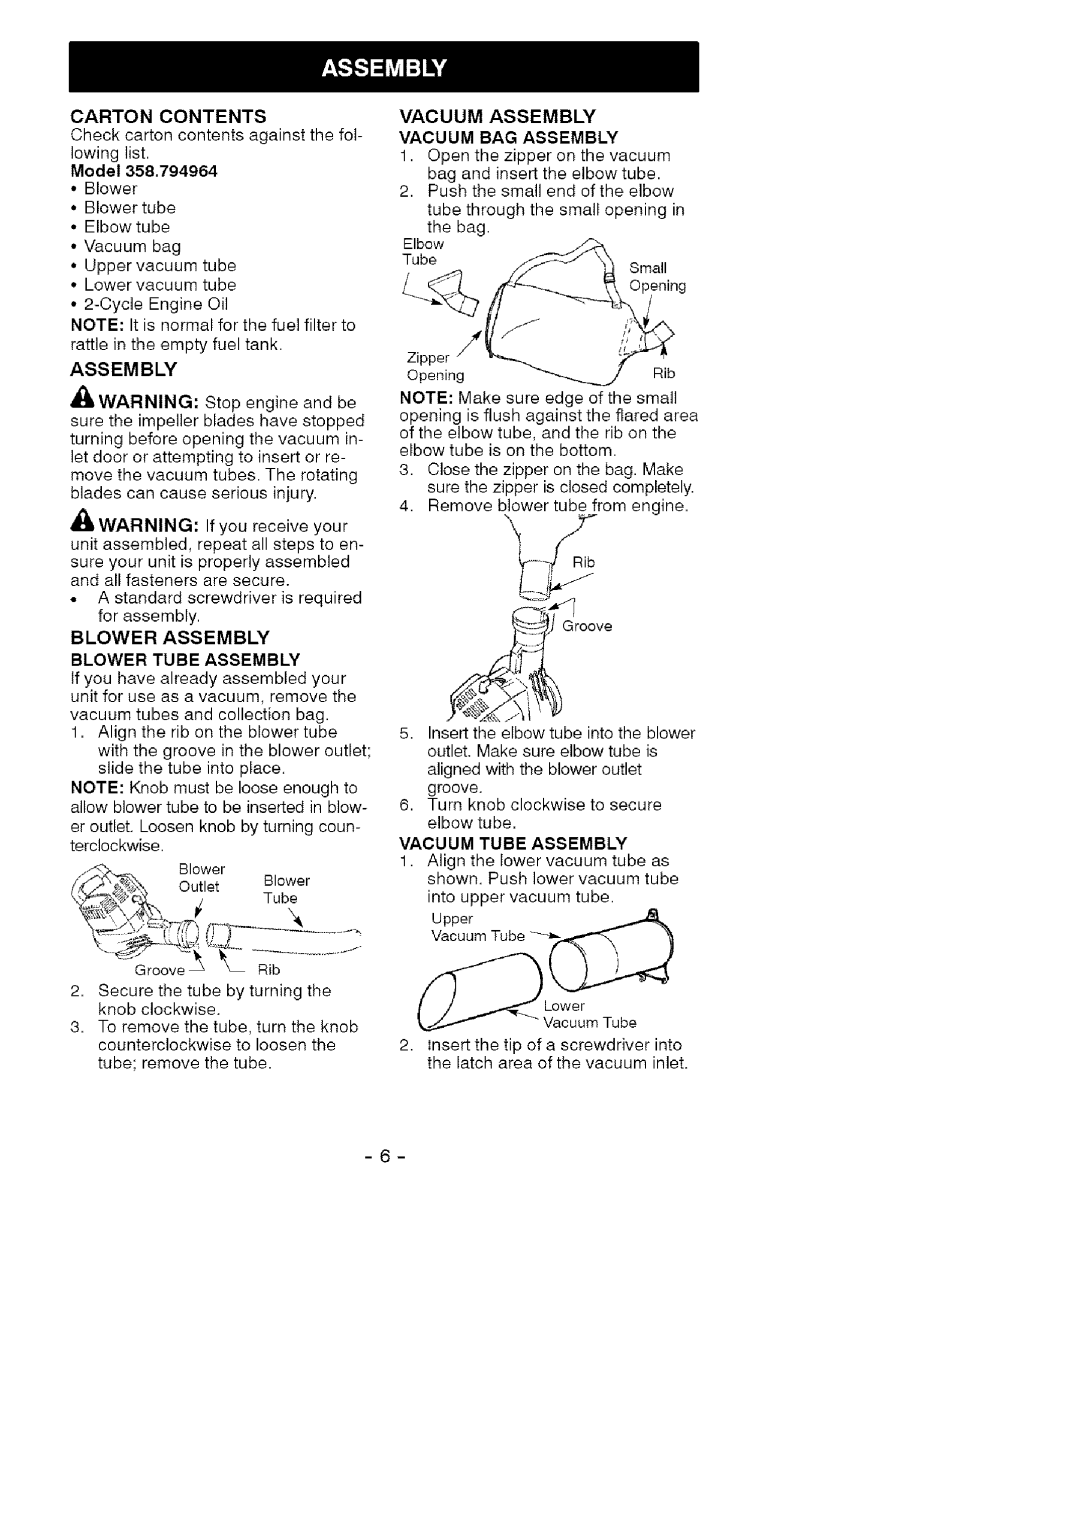
3.Gently tilt the handle of the screw- driver toward the back of the unit to

release the latch while pulling up

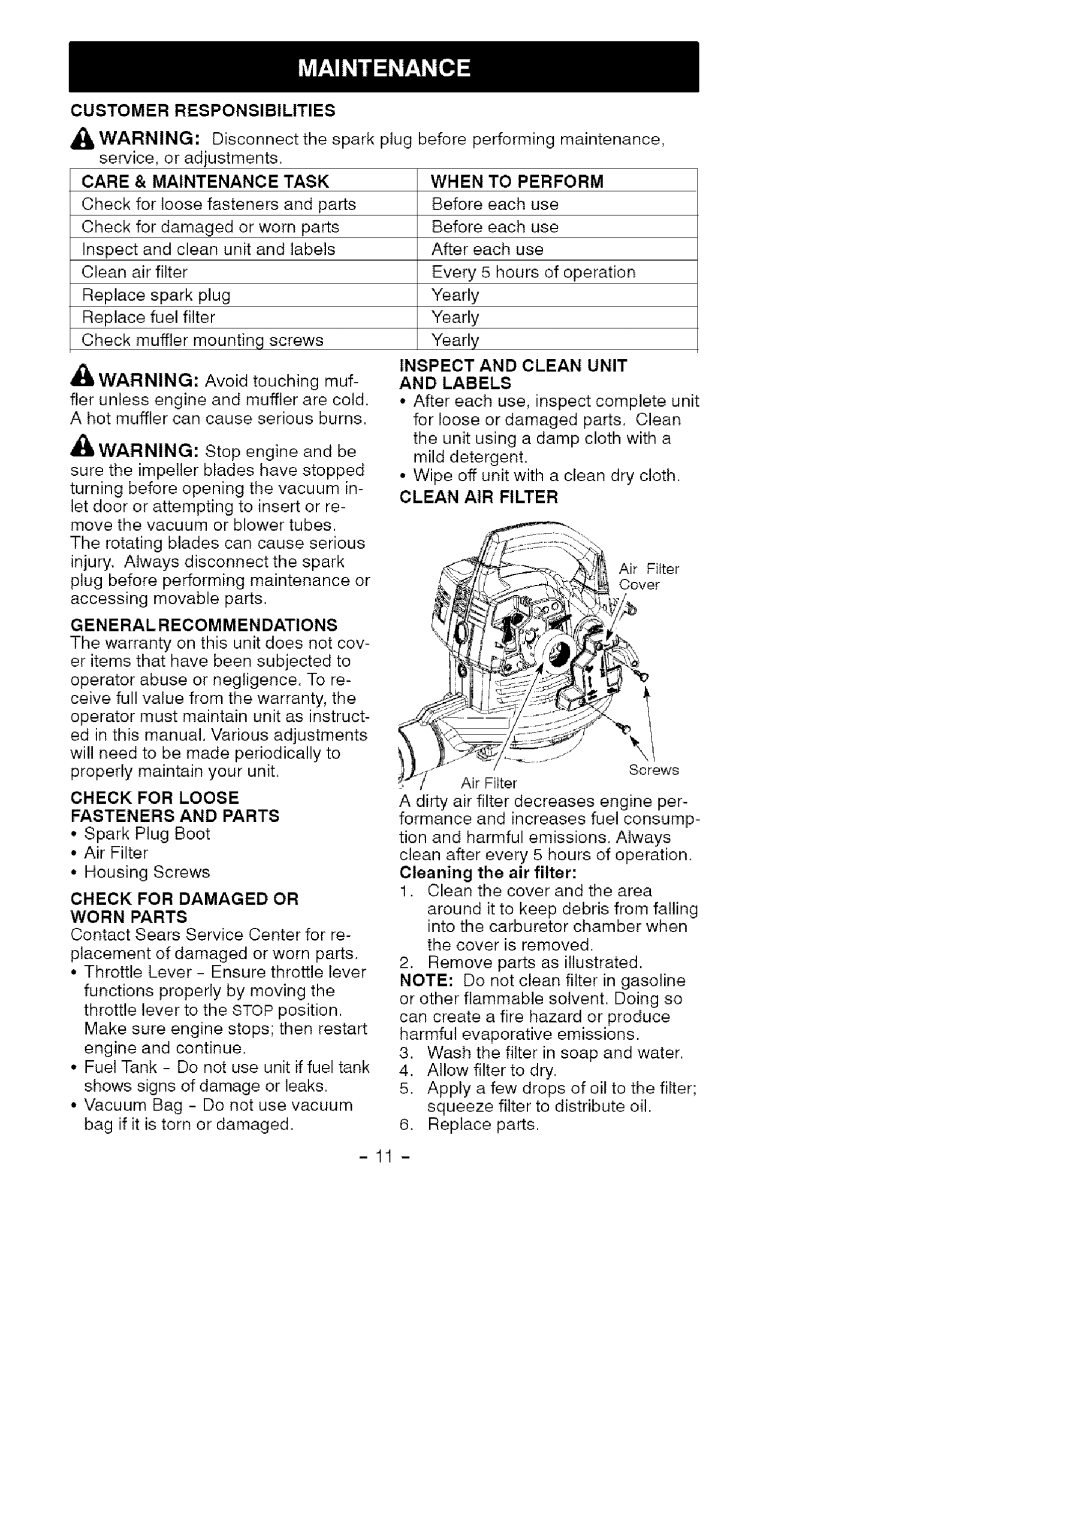
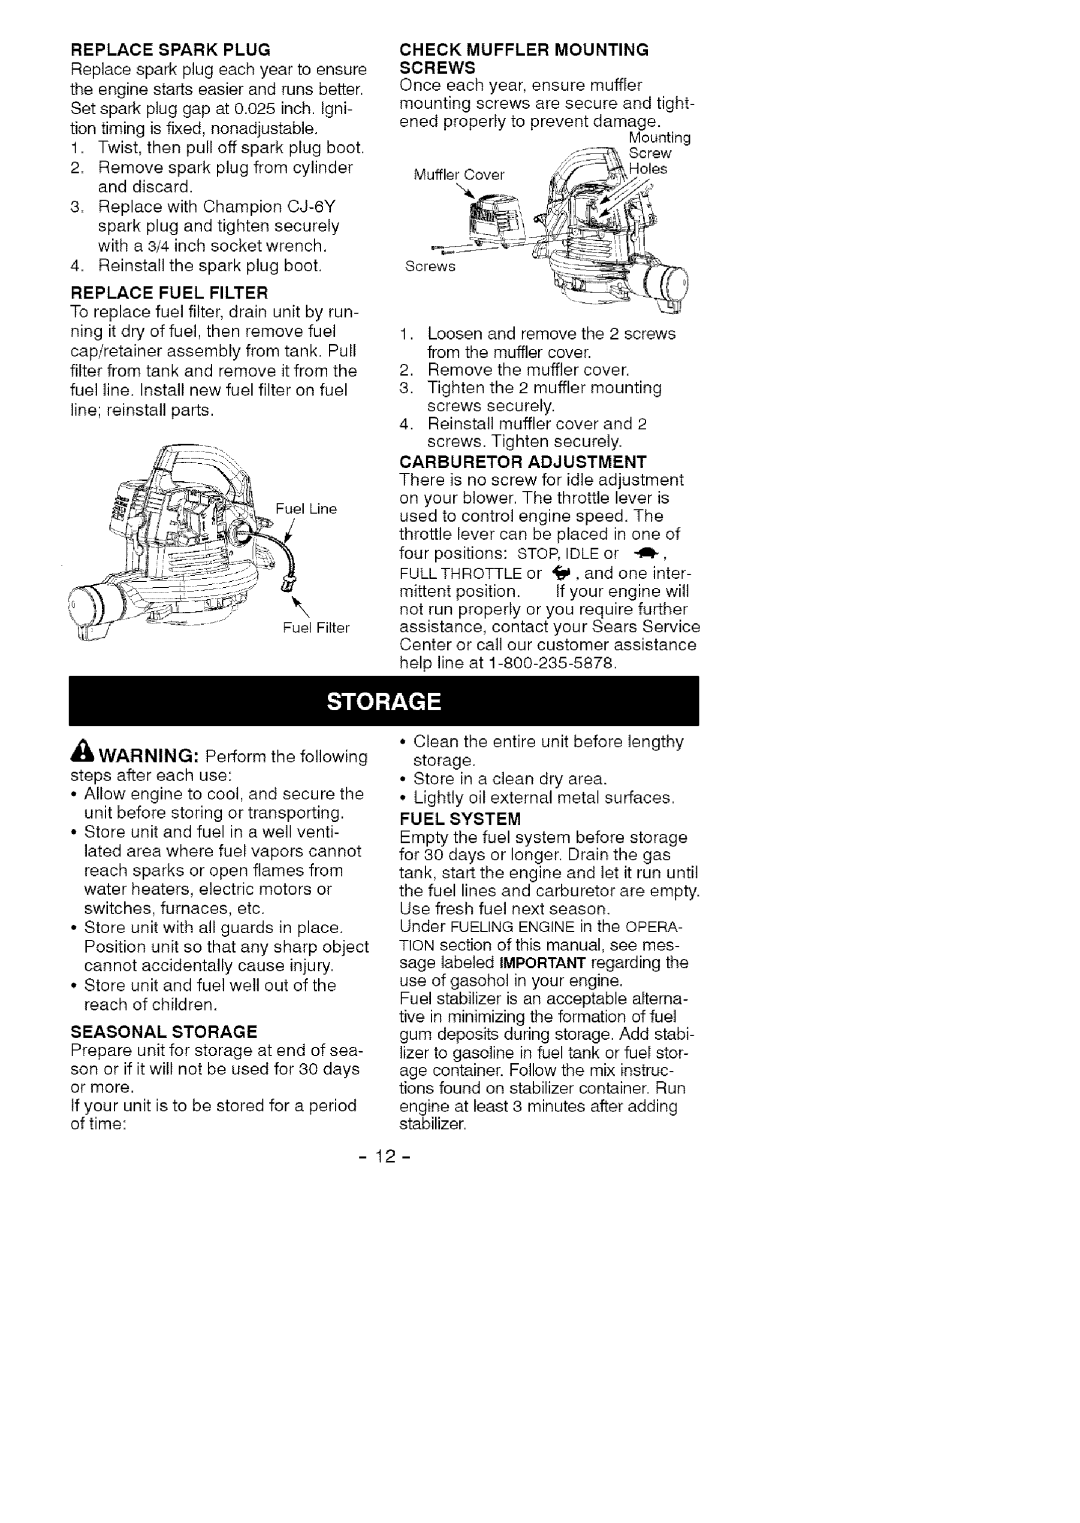
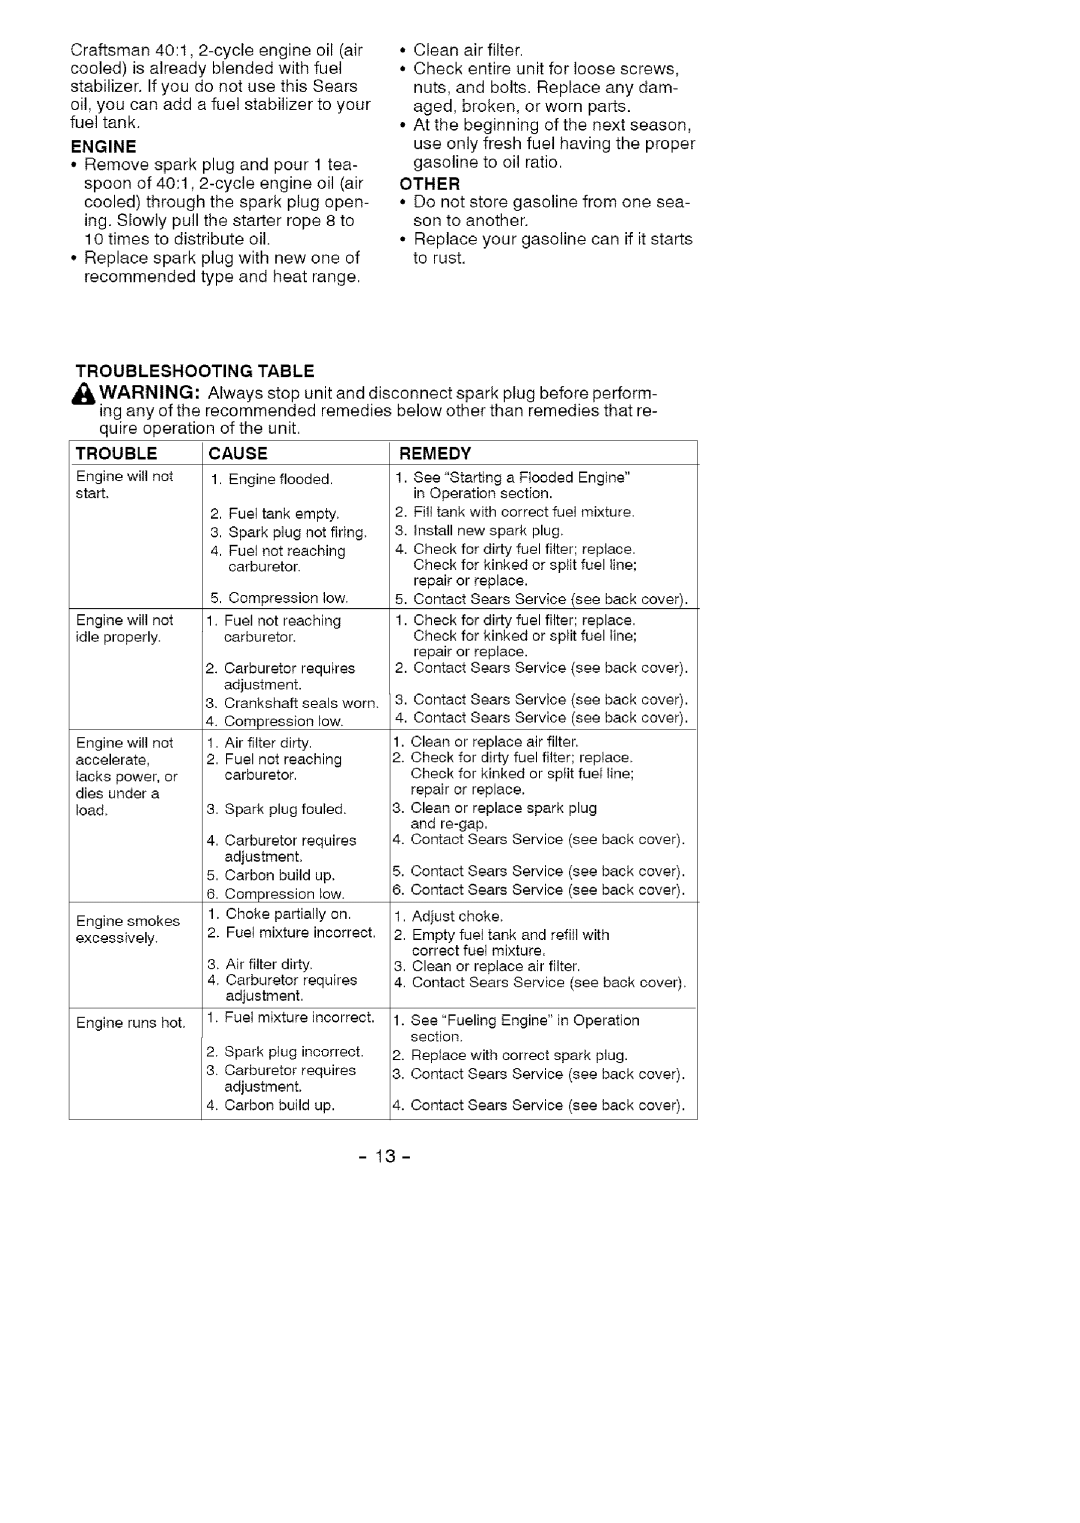
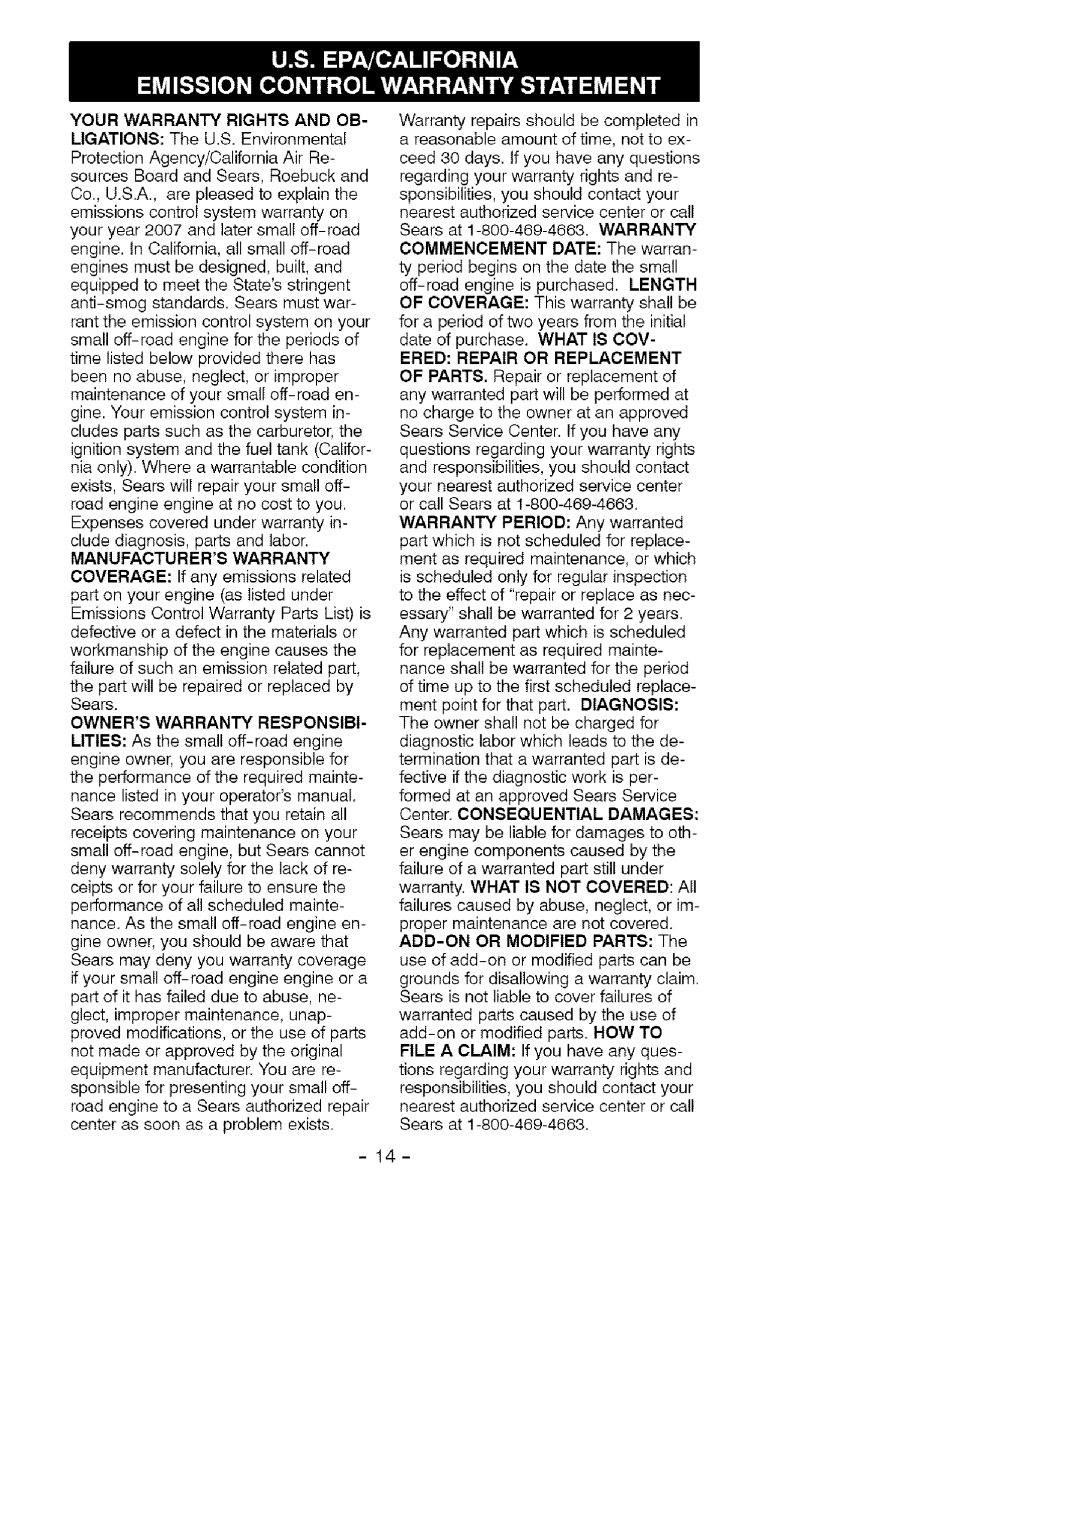
on the vacuum inlet cover with your other hand.

4.Hold the vacuum inlet cover open until upper vacuum tube is installed.

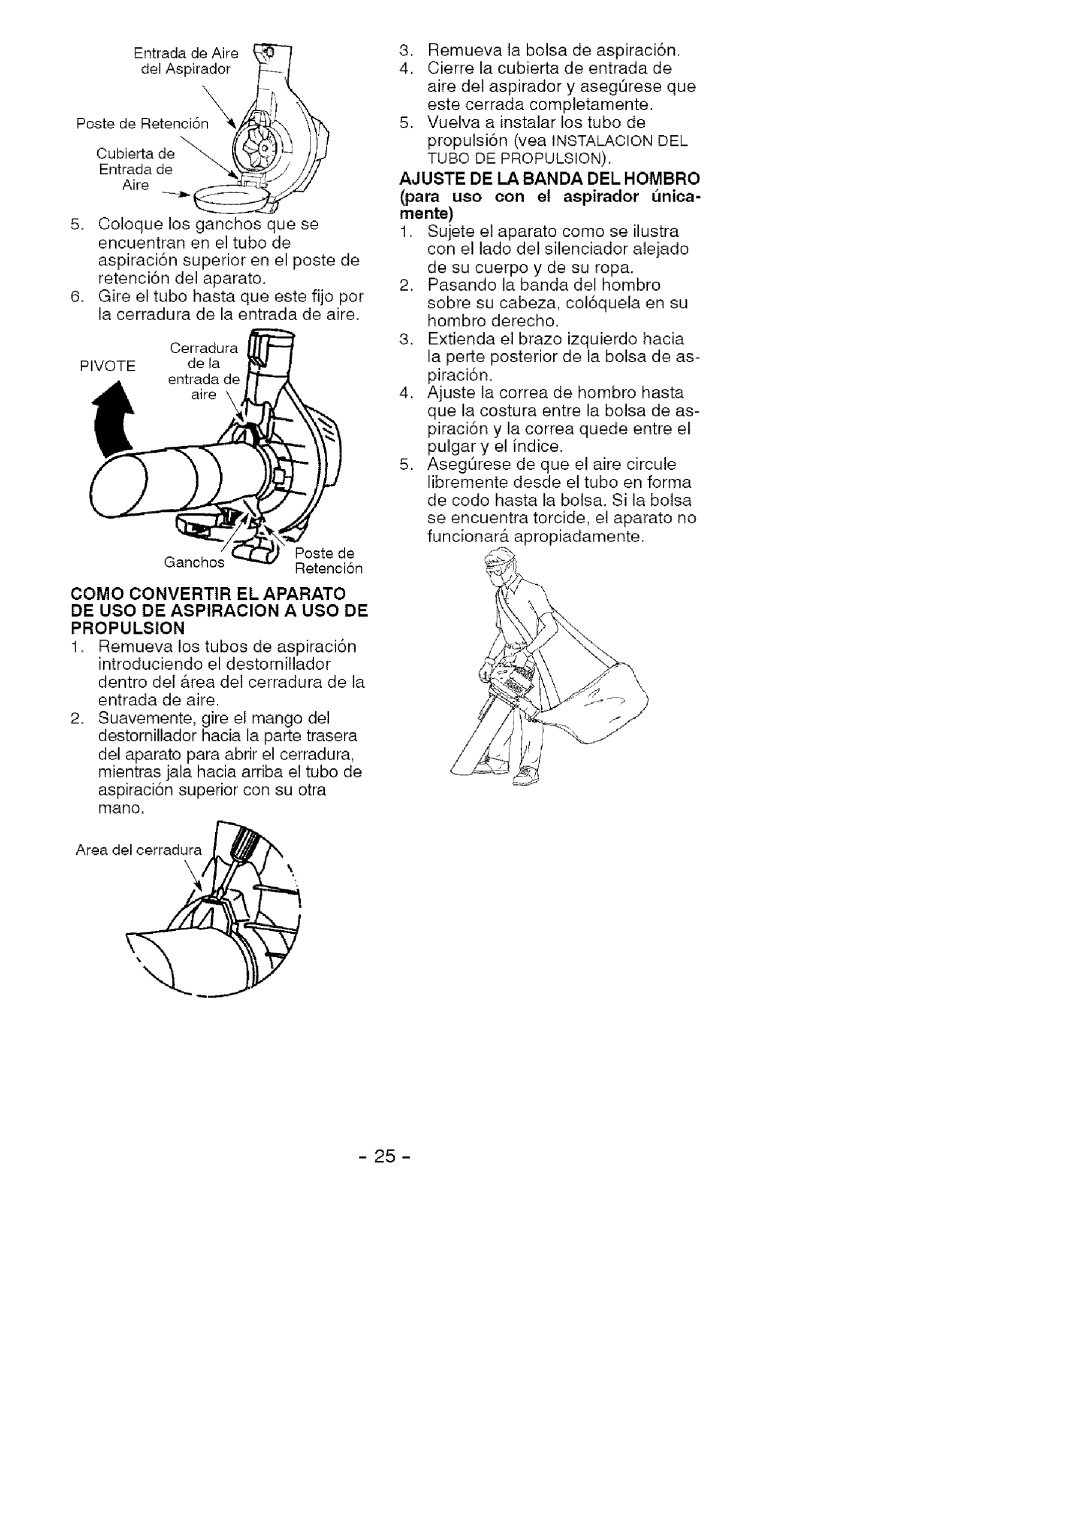
Vacuum Inlet

Retaining Post X_

;,)/_

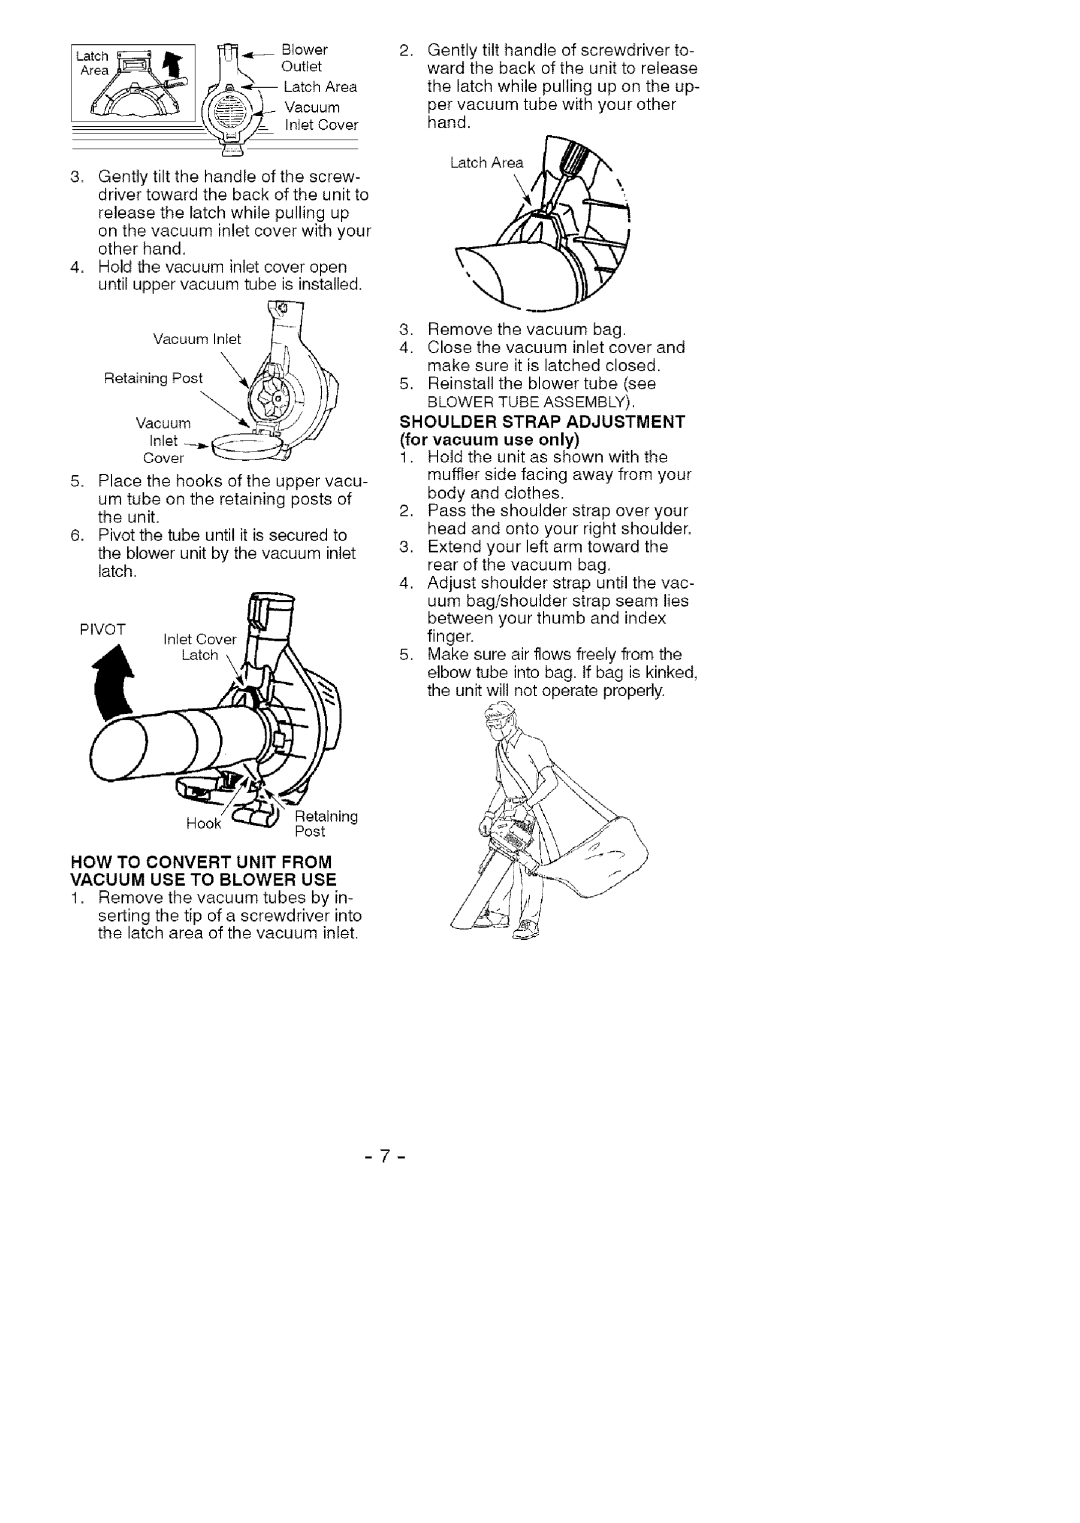
5.Place the hooks of the upper vacu-

um tube on the retaining posts of the unit.

6.Pivot the tube until it is secured to

the blower unit by the vacuum inlet latch.

PIVOT

Inlet Cover

Latch

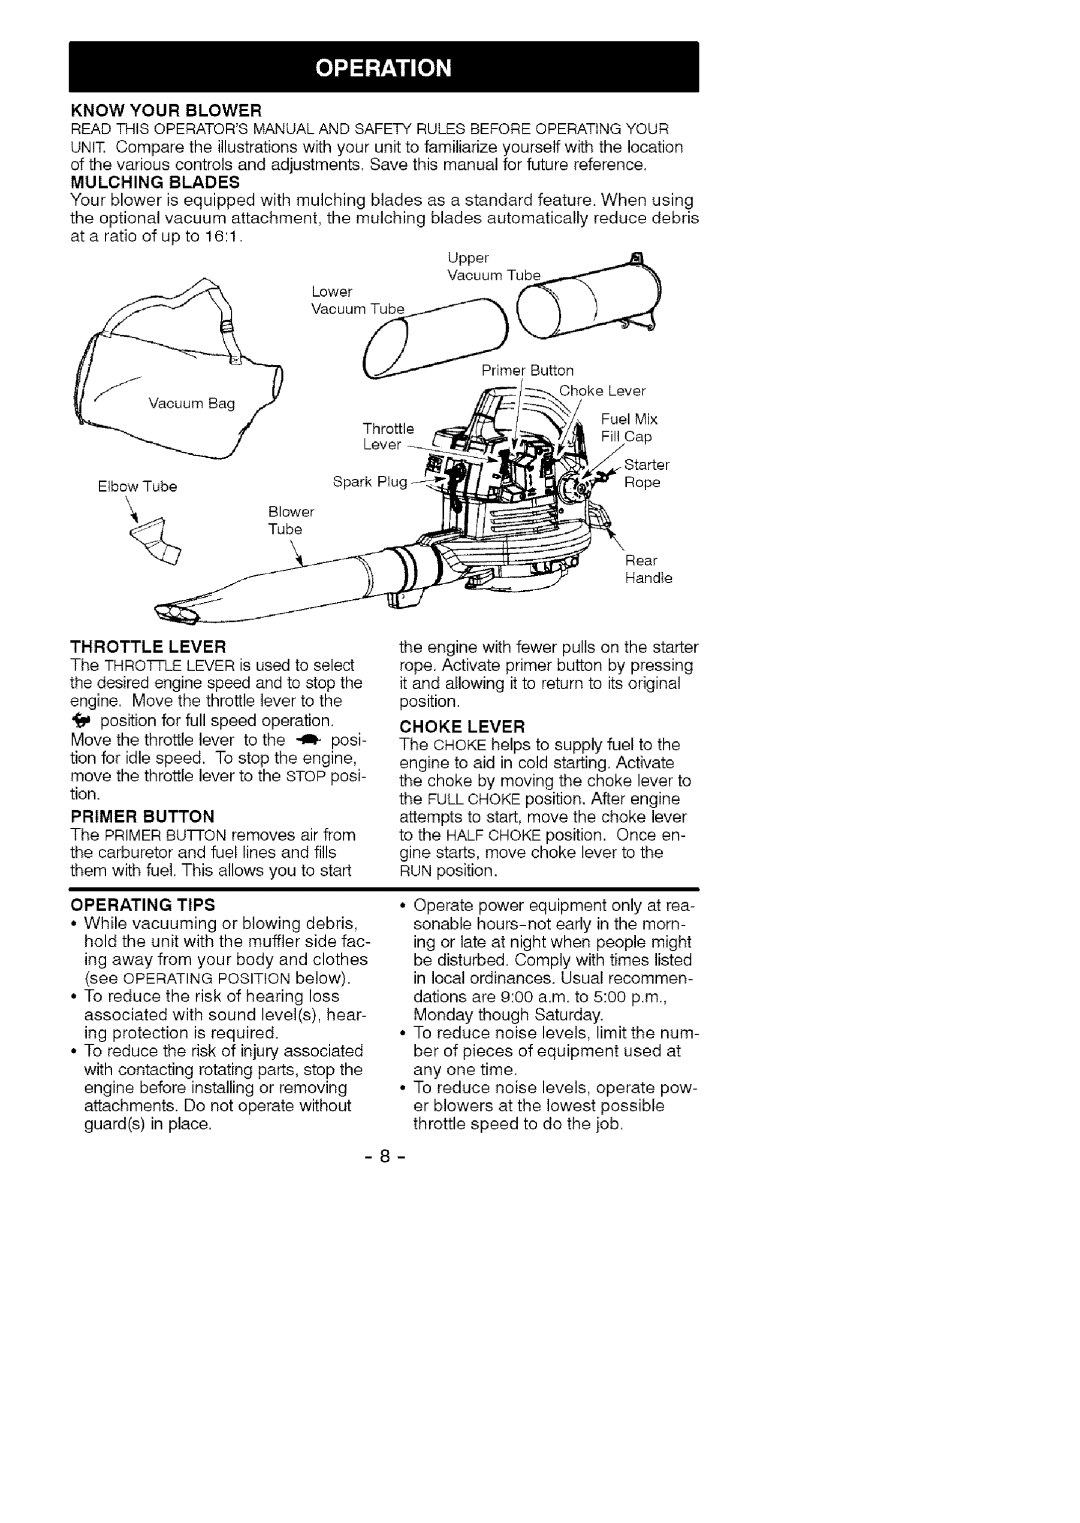
2.Gently tilt handle of screwdriver to- ward the back of the unit to release

the latch while pulling up on the up-

per vacuum tube with your other hand.

Latch Area

3. Remove the vacuum bag.

4.Close the vacuum inlet cover and make sure it is latched closed.

5.Reinstall the blower tube (see

BLOWER TUBE ASSEMBLY).

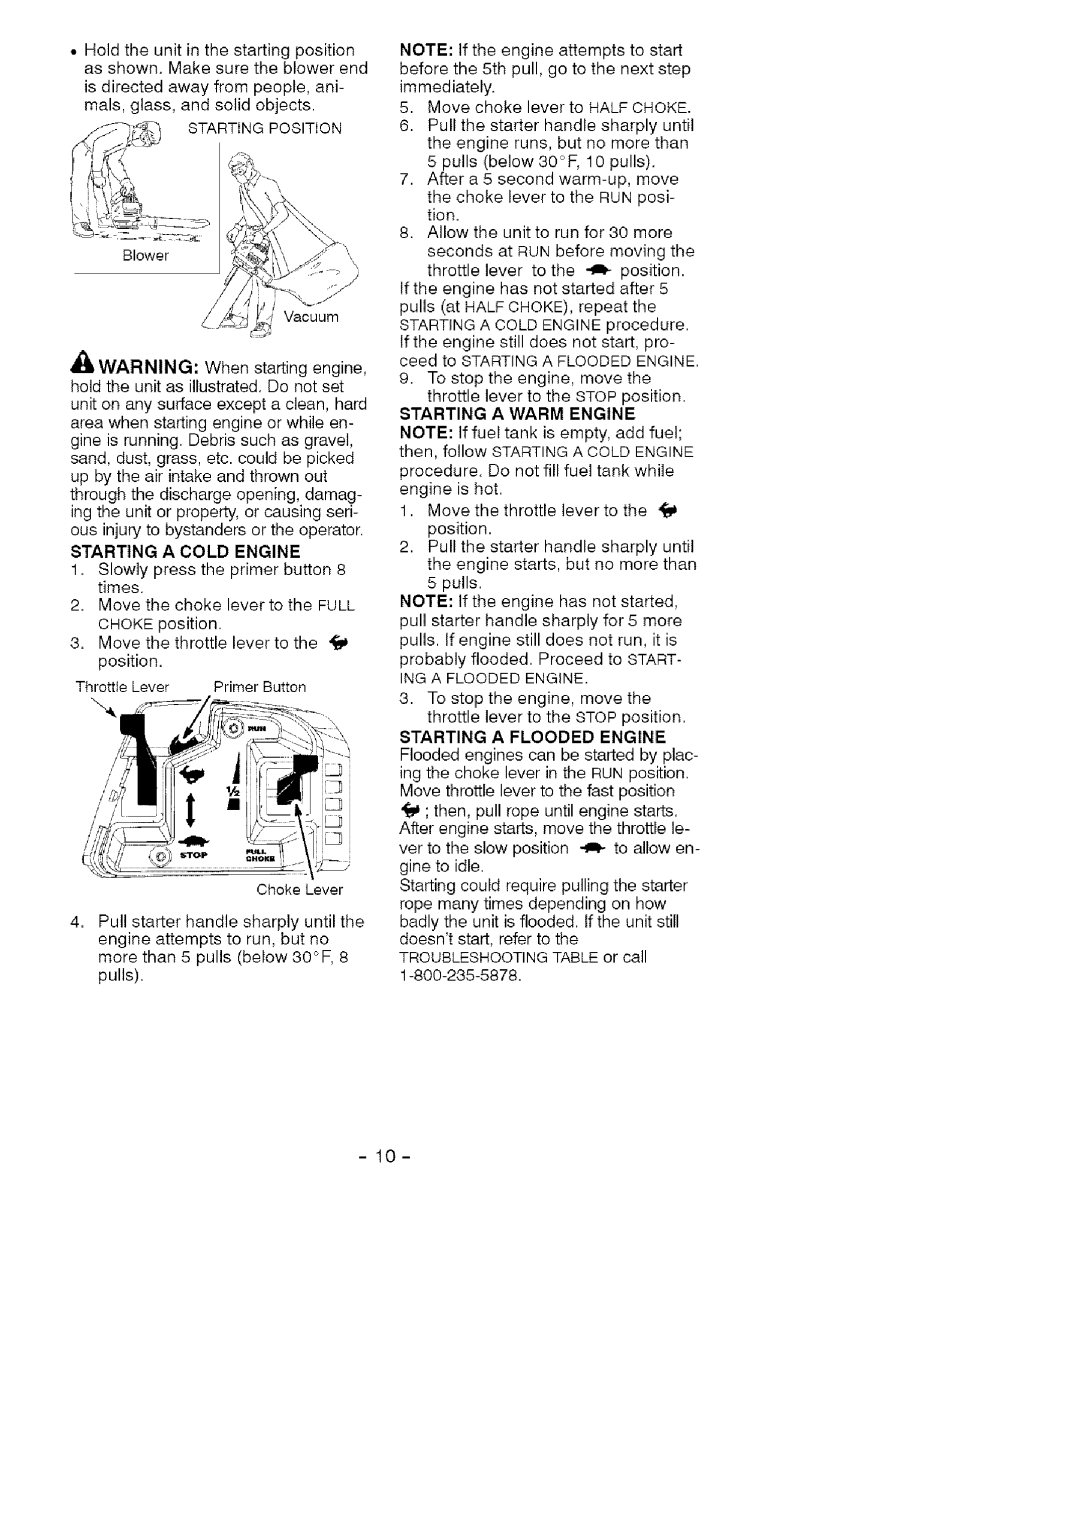
SHOULDER STRAP ADJUSTMENT (for vacuum use only)

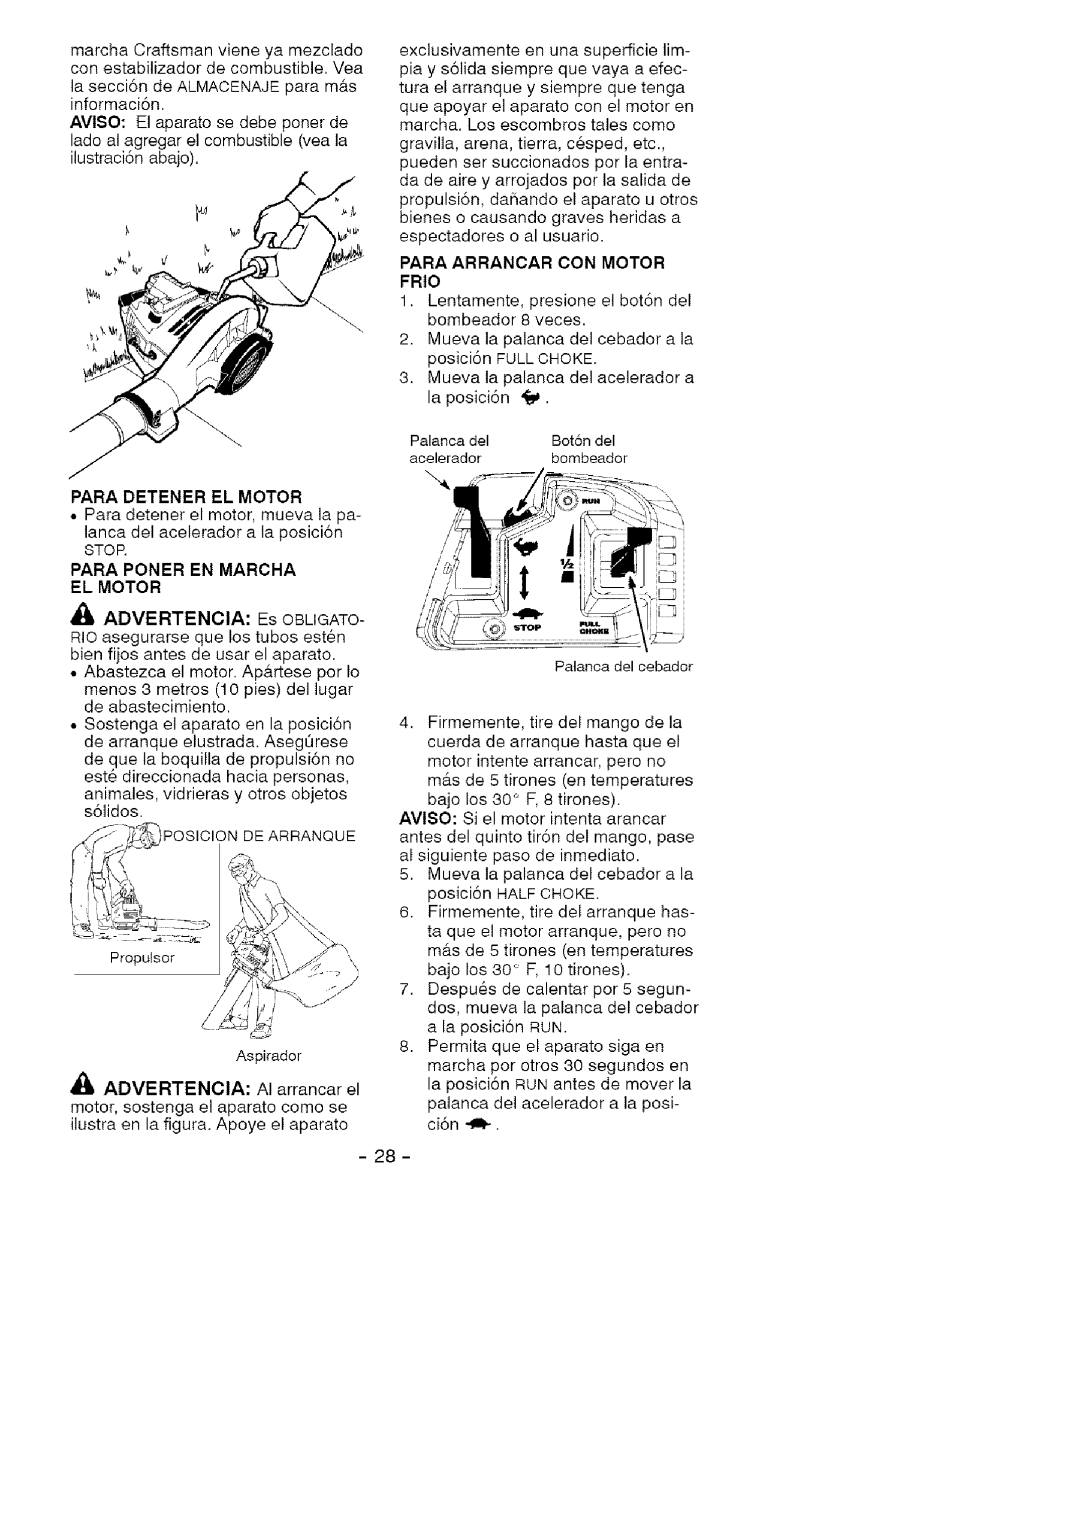
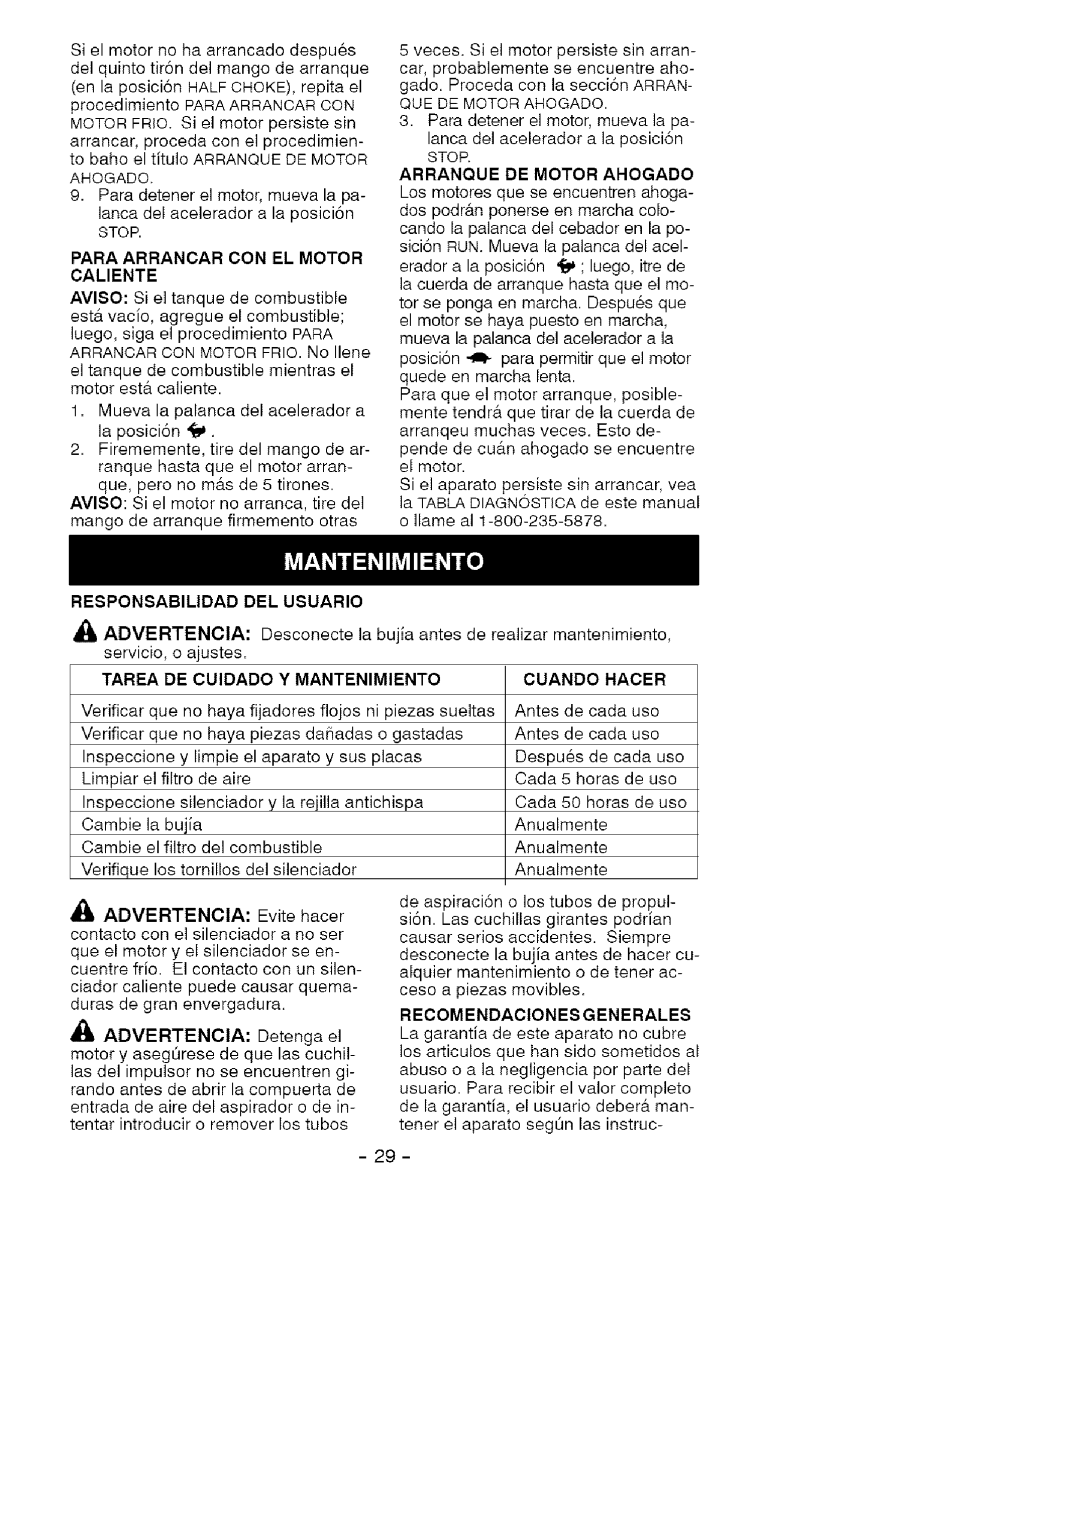
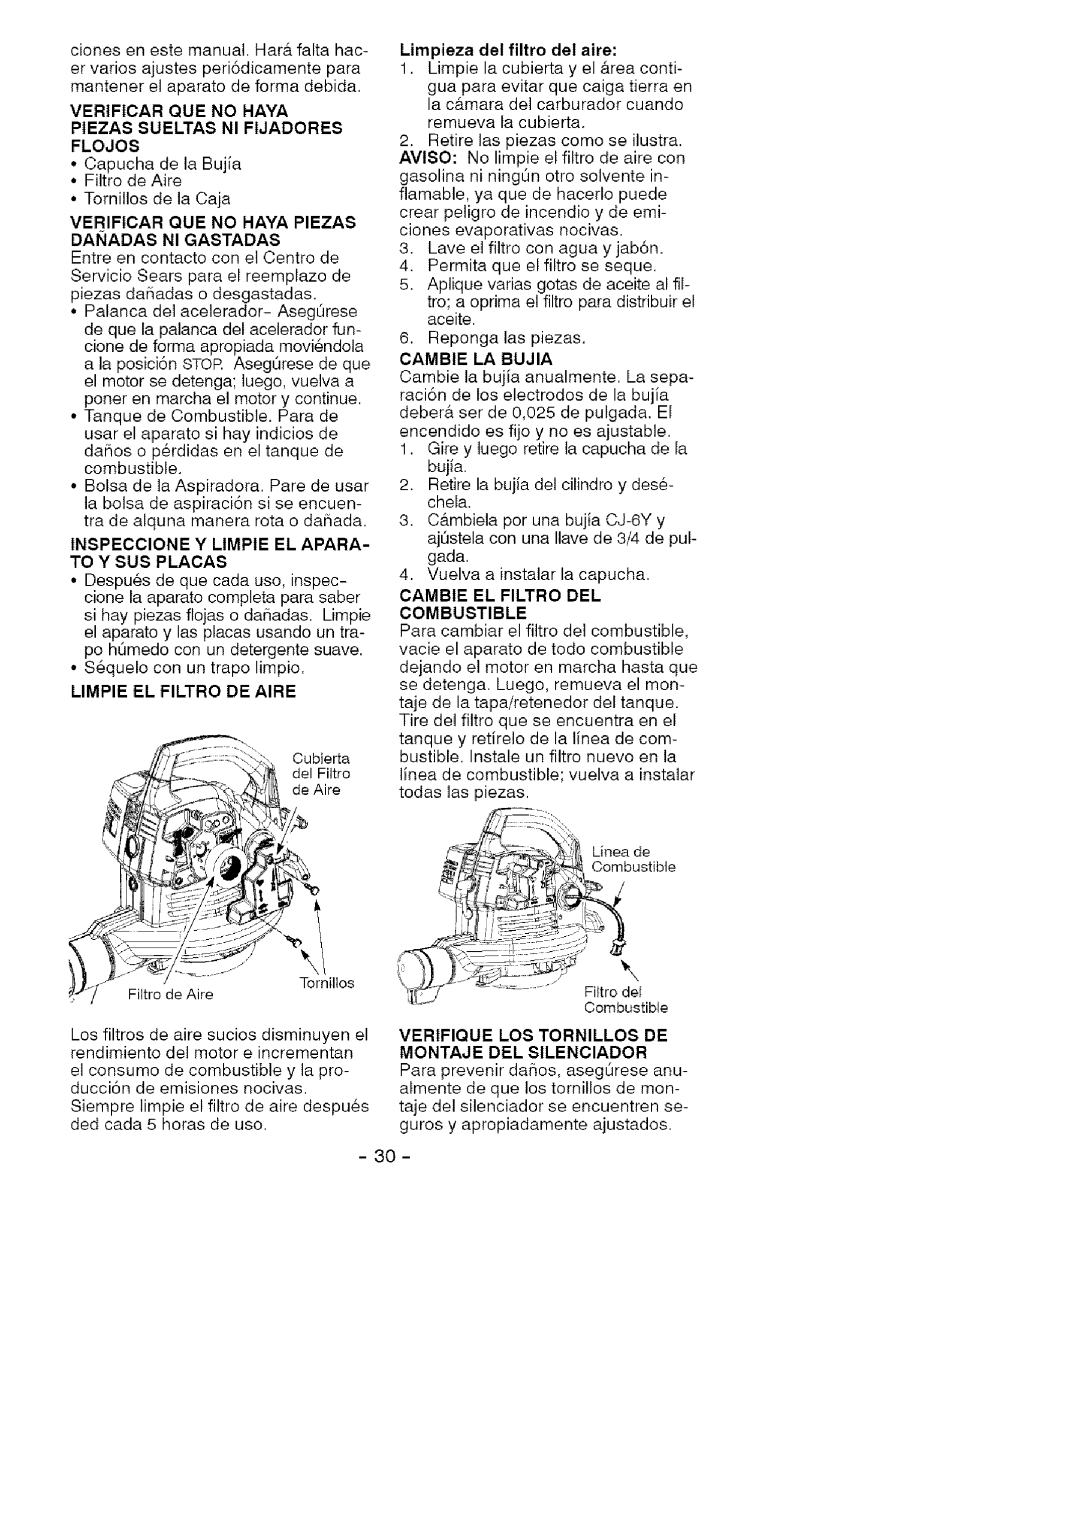
1.Hold tile unit as shown with tile muffler side facing away from your body and clothes.

2.Pass the shoulder strap over your head and onto your right shoulder.

3.Extend your left arm toward the rear of the vacuum bag.

4.Adjust shoulder strap until the vac- uum bag/shoulder strap seam lies between your thumb and index finger.

5.Make sure air flows freely from the elbow tube into bag. If bag is kinked, the unit will not operate properly.

HookRetaining

Post

HOW TO CONVERT UNIT FROM VACUUM USE TO BLOWER USE

1.Remove tile vacuum tubes by in-

serting the tip of a screwdriver into the latch area of the vacuum inlet.
-7-

Image 7
Contents Craftsmani TWO Year Full Warranty on CRAFTSMAN@ GAS Blower Know Your Unit @@1Handle Fuel with CAUTION, IT is Highly Flammable Plan AheadOperate Your Unit Safely Maintain Your Unit Properly Vacuum Assembly Vacuum BAG Assembly Carton ContentsAssembly Blower Assembly Blower Tube AssemblyShoulder Strap Adjustment for vacuum use only Blower Tube AssemblyHOW to Convert Unit from Vacuum USE to Blower USE Operating Tips Mulching BladesThrottle Lever Primer ButtonBefore Starting Engine HOW to Stop Your EngineHOW to Start the Engine Operating PositionING a Flooded Engine Starting PositionStarting a Cold Engine Starting a Warm EngineCleaning the air filter Care & Maintenance TaskCustomer Responsibilities Fuel System Carburetor AdjustmentCause Troubleshooting TableEngine OtherYour Warranty Rights and OB Emission Control Warranty MAINTENANCE, Replacement and Repair of Emission REEl I 81 Repair Parts 71-85920 Sears Model Sears, Roebuck and Co., Hoffman Estates, IL Advertenoia Extremo CUIDADO, ES ALTA- Mente Inflamable Conozca SU AparatoPiense Antes DE Proceder Maneje EL Combustible CONHaga EL Mantenimiento DEL Aparato EN LA Forma Debida Haga USO Seguro DE SU AparatoPulsion Aviso DE Seguridad El estar exModelo MontajeMontaje DEL Tubo DE Aspiracion DE USO DE Aspiracion a USO DE Propulsion Como Convertir EL AparatoPalanca DEL Cebador Palanca DEL AceleradorBombeador Sugerencias UtilesImportante POSlCION DE USOAntes DE Poner EL Motor EN Marcha Abastecimiento DEL MotorPara Poner EN Marcha EL Motor Para Detener EL MotorPara Arrancar CON Motor Frio Recom Endaciones Generales Arranque DE Motor AhogadoResponsabilidad Tarea DE Cuidado MantenimientoLimpie EL Filtro DE Aire Verificar QUE no Haya Piezas Sueltas NI Fijadores FlojosVerificar QUE no Haya Piezas Daiiadas NI Gastadas Inspeccione Y Limpie EL Apara To Y SUS PlacasMotor Ajuste AL CarburadorEstacional Almacenaje Sistema DE CombustibleOtros Tabla DiagnosticaSUS Derechos Y Obligaciones MANTENIMIENTO, Reemplazo Y Reparacion DE Como Entablar UNA ReclamaPage Your Home