| The Switch is 1U high and fits in most standard |
CAUTION: Disconnect all cables from the Switch before continuing. Remove all self adhesive pads from the underside of the Switch if they have been fitted.
1Place the Switch the right way up on a hard flat surface, with the front facing towards you.
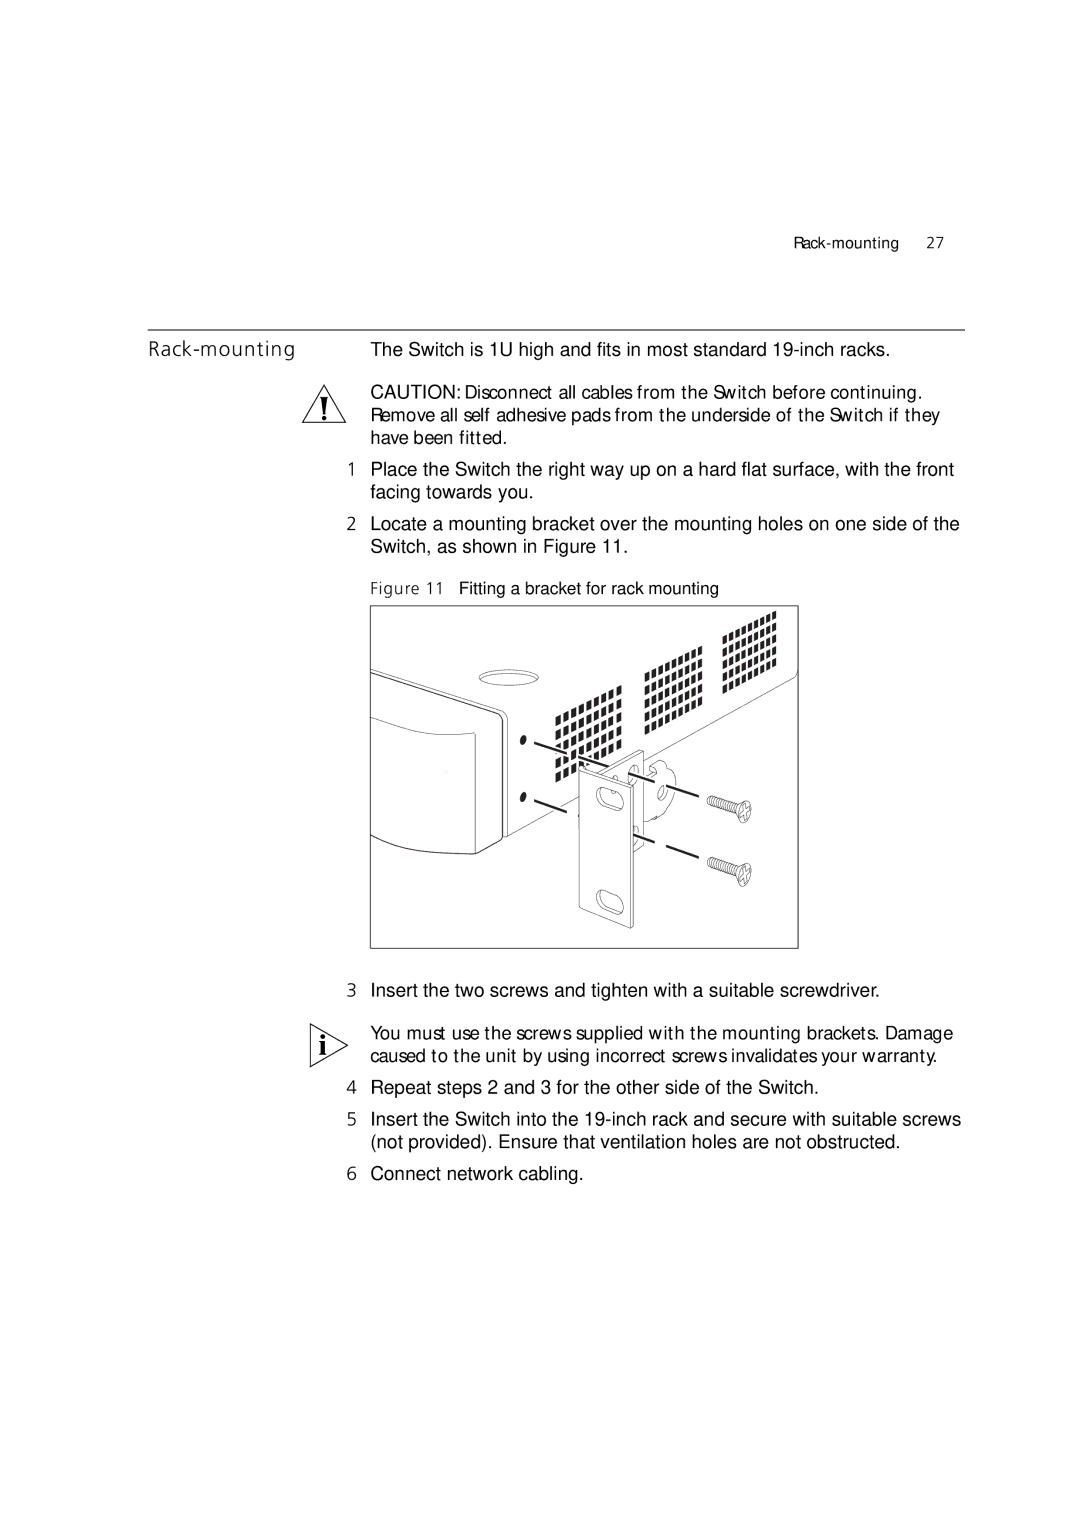
2Locate a mounting bracket over the mounting holes on one side of the Switch, as shown in Figure 11.
Figure 11 Fitting a bracket for rack mounting
3Insert the two screws and tighten with a suitable screwdriver.
You must use the screws supplied with the mounting brackets. Damage caused to the unit by using incorrect screws invalidates your warranty.
4Repeat steps 2 and 3 for the other side of the Switch.
5Insert the Switch into the